

How to Get Live Tiles on the Desktop and Start Menu in Windows 11

Imagine that you are looking for something on your system but are not sure which application to open or select. This is where the Live Tiles feature comes into play. A live tile for any supported application can be added to the desktop or Start menu of a Windows system, with its tiles changing frequently.
Live Tiles make app widgets come alive in a delightful way. Not just for its appearance, but even for convenience. Suppose you are using whatsapp or facebook application on your system, wouldn't it be convenient if the number of notifications is displayed on the application icon? This is possible if any such supported app is added as a live tile.
Let’s see how to do this on a Windows system. If you are still looking for how to get Live Tiles and Start Menu on your desktop in Windows 11, then continue reading this article to know more.
How to Get Live Tiles on the Desktop and Start Menu in Windows 11
First of all, to get Live Tiles on your Windows 11 system, you need to install which can be downloaded and installed from the Microsoft Store Live Tiles Anywhere app. Follow the steps below to download and install Live Tiles Anywhere.
Step 1: First, you need to open the Microsoft Store app on your system. To do this, press the Windows key and type microsoft store.
Step 2: Then, select the Microsoft Store app from the search results as shown below.
Step 3: After opening the Microsoft Store app window on your system, type Live Tile anywhere in the search bar and click Click to select the Live Tiles Anywhere app from the search list as shown below.
Step 4: In the Live tiles Anywhere app page, click Install, it will start downloading shortly, then install it onto your system as shown below.
Step 5: Once the installation is complete, you will see a button named "Open" on the app page.
Step 6: To launch the application, you should click Open or press the Windows key, Type Live Tile anywhere and press the Enter key.

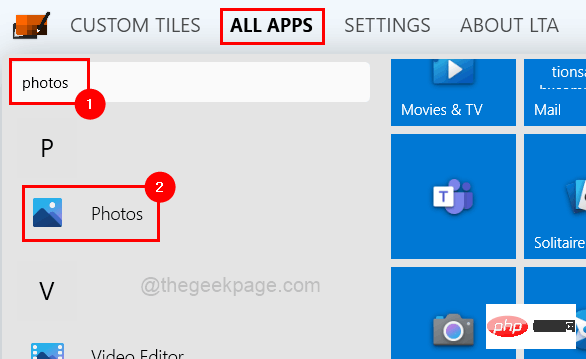
Step 7: Once the application is open, you should click on All Applications on the menu bar at the top of the application window as shown below.
Step 8: All installed applications in the system will be listed here.
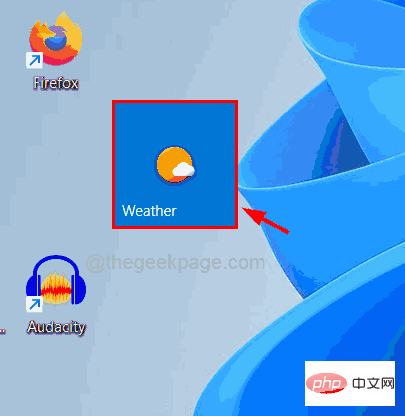
Step 9: Now, if you want to add any application like Photos, Notepad, Weather, etc. as a widget on your desktop or start menu, first find that Application and right click on it.
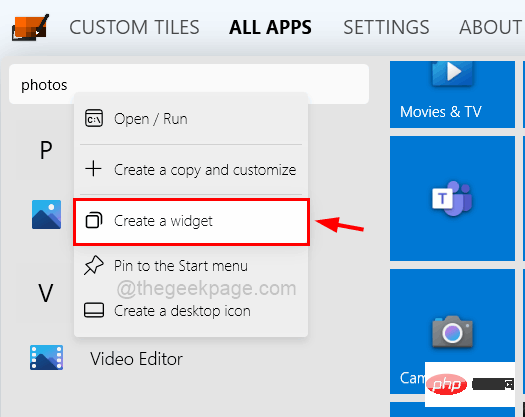
Step 10: Click Create Widget from the context menu.
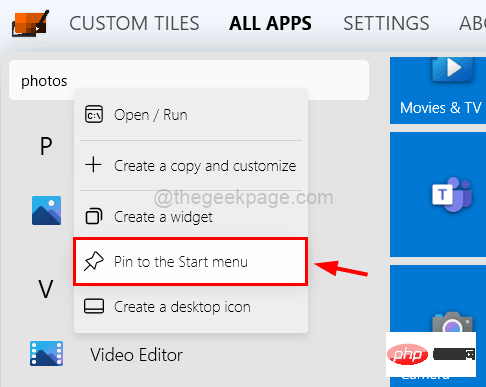
Step 11: Next, if you want to pin it to the Start menu, right-click Apply Program and select the "Pin to Start Menu" option from the context menu as shown below.
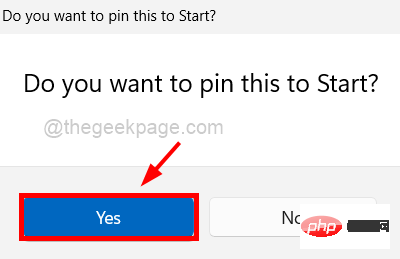
Note: Please click Yes to accept the confirmation dialog to continue pinning it to Start.
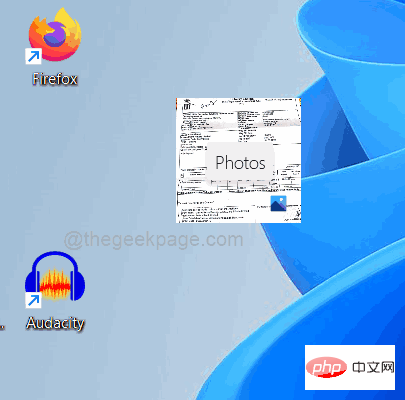
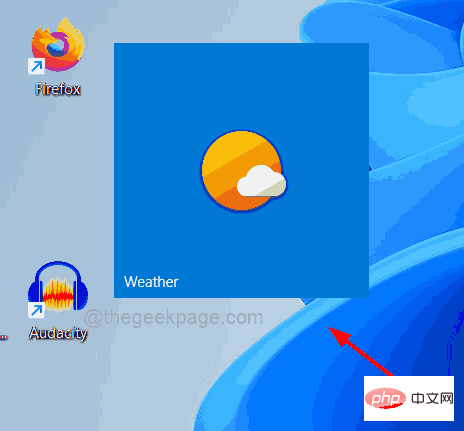
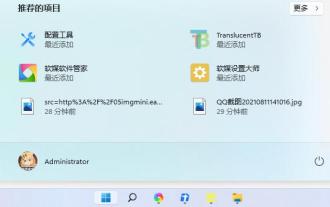
Step 12: Now the newly created widget will appear on the top left corner of the screen. You have to drag it to wherever you like on your desktop screen.
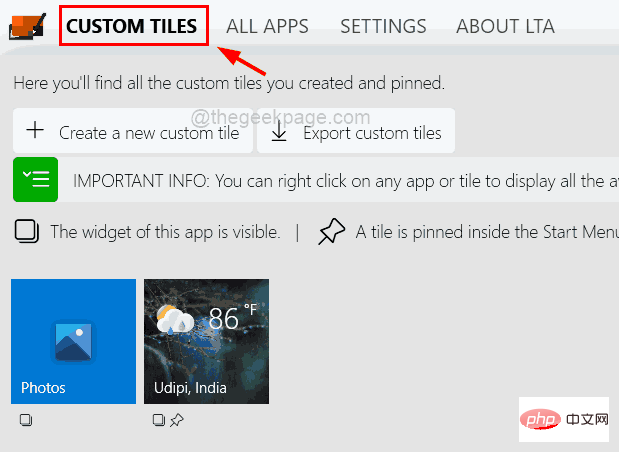
Step 13: Now all the apps you created widgets for will appear under the CUSTOM TILES tab.
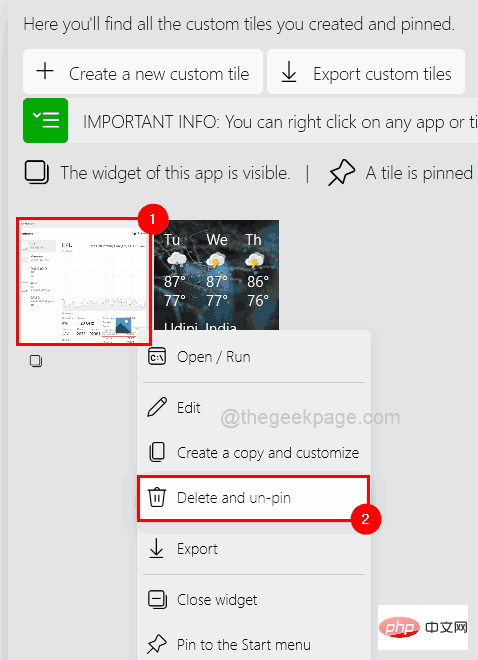
Step 14: If you want to remove these apps from the custom tiles, right-click on the app and select it from the menu Select Delete and unpin.
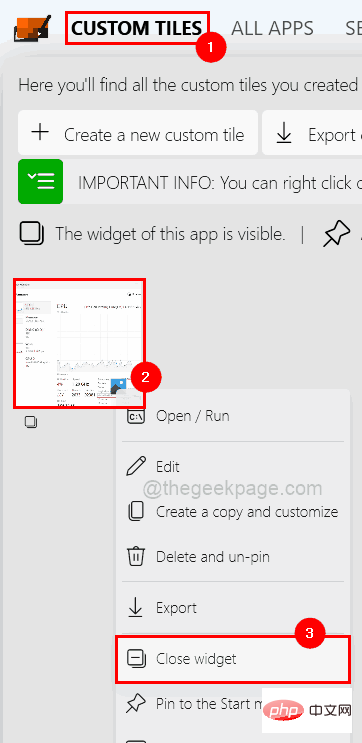
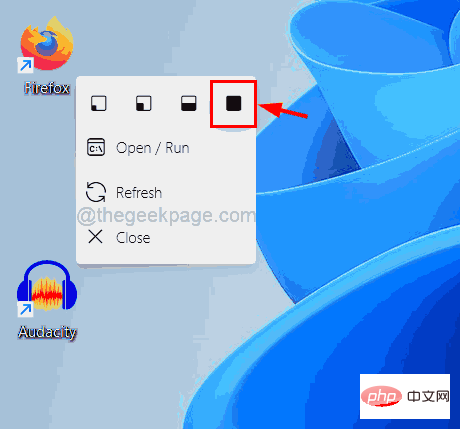
Step 15: Under the Custom Tiles tab you can apply by right clicking and clicking from the context menu Close Widget to close the widget as shown below.
right-click on the small component and select the Close option from the menu Close widgets directly from the desktop.
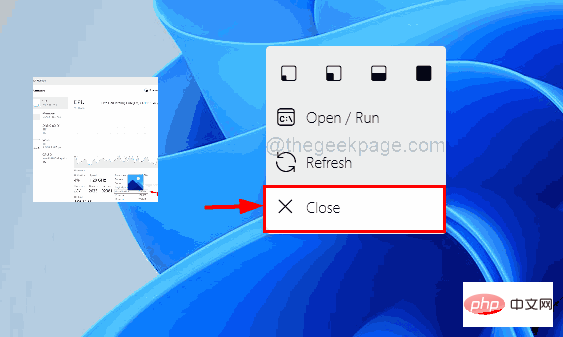
right-click on the widget you created ( such as weather).
The above is the detailed content of How to Get Live Tiles on the Desktop and Start Menu in Windows 11. For more information, please follow other related articles on the PHP Chinese website!

Hot AI Tools

Undresser.AI Undress
AI-powered app for creating realistic nude photos

AI Clothes Remover
Online AI tool for removing clothes from photos.

Undress AI Tool
Undress images for free

Clothoff.io
AI clothes remover

AI Hentai Generator
Generate AI Hentai for free.

Hot Article
Hot Tools

Notepad++7.3.1
Easy-to-use and free code editor

SublimeText3 Chinese version
Chinese version, very easy to use

Zend Studio 13.0.1
Powerful PHP integrated development environment

Dreamweaver CS6
Visual web development tools

SublimeText3 Mac version
God-level code editing software (SublimeText3)
Hot Topics


![Event ID 157: Disk has been removed unexpectedly [Fixed]](https://img.php.cn/upload/article/000/887/227/168576249277516.jpg?x-oss-process=image/resize,m_fill,h_207,w_330) Event ID 157: Disk has been removed unexpectedly [Fixed]
Jun 03, 2023 am 11:21 AM
Event ID 157: Disk has been removed unexpectedly [Fixed]
Jun 03, 2023 am 11:21 AM
Disk has been accidentally deleted is an error in the system event log on Windows devices. This is an unusual issue on the virtual disk that all XBOX Live PC and Microsoft PC installations rely on. Typically, this problem occurs when something disrupts the system's communication with the disk. Event ID157 in Event Viewer The disk has been accidentally deleted, preventing the user from installing the game using the specified virtual drive. This virtual drive will not be visible in File Explorer like other drives. You may also encounter VMWare issues where the disk has been accidentally deleted. The solution below will fix the problem, but you must make changes directly in VMWare's emulated operating system. Depend on
 Convert VirtualBox fixed disk to dynamic disk and vice versa
Mar 25, 2024 am 09:36 AM
Convert VirtualBox fixed disk to dynamic disk and vice versa
Mar 25, 2024 am 09:36 AM
When creating a virtual machine, you will be asked to select a disk type, you can select fixed disk or dynamic disk. What if you choose fixed disks and later realize you need dynamic disks, or vice versa? Good! You can convert one to the other. In this post, we will see how to convert VirtualBox fixed disk to dynamic disk and vice versa. A dynamic disk is a virtual hard disk that initially has a small size and grows in size as you store data in the virtual machine. Dynamic disks are very efficient at saving storage space because they only take up as much host storage space as needed. However, as disk capacity expands, your computer's performance may be slightly affected. Fixed disks and dynamic disks are commonly used in virtual machines
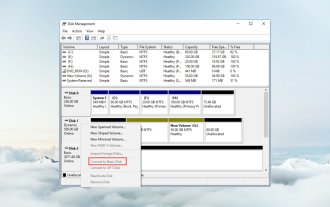 How to convert dynamic disk to basic disk on Windows 11
Sep 23, 2023 pm 11:33 PM
How to convert dynamic disk to basic disk on Windows 11
Sep 23, 2023 pm 11:33 PM
If you want to convert a dynamic disk to a basic disk in Windows 11, you should create a backup first as the process will erase all data in it. Why should you convert dynamic disk to basic disk in Windows 11? According to Microsoft, dynamic disks have been deprecated from Windows and their use is no longer recommended. Additionally, Windows Home Edition does not support dynamic disks, so you will not be able to access these logical drives. If you want to combine more disks into a larger volume, it is recommended to use Basic Disks or Storage Spaces. In this article, we will show you how to convert dynamic disk to basic disk on Windows 11 How to convert dynamic disk to basic disk in Windows 11? In the beginning
 Fix: Windows Driver Foundation missing error
Jun 02, 2023 pm 09:15 PM
Fix: Windows Driver Foundation missing error
Jun 02, 2023 pm 09:15 PM
It's really frustrating when your Windows PC lags or runs slowly while playing games or performing resource-intensive tasks. Your PC may have all the processing power to handle these tasks, but if certain drivers fail to load, then your PC will experience multiple issues. One such error is WindowsDriverFoundation missing issue. When this error pops up, you should know that some important system-related drivers fail to load on your Windows PC. Since drivers are one of the most important components that allow the hardware to communicate with your PC, any issues with the drivers can cause the hardware process to malfunction. Several users reported that Window
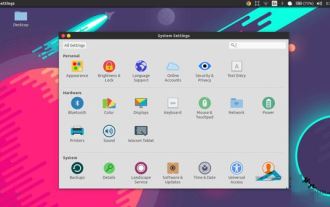 How to edit the start menu in Ubuntu? How to edit the start menu in Ubuntu
Jan 07, 2024 pm 03:26 PM
How to edit the start menu in Ubuntu? How to edit the start menu in Ubuntu
Jan 07, 2024 pm 03:26 PM
In the Windows system, users can easily edit the start menu and perform various operations. However, in the Ubuntu system, many users do not know much about it and are relatively unfamiliar with the method of editing the start menu. Therefore, the editor will introduce how to edit the start menu in Ubuntu. Let’s go and see it together! Method 1: Enter the command alacarte directly in the Ubuntu terminal. You can add, modify, hide, and display menus at will, but you cannot delete menus, even if you have root permissions. Method 2: Pay attention to several directories and files. desktop file/usr/share/applications/mime under /usr/share/applications/
 How to set the Start menu to classic mode in Win11?
Jun 30, 2023 pm 02:37 PM
How to set the Start menu to classic mode in Win11?
Jun 30, 2023 pm 02:37 PM
How to set the start menu to classic mode in win11? Recently, some users upgraded their computers to the Win11 system. During subsequent use, they found that the classic mode start menu is more suitable for them. So how to change the Win11 start menu to the classic mode? Friends who are not sure how to operate can try the classic mode operation process of the win11 system settings menu. I hope it will be helpful to you. Classic mode operation process of win11 system settings menu To switch back to the classic start menu from the Windows 11 start menu, you can use this simple registry editor adjustment. Press Win+R to open the run window and type the command regedit in the run field. Press Enter to open the Registry Editor window.
 Windows 11 will offer the option to hide recommended items in the Start menu
Jan 02, 2024 pm 12:43 PM
Windows 11 will offer the option to hide recommended items in the Start menu
Jan 02, 2024 pm 12:43 PM
Many friends will find that when using win11 system, there is a recommended item in the start menu, which occupies the lower part of the start menu, and the recommended items are basically all that we do not need to use, which is very troublesome. Recently, Microsoft stated that this feature will be hidden in the future. Let’s take a look at the specific situation. The win11 start menu will be able to hide recommended items 1. We can see that when the start menu is clicked, more than 30% of the space below the start menu is occupied by this "recommended item". 2. In the feedback center of win11, there are 8462 proposals for hiding recommended items, indicating that a large number of users request this feature. 3. According to foreign media reports, Microsoft is considering opening hidden recommended projects
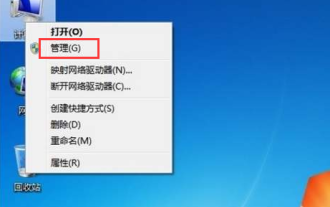 Detailed tutorial on how to delete the administrator account in Windows 7 system
Jul 11, 2023 pm 10:09 PM
Detailed tutorial on how to delete the administrator account in Windows 7 system
Jul 11, 2023 pm 10:09 PM
How to delete the administrator account in Windows 7 system? Many users have multiple administrator accounts on their computers, but some accounts cannot be used, so we can delete unnecessary administrator accounts. So how to delete administrator accounts in win7 system? Today I will share with you how to delete administrator accounts in win7 system. Account method. Friends who are interested, come and take a look! 1. First, right-click the "Computer" icon on the desktop and select "Manage" from the menu bar. 2. In the computer management interface, expand the "System Tools -> Local Users -> Users" option. 3. Then in