How to create a screensaver .scr file on Windows
What is a SCR file?
SCR files are a format commonly used to import screensavers to be installed on your computer. You can find screensavers online by searching on Google, but this is not recommended.
You never know which one of these screensaver sites is pushing malware or some kind of virus onto your computer. Also, it's better to create your own screensaver because it's more personal. There are many different ways to change the look of your Windows 11 computer, such as making the taskbar transparent.
A screensaver should be something you create with your own two hands. With that said, this tutorial will show you how to create your own screensaver on Windows 11, as well as create your own SCR file using the appropriate software.
How to create and set up a .scr screensaver on Windows?
1. Set up via File Explorer
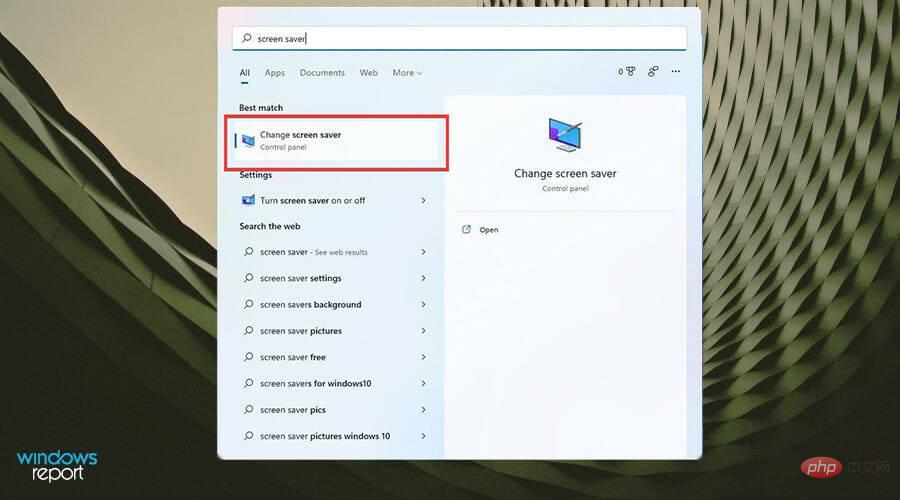
- On the home page, click the magnifying glass icon to bring up the search bar.
- Enter Screensaver and click on the first entry you see.

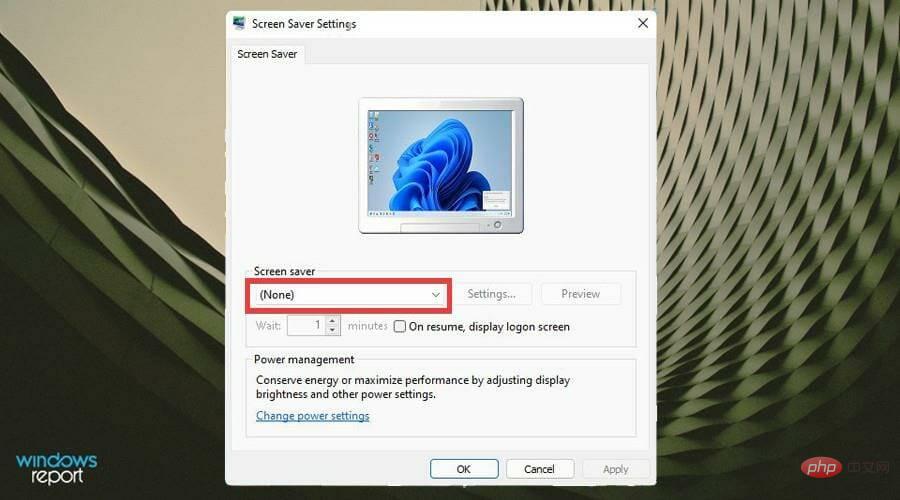
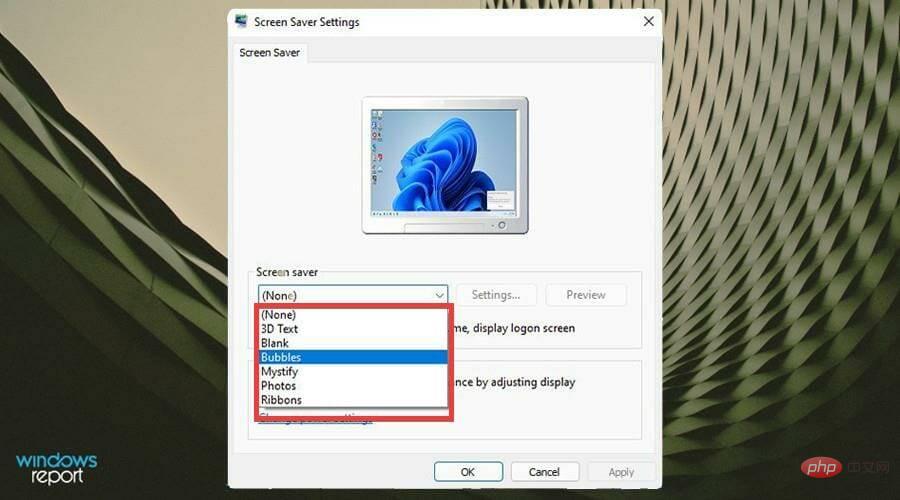
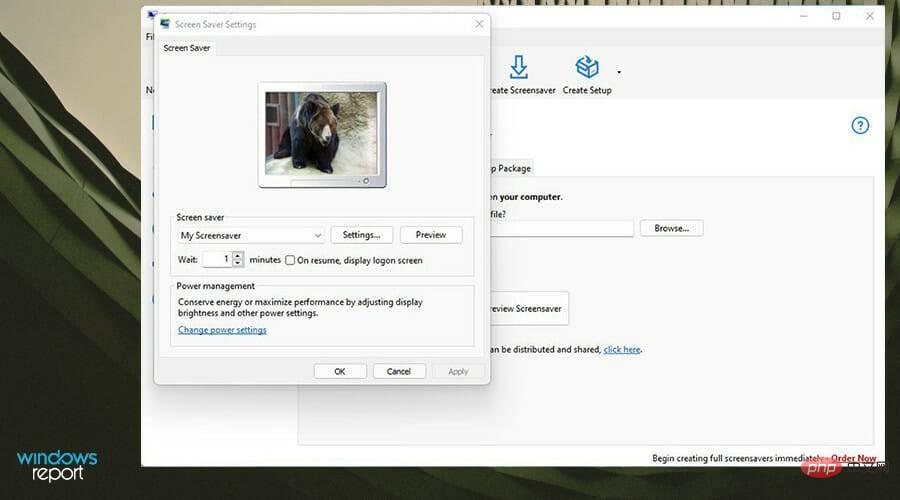
- The screensaver settings window opens. Click the drop-down menu under Screensaver.

- Select one of the available default screensaver options.

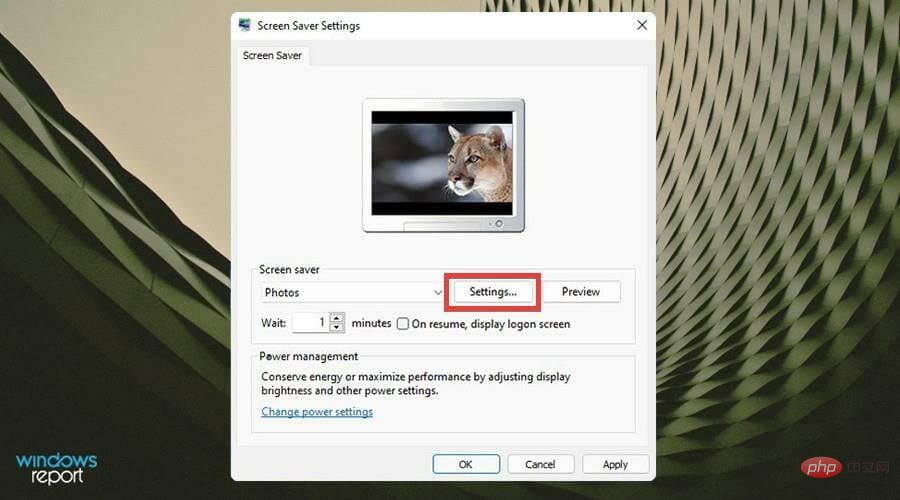
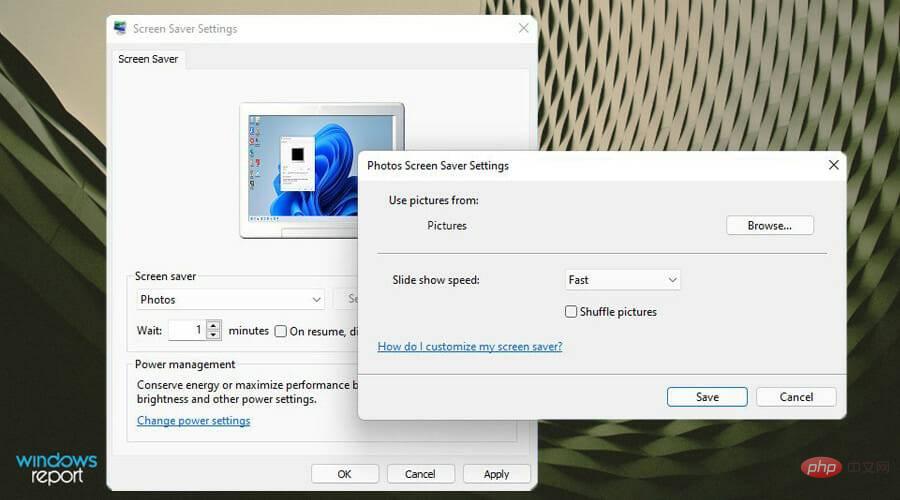
- After making your selection, you can change the screen saver's configuration by clicking Settings. However, not all options change settings.

- However, the photo option does. The Settings window allows you to choose which images to use, the slideshow speed, and the ability to shuffle them.

-
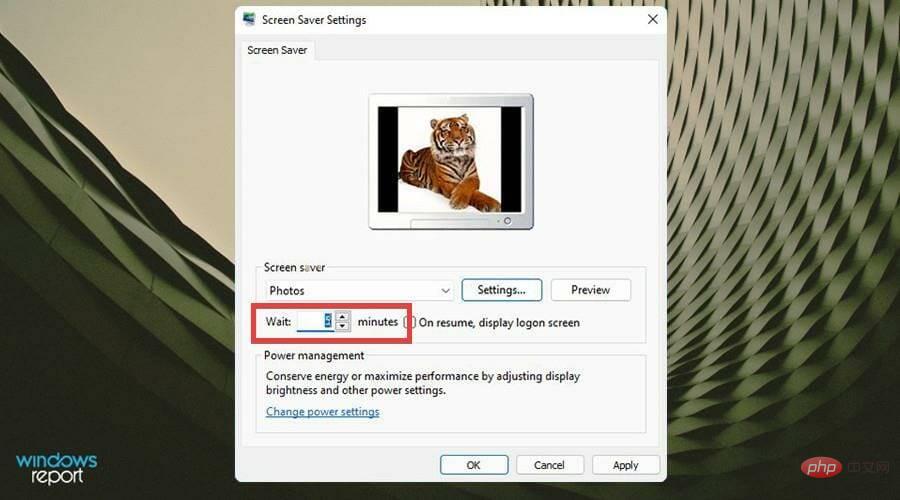
Use the box next to Wait to set the slideshow delay in minutes.

-
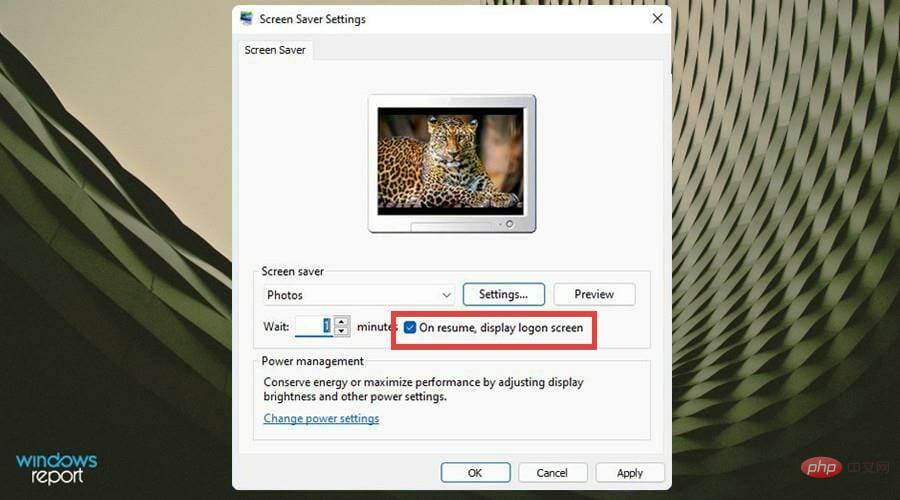
Check the box next to On resume, display login screen to lock the computer when the screensaver ends.

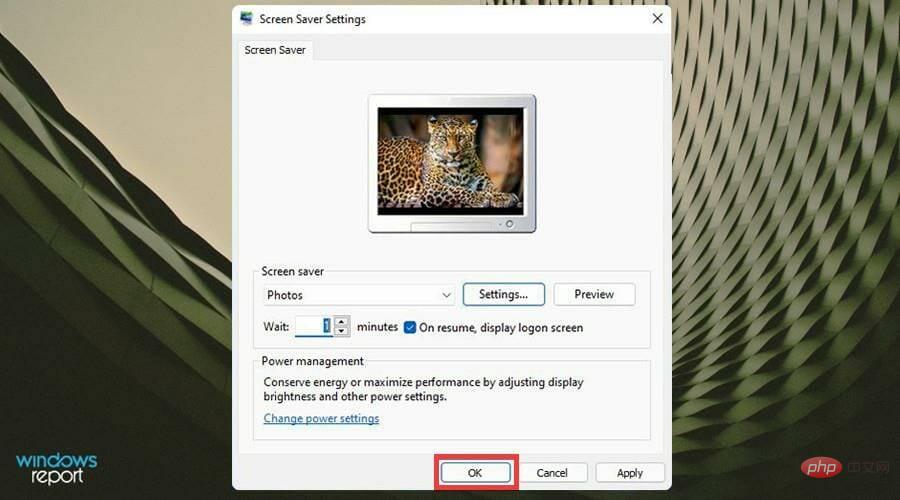
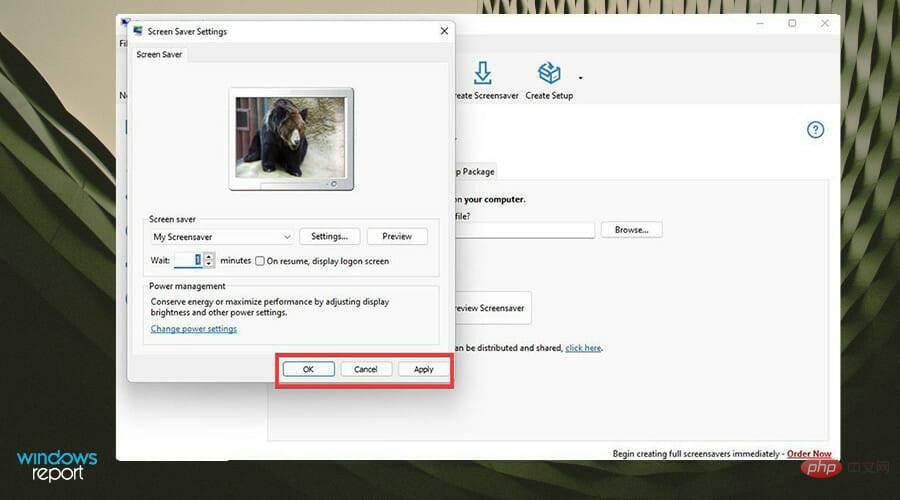
- Click Apply and then click OK.

- The screensaver starts after the time you specify, as long as your computer receives no keyboard or mouse input before then.

2. Create a .scr file using Screensaver Wonder 7
An amazing tool that also provides a more user-friendly experience, allowing you to easily create custom screensavers program.
One such tool is Blumentals’ Screensaver Wonder 7, which not only simplifies the process but also ensures high-quality results can be produced repeatedly.
- Download Screensaver Wonder 7.

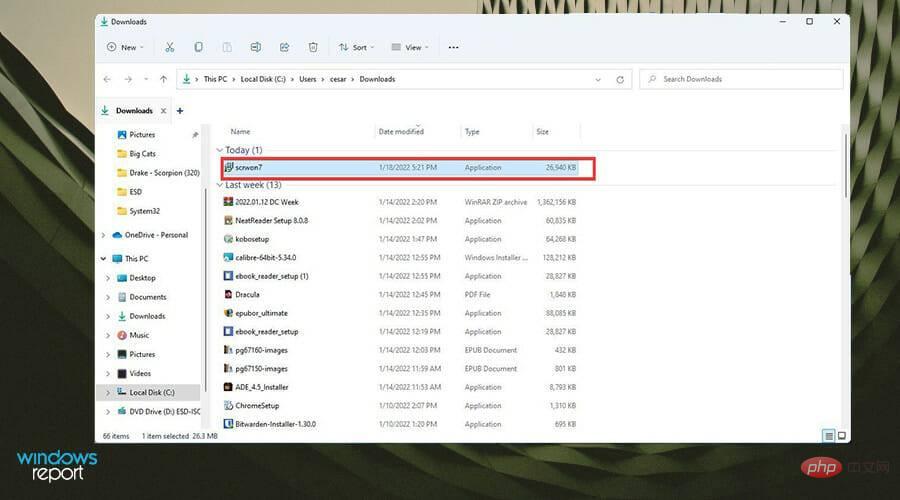
- After downloading the file, find wherever it was downloaded to.

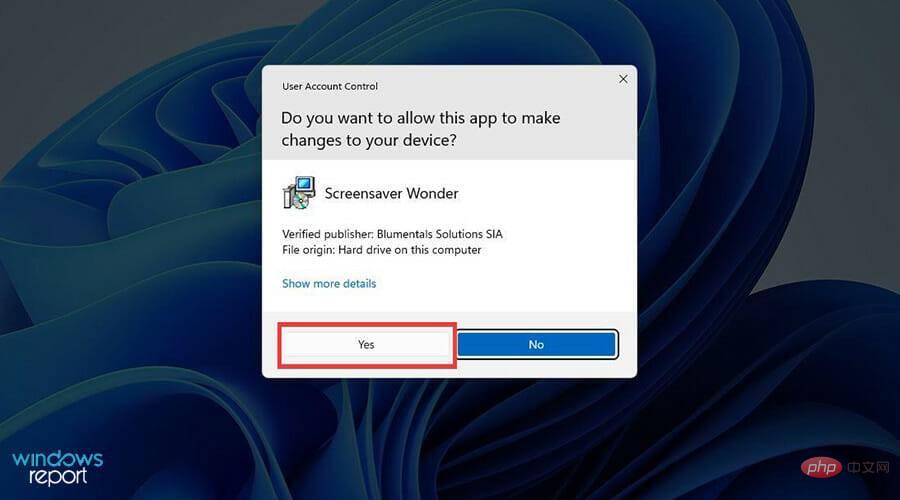
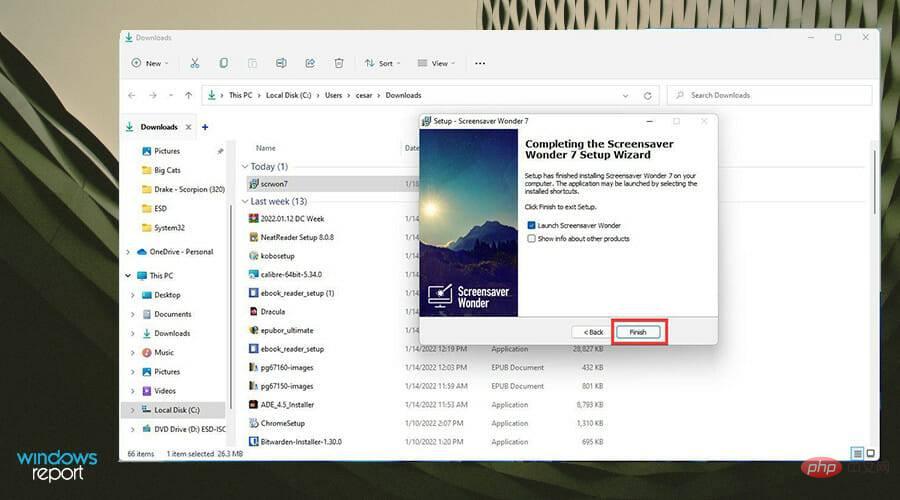
- Double-click to start the installation. A window may appear asking if you want to make changes. Select is .

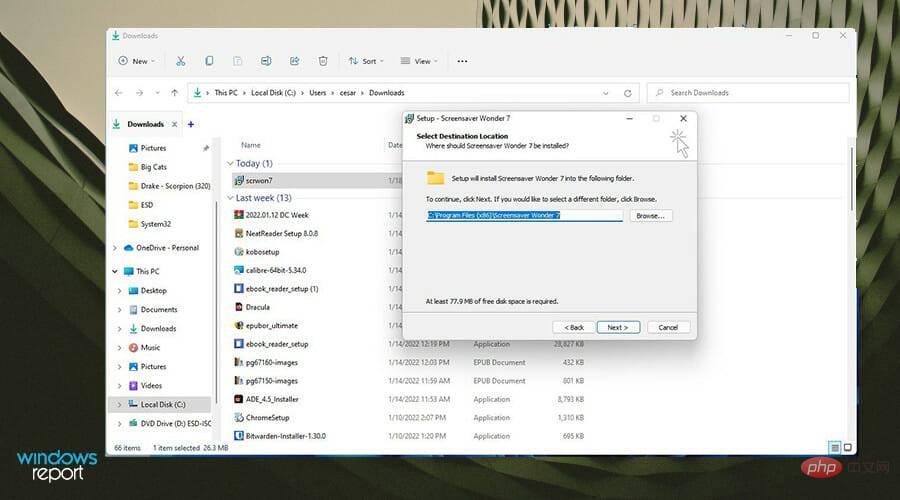
- Proceed with the installation wizard.

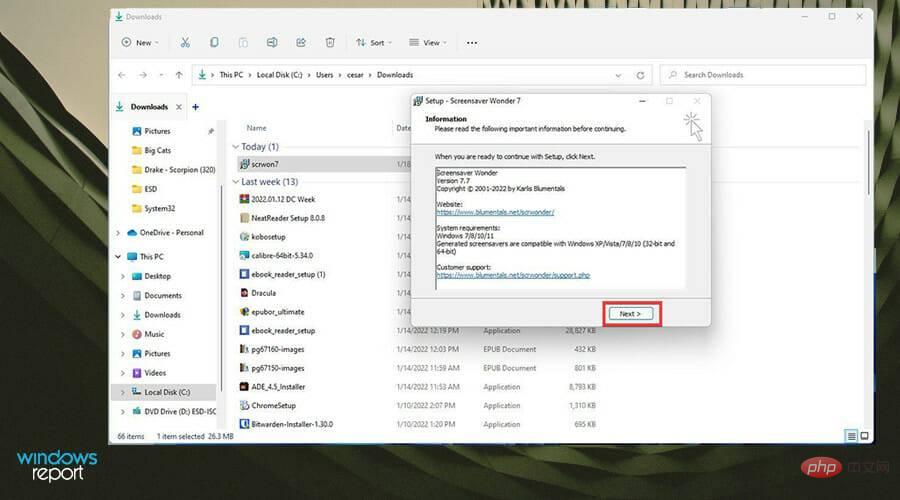
- After installation, the wizard will ask you to read some important information. Click Next when finished.

- Select Finish to turn on Screen Saver Wonder.

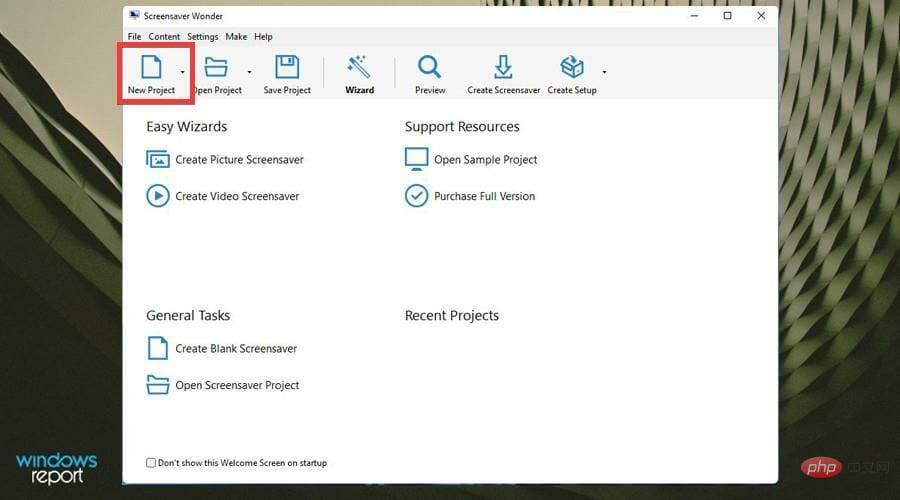
- In Screensaver Wonder, first click New Project.

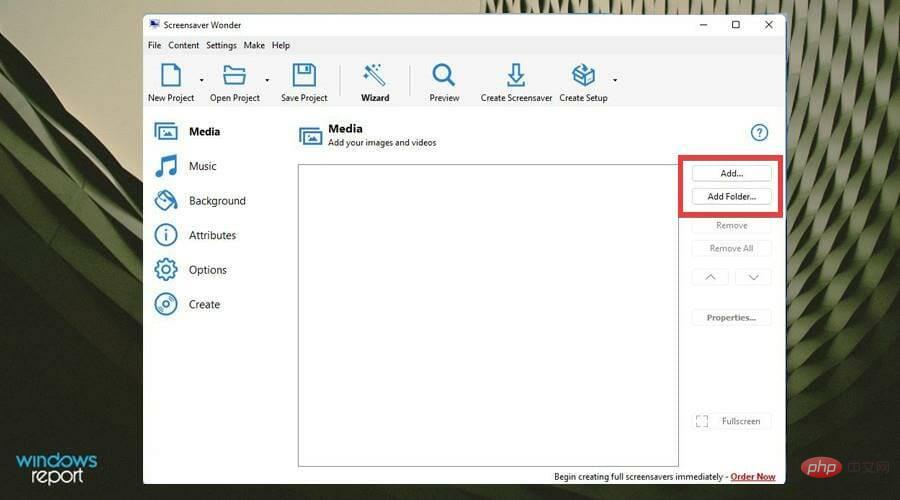
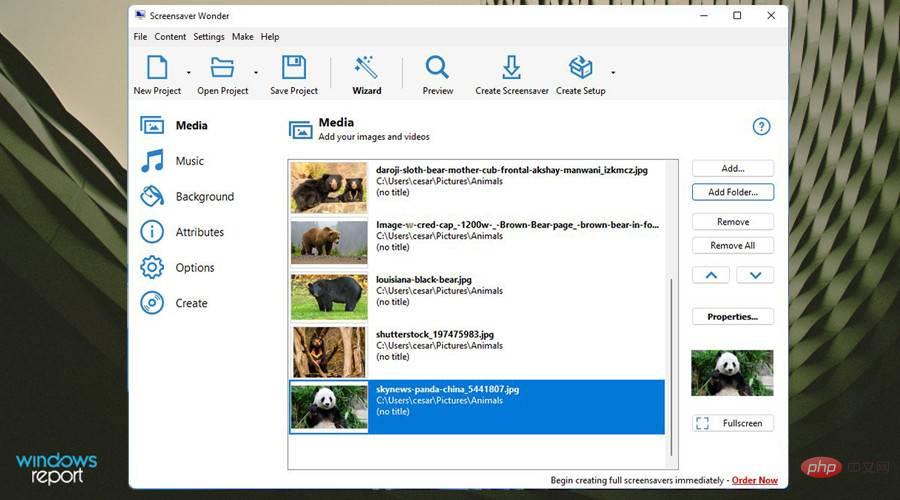
- Under the "Media" tab, you can first click "Add..." or "Add Folder..."# on the right ## button. This tutorial will select Add Folder...
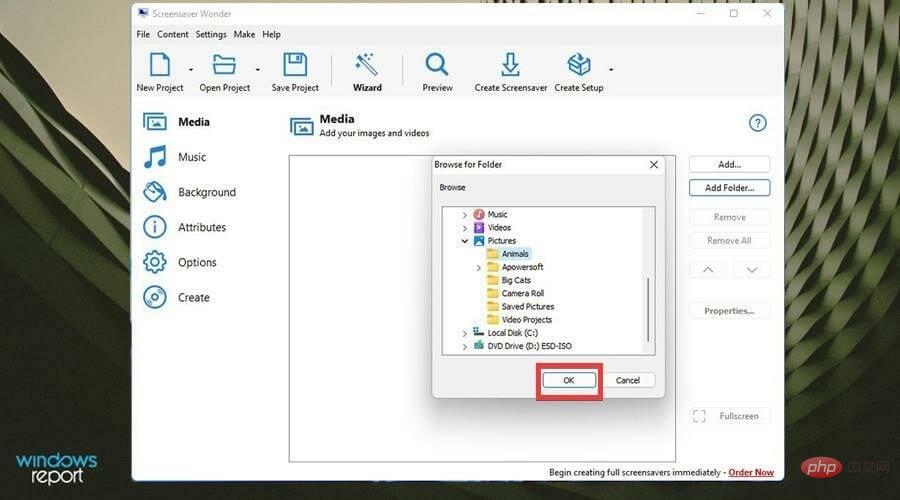
 A small window will appear where you can select the photo folders you want to make up your screensaver. After selecting the folder, click
 - OK.
 Now all the photos in the folder will appear under Media.
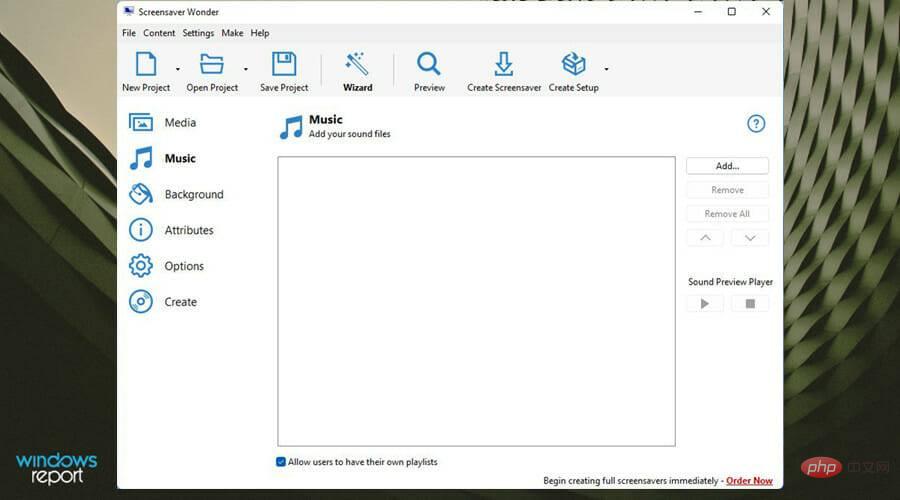
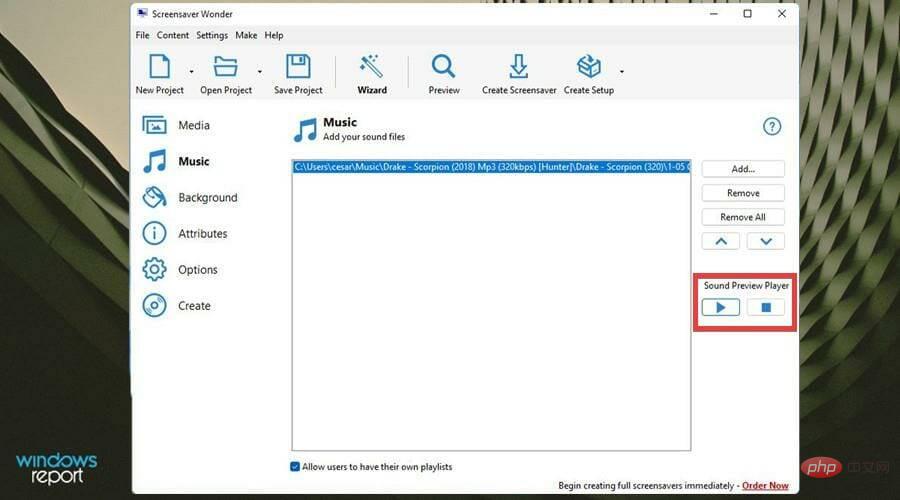
  If you want to add music to your screensaver, select the Music tab.
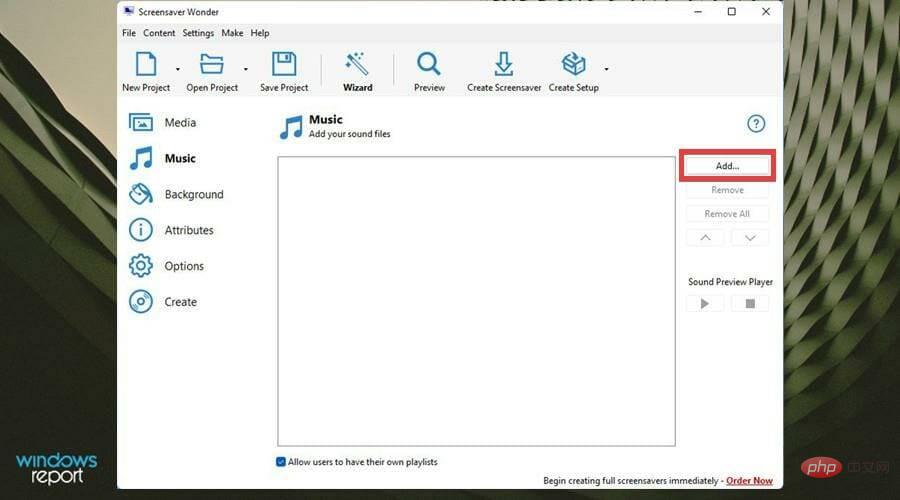
  Click the
 - Add... button on the right.
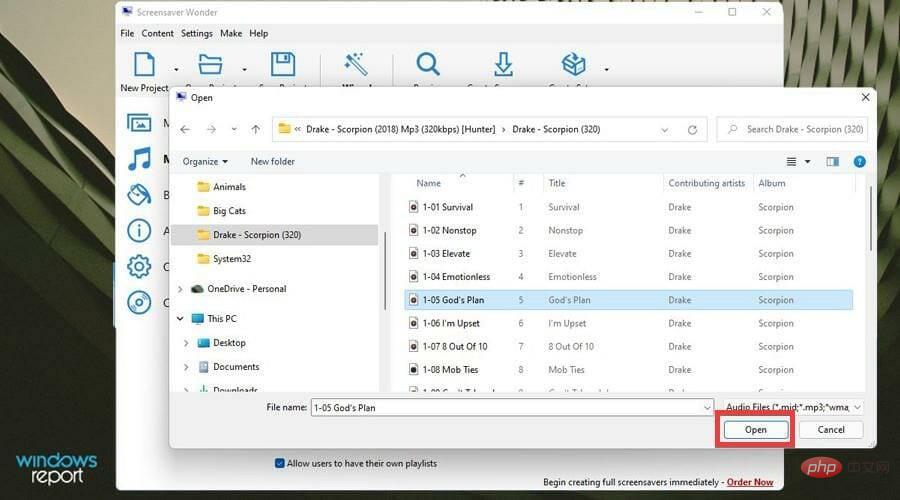
 Find the music file you want to add. Click it and then click
 - Open.
 You can preview the track using the buttons on the right.
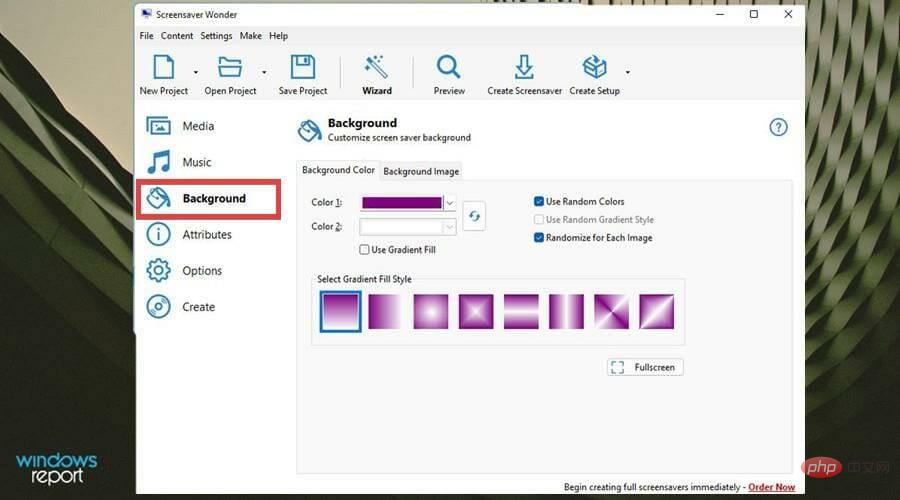
  In Background you can change the background color of your slide and select a gradient fill. Or you can randomize everything by clicking the button on the side.
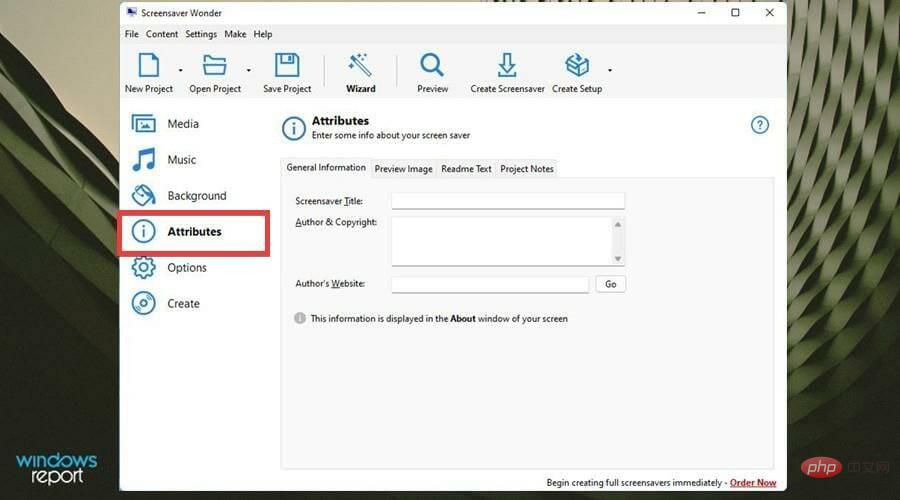
  Properties allow you to give the screensaver a title, write your name, and include your website.
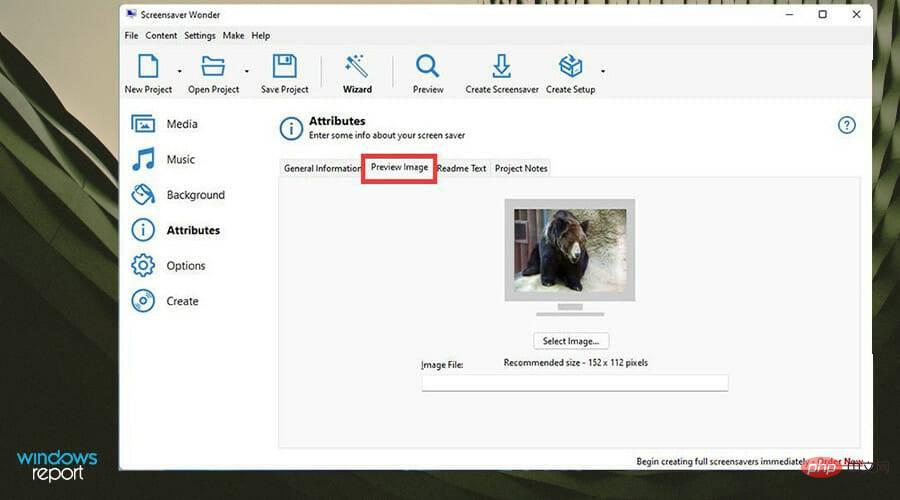
  The Preview Image tab provides a preview of the slideshow before it starts, and you can turn it off.
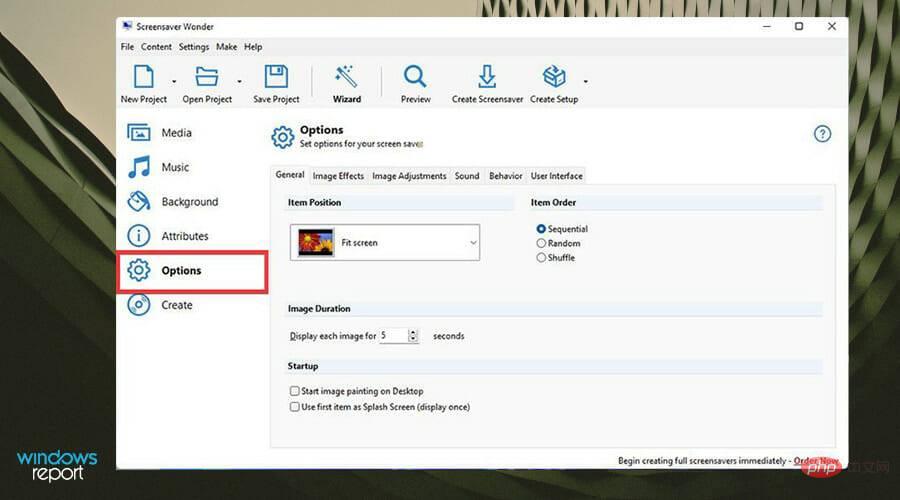
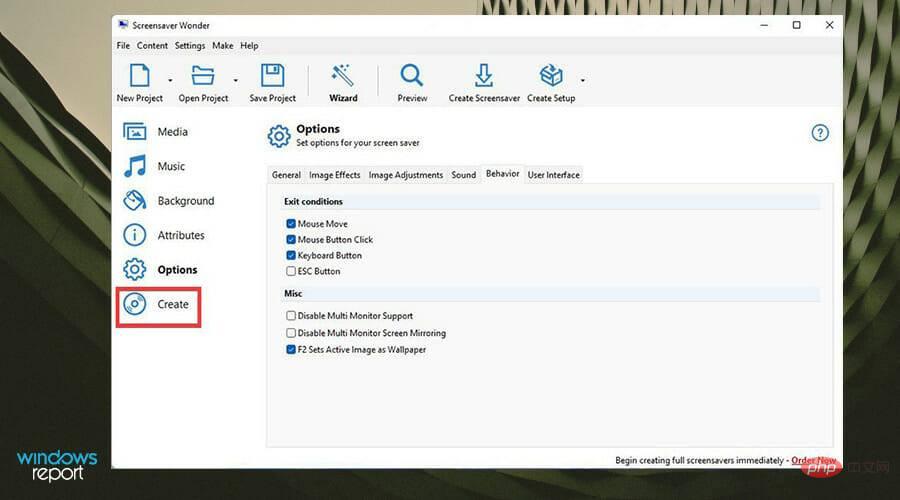
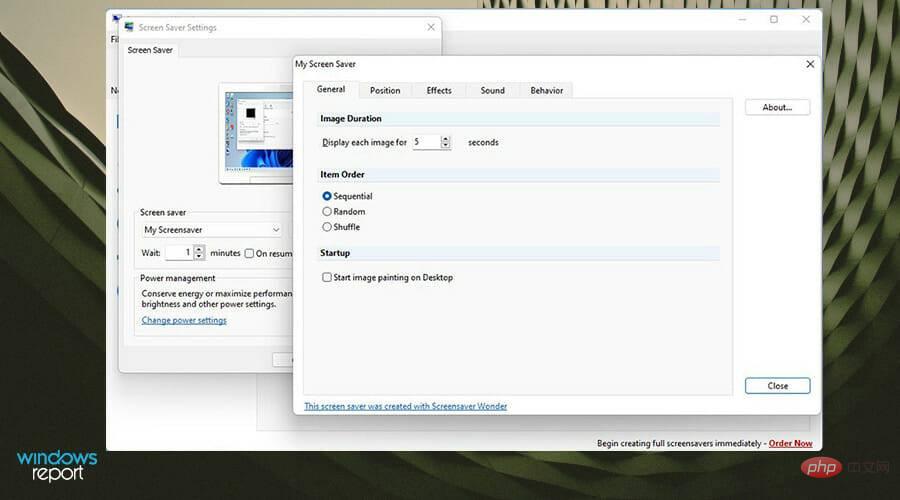
  options allow for the deepest customization. General allows you to choose how the images are placed and the order in which the slideshow appears.
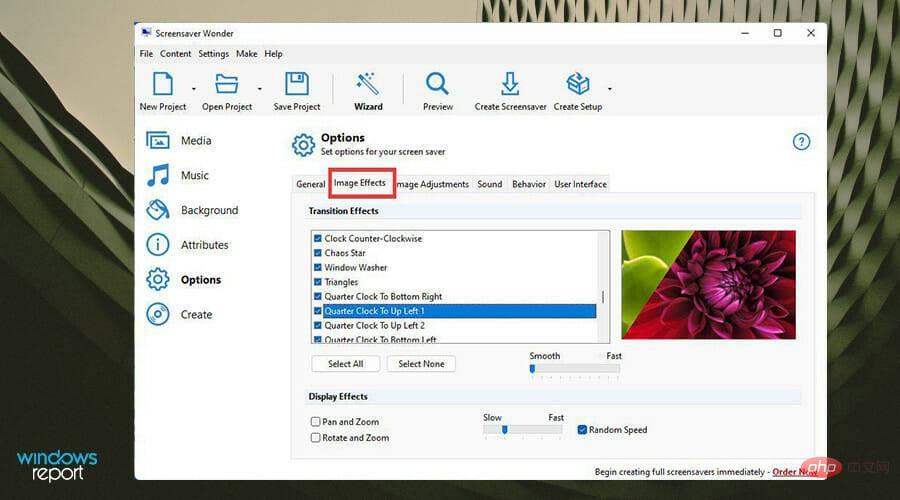
  Image Effects allows you to configure the desired transition effects in your slideshow and at the desired speed.
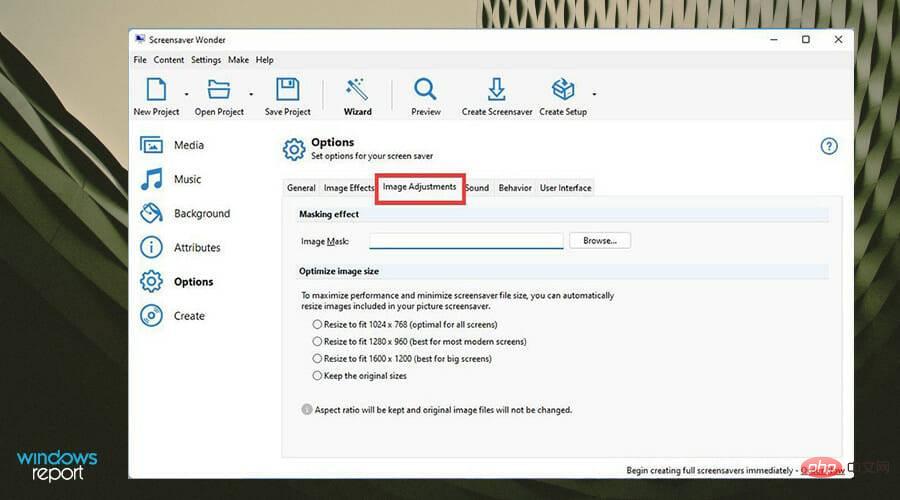
  Image resize optimizes image size to fit the screen.
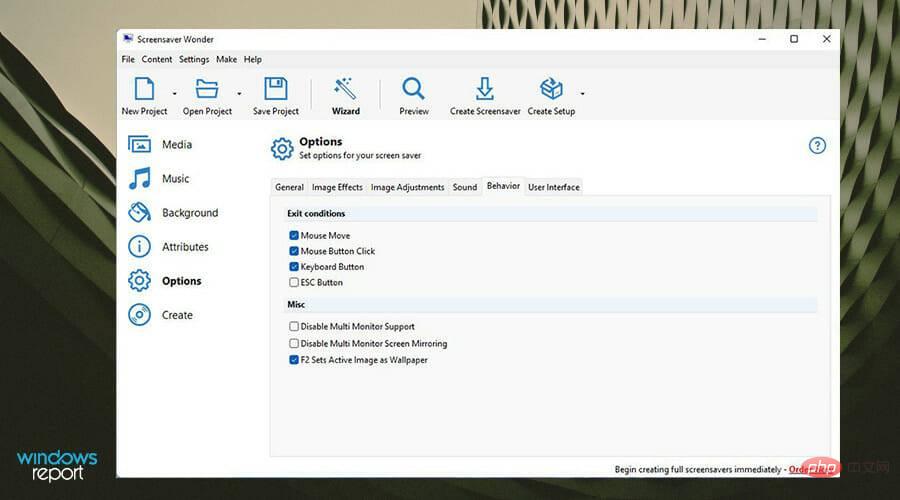
  Behavior configuration exit conditions, how the screen saver ends. You can choose what works or doesn't work.
  After completing the configuration, select
 - Create on the left.
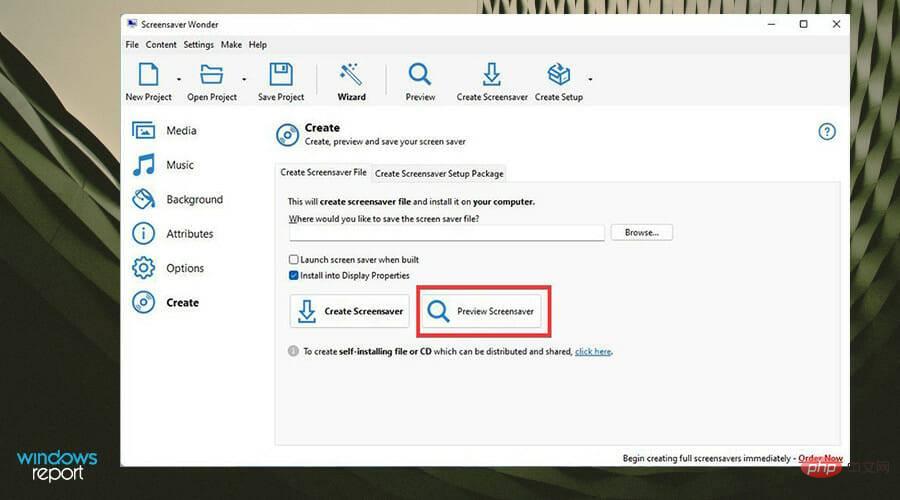
 You can
 - Preview Screensaver by selecting Preview Screensaver.
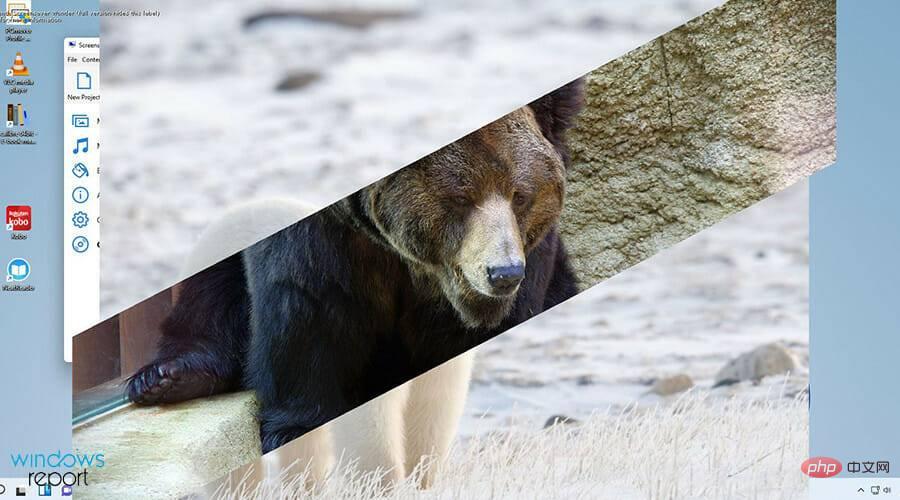
 The screensaver previews as you expect. Review it and make any changes if necessary.
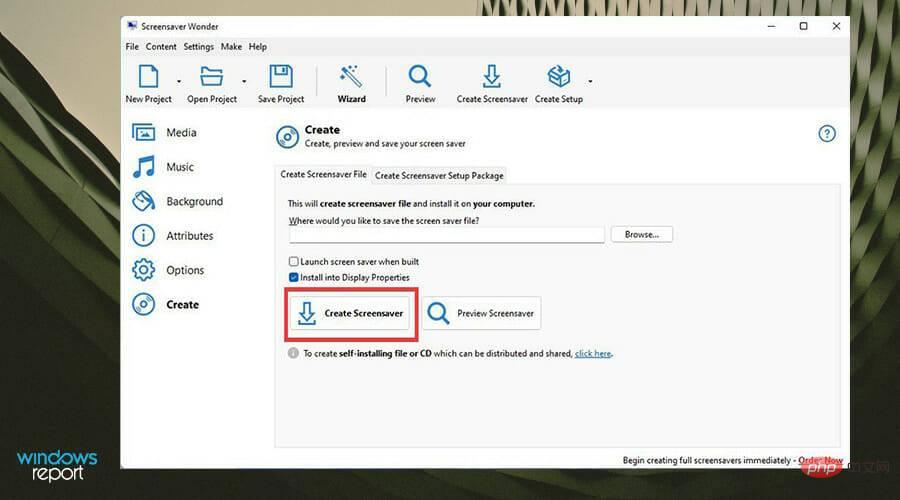
  Then click
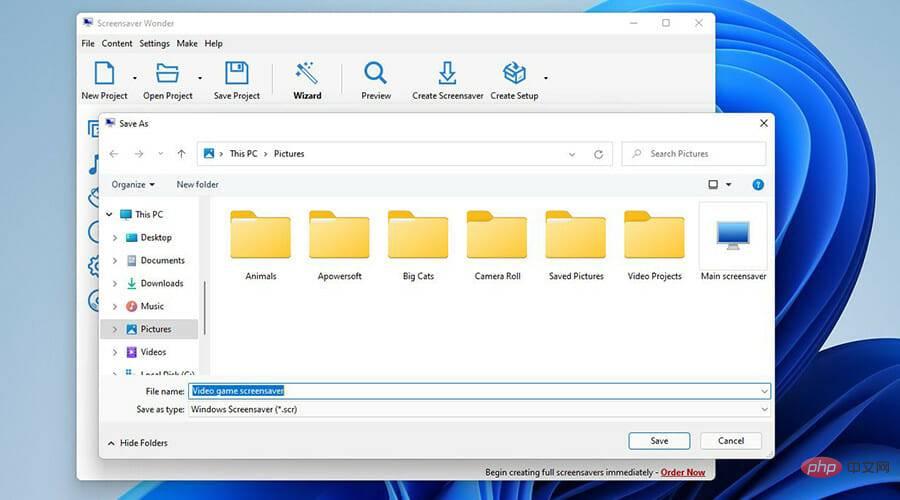
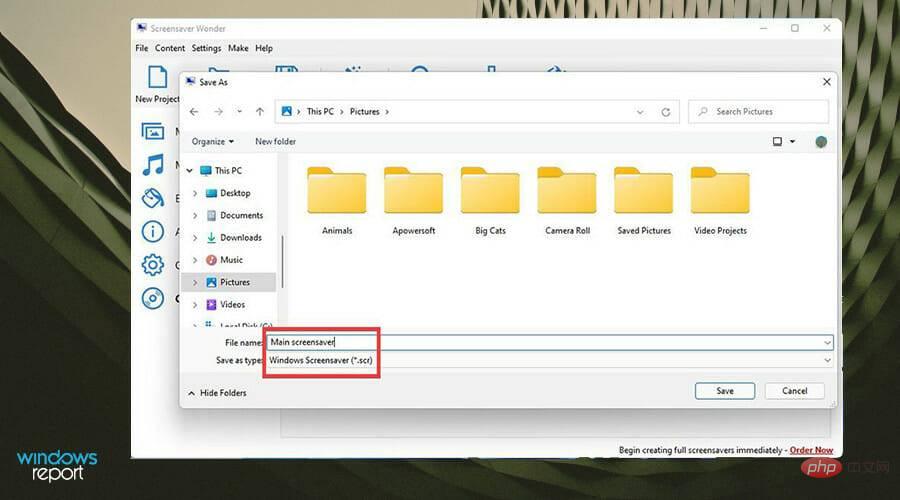
 - Create Screen Saver.
 Name the screen saver.
 - After creating the screen saver, the screen saver settings window appears.

- Click the Settings button and you can make many of the same changes as the screensaver Wonder 7.

- After making changes, click Apply and then OK.

- After a few moments, the screensaver you created will appear.

Are there other ways to customize the look of my Windows 11 PC?
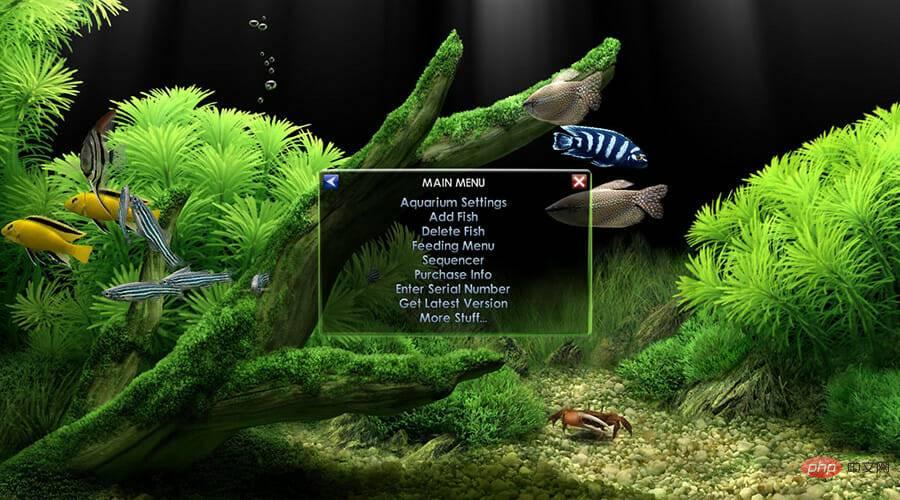
If creating a screensaver with your own pictures doesn't suit you, there are other options, such as creating a 3D screensaver. You may see a lot of 3D screensaver software that appear to be only available for Windows 10, but don’t worry, they work with Windows 11 too.
One of the best is Dream Aquarium, which displays HD looping videos of fish in the aquarium as your screensaver. If you like something otherworldly, there's also Mars 3D Live Wallpaper and Earth 3D.
If you want something other than a screensaver to enhance your experience, it is highly recommended to add the QT TabBar app as it can be used on Windows 11’s File Explorer Use multiple tabs. This isn't a major design change, but it's very useful.
The above is the detailed content of How to create a screensaver .scr file on Windows. For more information, please follow other related articles on the PHP Chinese website!

Hot AI Tools

Undresser.AI Undress
AI-powered app for creating realistic nude photos

AI Clothes Remover
Online AI tool for removing clothes from photos.

Undress AI Tool
Undress images for free

Clothoff.io
AI clothes remover

AI Hentai Generator
Generate AI Hentai for free.

Hot Article

Hot Tools

Notepad++7.3.1
Easy-to-use and free code editor

SublimeText3 Chinese version
Chinese version, very easy to use

Zend Studio 13.0.1
Powerful PHP integrated development environment

Dreamweaver CS6
Visual web development tools

SublimeText3 Mac version
God-level code editing software (SublimeText3)

Hot Topics
 1378
1378
 52
52


