

How to remove watermark from Word document

How to Remove Watermark on Windows
The Microsoft Word application has some subtle differences depending on whether you are using it on Windows or Mac. This means that the steps to remove the watermark will vary depending on the type of computer you are using.
Using the Design menu you should be able to remove the watermark from your Word document. If it doesn't work, you can try the header and footer methods outlined below.
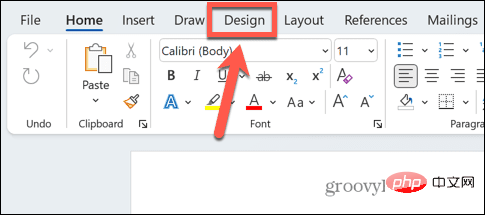
How to remove a watermark from a Word document using the Design Menu
The Design menu is where you find the watermark tool in Microsoft Word. This tool is used to create watermarks for your documents and can also be used to remove watermarks.
To remove a watermark from a Word document using the Design menu on Windows:
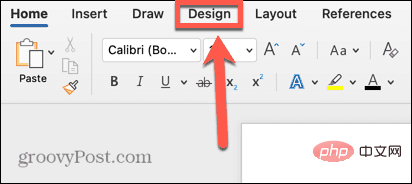
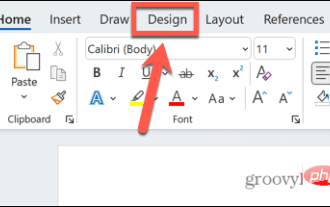
- Click the Design menu.

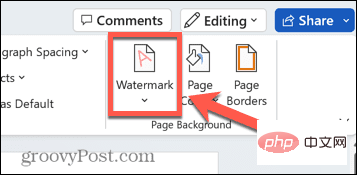
- In the ribbon, click the Watermark icon.
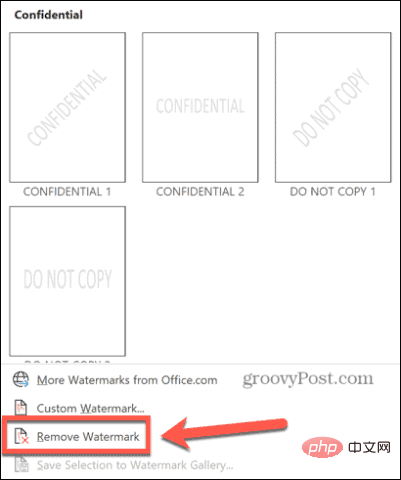
- Select Remove watermark.
- Your watermark should now be removed. If this doesn't work, try the method shown below.
How to remove watermark through header and footer
If the watermark tool method does not work, you can try to remove the watermark manually, when you access the header and footer, the watermark Should be editable.
To remove watermark via header and footer:
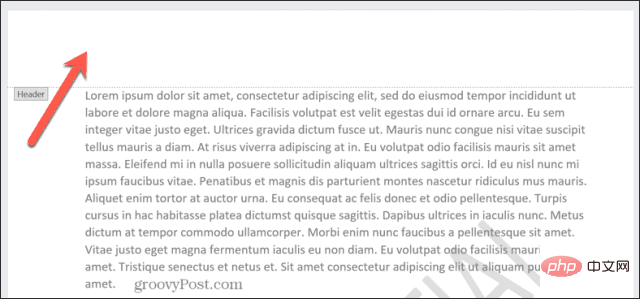
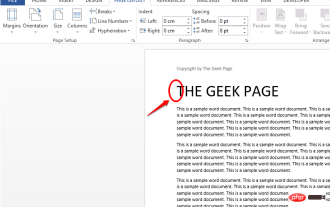
- Double-click the top of the page to open the header and footer.
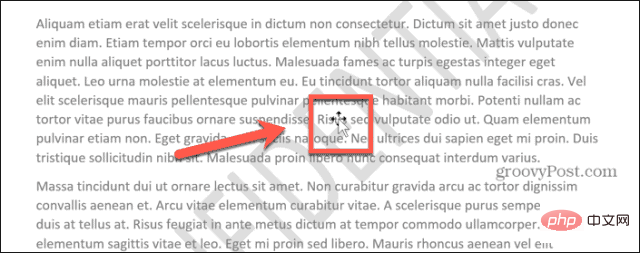
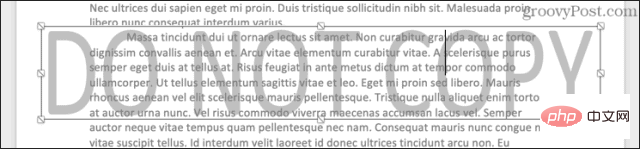
- Hover your mouse over the watermark until the cursor changes to a four-way arrow. If this doesn't happen automatically, try clicking on the watermark.
- After the cursor changes to a four-way arrow, click the watermark to select it.
- Press the Delete key on your keyboard to delete the watermark.
- Repeat the process for any other watermarks on the page.
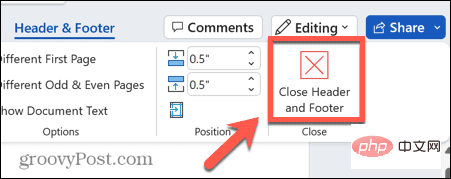
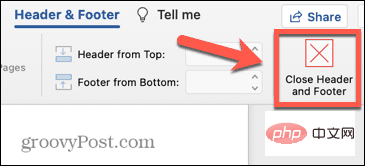
- Click to close the header and footer to return to editing the document normally.
How to Remove Watermark on Mac
If you are using Word on a Mac, these steps are slightly different than on Windows. Try removing the watermark again through the Design menu, or try removing the watermark manually through the header and footer if that doesn't work.
How to remove a watermark using the Design menu
The Design menu is where you can create a watermark for your Word document, and you should be able to remove the watermark through the same menu.
To remove a watermark from a Word document using the Design menu on Mac:
- Click the Design menu.
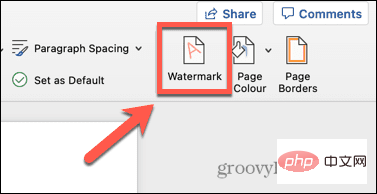
- In the ribbon, click the Watermark tool.
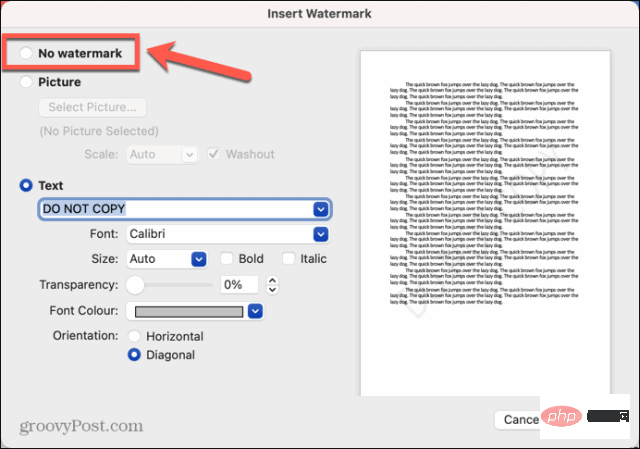
- Select the No watermark radio button.
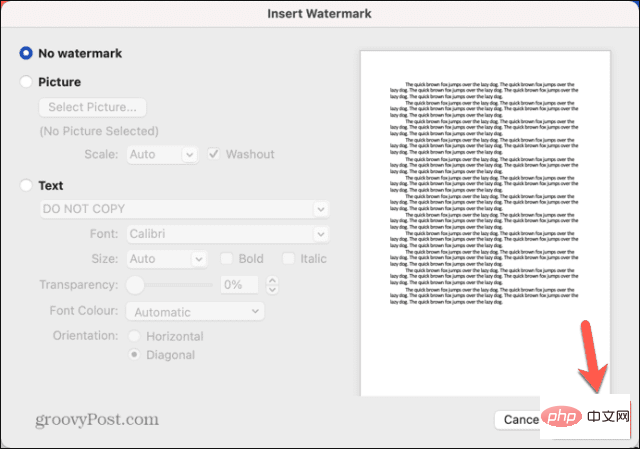
- Click OK.
- Your watermark should be removed. If not, try the following.
How to remove watermark using header and footer
You can also remove watermark manually. In order to select the watermark instead of the document text, you need to enter header and footer editing mode.
To remove a watermark using headers and footers:
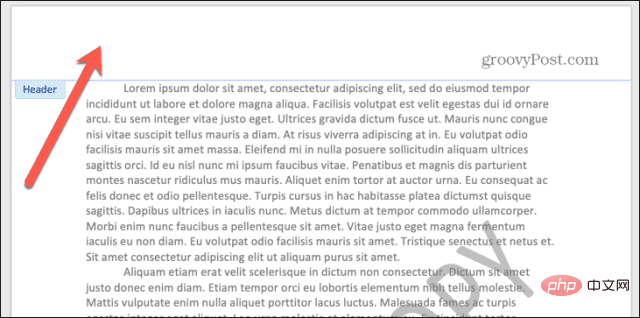
- Double-click the top of the document to open the headers and footers.
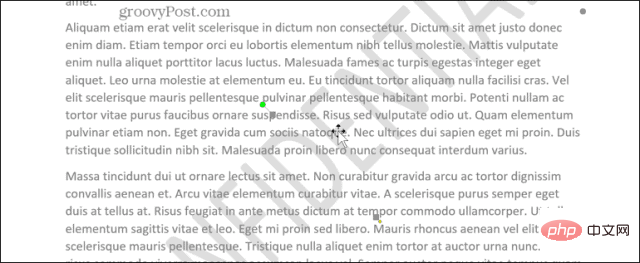
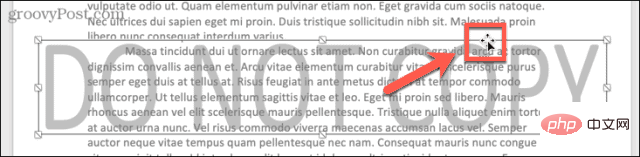
- Click on the watermark and a box will appear around the watermark.
- Hover your mouse over one of the borders of the box until a four-way arrow appears.
- Click again and the watermark will be selected.
- Press the Backspace key on your keyboard.
- Your watermark should now be removed.
- Remove any other watermarks and click to close the header and footer.
- You can now continue editing your Word document as normal.
Create Microsoft Word Document
Learning how to remove watermarks from Word documents can ensure that the finished document looks exactly how you want it. There are many other techniques to make your Word document look exactly like you imagined it in your head.
The above is the detailed content of How to remove watermark from Word document. For more information, please follow other related articles on the PHP Chinese website!

Hot AI Tools

Undresser.AI Undress
AI-powered app for creating realistic nude photos

AI Clothes Remover
Online AI tool for removing clothes from photos.

Undress AI Tool
Undress images for free

Clothoff.io
AI clothes remover

Video Face Swap
Swap faces in any video effortlessly with our completely free AI face swap tool!

Hot Article
Hot Tools

Notepad++7.3.1
Easy-to-use and free code editor

SublimeText3 Chinese version
Chinese version, very easy to use

Zend Studio 13.0.1
Powerful PHP integrated development environment

Dreamweaver CS6
Visual web development tools

SublimeText3 Mac version
God-level code editing software (SublimeText3)
Hot Topics
 1386
1386
 52
52

 How to remove header and footer in Word?
Feb 26, 2024 am 10:00 AM
How to remove header and footer in Word?
Feb 26, 2024 am 10:00 AM
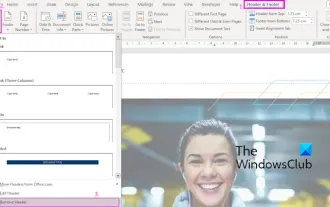
In this post, we will show you how to remove document headers and footers in Microsoft Word. How to remove header and footer in Word? Here are the different ways to remove headers and footers from a document in Microsoft Word: Use the Remove Header/Remove Footer function. Use the Delete key to clear all headers and footers from the document. Use the "Inspect Document" feature to remove headers and footers. Use VBA script to remove header and footer. 1] Use the Remove Header/Delete Footer function To remove headers and footers from selected pages of the active document, you can take advantage of the dedicated options provided by Word. These options include Remove Header and Remove Footer functionality. Using these features is very simple: First, open the source text
 How to set headers and footers in Word
Oct 08, 2023 am 10:35 AM
How to set headers and footers in Word
Oct 08, 2023 am 10:35 AM
How to set headers and footers in Word: 1. Open the word document editing page and select "Insert > Header and Footer" in the menu bar; 2. Header settings: Click "Header and Footer" to select your favorite header style , that's it; 3. Footer settings: Click "Header and Footer" to select your favorite footer style.
 How to set the footer of WPS document
Mar 20, 2024 am 11:28 AM
How to set the footer of WPS document
Mar 20, 2024 am 11:28 AM
When we edit a large number of article content, we will add headers and footers to each page of the article, and using wps documents can add headers and footers to articles very quickly. Most homepages do not set headers and footers, so how do you set headers and footers on any page? The editor below will explain the detailed steps: 1. Create headers and footers. 1. First start the software and create a new blank document or open an existing document. Create a new blank document here. 2. Under the Insert menu, there is the "Header and Footer" option. Click this button to create a header and footer. 3. At this point, you can find that the headers of all pages of the entire document are in an editable state. Here, enter the text "Edit Header" for the header and set it through the text tool.
 How to remove watermark from Word document
Apr 15, 2023 pm 12:46 PM
How to remove watermark from Word document
Apr 15, 2023 pm 12:46 PM
How to remove watermarks on Windows There are some nuances to the Microsoft Word application, depending on whether you are using it on Windows or Mac. This means that the steps to remove the watermark will vary depending on the type of computer you are using. You should be able to remove the watermark from your Word document using the Design menu. If it doesn't work, you can try the header and footer methods outlined below. How to Remove Watermark from Word Document Using Design Menu Design Menu is in Micr
 Why did I change the header and footer all at once?
Feb 28, 2023 pm 02:34 PM
Why did I change the header and footer all at once?
Feb 28, 2023 pm 02:34 PM
The reason for changing the entire header and footer is because WPS changes the header by default, so it must be changed separately and must be set separately. The setting method: 1. Open the word document and go to the page before the header that needs to be changed. At the end of the page, click "Insert->Break->Next Page Section Break"; 2. Double-click the header that needs to be modified, and click "Header and Footer->Cancel Same as Previous Section->Edit Header"; 3. , re-edit the header.
 How to delete table header and footer
Feb 21, 2024 pm 04:18 PM
How to delete table header and footer
Feb 21, 2024 pm 04:18 PM
How to delete table headers and footers When we use Microsoft Word and other word processing software to edit documents on a daily basis, we often need to insert tables to organize data, create data reports, or other related purposes. In some specific cases, we may need to remove headers and footers from tables. This article will briefly explain how to remove table headers and footers. To remove headers and footers from a table, you can follow these steps: First, open the document that contains the table. You can directly click on the part where the table is located in the document to edit it.
 How to prevent editing of the header/footer of a Word document
May 03, 2023 pm 08:10 PM
How to prevent editing of the header/footer of a Word document
May 03, 2023 pm 08:10 PM
For Word documents, headers and footers are very important. You can embed important information like your company name or website URL in the header or footer. Therefore, your credit will not be stolen even if the document passes through many people. But Word documents can always be edited, including headers and footers. So is there a way to lock the header and footer of a document so that others using it cannot edit them? Well, there certainly is! In this article, we will explain in some very simple steps how to lock and protect the header/footer of your document so that others cannot edit it without knowing the password you originally set. Read on to learn how to master this awesome Word trick. How to lock and protect headers and pages in Word
 How to hide individual page numbers in a Microsoft Word document
May 13, 2023 pm 10:10 PM
How to hide individual page numbers in a Microsoft Word document
May 13, 2023 pm 10:10 PM
So, you have a huge table on one of the pages of your Word document, and you don't want the page numbers to be displayed on that page. At the same time, if the hidden page number is 7, you want to count the pages and the next page number should be 8. Well, you may have wasted a lot of time looking for a solution. Even if you find a solution, you may feel lost because you think it's too complex to implement. Well, GeekPage simplifies the complicated stuff for you. In this article, we have explained how to easily omit a certain page number from a Word document in very simple steps that you can easily understand. Hope you found this article helpful. How to Omit a Single Page Number Step 1: First, let’s insert in the footer