
 Common Problem
How to fix 'This PC does not currently meet all system requirements for Windows 11' error
Common Problem
How to fix 'This PC does not currently meet all system requirements for Windows 11' error
How to fix 'This PC does not currently meet all system requirements for Windows 11' error

Windows 11 has just been released to the public and seems to be attracting a lot of new users. Many users have already jumped ship and upgraded to Windows 11, while others are looking to make the leap now. If you're in the same boat, then sadly you're probably aware that Windows 11 still has its TPM and Secure Boot requirements.
More importantly, a new bug in the Media Creation Tool and Windows Update is preventing compatible users from updating to the new Windows 11. If you are facing the same issue, then you can fix it on PC.
This PC does not currently meet all system requirements for Windows 11" Error: Why are you seeing this on a compatible system?
If you are testing with Microsoft's PC Health Check app If you are experiencing this issue on your system, you may be using the Media Creation Tool or Windows Update to update your PC.
This is a known issue that Microsoft has confirmed and a fix is in the works. When using Windows Update Users are randomly affected by this error on Windows 10 while updating your PC directly from local storage using Meda Creation Tool or Meda Creation Tool.
In this case, you can use the fixes mentioned below to Solve your problem.
5 Ways to Fix “This PC Is Not Currently Satisfied” Error When Installing Windows 11
You can use the following methods to fix this error on a compatible PC. We recommend You try the first fix as this seems to resolve the issue for most users.
If using different upgrade tools does not resolve your issue, then you can move on to the subsequent fixes mentioned in this tutorial. Let’s get started.
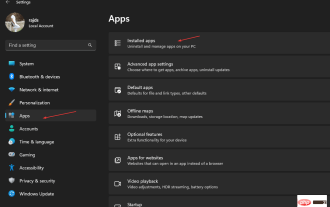
Fix #1: Make sure you meet all the requirements
- Make sure you are using Windows 10 v2004 or later.
- Make sure you Meet the basic requirements to install Windows 11 on your system.
- Make sure you have at least 9GB of free disk space on your system so that you can use the Assistant to download Windows 11 on local storage.
- Make sure Run the installation assistant as administrator.
- Processor: 1GHz or faster, 2 or more cores.
- Memory: 4GB or higher
- Graphics card: DX12 compatible WDDM 2.0 driver
- Disk space:64GB free space on the drive to install Windows 11
- System: UEFI with Secure Boot
- TPM: 2.0 or higher
- Display: 720p @ 8bits or higher
For example, see the screenshot below.
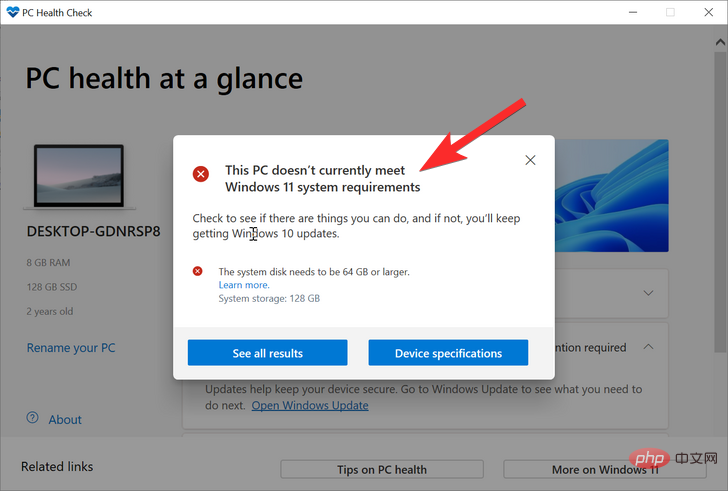
The drive we installed Windows 11 on only has 53 GB of total space .This does not meet the Windows 11 requirements. Once we increase the size of this disk, we will be able to resolve this issue.
So please check the Windows 11 requirements again.
Fix #2: Use another upgrade method
Known workarounds due to common issue when using Media Creation Tool or Windows Update Another upgrade method is to simply use Microsoft.
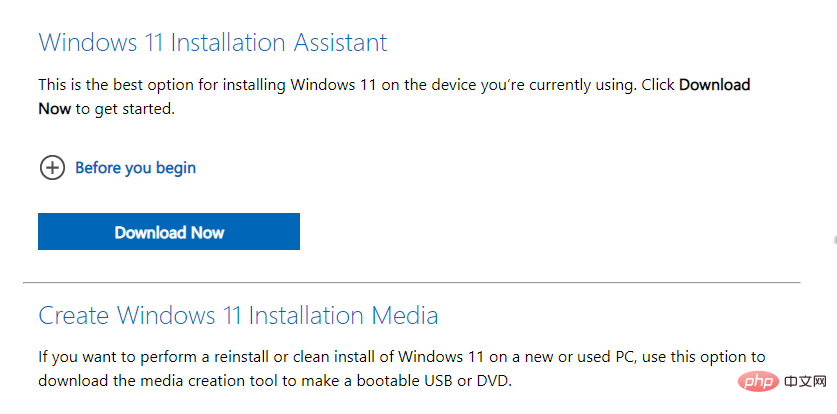
We recommend you start with Microsoft's new Installation Assistant, a dedicated utility that helps you easily upgrade from Windows 10 to Windows 11.
If the Update Assistant doesn't seem to meet your requirements, or it shows you the same error, then we recommend you use the Windows 11 ISO instead. Microsoft also releases a dedicated ISO for the new operating system, and you can follow this tutorial to upgrade using the same ISO.
Fix #3: Disable CSM in the boot menu or make sure UEFI is enabled

CSM or Compatibility Support Module is a BIOS environment that can help you operating system communicates with your hardware when using an older operating system that does not support UEFI.
CSM creates a compatible legacy environment where your operating system can run properly on new hardware. However, if you have Windows 11 installed, this will not work for you as you will need to enable UEFI on your system.
A big problem with this type of system is that you cannot boot into the currently installed operating system without UEFI enabled on the system. So, if you have such a system, then we recommend you to use this tutorial to create a bootable USB for Windows 11 and then enable UEFI on your system. Once enabled, boot your USB drive and upgrade your PC to Windows 11.
Read: How to disable CSM to install Windows 11
Fix #4: Use the MCT.bat script to install Windows 11 on unsupported systems
You can also install Windows 11 on unsupported systems. If you are unable to meet any of the requirements, we recommend you to use a .bat script, however, if you manage to meet the basic requirements, then we recommend you to use a registry hacker instead. This is the official method recommended by Microsoft for passing Windows 11 requirements and installing it on your PC. Follow one of the tutorials that best suits your current needs and requirements.
A new script has been released for the community that makes it easier to upgrade, update, and install Windows 11 on unsupported hardware. All checks bypassing happens automatically in the background, and the script has a nice GUI to help you through the entire process.
Recently, Microsoft blocked the original workaround for bypassing Windows 11 checks, but this script still works as expected and you can use it to your advantage depending on your situation.
4.1 – Download Script
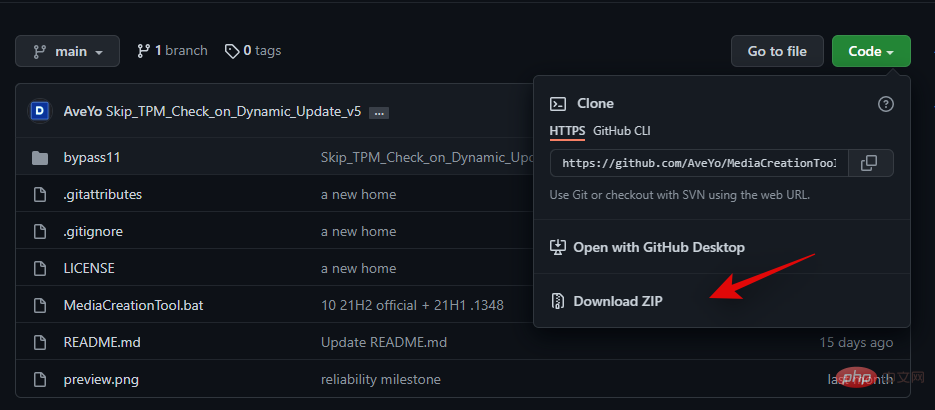
You will need the MediaCreationTool.bat archive, which contains all the necessary tools to help you upgrade. You can download the same by visiting the link below in your favorite web browser.
With the Github page open on your screen, click on "Code" on the left and select "Download ZIP". The archive will now be downloaded to your PC and we recommend extracting it to a convenient location that best suits your needs. Once completed, you can follow one of the following relevant tutorials based on your current situation.
NOTE: When the script creates new media or upgrades your PC, it requires the official Windows 11 ISO, which will be downloaded automatically in the background . However, this takes some time and you may have to wait an hour or so depending on your network speed.
- MediaCreationTool.bat | Download link https://github.com/AveYo/MediaCreationTool.bat
4.2 – Bypassing checks when updating from Windows 10 to Windows 11
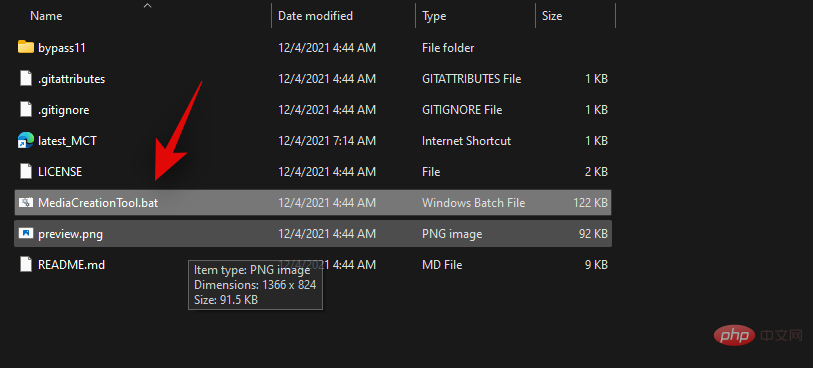
Open the MCT.bat folder we extracted earlier and double-click it to run the "MediaCreationTool.bat" file.
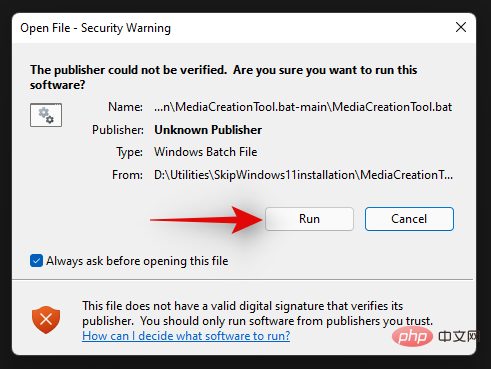
Click "Run" when prompted.
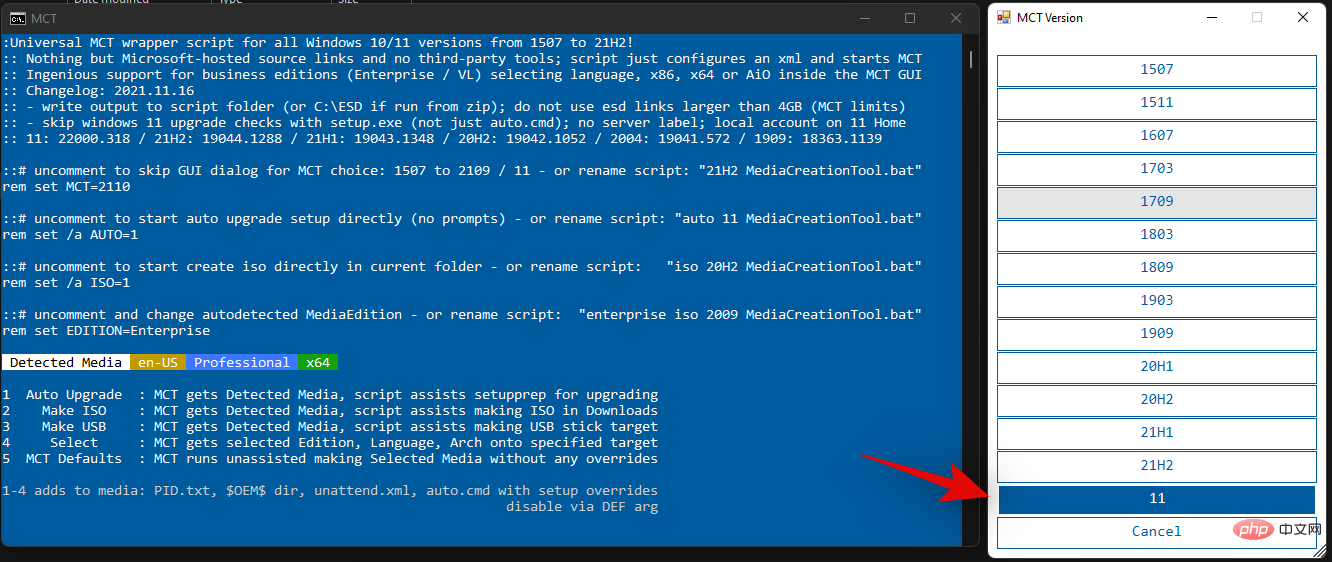
#The command window along with the Powershell based GUI will now be launched on your system. Click and select "11" from the list of operating systems on the screen.
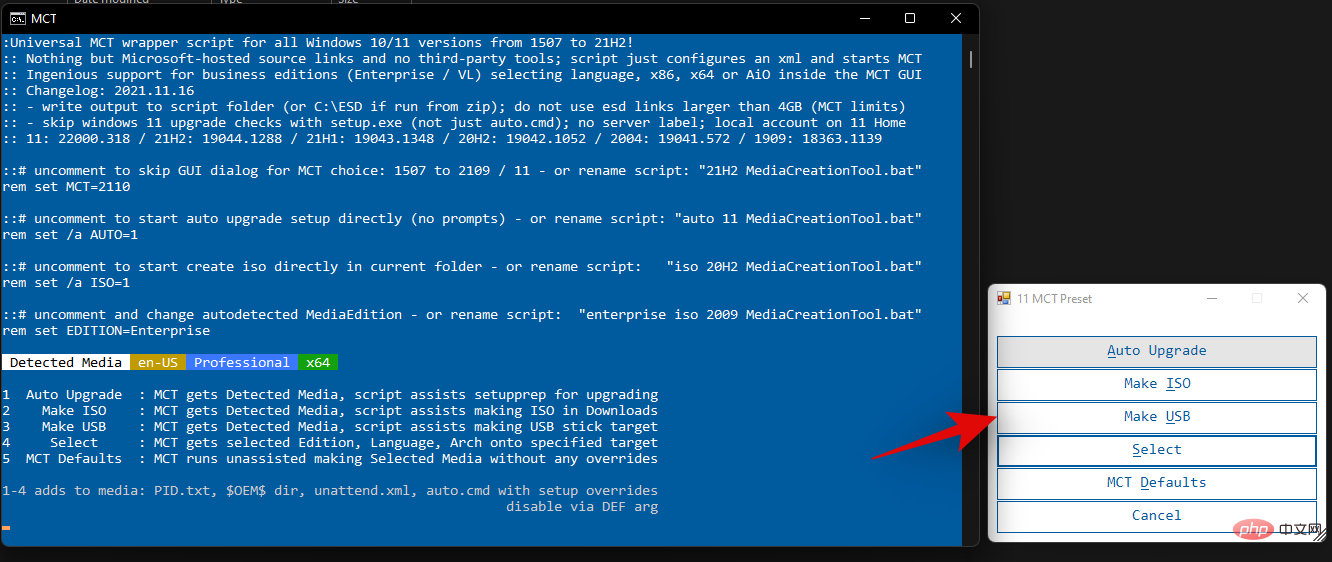
Now click on "Automatic upgrade".

That's it! You can now sit back and relax as the process takes place in the background. The script will automatically download the necessary ISO and boot settings on your system while applying the necessary patches in the background. Then, you just continue with the setup as expected and automatically upgrade your PC to Windows 11.
4.3 – Bypass All Checks for Windows 11 ISO
Here’s how to create a patched ISO for Windows 11 that will bypass all installation checks so that you can install without Install the operating system on supported hardware.
Launch "MediaCreationTool.bat" by double-clicking it from the archive we extracted earlier.
Now click on “11”.
Select "Make ISO".

#Let the process continue and the backend and script will automatically create a patched ISO for you in the Downloads folder.
4.4 – Bypass all checks on Windows 11 USB drives
If you wish to create a Windows 11 USB, use the following tutorial to get started.
Insert the desired USB and format it once to delete all data stored in it. Now launch the “MediaCreationTool.bat” script by double-clicking on the archive we extracted earlier.
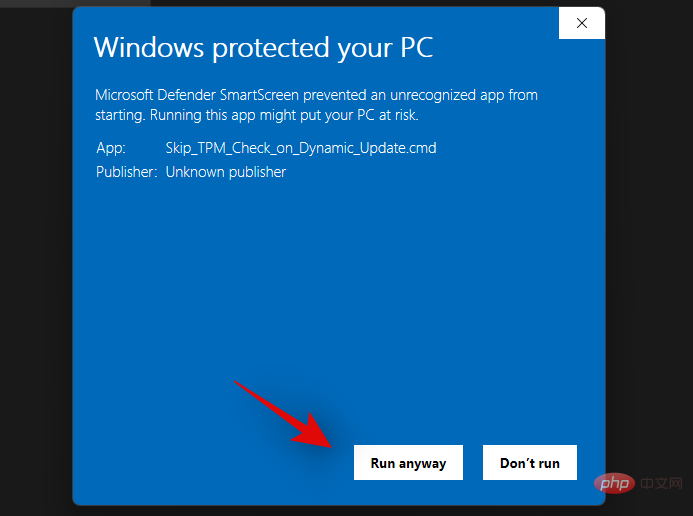
Click "Run Anyway" when prompted.
Now click on “11”.
Click "Make USB".
Note: Make sure you only have the relevant USB connection to your PC, otherwise the tool will end up selecting another one on your system.
Now just sit back, relax and let the process continue in the background. You can track the same progress in the on-screen command window.
4.5 – Bypass Checks for USB or ISO Created for Windows 11
If you have already downloaded the ISO or created a bootable USB for Windows 11 setup, then we recommend you use the following tutorial instead. This way, you don't have to download the ISO again when using the MediaCreationTool.bat script on your PC. let's start.
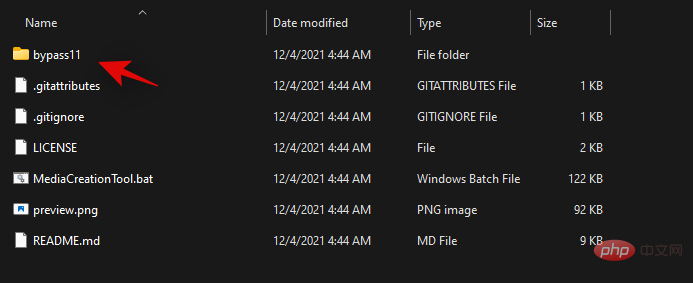
Navigate to the archive we extracted earlier and open the folder named "bypass11".
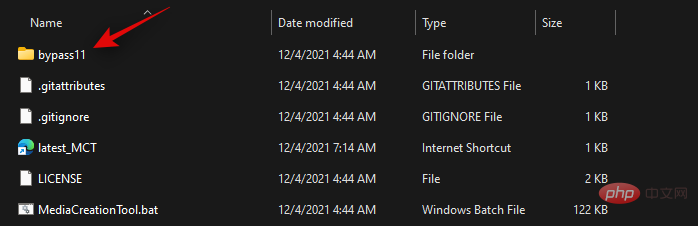
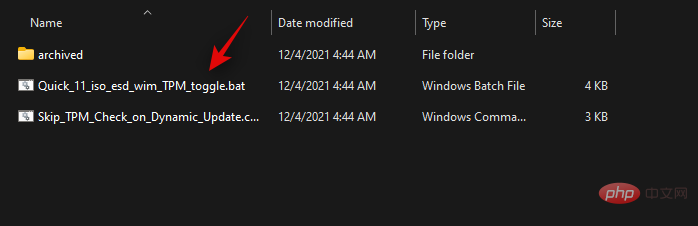
Now double-click and run the "Quick_11_iso_esd_wim_TPM_toggle.bat" file.
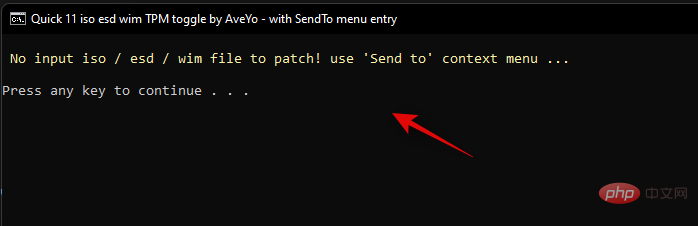
#You will now see a command window that cannot find your ISO or USB stick. Don't worry, we need to open this window to add the script to your right-click context menu.
Now navigate to the desired ISO and right-click on it. If you have a Windows 11 USB drive, open the drive, open the Sources folder, and right-click "install.wim." Click "Show more options."
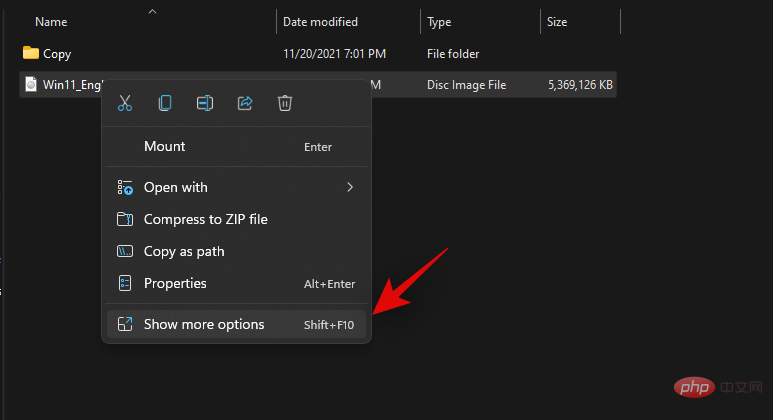
Now select "Quick_11_iso_esd_wim_TPM_toggle.bat" from the "Send to" context menu.
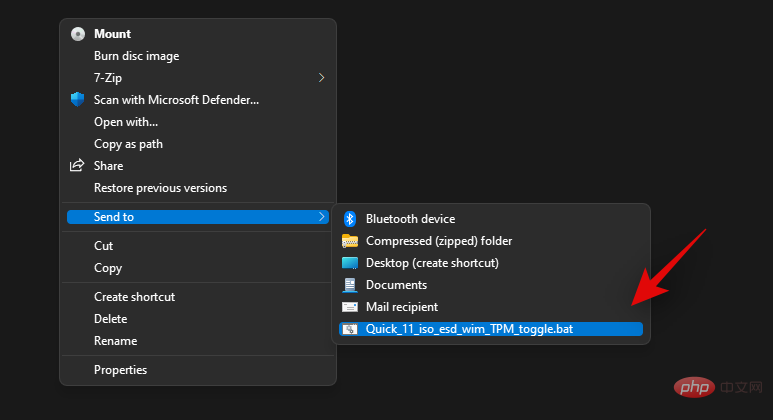
#The script will now automatically patch the selected ISO or USB drive. After patching, you can launch Windows 11 setup as expected and continue upgrading to your PC.
4.6 – Bypassing checks when installing feature updates in Windows 11
If you have bypassed checks and installed Windows 11 on your PC, you may be disappointed to learn that Microsoft actively blocks new feature updates on unsupported hardware. Thankfully, you can also use this script to bypass these checks and install feature updates to your system. You can use the tutorial below to help you get started.
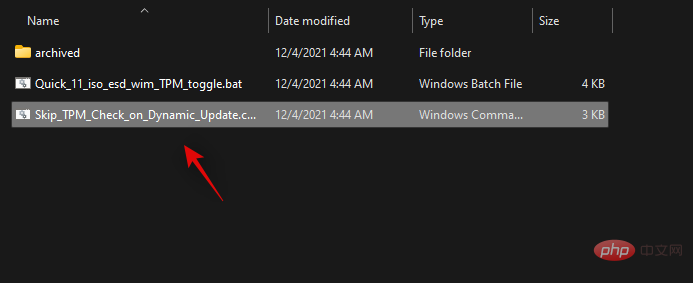
Navigate to the extracted archive and open the folder named "bypass11".
Now double-click and launch the script "Skip_TPM_Check_on_Dynamic_Update.cmd".
Confirm your selection via UAC.
When the PowerShell window starts, press a key on your keyboard and you are prompted for the same key. The first time you run the script, the disclaimer at the top should be green.
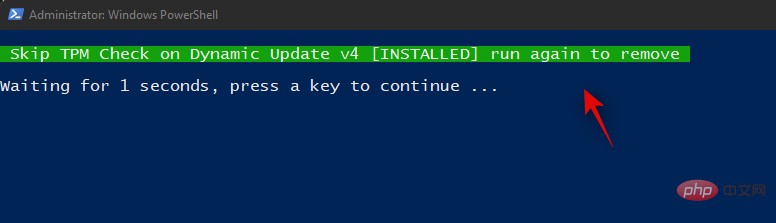
The changes will now be automatically applied to your PC. You can now upgrade your system as expected. We recommend that you revert the changes made by this script after updating your system.
To revert the changes, double-click "Skip_TPM_Check_on_Dynamic_Update.cmd" again. This time the disclaimer should appear in red at the top. Just press a key on your keyboard to revert changes made to your system.
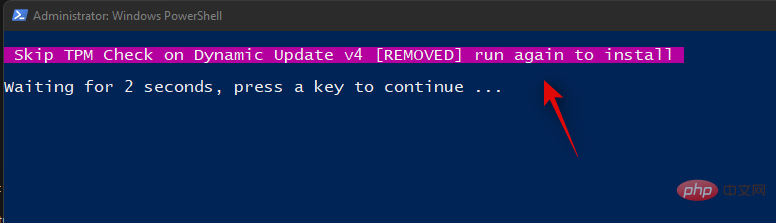
#The script will automatically close once the necessary changes have been reverted to your system.
That's it! You can now continue to use your PC as expected without any issues.
Fix #5: Use Registry Bypass Hack to Install Windows 11 on Unsupported Systems
If you meet all the basic requirements of Windows 11, you can bypass TPM and security by Start the requirements to install Windows 11.
Windows allows you to do this officially, while warning you that you will be vulnerable to security threats.
There's not a lot of information available, but for now, it looks like you'll miss out on all future security and privacy updates from Microsoft if you choose to do this.
To do this, you need to disable system checks for TPM and Secure Boot in refgistry.
NOTE: This hack involves editing your registry values, which is why we recommend backing up the same before continuing with the tutorial.
Now, let’s see how to do this.
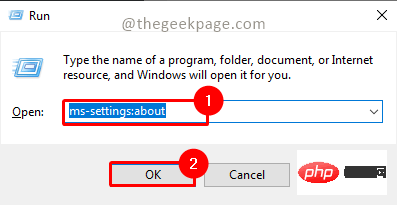
Open the Registry Editor and go to this address:
HKEY_LOCAL_MACHINE\SYSTEM\Setup\MoSetup
Here, create a new DWORD (32-bit) value called AllowUpgradesWithUnsupportedTPMOrCPU. Now, double click on the new value to edit it and replace the value data from 0 to 1 and click OK to save. Check out the GIF below for help.
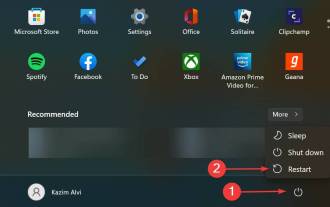
Next, restart your PC and try to install Windows 11 now using Windows 11 Setup Assistant. Otherwise, you can also use Windows 11 ISO files.
The above method is indeed the best method, and even Microsoft itself has suggested it. However, if you are afraid of editing registry files, you can adjust Windows 11 ISO file to disable it Check Secure Boot and TPM requirements and install Windows 11 upgrade instantly.
All you need to do is install Windows 11 using the ISO file provided by Microsoft, but first delete appraiserres.dll from it.
The above is the detailed content of How to fix 'This PC does not currently meet all system requirements for Windows 11' error. For more information, please follow other related articles on the PHP Chinese website!

Hot AI Tools

Undresser.AI Undress
AI-powered app for creating realistic nude photos

AI Clothes Remover
Online AI tool for removing clothes from photos.

Undress AI Tool
Undress images for free

Clothoff.io
AI clothes remover

AI Hentai Generator
Generate AI Hentai for free.

Hot Article
Hot Tools

Notepad++7.3.1
Easy-to-use and free code editor

SublimeText3 Chinese version
Chinese version, very easy to use

Zend Studio 13.0.1
Powerful PHP integrated development environment

Dreamweaver CS6
Visual web development tools

SublimeText3 Mac version
God-level code editing software (SublimeText3)
Hot Topics


 How to run a JAR file on Windows 11 or 10
May 12, 2023 pm 06:34 PM
How to run a JAR file on Windows 11 or 10
May 12, 2023 pm 06:34 PM
Windows 11 is capable of running a large number of file types with or without external third-party applications. Not only does it allow you to perform numerous tasks from the comfort of your PC, but it also ensures that you can take advantage of your PC's raw capabilities. Today, we'll take a look at a complex file type—jar—and tell you how to open it on your Windows 11 or Windows 10 PC. What is a jar file? jar is an archive package format that may or may not contain an executable Java program. These archives can contain Java applications or source code, which can then be used to compile and run applications without having to write separate code for each application. You can use various methods
 4 Ways to Enable or Disable Microsoft Store on Windows 11 or 10
May 14, 2023 am 10:46 AM
4 Ways to Enable or Disable Microsoft Store on Windows 11 or 10
May 14, 2023 am 10:46 AM
Here are some possible reasons why you need to disable Microsoft Store: Stop unwanted notifications. Preserves data by limiting the background processes of the Microsoft Store to improve security or privacy Addresses some issues related to the Store or the apps it installs. Restrict children, family members, or other users from downloading applications without permission. Steps to Disable or Enable Windows Store Before following this tutorial, disabling the Microsoft Store will also stop the installation of any apps that require its services. To use the store, users need to enable its service in the same way as blocking it. 1. Block WindowsStore background service Let us from restricting Microsoft Store as
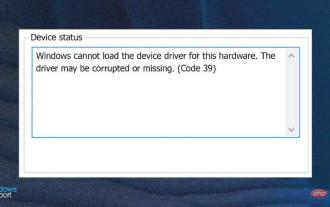
 How to disable driver signature enforcement in Windows 11
May 20, 2023 pm 02:17 PM
How to disable driver signature enforcement in Windows 11
May 20, 2023 pm 02:17 PM
Microsoft has built several security features into Windows to ensure your PC remains secure. One of them is driver signature enforcement in Windows 11. When this feature is enabled, it ensures that only drivers digitally signed by Microsoft can be installed on the system. This helps most of the users to a great extent as it protects them. But there is a downside to enabling driver signature enforcement. Suppose you find a driver that works for your device, but it is not signed by Microsoft, although it is completely safe. But you won't be able to install it. Therefore, you must know how to disable driver signing in Windows 11
 How to fix Windows 11 activation error 0xc004c060
May 17, 2023 pm 08:47 PM
How to fix Windows 11 activation error 0xc004c060
May 17, 2023 pm 08:47 PM
Why am I encountering Windows 11 activation error 0xc004c060? First make sure you are using genuine Windows and that the license key is valid. Also, check if it was obtained from an official source and if the key is suitable for the installed OS version. If there is an issue with any of these, you may encounter Windows 11 activation error 0xc004c060. So be sure to verify these and if you find everything is in order, move on to the next section. If you obtained the key through unreliable means or believe that the installed copy is a pirated version, you will need to purchase a valid key from Microsoft. In addition to this, misconfigured settings, missing
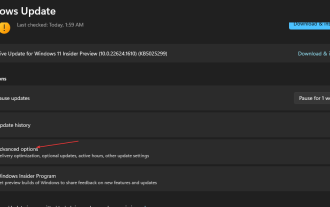
 0x80010105: How to fix this Windows update error
May 17, 2023 pm 05:44 PM
0x80010105: How to fix this Windows update error
May 17, 2023 pm 05:44 PM
Microsoft regularly releases Windows updates to improve functionality or increase the security of the operating system. You can ignore some of these updates, but it's important to always install security updates. While installing these updates, you may encounter error code; 0x80010105. An unstable connection usually causes most update errors, and once the connection is reestablished you're good to go. However, some require more technical troubleshooting, such as the 0x80010105 error, which is what we will see in this article. What causes WindowsUpdate error 0x80010105? This error may occur if your computer has not been updated in a while. Some users may have permanently disabled W for their reasons
 How to fix runtime error 339 on Windows 11/10
May 13, 2023 pm 11:22 PM
How to fix runtime error 339 on Windows 11/10
May 13, 2023 pm 11:22 PM
There can be several reasons why runtime error 339 occurs when running a program. Some of them may be that some ocx or dll files are missing, damaged or the dll or ocx is not registered. This would be an annoying experience for the smooth execution of the application. Here are some of the possible error messages you may see for Runtime Error 339 Error – Runtime Error 339: Component DUZOCX32.OCX is not registered correctly or the file is missing. Error – Runtime Error 339. Component MSMASK32.ocx or one of its dependencies is not registered correctly; the file is missing or invalid. Error – Runtime Error '339': Component 'FM20.DLL' or one of its dependencies was not correctly noted
 Not migrating device settings on Windows 11? This is the fix
May 13, 2023 pm 02:10 PM
Not migrating device settings on Windows 11? This is the fix
May 13, 2023 pm 02:10 PM
Obviously, not all device migrations go smoothly. Device settings not migrating is a very common issue in Windows 11 and may occur when upgrading from Windows 7 and 10. This issue may also occur if you have already installed the operating system and are installing new updates. When upgrading to Windows 11, your device also needs to meet the system requirements and other important elements required to function properly. If you wish to keep your personal data, files, photos, and apps from your previous installation of Windows, be sure to select the option Keep personal files and apps when you first upgrade to Windows 11. When you upgrade to Windows 11, the installer checks
 5 Ways to Disable Delivery Optimization Service in Windows
May 17, 2023 am 09:31 AM
5 Ways to Disable Delivery Optimization Service in Windows
May 17, 2023 am 09:31 AM
There are many reasons why you might want to disable the Delivery Optimization service on your Windows computer. However, our readers complained about not knowing the correct steps to follow. This guide discusses how to disable the Delivery Optimization service in a few steps. To learn more about services, you may want to check out our How to open services.msc guide for more information. What does Delivery Optimization Service do? Delivery Optimization Service is an HTTP downloader with cloud hosting solution. It allows Windows devices to download Windows updates, upgrades, applications and other large package files from alternative sources. Additionally, it helps reduce bandwidth consumption by allowing multiple devices in a deployment to download these packages. In addition, Windo