

Unable to delete ISO file opened in system: How to fix it

What is an ISO file?
An ISO file is a file that contains an exact copy of an optical disc, such as a DVD or CD. This type of disc image can be installed on your computer and appear as if you have an optical drive connected to your computer and a CD or DVD containing data inserted into the drive.
ISO files can also be used to burn new copies of the DVDs or CDs from which they were created, or simply to contain a large number of files in a single, easy-to-download file. ISO files are often quite large; when you're done with them, you'll most likely want to delete them from your computer.
Why can't I delete the ISO file opened in the system?
If you try to delete an ISO file on Windows, you may get a message stating that the file is already open on your system. This means that your computer cannot delete the ISO file because it is in use.
Solving this problem may be as simple as unmounting the virtual drive your ISO file created on your computer. If that doesn't work, you can try some other options.
Uninstall the ISO file
Opening the ISO file will create a virtual optical drive on your computer. The drive acts as if you had installed a CD or DVD into your computer, with the contents of the ISO included on the disc.
While this virtual drive is mounted (accessible to your computer), you cannot delete the ISO file that created it. That's because the virtual drive is using that file to generate its contents. If you unmount this drive, effectively disconnecting the virtual drive, you should be able to delete the ISO file that created it.
There are several different methods for unmounting a drive.
Unmount using the context menu
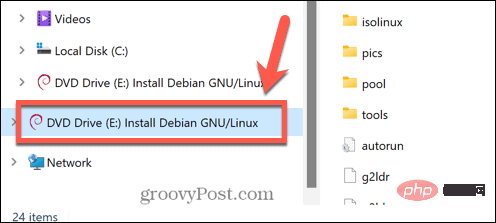
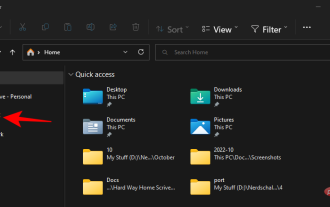
You should be able to unmount the virtual drive created by the ISO file directly in File Explorer. You can do this using the popup option in the context menu.
To uninstall an ISO file using the context menu:
- Open
- File Explorer. In the left column, look for the mounted drive.
-
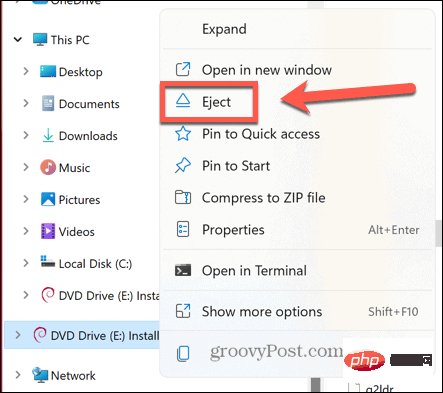
 Right-click the drive and select
 - Eject. After unmounting the drive, try deleting your ISO file again.
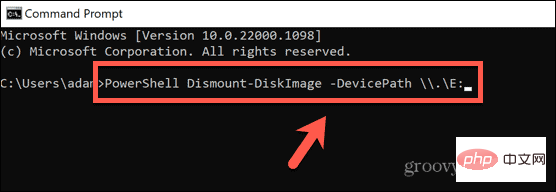
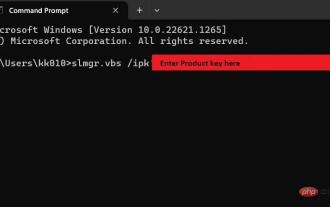
To unmount a disk image drive in the command prompt:
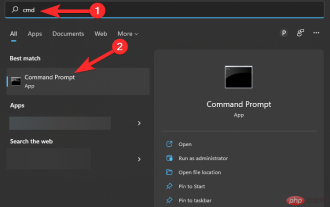
- Click the
- Search icon in the Windows taskbar. Type cmd and double-click the
-
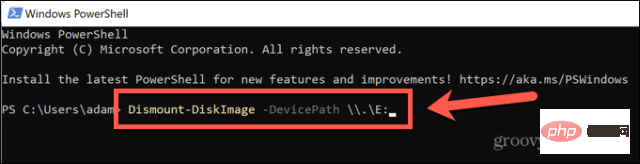
Command Prompt application when it appears. Enter PowerShell Dismount-DiskImage -DevicePath \\.\
##Type the name of the drive you want to unmount drive letter, followed by a colon.-
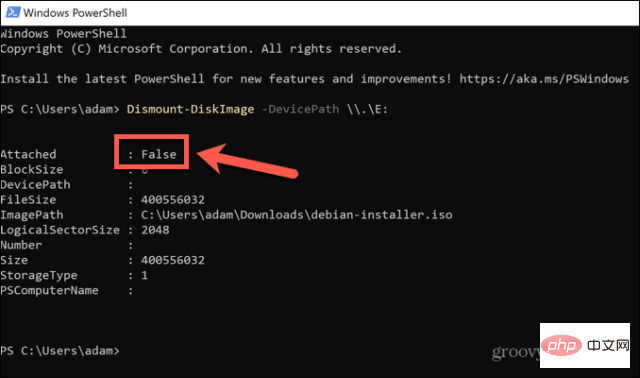
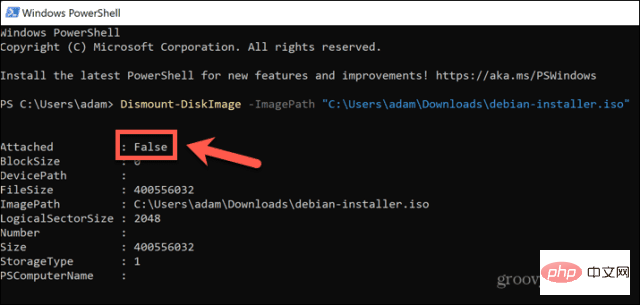
PressEnter . - When completed, you will see a message starting with Attached:False .
-
Close Command Prompt and try deleting the ISO file again.
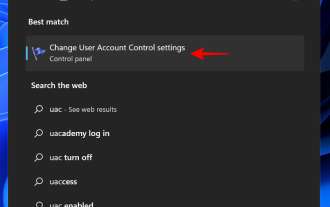
- If you don't see the disk image drive in File Explorer, or you're not sure which drive on your computer is the disk image created from the ISO file, you can try unmounting the ISO file itself.
 Type
Type 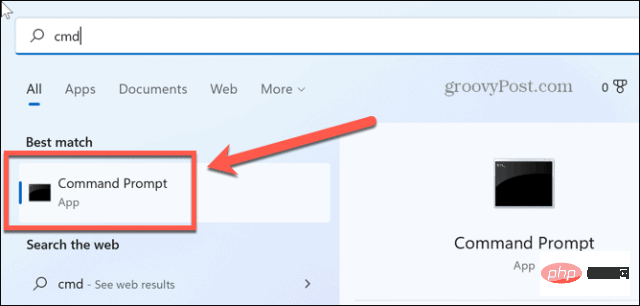 Enter
Enter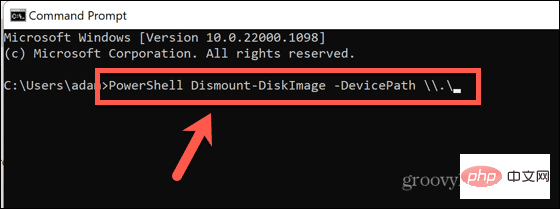
 Enter
Enter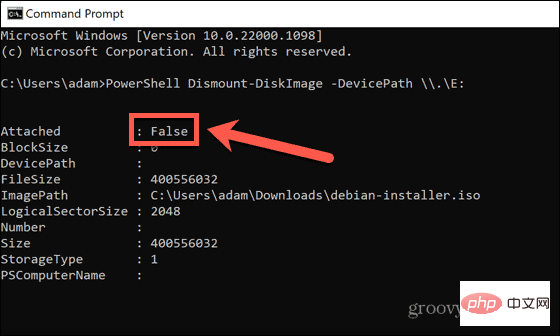 Command Prompt
To uninstall an ISO file in the command prompt:
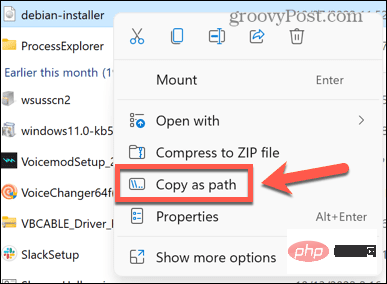
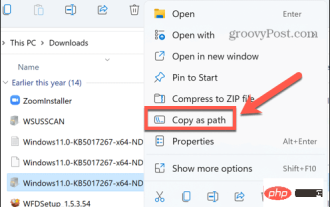
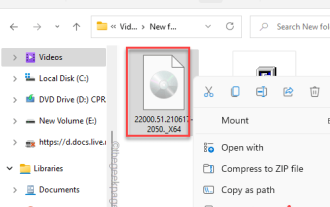
- Open File Explorer and navigate to the folder containing your ISO file.
- Right-click the file and select Copy as path.
- Click the Search icon.
- Type cmd and double-click the Command Prompt application when it appears.
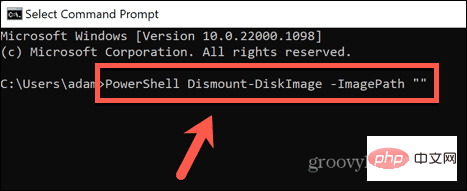
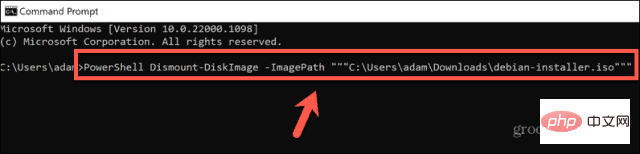
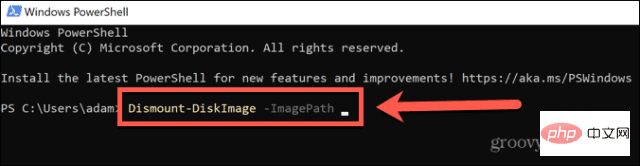
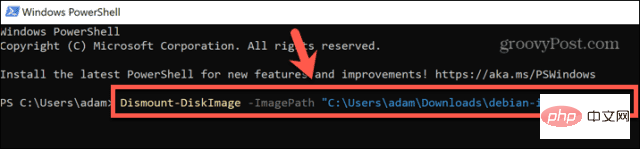
- Enter PowerShell Dismount-DiskImage -ImagePath “”
##Press - Ctrl VPaste the full path of the ISO file and then type two quotation marks. Press
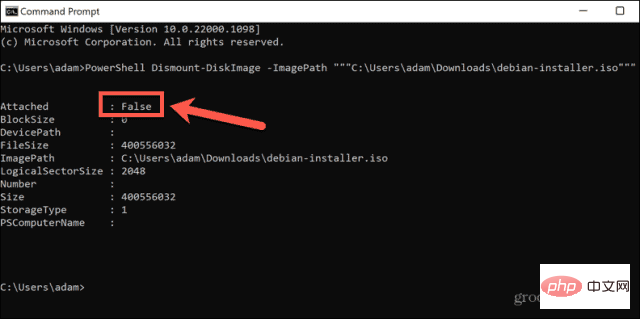
- Enter. Wait for the file to be unloaded. After the file is uninstalled, you will see a message starting with
- Attached: False. Close the command prompt and try deleting the ISO file again.
To unmount a disk image drive in PowerShell:
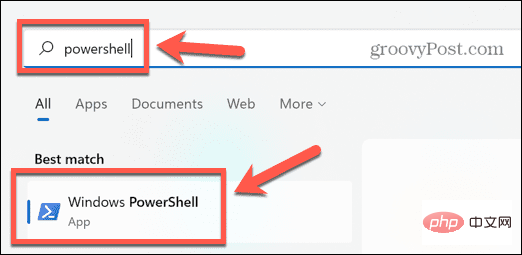
- Click the
- Search icon. Start typing
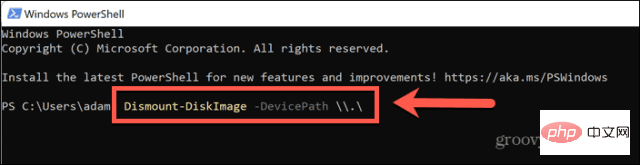
- PowerShell and double-click the PowerShell application when it appears. Enter
- Dismount-DiskImage -DevicePath \\.\
Enter the name of the virtual drive to be unmounted drive letter, followed by a colon. -
Press
- Enter. When the process is complete, you will see a message starting with
- Attached: False. Close PowerShell and try deleting the ISO file again.
To uninstall an ISO file in PowerShell:
- Open
- File Explorer and navigate to the file containing your ISO file folder. Right-click the file and click
- Copy as path. In the Windows taskbar, click the
- Search icon. Start typing
- PowerShell and double-click the PowerShell application when it appears. Type
- Dismount-DiskImage -ImagePath followed by a space. Press
- Ctrl V to paste the full path of the ISO file. Press
- Enter.
- After unloading the file, you will see a message starting with Attached: False. Close PowerShell and try deleting the ISO file again.
To restart your Windows computer:
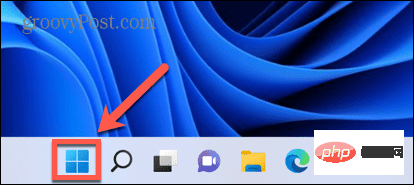
- Click the Start icon in the Windows taskbar.
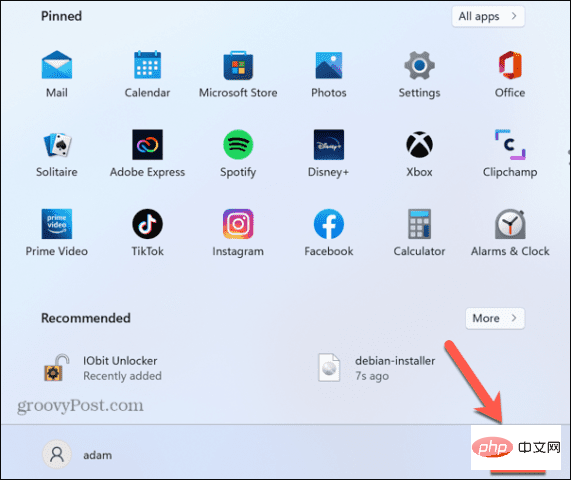
- In the lower right corner of the window, click the Power icon.
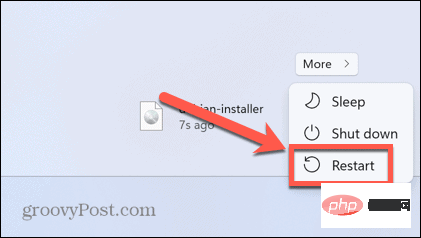
- Select Restart.
- After Windows completes restarting, try deleting the file again.
Delete the ISO file in safe mode
If you cannot delete the ISO file after restarting, you can try restarting in safe mode. This will open Windows with a minimal set of drivers. Using safe mode may mean that the process that stopped deleting the ISO file will not run, allowing you to delete the file.
To restart Windows in Safe Mode:
- Click the Start icon at the bottom of the screen.
- In the lower right corner of the window , click the power icon.
- Hold down the Shift key and click Restart.
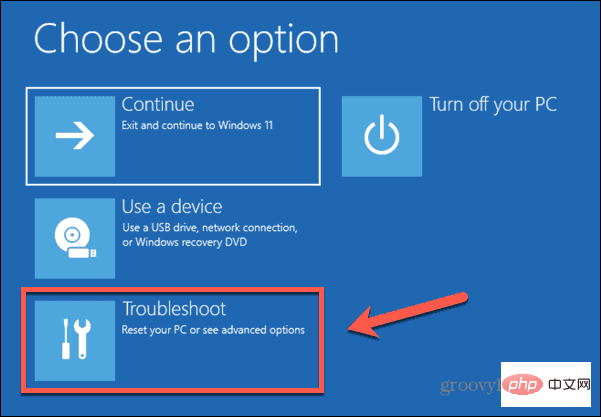
- Your computer will now boot into the recovery environment.
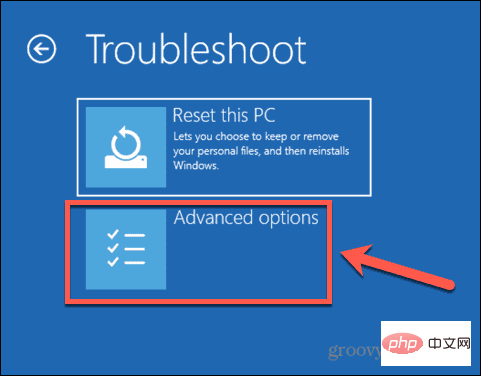
- Click Troubleshooter.
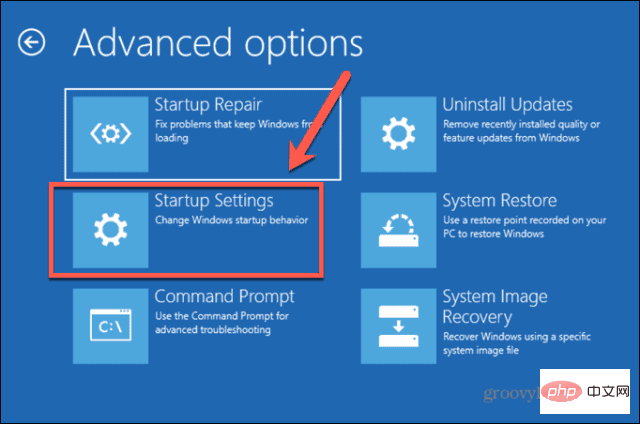
- Select Advanced Options.
- Select Startup Settings.
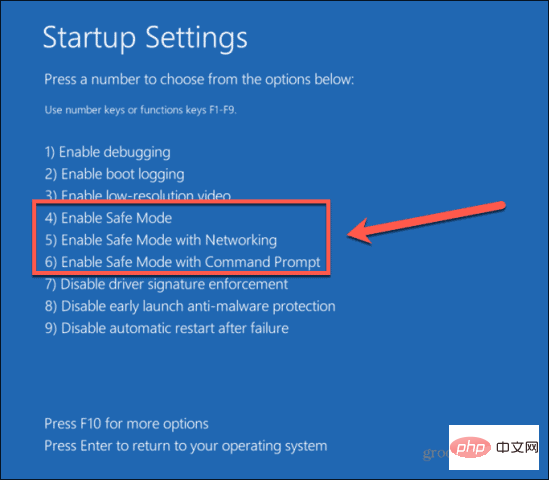
- Click Restart.
- Press 4, 5 or 6 to boot into safe mode.
- Try deleting your ISO file again.
- Restart the computer normally to exit safe mode.

Delete ISO Files with IObit Unlocker
If none of the above methods work, you can try using a third-party app to unlock your file so you can download it. There are many options available. We will learn how to use the free app IObit Unlocker.
To use IObit Unlocker to delete ISO files:
- Download and install IObit Unlocker.
- After the installation is complete, open File Explorer.
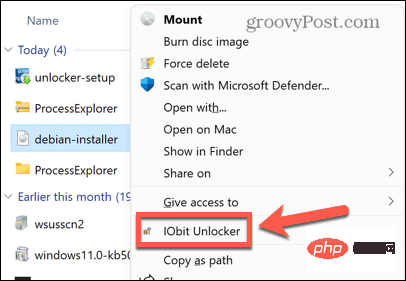
- Right click on the ISO file you want to delete.
- SelectMore options.
- In the context menu, click IObit Unlocker.
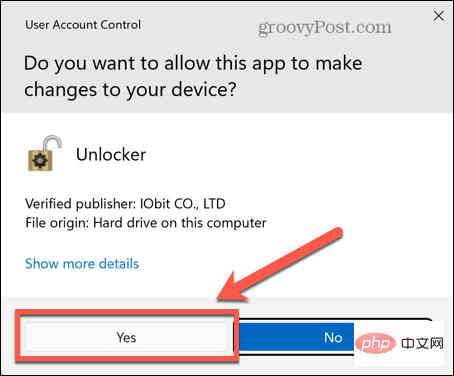
- Confirm that you allow IObit Unlocker to make changes to your computer.
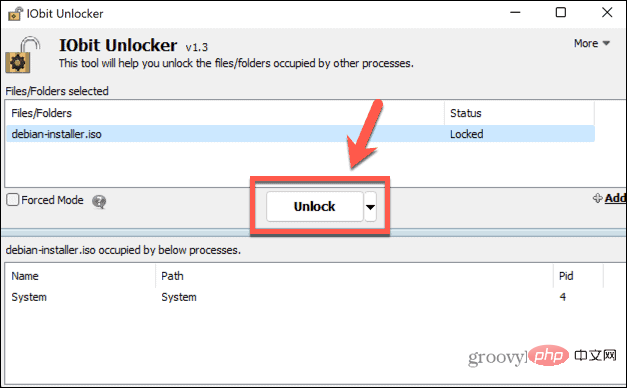
- In IObit Unlocker, make sure your ISO file is selected and click Unlock.
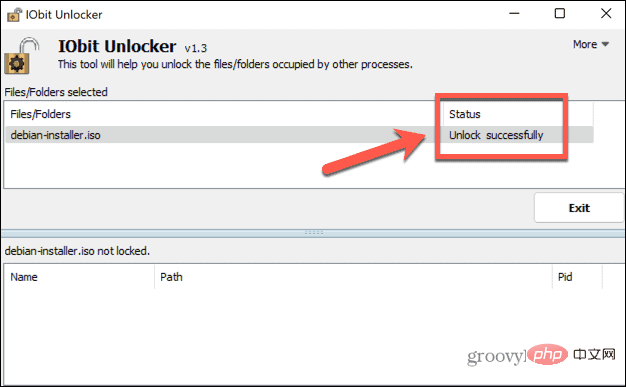
- If successful, you will see a message stating that your file has been successfully unlocked.
- Close IObit Unlocker and try deleting the ISO file again.

Controlling Windows
Hopefully one of the above methods has prevented you from receiving the error that you cannot delete an ISO file opened in System.open. If you find another useful method to delete the ISO file that generates this error, please let us know in the comments below.
If you have problems deleting other file types, there are some methods you can try to delete undeletable files in Windows 11. There are also some tricks you can use to delete temporary files on Windows 11. ISO files aren't the only file format type that's difficult to work with, either.
If you are trying to install a manually downloaded update, you may also want to know how to install a CAB file on Windows 11.
The above is the detailed content of Unable to delete ISO file opened in system: How to fix it. For more information, please follow other related articles on the PHP Chinese website!

Hot AI Tools

Undresser.AI Undress
AI-powered app for creating realistic nude photos

AI Clothes Remover
Online AI tool for removing clothes from photos.

Undress AI Tool
Undress images for free

Clothoff.io
AI clothes remover

Video Face Swap
Swap faces in any video effortlessly with our completely free AI face swap tool!

Hot Article
Hot Tools

Notepad++7.3.1
Easy-to-use and free code editor

SublimeText3 Chinese version
Chinese version, very easy to use

Zend Studio 13.0.1
Powerful PHP integrated development environment

Dreamweaver CS6
Visual web development tools

SublimeText3 Mac version
God-level code editing software (SublimeText3)
Hot Topics
 1393
1393
 52
37
110
52
37
110

 How to run a JAR file on Windows 11 or 10
May 12, 2023 pm 06:34 PM
How to run a JAR file on Windows 11 or 10
May 12, 2023 pm 06:34 PM
Windows 11 is capable of running a large number of file types with or without external third-party applications. Not only does it allow you to perform numerous tasks from the comfort of your PC, but it also ensures that you can take advantage of your PC's raw capabilities. Today, we'll take a look at a complex file type—jar—and tell you how to open it on your Windows 11 or Windows 10 PC. What is a jar file? jar is an archive package format that may or may not contain an executable Java program. These archives can contain Java applications or source code, which can then be used to compile and run applications without having to write separate code for each application. You can use various methods
 How to install CAB files on Windows 11
Apr 30, 2023 pm 10:10 PM
How to install CAB files on Windows 11
Apr 30, 2023 pm 10:10 PM
What is a CAB file? The extension of CAB file is .cab, which is the abbreviation of WindowsCabinet file. This is a compressed file typically used to compress software installation packages such as device drivers or update files. CAB files support lossless compression, which makes the format ideal for compressing files where it is critical that the files can be extracted accurately, such as drivers and other updates. How to Install a CAB File on Windows 11 Using Command Prompt There are multiple ways to install a CAB file on Windows 11. One of the methods is to use command prompt to extract and install the files. You can also use the newer Windows PowerShell
 How to fix the problem in Valorant that requires a system restart before playing?
Apr 24, 2023 pm 11:58 PM
How to fix the problem in Valorant that requires a system restart before playing?
Apr 24, 2023 pm 11:58 PM
Cheating has always been a big problem in online FPS games, even if Valorant didn't exist. It can ruin the gaming experience and reduce player interest in the game. Valorant has tried to overcome this shortcoming since its early days with its own RiotVanguard protection system. You need to restart the system after installing the game once. This is completely normal and the Vanguard system will start automatically. However, if you restart your system and still see "Your game requires a system restart to play. Please restart your computer." Leave a message on the home page? Many users have encountered this problem, so don’t worry. Follow these fixes for a quick solution. Fix 1 – Don’t quit Pioneer after restarting your computer
 How to fix application error 0xc0000906 on Windows PC
Apr 18, 2023 pm 10:55 PM
How to fix application error 0xc0000906 on Windows PC
Apr 18, 2023 pm 10:55 PM
Some users are encountering the error “Application Error 0xc0000906” while trying to run the application on their systems and they are unable to proceed. A single application or multiple applications on your system may encounter this error. This may be due to file corruption, caching issues, use of third-party antivirus software that may block software applications, etc. In this article, we have some solutions that can help users eliminate the error. Try executing the command to scan system files and disable antivirus software as described below. So let’s get started! Method 1: Run SFC and DISM Scan Step 1 – Open Command Prompt as Administrator. To do this, type cmd in the window search bar, then hold down the ctrl+shift keys and press enter
 How to solve Rufus ISO image extraction failure issue
Apr 19, 2023 pm 01:04 PM
How to solve Rufus ISO image extraction failure issue
Apr 19, 2023 pm 01:04 PM
Rufus is the best in the industry when it comes to creating bootable USB drives. Just insert your USB drive, browse for the ISO file and click on the "Start" option to start the ISO extraction process, and that's it! But sometimes while Rufus is extracting ISO files, it may stumble upon the error message “Error: ISO image extraction failed”. You must close the error message and retry the entire process again. Fix 1 – Check USB Device and ISO File Before retrying the process, check the ISO file and USB device again. 1. Make sure the USB device is properly connected to your system. You can plug in the drive using the port on the back of the cabinet. 2. The ISO file may have
 How to safely set high priority for apps in Windows 11?
May 06, 2023 pm 06:28 PM
How to safely set high priority for apps in Windows 11?
May 06, 2023 pm 06:28 PM
Windows does a great job of allocating system resources to the processes and programs that need it most by assigning priorities to them. Most applications you install will run perfectly fine at the default "normal" priority level. Sometimes, however, you may need to run a program, such as a game, at a higher level than the default normal level to improve its performance. But this comes at a cost, and it's a deal worth pondering. What happens when you set an app to high priority? Windows has a total of six priority levels for running different processes and programs - low, below normal, normal, above normal, high and real-time. Windows will rank and queue applications based on their priority. The higher the priority, the application
 3 Ways to Open System 32 Folder on Windows 11 or 10
May 04, 2023 pm 10:01 PM
3 Ways to Open System 32 Folder on Windows 11 or 10
May 04, 2023 pm 10:01 PM
What is the System32 folder? System32 is one of the main folders used by Windows. During Windows installation, all necessary files and folders that are critical for the proper functioning of Windows are copied to this folder. These include important system files, related executable files used by Windows utilities, dynamic link libraries (DLLs), and even some software files are copied to this folder. However, don't be fooled by the name System32. This is true for both 32-bit and 64-bit computers. In a 64-bit machine, the System32 folder hosts the 64-bit files, while the 32-bit files are located in
 How to quickly resolve Windows activation error code 0xc004c020?
Apr 26, 2023 pm 03:19 PM
How to quickly resolve Windows activation error code 0xc004c020?
Apr 26, 2023 pm 03:19 PM
Many of our readers have reported the 0xC004C020 error when trying to connect their computers to their organization's servers. This error prevents activation of its Windows operating system. While errors can be frustrating, we'll guide you through error 0xC004C020 when trying to activate Windows on an organization-linked computer. What causes error 0xC004C020? If you are trying to activate Windows on an organization-linked computer and encounter error 0xC004C020, the possible causes may be as follows: Non-MAK keys – If a non-MAK key is used on an organization-linked computer, the organization’s policies will It is not allowed to be activated. Key access lost after formatting