

Miracast not working in Windows 11? Fix now

Receiving error codes or error messages on Windows operating systems is very common, almost all of us have encountered one while using Microsoft operating systems.
Windows 11 is no different from other Windows operating systems. A common error encountered by many Windows 11 users has to do with Miracast not working properly.
Miracast is a Windows service from Microsoft that allows you to cast your screen to another monitor.
This feature is built into Windows 11, and you need to connect your device and other monitors to the same Wi-Fi connection to cast content.
This is a very handy tool if you want to show your travel images to your friends or family. You can cast content from your Windows 11 PC to your smart TV so everyone can enjoy your images.
But Windows 11 users keep complaining that for them, Miracast isn’t working for them.
Thankfully, in this tutorial, we will show you some solutions that will help you fix Miracast Windows 11 not working issue on PC. Let's check it out.
Why do I get Miracast Windows 11 not working error?
Before you proceed to check out the solutions to fix Miracast Windows 11 not working error, let us first check if your PC supports Miracast or not.
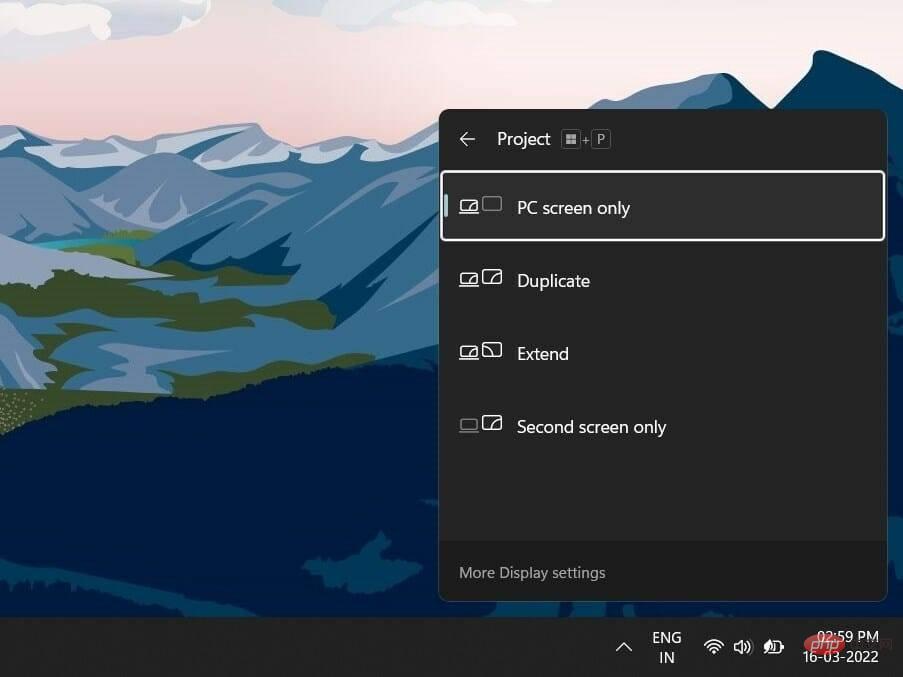
1. Check via Windows shortcut
You can just press the Win P button to open the wireless display settings. If you receive a message that your device supports wireless display, your PC does not support Miracast.
#However, there is a good chance that your Windows 11 computer does not support Miracast. If your old PC does not have a Bluetooth card for Bluetooth service, then you will get this error.
2. Verify the NDIS driver
- Click the Start menu.
- Search Windows PowerShell and open it.

- Enter the following command and press Enter:
<strong>Get-netadapter|select Name, ndisversion</strong>

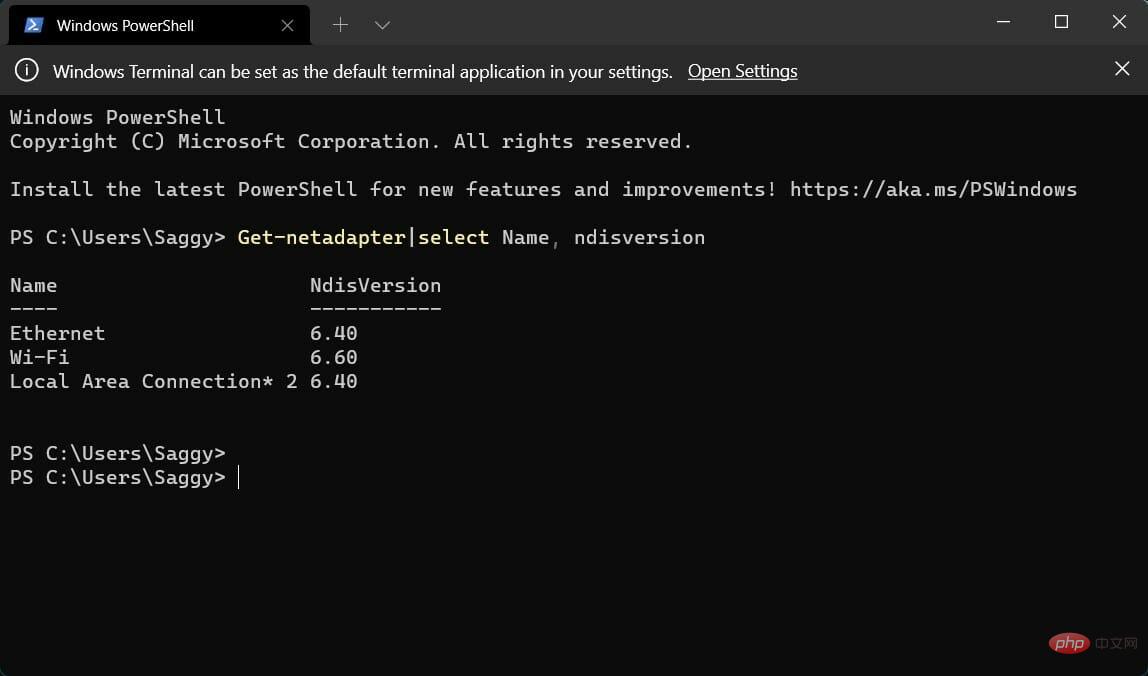
If the Wi-Fi NdisVersion is 6.30 or higher, your system is Miracast compatible. Additionally, you can update the driver to the latest version to fix this error.
However, if you still get an error on your Windows 11 PC saying that Miracast is not working properly, then this may be due to external factors.
This may be due to a Wi-Fi issue or incorrect Wi-Fi configuration. The third-party application may conflict with the mirrored application or have display driver issues.
Luckily, this tutorial is here to help you resolve all your issues and should help you resolve Miracast not working Windows 11 issues.
What should I do if Miracast doesn't work in Windows 11?
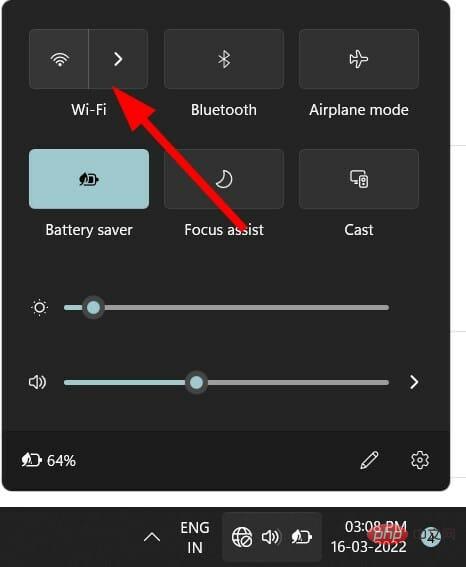
1. Connect two devices to the same Wi-Fi
- Click the Wi-Fi icon on the toolbar in the lower right corner.
- Click the Wi-Fi button.
- Connect to your Wi-Fi network.
- Now connect another device to the same Wi-Fi network.
Miracast only works if you connect your Windows 11 PC and a supported monitor to the same Wi-Fi network.
Follow the steps above to connect your Windows 11 PC to a Wi-Fi network and make sure to connect other devices to the same network. You can now check if this fixes the Miracast not working error.
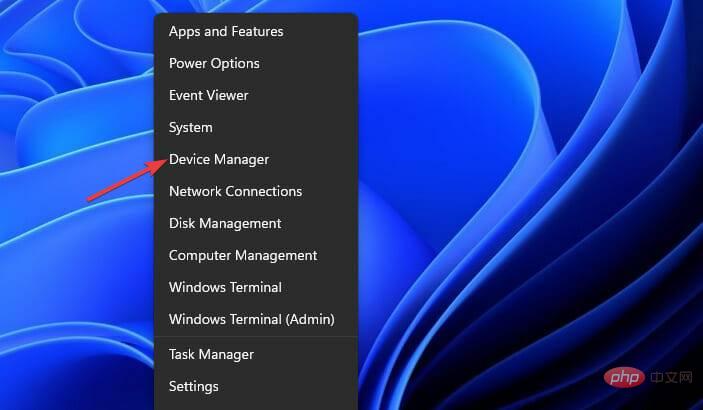
2. Update the network driver
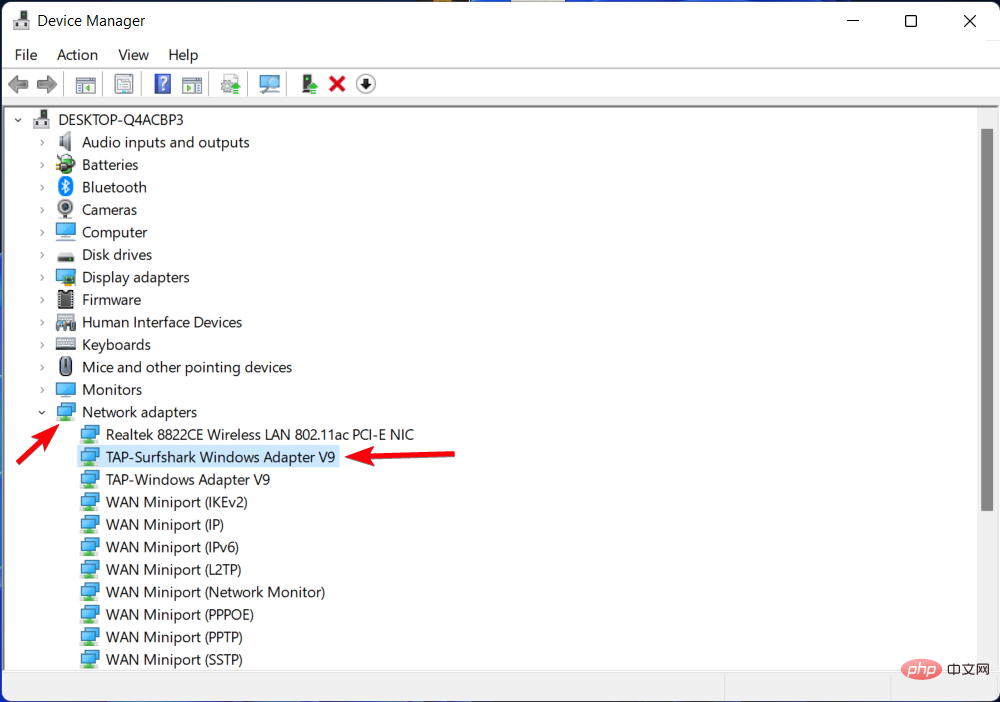
- Right-click the Startmenu icon.
- Select Device Manager.
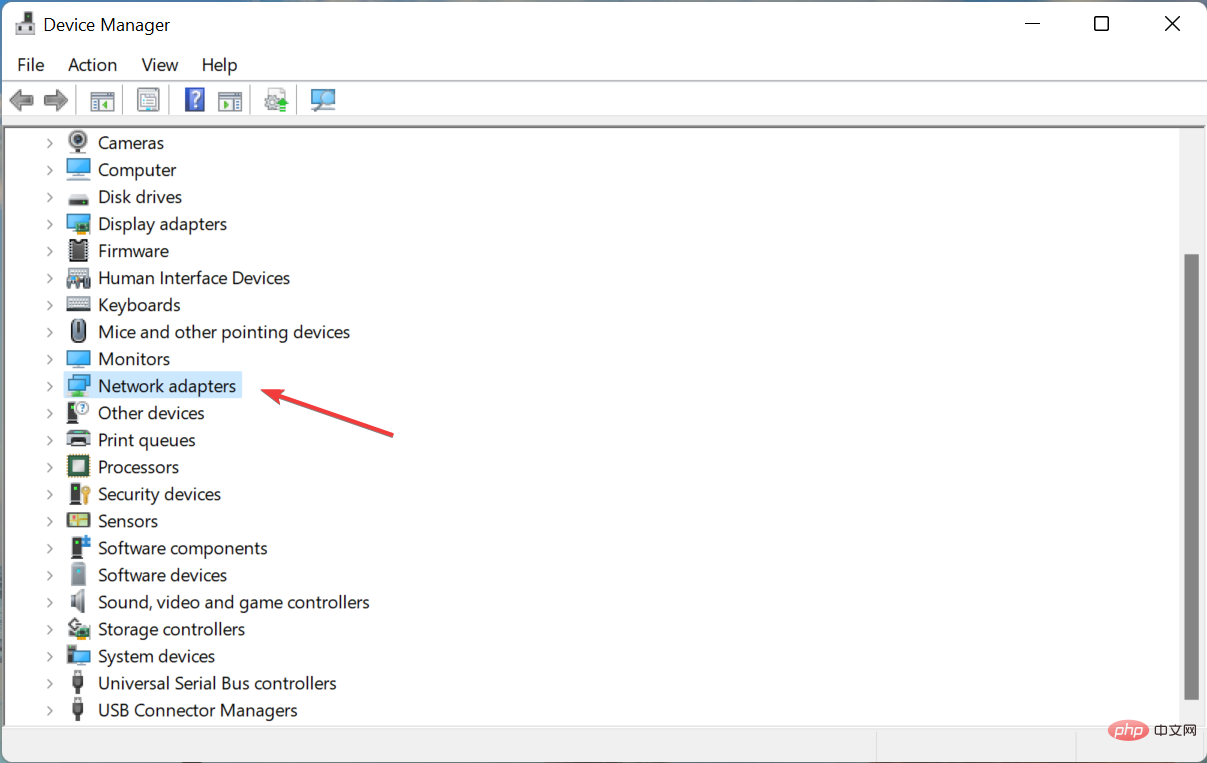
- Expand the Network Adapters section.
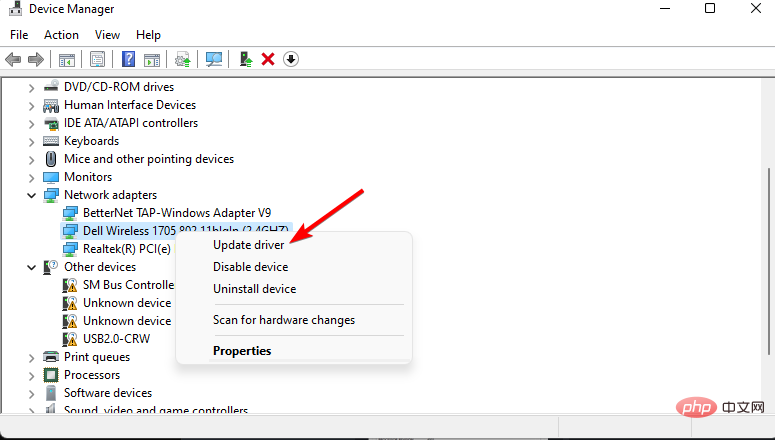
- Right-click on your Wi-Fi adapter and select Update Driver.
- Select Automatically search for drivers.
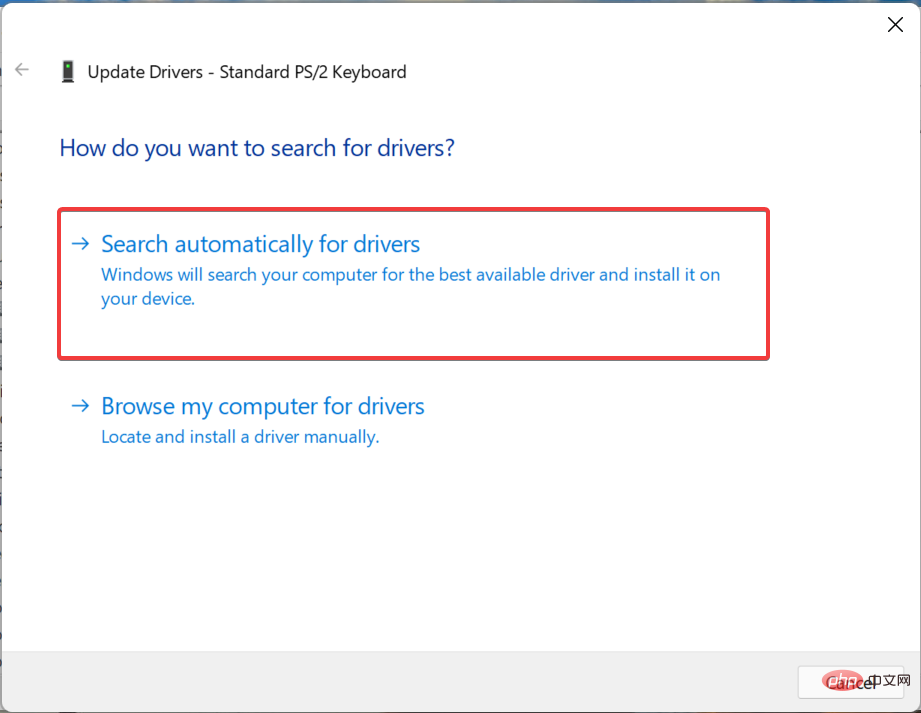
Windows will begin looking for new available network drivers and, if available, will prompt you to install the latest driver.
This method can be helpful if you find that your PC's NdisVersion is out of date. Simply follow the steps above to update your network drivers and possibly fix Miracast not working Windows 11 issue.
DriverFix is a multi-professional tool for all your driver related needs. The software scans for all outdated drivers, shows you the results and prompts you to install any updates.
You can use DriverFix to fix erroneous or damaged driver files, update old device drivers, find missing drivers, and more.
⇒ Get DriverFix
3. Uninstall Wi-Fi Adapter
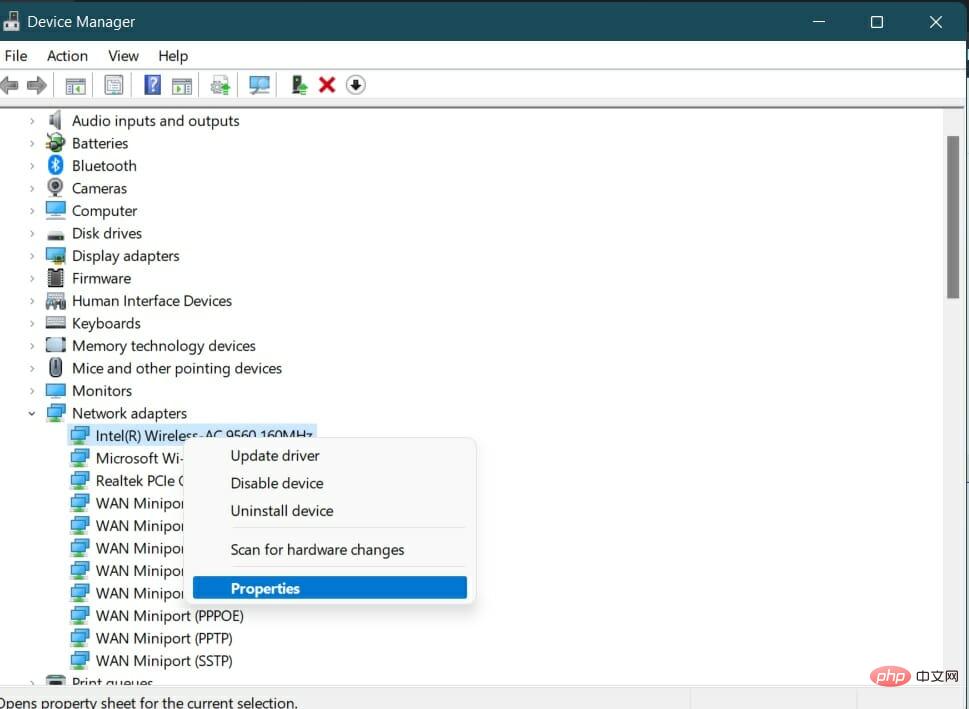
- Right clickStart Menu icon.
- Select Device Manager.
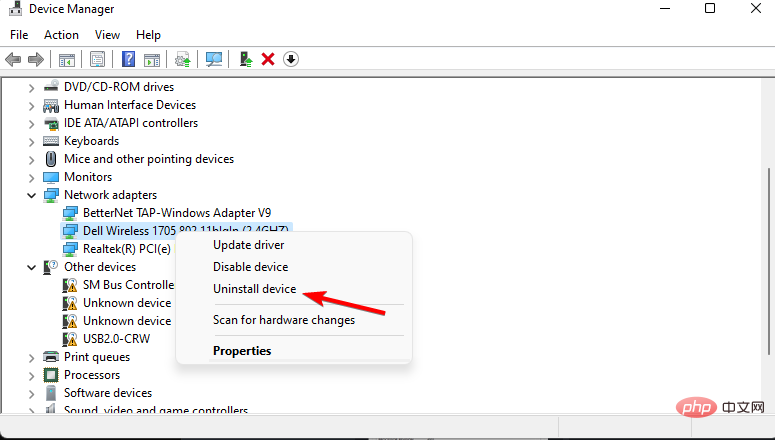
- Expand the Network Adapters section.
- Right-click on your Wi-Fi adapter and select Uninstall Device.
- Click Uninstall again to confirm the operation.
- After uninstalling, select Scan for hardware changes at the bottom of the menu bar.
- Windows will start searching for the missing driver.
- Close Device Manager and check if that resolves the issue.
Reinstalling the Wi-Fi adapter will help fix several errors that may pop up due to missing or corrupted files.
Files may have been lost or corrupted for some reason during the previous installation.
So, reinstalling the Wi-Fi adapter can eliminate both possibilities and maybe it can also help you fix Miracast Windows 11 not working issue.
4. Run the troubleshooter
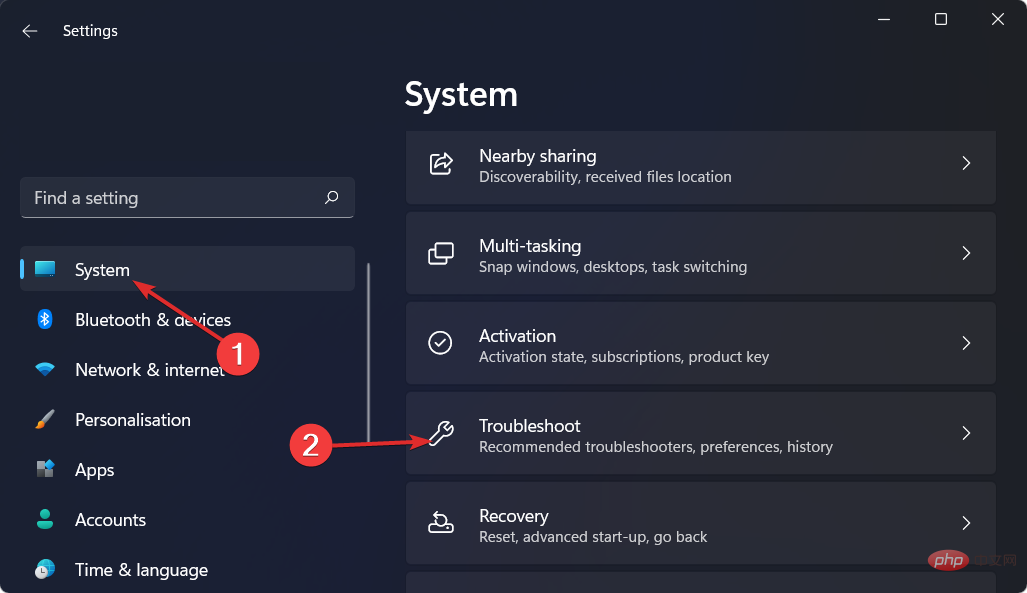
- while pressing the Win I key to open Windows Settings.
- Select System.
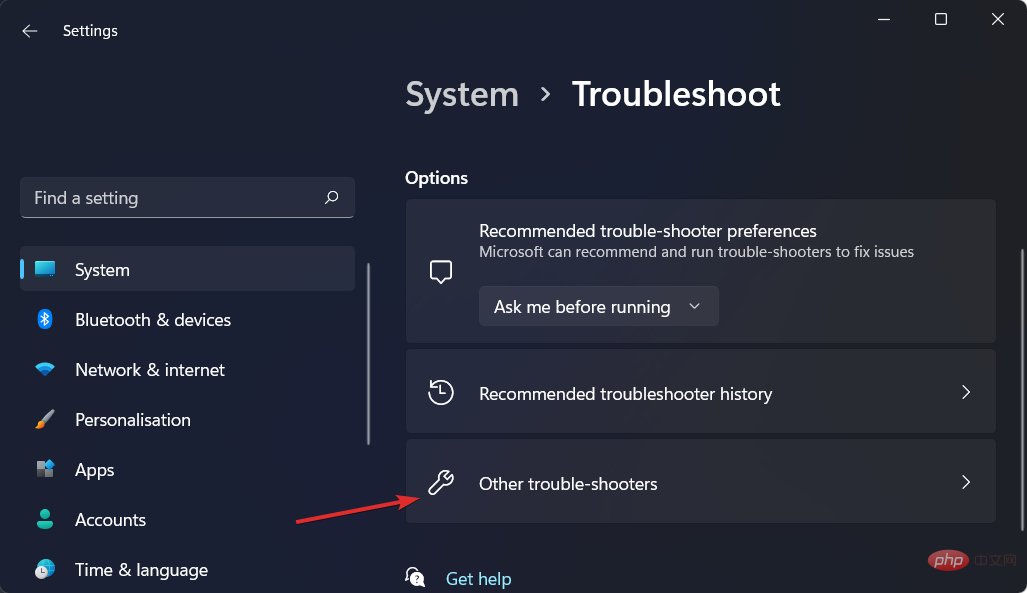
- Scroll down and select Troubleshoot.
- Select Other troubleshooters.
- Click Run next to Internet Connection.
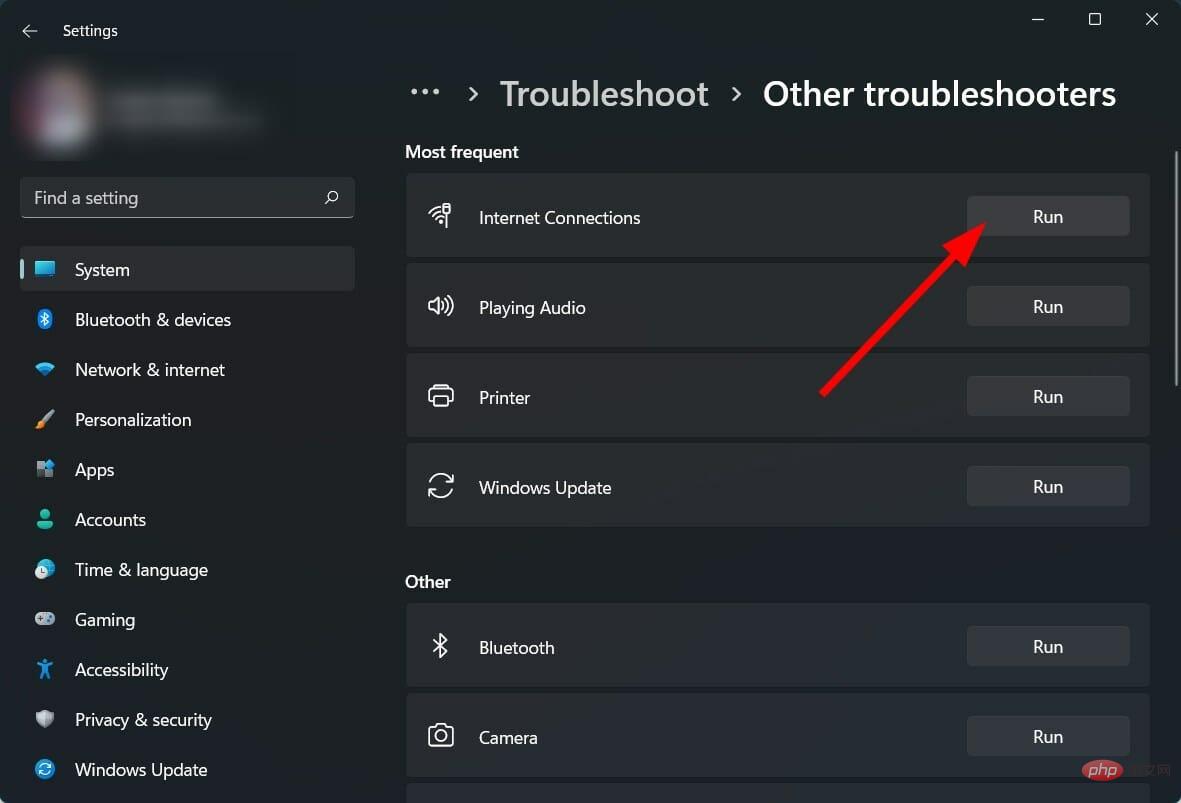
Like other versions of Windows, Windows 11 comes with a built-in troubleshooter that helps solve different issues related to your PC.
You can try running the connectivity troubleshooter to resolve issues with your network adapter and possibly fix Miracast not working on your Windows 11 PC.
5. Configure Windows Firewall
- Press the Win I button to open Windows Settings.
- SelectPrivacy and Security from the left pane.
- Click Windows Security on the right.
- Select the Firewall and Network Protection option.
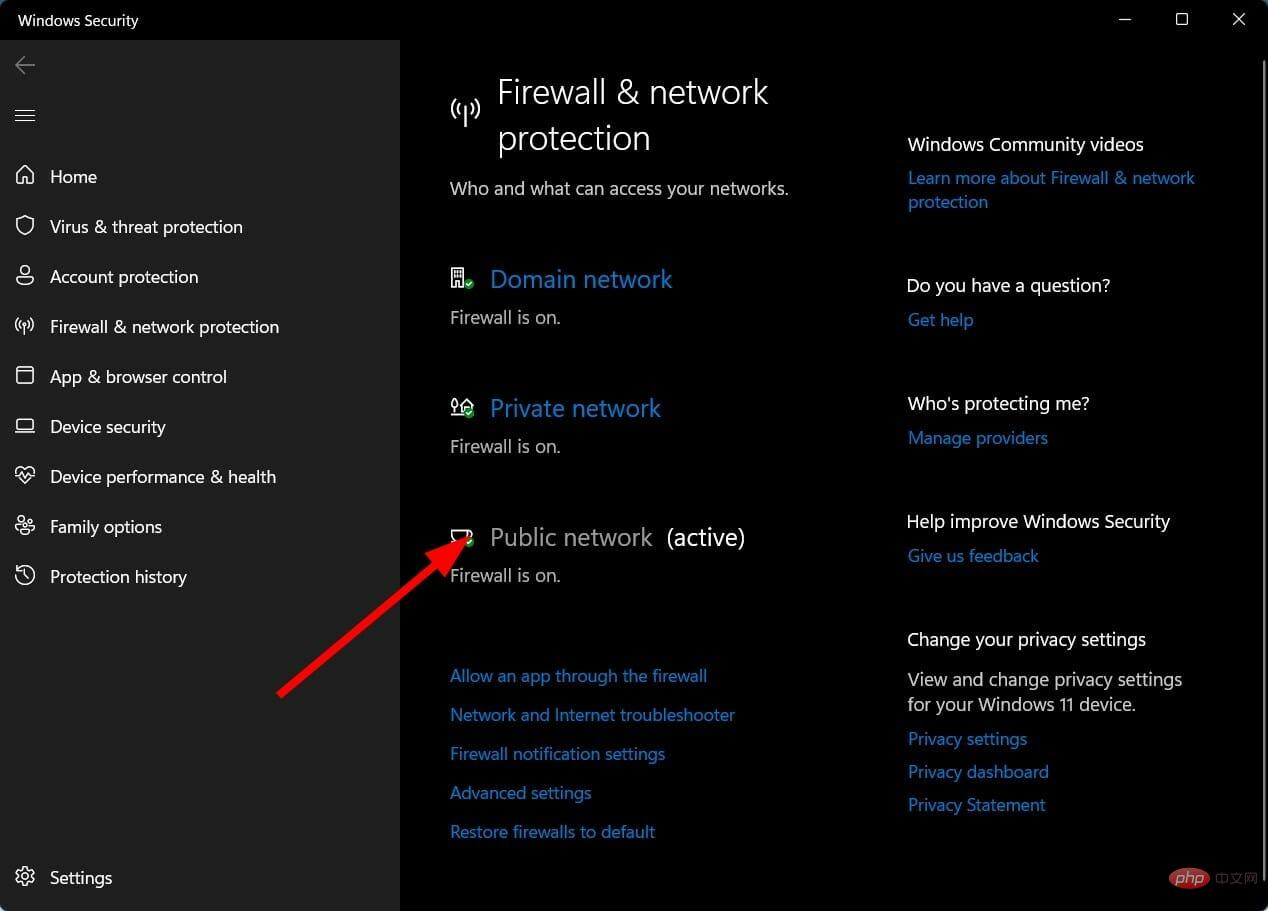
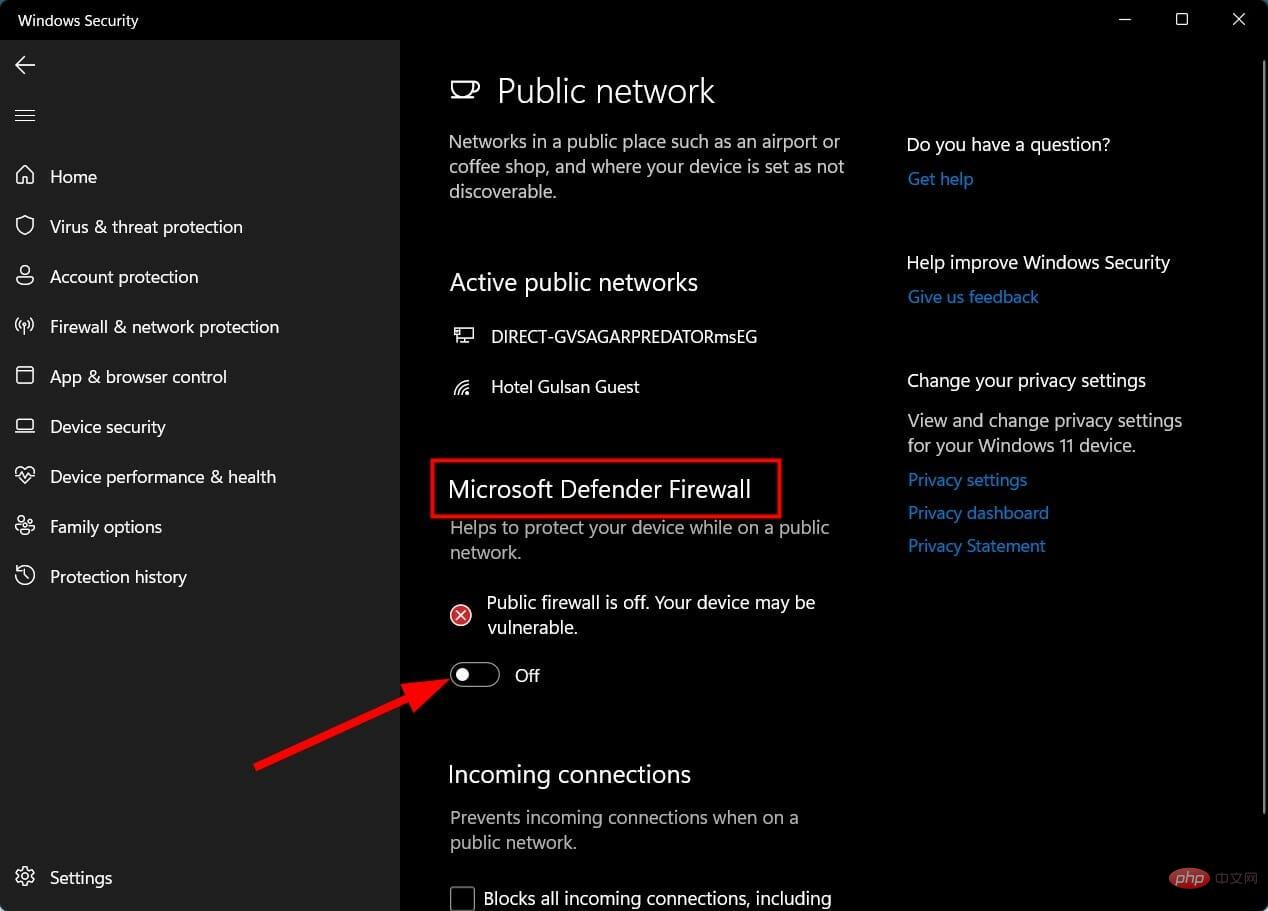
- Click on the Public Network (Active) profile.
-
Turn off the Microsoft Defender Firewall switch.
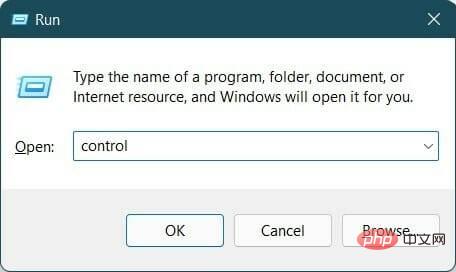
- Press Win R to open the Run dialog box.
- Type Control and hit Enter.
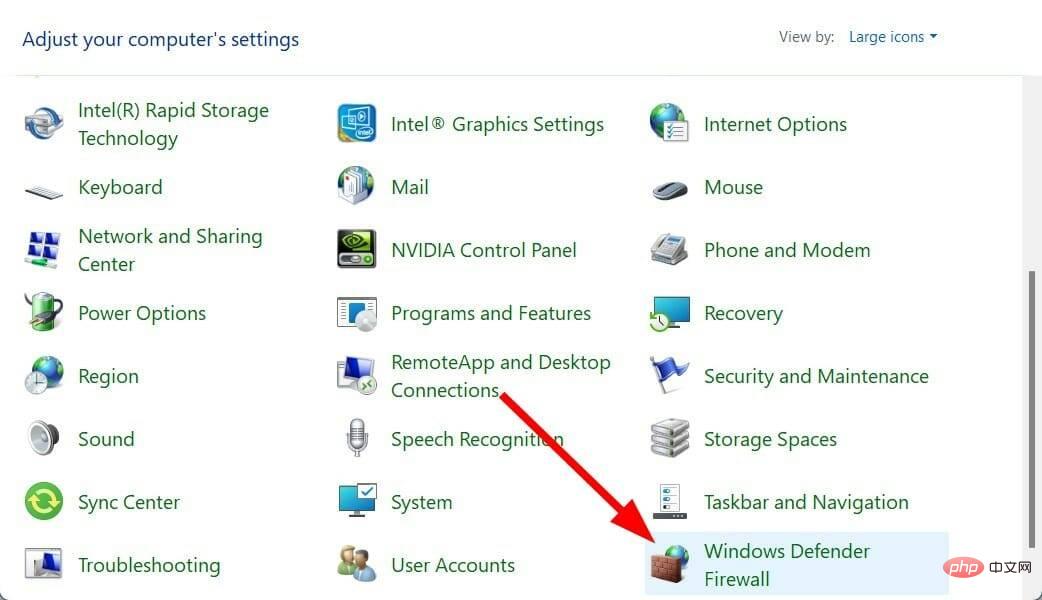
- Select Windows Defender Firewall.
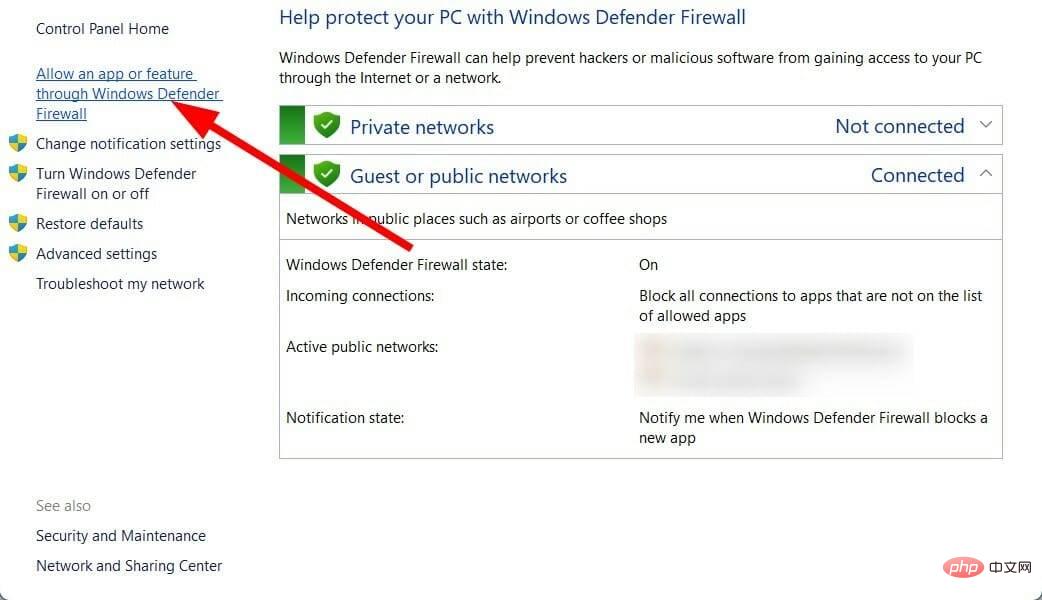
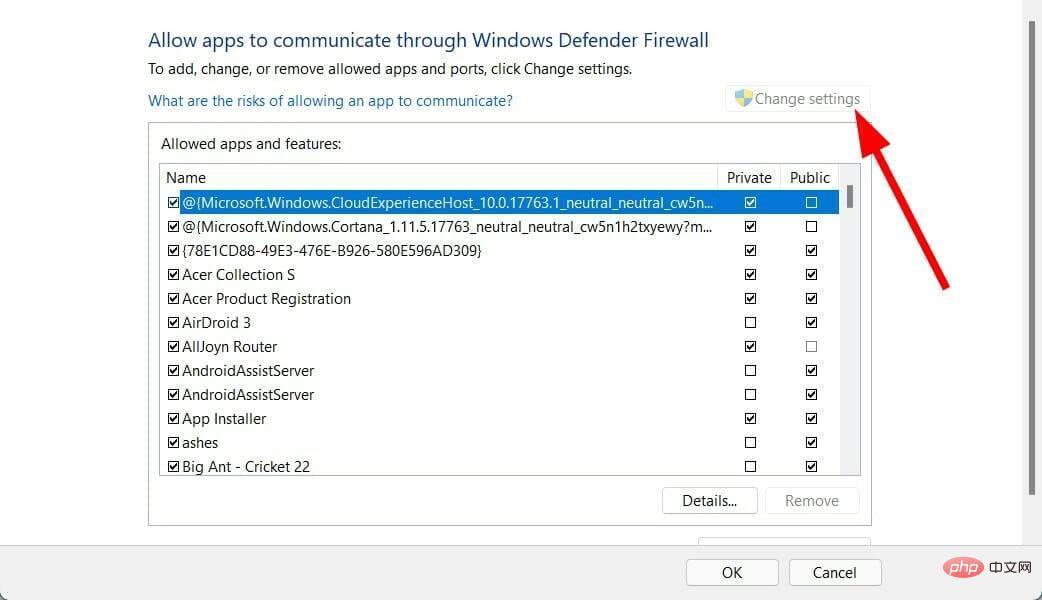
- Select Allow an app or feature through Windows Defender Firewall from the left.
- Click the Change Settings button in the upper right corner.
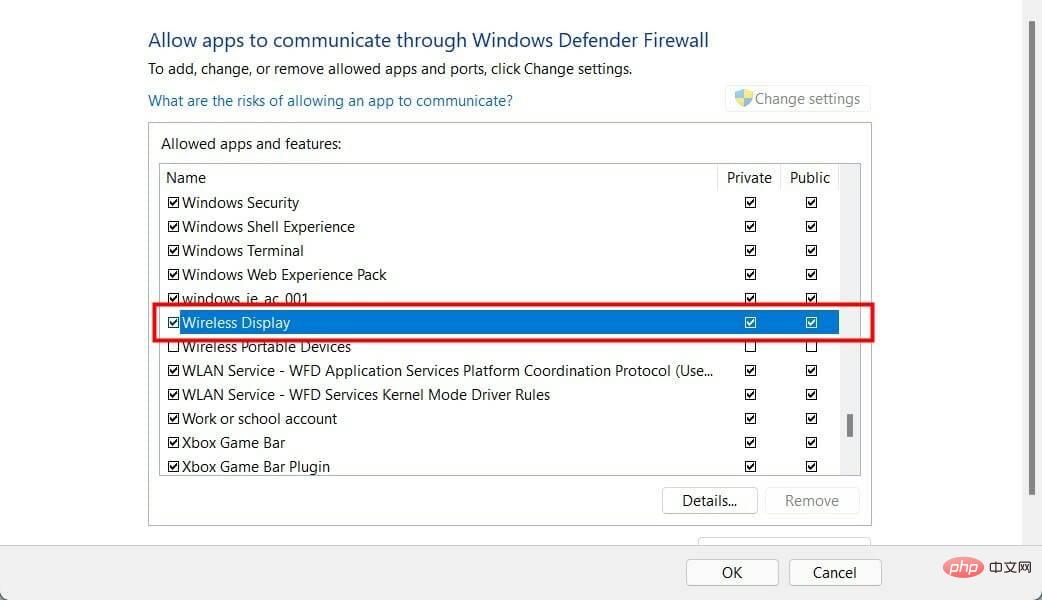
- Find Wireless Display and check the Private and Public box.
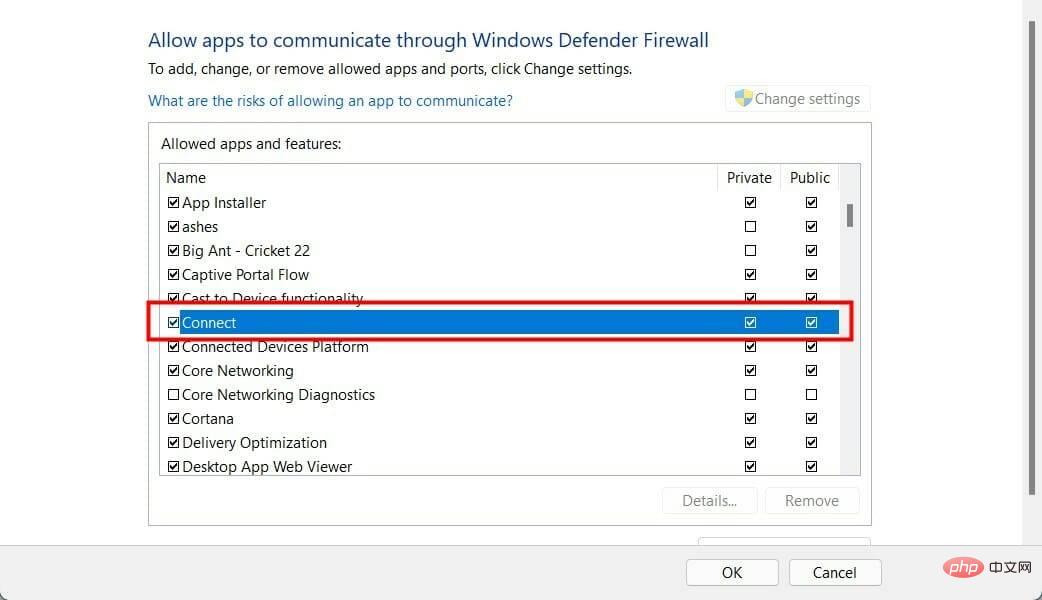
- Now, find the Connect application and check the Private and Public boxes.
- Click OK to save changes.
6. Change the wireless mode selection value
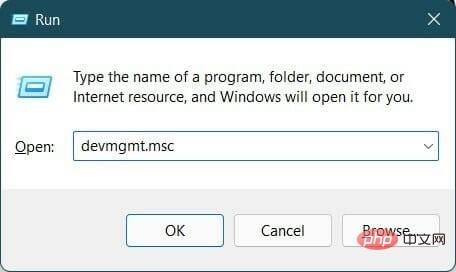
- Press Win R to open the Run dialog box .
- Type the following command and click Enter:
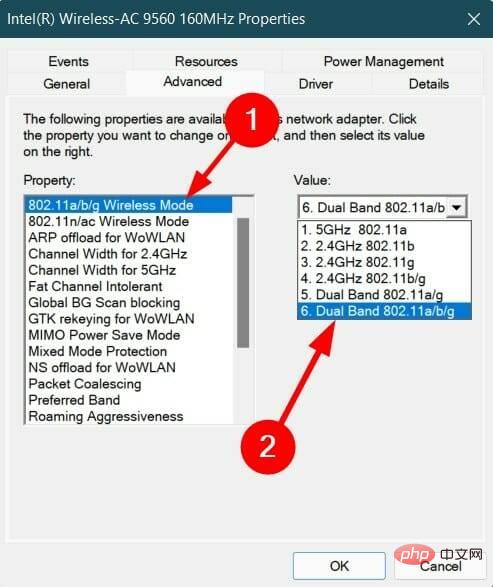
<strong>devmgmt.msc</strong>##Expand - Network Adapter. Right-click on your Wi-Fi adapter and select
- Properties. Select the
- Advanced tab. Under
- Properties, select 802.11 Wireless Mode. Click the
- drop-down menu of Value. Set it to
- Dual Band. Click
- OK to save changes.

- Press the
- Win I button to open Windows Settings. Select
- Windows Update from the left pane. Click the
- Check for Updates button.

- Press the
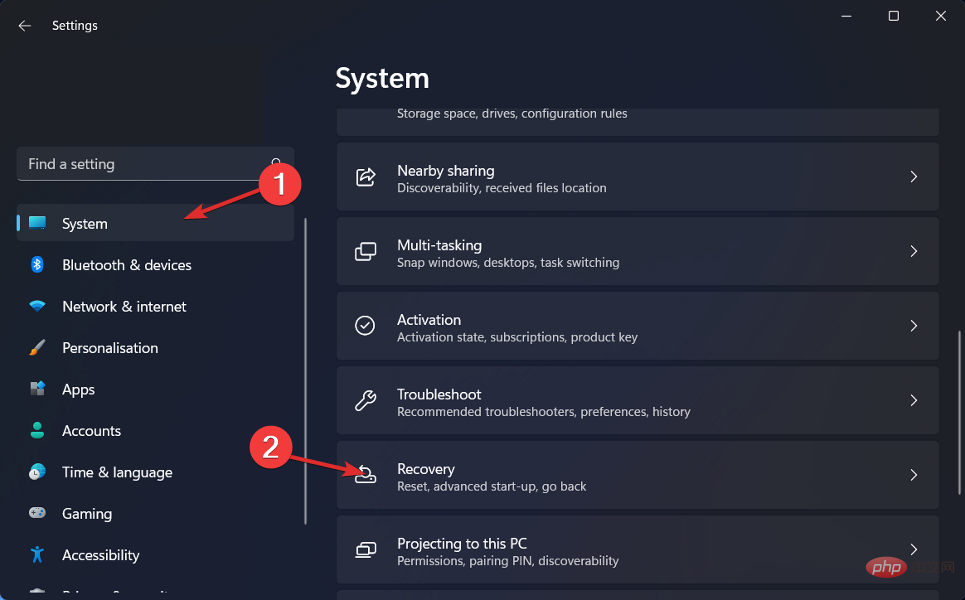
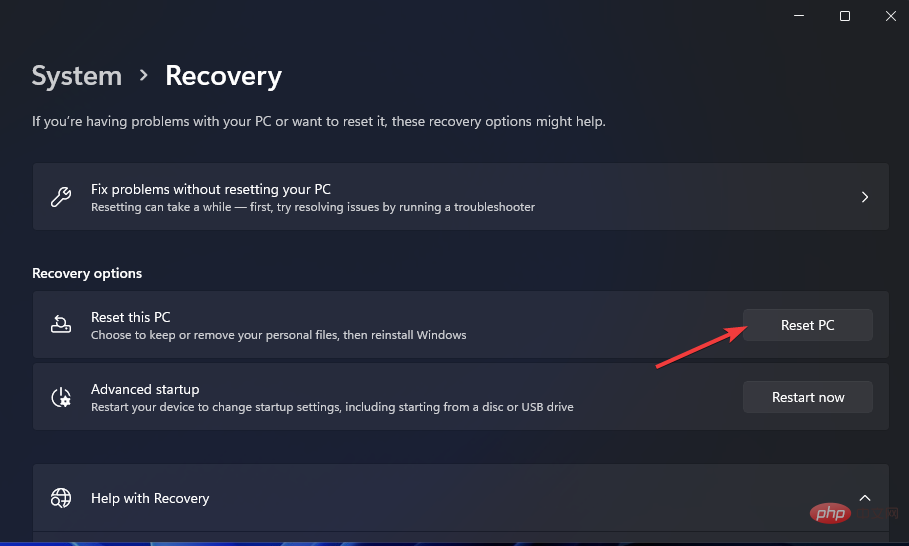
- Win I button to open Windows Settings. Click
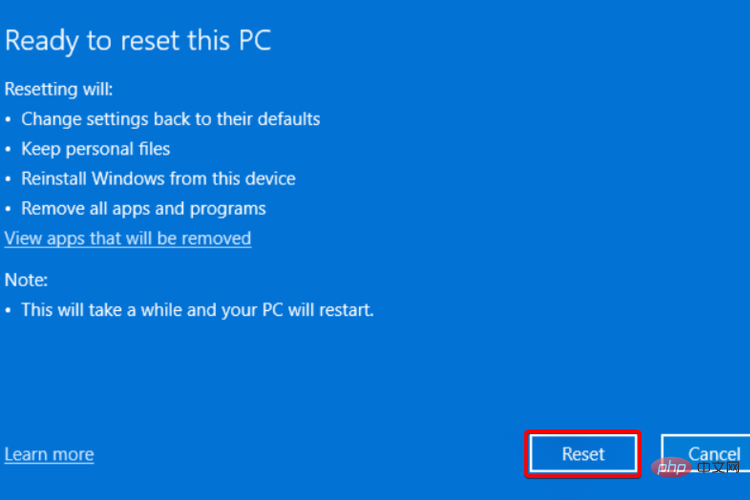
- on the right to restore. Under the recovery options, press the
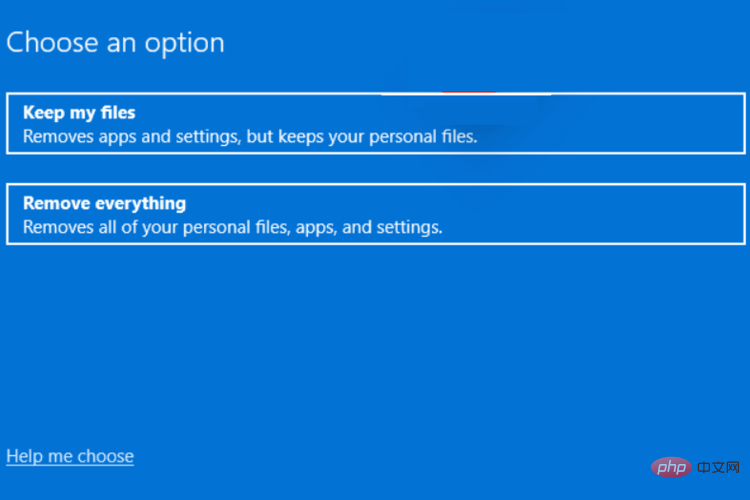
- Reset PC button. Select the type of factory reset you want to
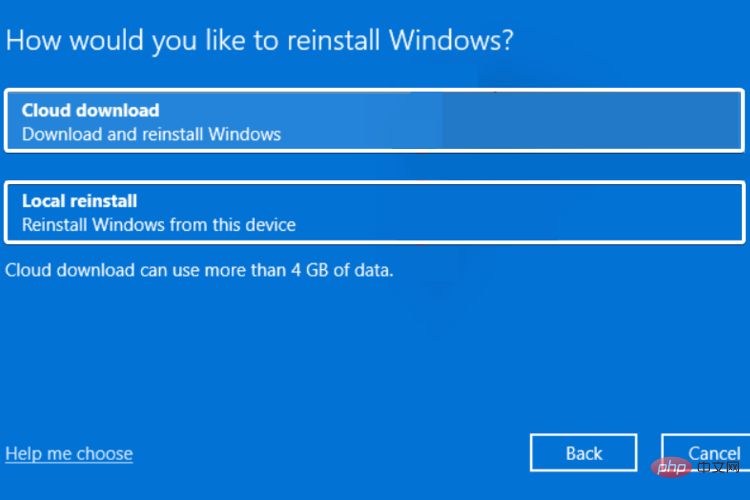
- perform. Select options for how you want to reinstall Windows.
- Click
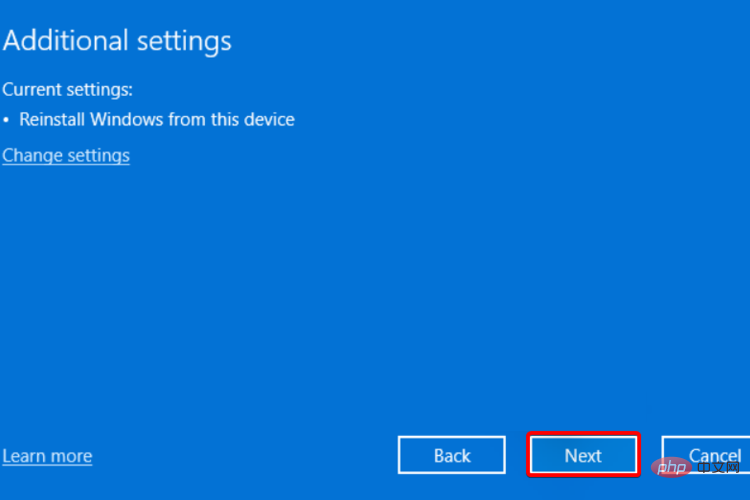
- Next. Click the
- Reset button.
ApowerMirror
It is a powerful and full-featured software that can be used to mirror Chromecast-compatible devices to your PC.Some of the key features of ApowerMirror are receiving notifications directly on your PC, supporting mouse and keyboard usage, full screen/landscape mode options, taking screenshots, etc.
➡ Reflector
Using Reflector software, you can take screenshots of multiple devices at the same time. It automatically adjusts the layout of your device to provide a better collaboration environment.
Additional features include live streaming, recording other screen devices, support for Miracast devices, full-resolution screenshots, access to custom controls, and more.
➡ mobilize
Mobizen not only allows you to mirror your phone screen to a Windows 11 PC, but you can also use it to transfer files between your smartphone and PC.
You can operate Android apps using your mouse and keyboard, connecting via USB, Wi-Fi, 3G or even LTE. It also gives you options for screen recording, receiving notifications on PC, music/video streaming, drag-and-drop file transfer, and more.
These are just some of the screen mirroring apps you can try on your Windows 11 PC. You can check out other screen mirroring apps and choose them according to your preference.
The above is the detailed content of Miracast not working in Windows 11? Fix now. For more information, please follow other related articles on the PHP Chinese website!

Hot AI Tools

Undresser.AI Undress
AI-powered app for creating realistic nude photos

AI Clothes Remover
Online AI tool for removing clothes from photos.

Undress AI Tool
Undress images for free

Clothoff.io
AI clothes remover

AI Hentai Generator
Generate AI Hentai for free.

Hot Article
Hot Tools

Notepad++7.3.1
Easy-to-use and free code editor

SublimeText3 Chinese version
Chinese version, very easy to use

Zend Studio 13.0.1
Powerful PHP integrated development environment

Dreamweaver CS6
Visual web development tools

SublimeText3 Mac version
God-level code editing software (SublimeText3)
Hot Topics
 1377
1377
 52
52

 What software is bonjour and can it be uninstalled?
Feb 20, 2024 am 09:33 AM
What software is bonjour and can it be uninstalled?
Feb 20, 2024 am 09:33 AM
Title: Explore the Bonjour software and how to uninstall it Abstract: This article will introduce the functions, scope of use and how to uninstall the Bonjour software. At the same time, it will also be explained how to use other tools to replace Bonjour to meet the needs of users. Introduction: Bonjour is a common software in the field of computer and network technology. Although this may be unfamiliar to some users, it can be very useful in some specific situations. If you happen to have Bonjour software installed but now want to uninstall it, then
 ao3 mirror official website entrance
Feb 24, 2024 am 11:34 AM
ao3 mirror official website entrance
Feb 24, 2024 am 11:34 AM
ao3 mirror is a platform for creating fan fiction, but most friends don’t know where the official website of ao3 mirror is. Click on the https://ao3.cubeart.club/ link to enter the ao3 mirror website. The next step is The editor brings users an introduction to the latest official website entrance of ao3 mirror 2024. Interested users come and take a look! ao3 mirror official website entrance: https://ao3.cubeart.club/ 1. Download address 1. AO3: Click to download》》 2. AO3 latest version: Click to download》》 2. Enter the website method 1. Copy the website to View it in the browser and click [LogIn] in the upper right corner of the page to enter; 2. Account
 What to do if WPS Office cannot open the PPT file - What to do if WPS Office cannot open the PPT file
Mar 04, 2024 am 11:40 AM
What to do if WPS Office cannot open the PPT file - What to do if WPS Office cannot open the PPT file
Mar 04, 2024 am 11:40 AM
Recently, many friends have asked me what to do if WPSOffice cannot open PPT files. Next, let us learn how to solve the problem of WPSOffice not being able to open PPT files. I hope it can help everyone. 1. First open WPSOffice and enter the homepage, as shown in the figure below. 2. Then enter the keyword "document repair" in the search bar above, and then click to open the document repair tool, as shown in the figure below. 3. Then import the PPT file for repair, as shown in the figure below.
 What software is crystaldiskmark? -How to use crystaldiskmark?
Mar 18, 2024 pm 02:58 PM
What software is crystaldiskmark? -How to use crystaldiskmark?
Mar 18, 2024 pm 02:58 PM
CrystalDiskMark is a small HDD benchmark tool for hard drives that quickly measures sequential and random read/write speeds. Next, let the editor introduce CrystalDiskMark to you and how to use crystaldiskmark~ 1. Introduction to CrystalDiskMark CrystalDiskMark is a widely used disk performance testing tool used to evaluate the read and write speed and performance of mechanical hard drives and solid-state drives (SSD). Random I/O performance. It is a free Windows application and provides a user-friendly interface and various test modes to evaluate different aspects of hard drive performance and is widely used in hardware reviews
 CentOS7 various version image download addresses and version descriptions (including Everything version)
Feb 29, 2024 am 09:20 AM
CentOS7 various version image download addresses and version descriptions (including Everything version)
Feb 29, 2024 am 09:20 AM
When loading CentOS-7.0-1406, there are many optional versions. For ordinary users, they don’t know which one to choose. Here is a brief introduction: (1) CentOS-xxxx-LiveCD.ios and CentOS-xxxx- What is the difference between bin-DVD.iso? The former only has 700M, and the latter has 3.8G. The difference is not only in size, but the more essential difference is that CentOS-xxxx-LiveCD.ios can only be loaded into the memory and run, and cannot be installed. Only CentOS-xxx-bin-DVD1.iso can be installed on the hard disk. (2) CentOS-xxx-bin-DVD1.iso, Ce
 CrystalDiskinfo usage tutorial-What software is CrystalDiskinfo?
Mar 18, 2024 pm 04:50 PM
CrystalDiskinfo usage tutorial-What software is CrystalDiskinfo?
Mar 18, 2024 pm 04:50 PM
CrystalDiskInfo is a software used to check computer hardware devices. In this software, we can check our own computer hardware, such as reading speed, transmission mode, interface, etc.! So in addition to these functions, how to use CrystalDiskInfo and what exactly is CrystalDiskInfo? Let me sort it out for you! 1. The Origin of CrystalDiskInfo As one of the three major components of a computer host, a solid-state drive is the storage medium of a computer and is responsible for computer data storage. A good solid-state drive can speed up file reading and affect consumer experience. When consumers receive new devices, they can use third-party software or other SSDs to
 How to set the keyboard increment in Adobe Illustrator CS6 - How to set the keyboard increment in Adobe Illustrator CS6
Mar 04, 2024 pm 06:04 PM
How to set the keyboard increment in Adobe Illustrator CS6 - How to set the keyboard increment in Adobe Illustrator CS6
Mar 04, 2024 pm 06:04 PM
Many users are using the Adobe Illustrator CS6 software in their offices, so do you know how to set the keyboard increment in Adobe Illustrator CS6? Then, the editor will bring you the method of setting the keyboard increment in Adobe Illustrator CS6. Interested users can take a look below. Step 1: Start Adobe Illustrator CS6 software, as shown in the figure below. Step 2: In the menu bar, click the [Edit] → [Preferences] → [General] command in sequence. Step 3: The [Keyboard Increment] dialog box pops up, enter the required number in the [Keyboard Increment] text box, and finally click the [OK] button. Step 4: Use the shortcut key [Ctrl]
 What kind of software is bonjour? Is it useful?
Feb 22, 2024 pm 08:39 PM
What kind of software is bonjour? Is it useful?
Feb 22, 2024 pm 08:39 PM
Bonjour is a network protocol and software launched by Apple for discovering and configuring network services within a local area network. Its main role is to automatically discover and communicate between devices connected in the same network. Bonjour was first introduced in the MacOSX10.2 version in 2002, and is now installed and enabled by default in Apple's operating system. Since then, Apple has opened up Bonjour's technology to other manufacturers, so many other operating systems and devices can also support Bonjour.