

5 Ways to Easily Mount an ISO in Windows 11

Why mount ISO in Windows 11?
It is always more beneficial to mount an ISO than to extract its contents. Not only is it super fast, it also helps you save disk while accessing its files quickly and helps save time spent on extracting ISO images.
Mounting an ISO (or any other image file, for that matter) also has the advantage of accessing the operating system and other boot drives, which you can test beforehand to make sure they work as expected.
How to mount ISO in Windows 11
You can use the following method to easily mount ISO in Windows 11. Depending on your current preferences, follow any of the sections below.
Method One: Using Double-Click
Windows File Explorer now fully supports ISO images. This means you can just double-click the ISO image to mount it to a virtual disk on your PC.
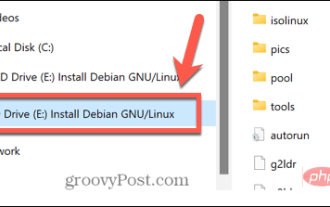
After installation, you can find the same in the This PC section of System in File Explorer.
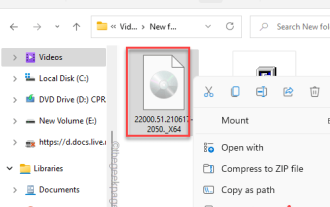
Method 2: Using the right-click context menu
You also have the option to mount the ISO on Windows 11 using the right-click context menu.
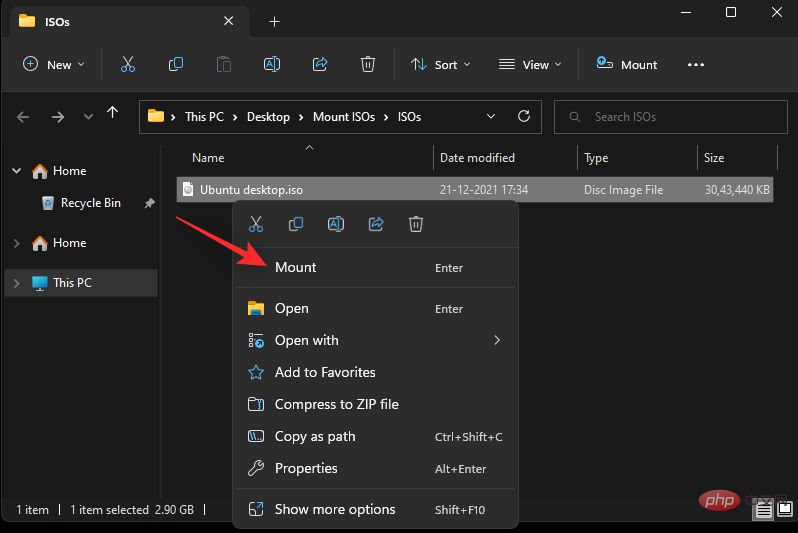
Find the relevant ISO on local storage and right-click on it.
Click and select Install.
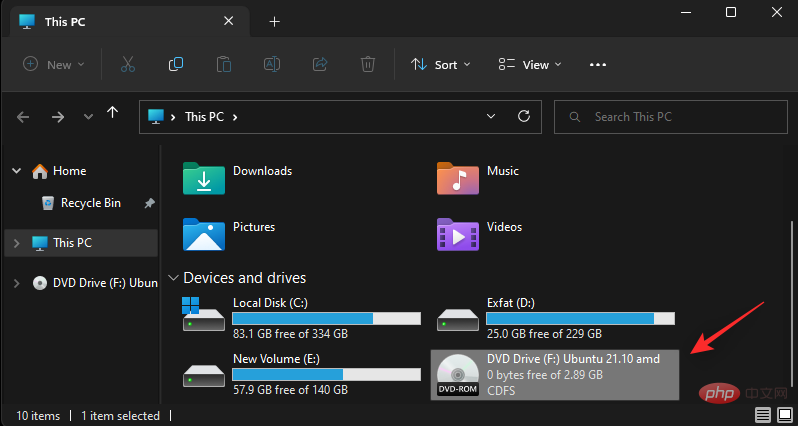
After installation, you will be able to find the virtual disk in the "Devices and Drives" section of your PC.
Method 3: Use the Toolbar
Windows 11 File Explorer has received an overhaul since its launch. You can now find frequently used options in the ribbon menu at the top. You can use it to mount ISO images on Windows 11 systems. Please follow the steps below to help you through the process.
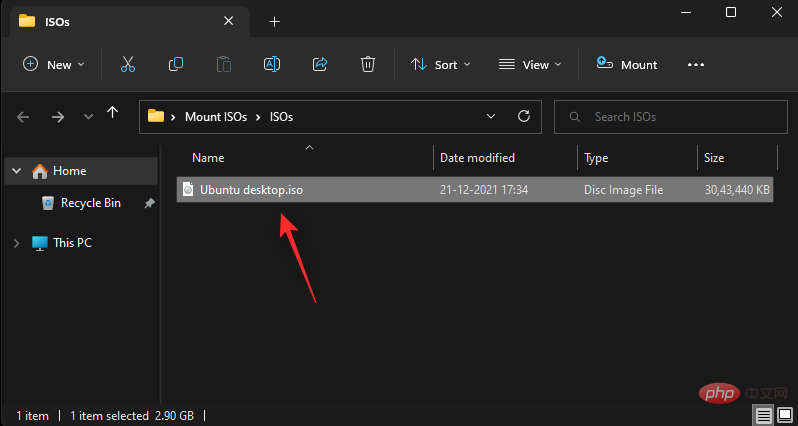
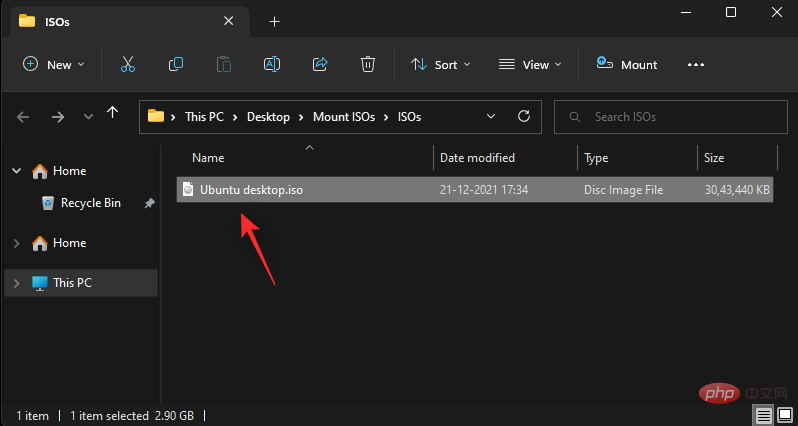
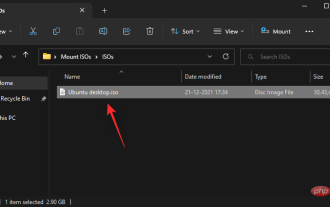
Open File Explorer and navigate to the desired ISO file. Click and select the same.
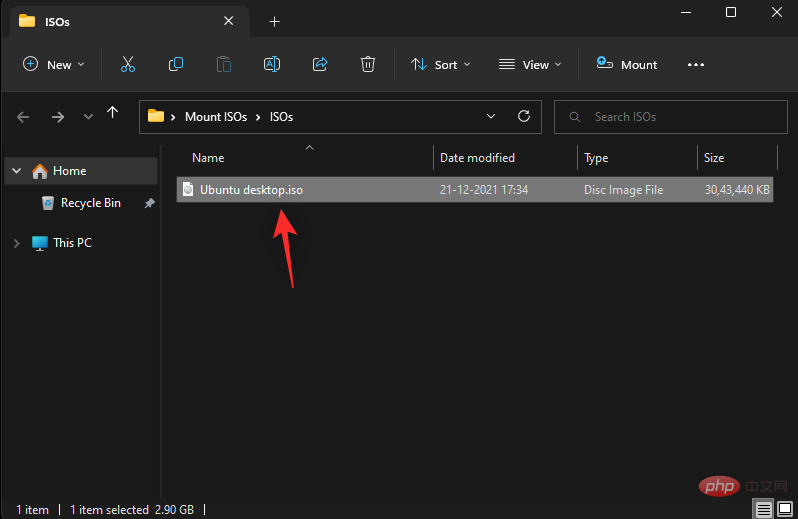
Click Install at the top of the ribbon menu.
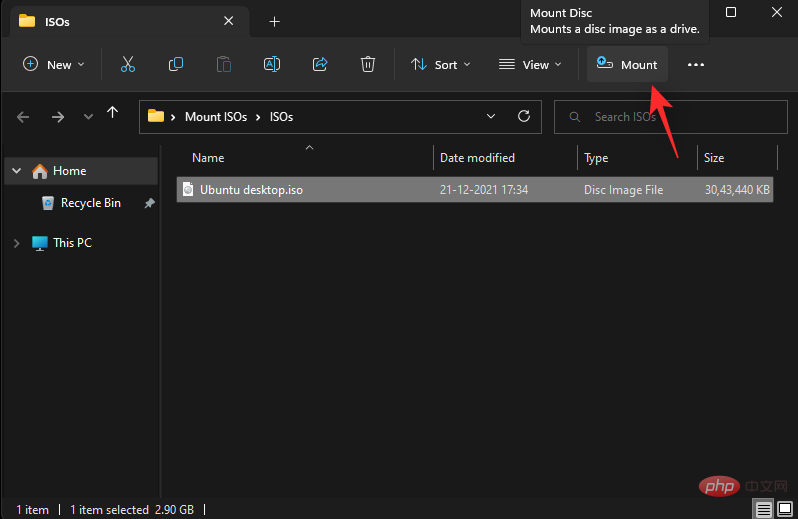
#The selected ISO should now be mounted to the virtual drive on your system. You will find the same content in the This PC section of File Explorer.
Method 4: Using PowerShell
You can also use PowerShell to mount the drive on Windows 11 based on your current needs and requirements. Please follow the steps below to help you through the process.
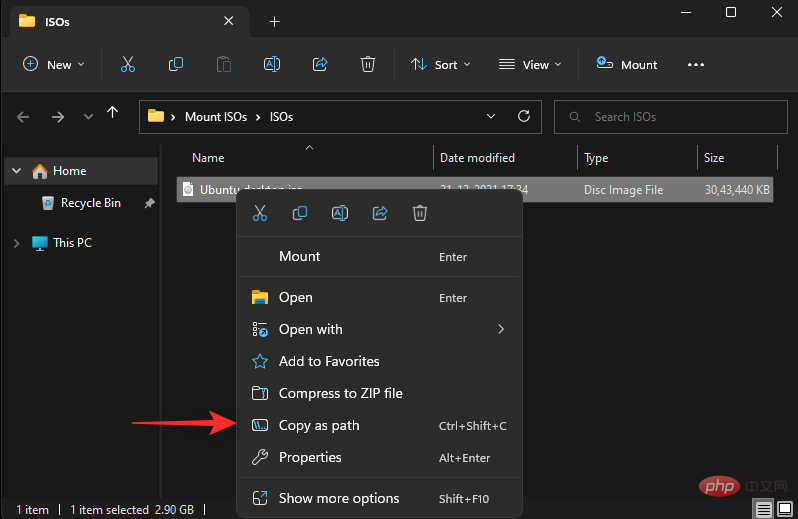
Open File Explorer and navigate to the desired ISO file. Once found, right-click on the same content.

Click to copy the path .
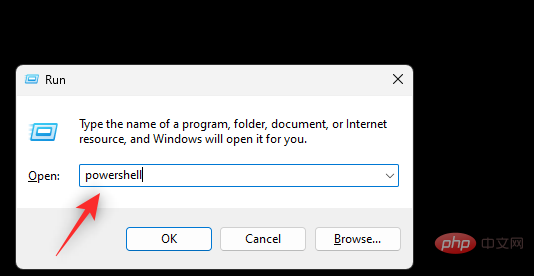
Press the Windows R keyboard to start running.

Now enter the following and press Ctrl Shift Enter on your keyboard.
powershell
Use the following command to mount your ISO. Just replace PATH with the path to the ISO we copied earlier.
Mount-DiskImage -ImagePath "PATH"
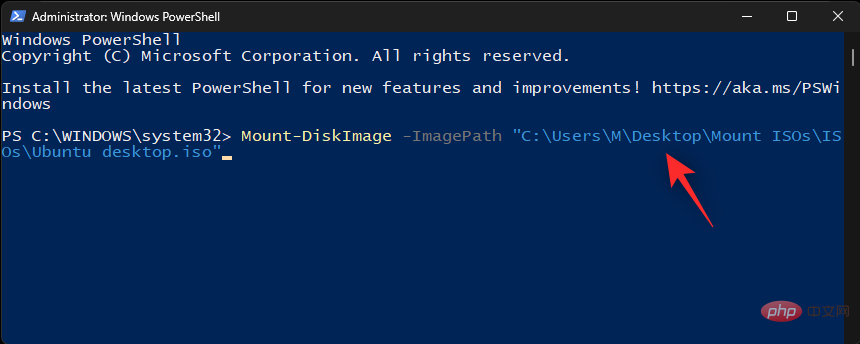
Note: Use Copy as Path , the path will be automatically pasted with quotes. However, if this does not happen, make sure to add quotes in Path.
Press Enter when finished.
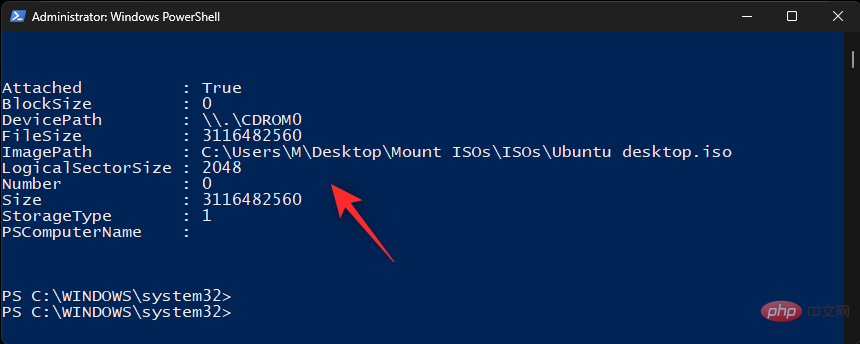
That's it! The selected ISO will now be mounted to the virtual drive on your system.
Method 5: Use third-party tools
There are a large number of third-party tools that allow you to manipulate ISO images. These tools also come bundled with the ability to easily mount ISOs in Windows 11. You can take advantage of the same and mount your ISO. Follow any of the following sections based on your preference.
Option 1: Use WinCDEmu
WinCDEmu is an open source tool that allows you to mount ISO images on Windows 11. Please follow the tutorial below to help you through the process.
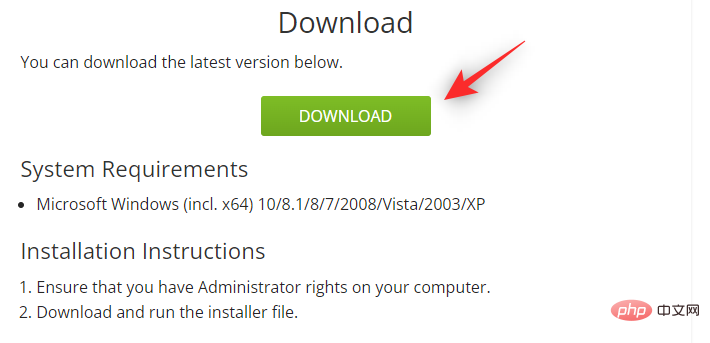
- WinCDEmu | Download Link
Click the link above and then click DownloadDownload WinCDEmu to your PC. After downloading, double click and launch the same.
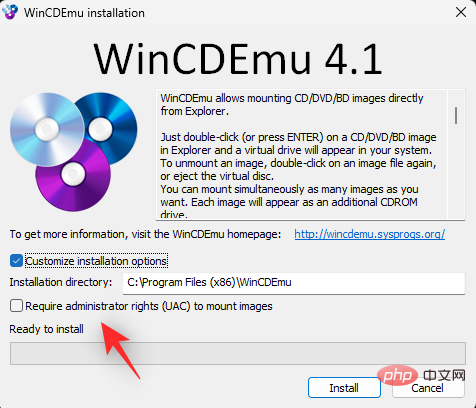
Check the Custom Installation Options box.

Select the installation directory of WinCDEmu on your PC as needed.
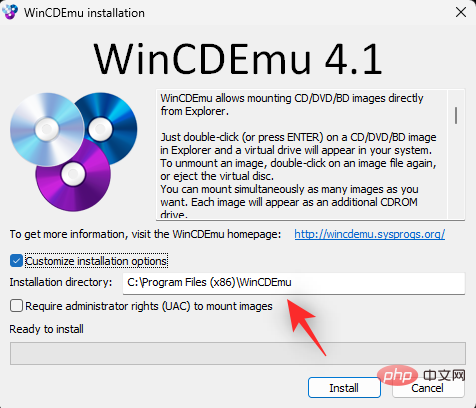
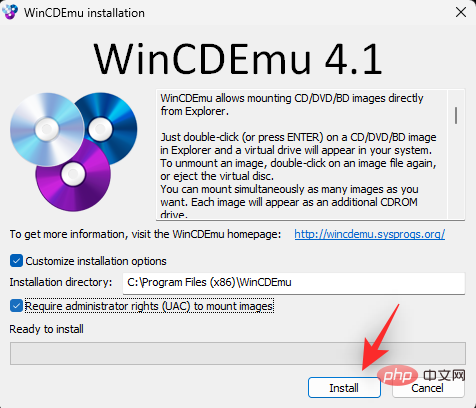
Also, if you wish to prevent unauthorized users from installing the ISO on your system, check Require administrator privileges (UAC) to install the image checkbox.
After completion, click Install.
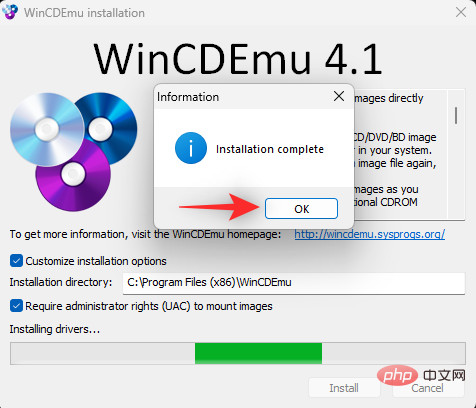
After the installation is complete, click OK.
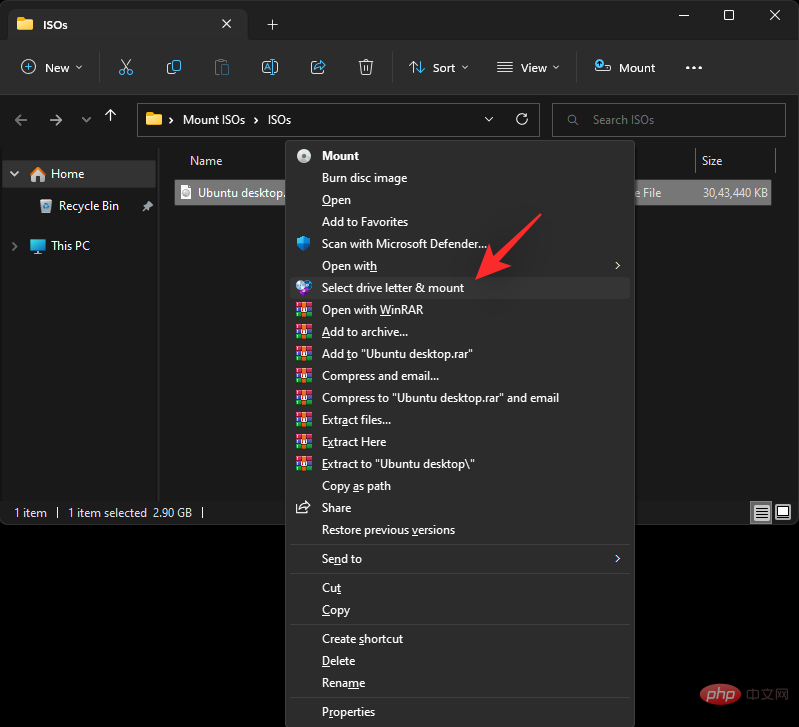
Now navigate to the relevant ISO in File Explorer Shift Right-click.
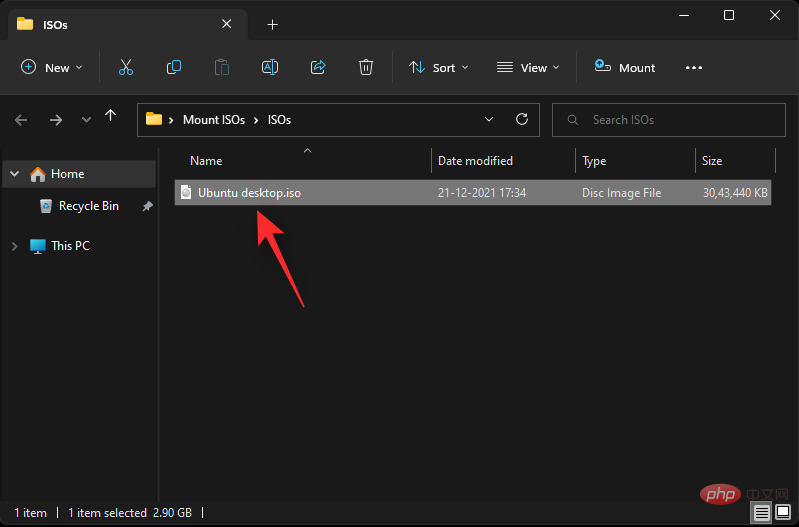
Click to select the drive letter and install .
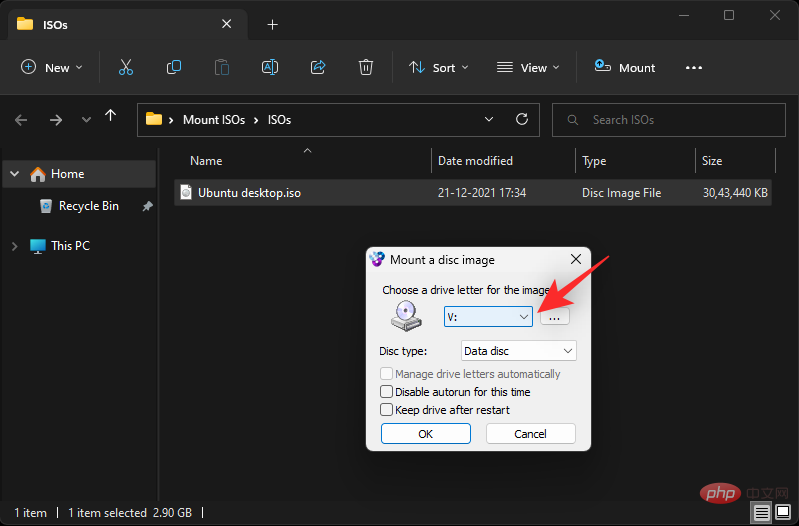
Use the drop-down menu at the top and select the desired letter for your virtual drive.
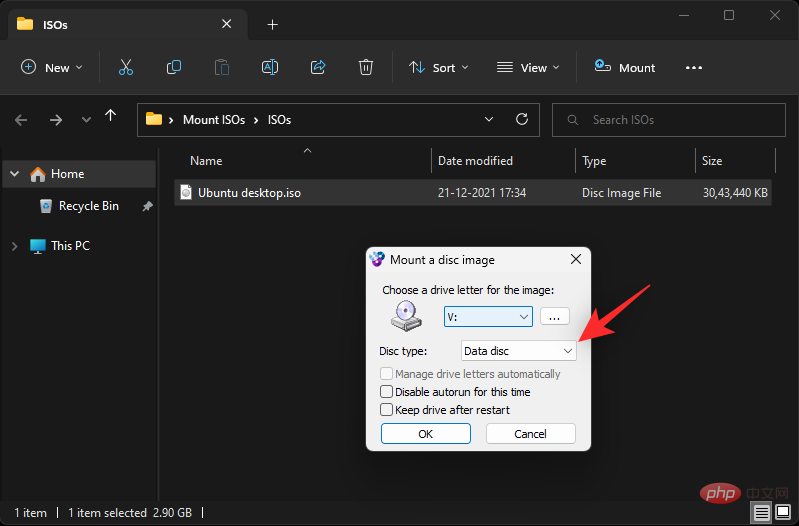
If applicable, use the next drop-down menu to select your disk type. This will be the emulated disk type on Windows 11.
Check the boxes below based on your preferences.
- Temporarily disable autorun: If you select the checkbox for this option, the disk will not use its autorun feature.
- Preserve drives across reboots: Virtual drives with mounted ISOs will be preserved across reboots.
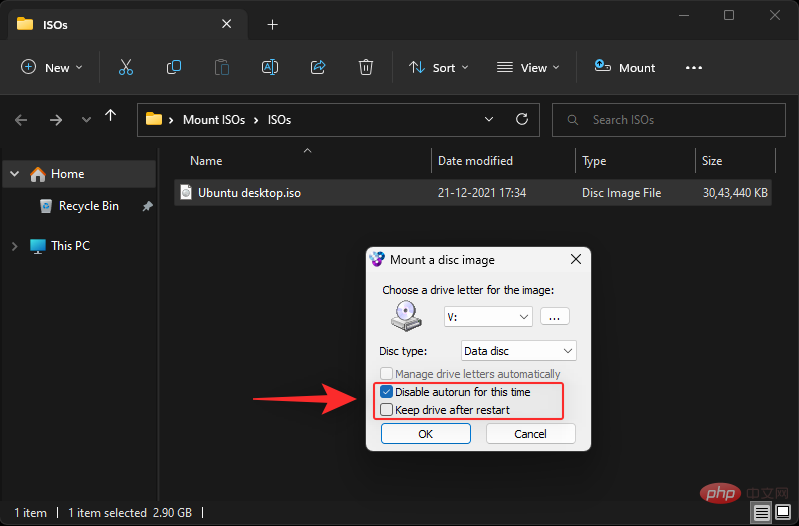
Click OK when finished.
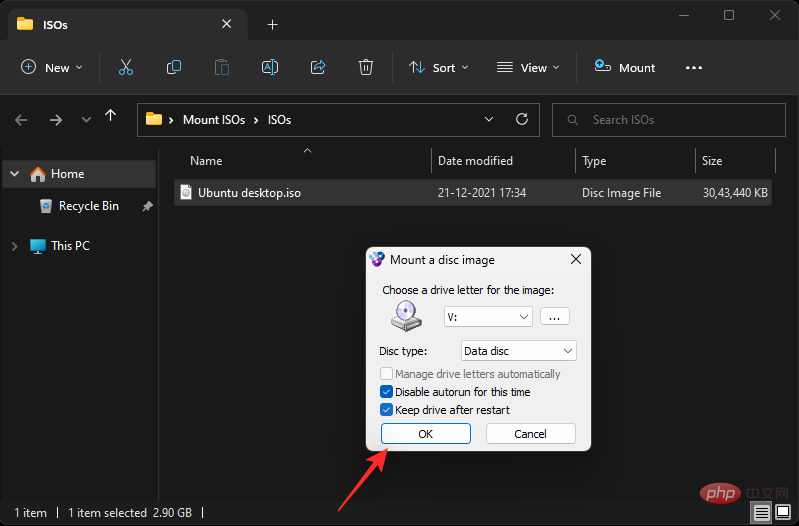
That's it! The selected ISO image should now be mounted to the virtual drive on your PC.
Option 2: Use PowerISO
PowerISO is another long-standing utility that can help you mount ISO files on your system. Use the tutorial below to help you through the process.
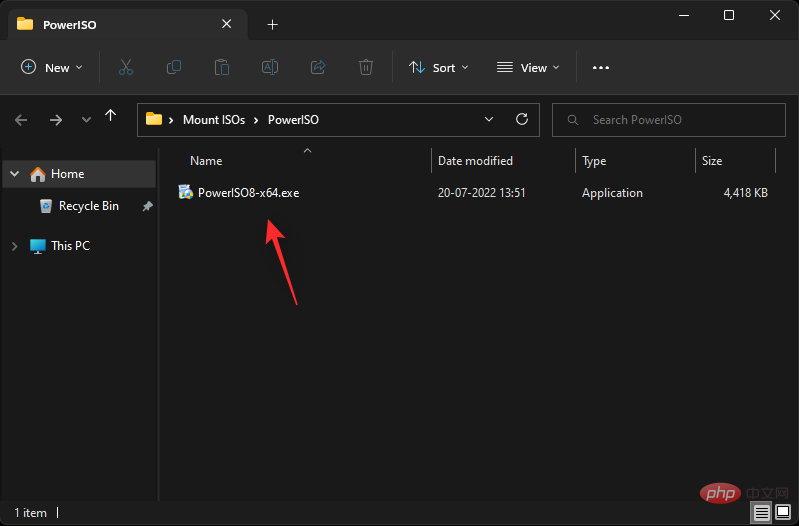
- Power ISO | Download Link
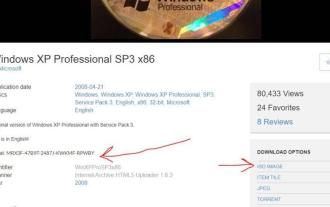
Click on the link above and select one of the download links based on your CPU. The download should start automatically in your browser. Just save it to local storage. Double click once done and start the same operation.
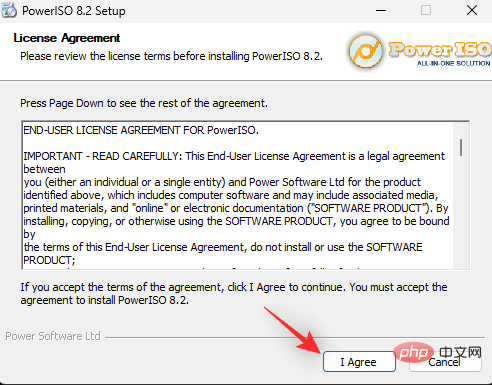
Click I agree.
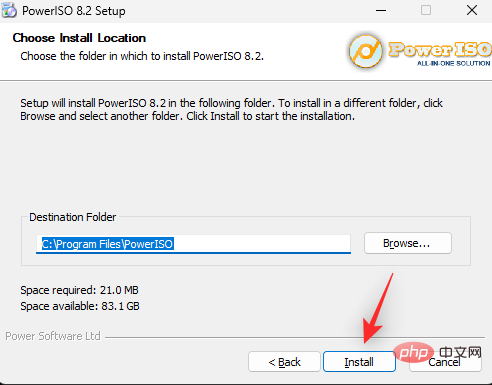
If necessary, click Browse and select a custom installation directory for PowerISO.
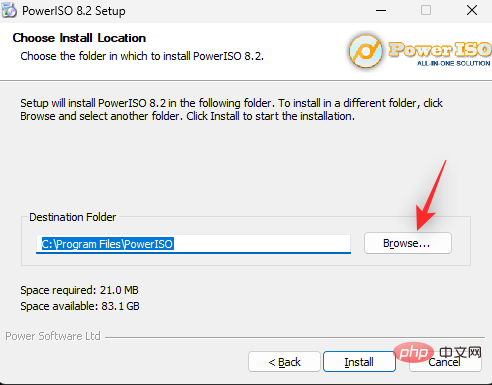
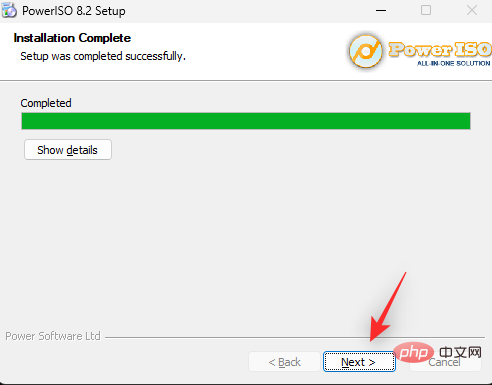
Click Install after completion.
Click Next.
If you wish to use PowerISO to open other file types, select Other file associations on the left. ISO is selected by default at the top.
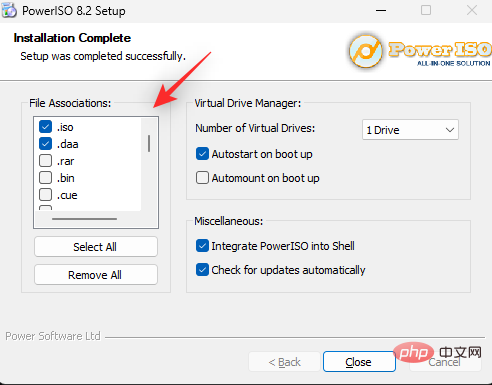
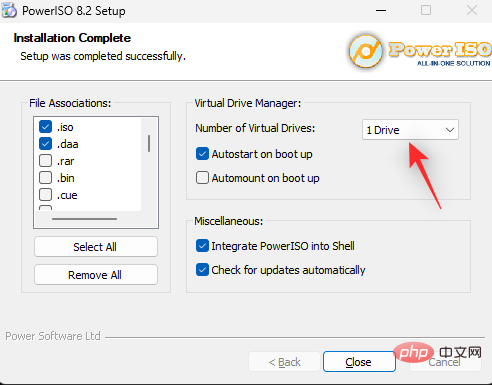
#Use the drop-down menu to select the number of virtual drives you want to add to your PC.
Also, select the checkboxes for the following options based on your preference.
- Auto-launch on boot: This will launch PowerISO in the background every time your PC boots up.
- Automount on startupAutomount: This option will automatically mount the last mounted ISO to your virtual drive every time your PC boots up.
- Integrate PowerISO into Shell: This will add PowerISO options to File Explorer, including the right-click context menu.
- Automatically check for updates: This option will allow PowerISO to automatically check for new versions and pending updates in the background.
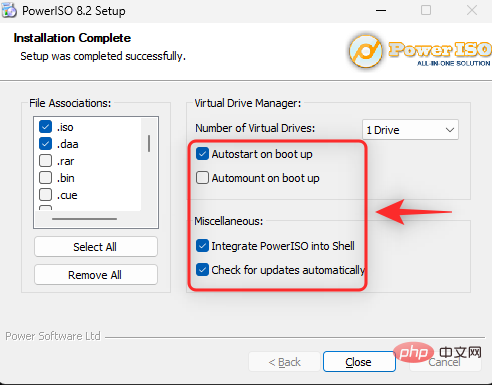
Click Close when finished.
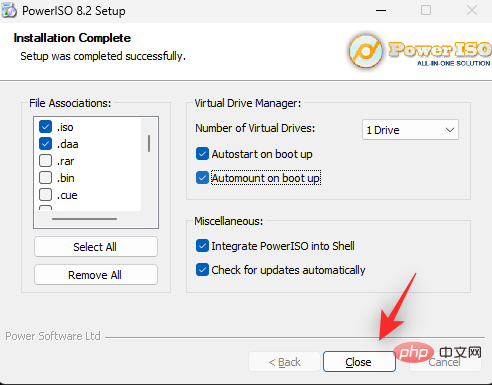
Restart the system at this time. This is a necessary step to install the PowerISO virtual drive on your system as required.
When finished, navigate to the relevant ISO fileShift Right-click in File Explorer.
Hover your mouse over PowerISO in the context menu.
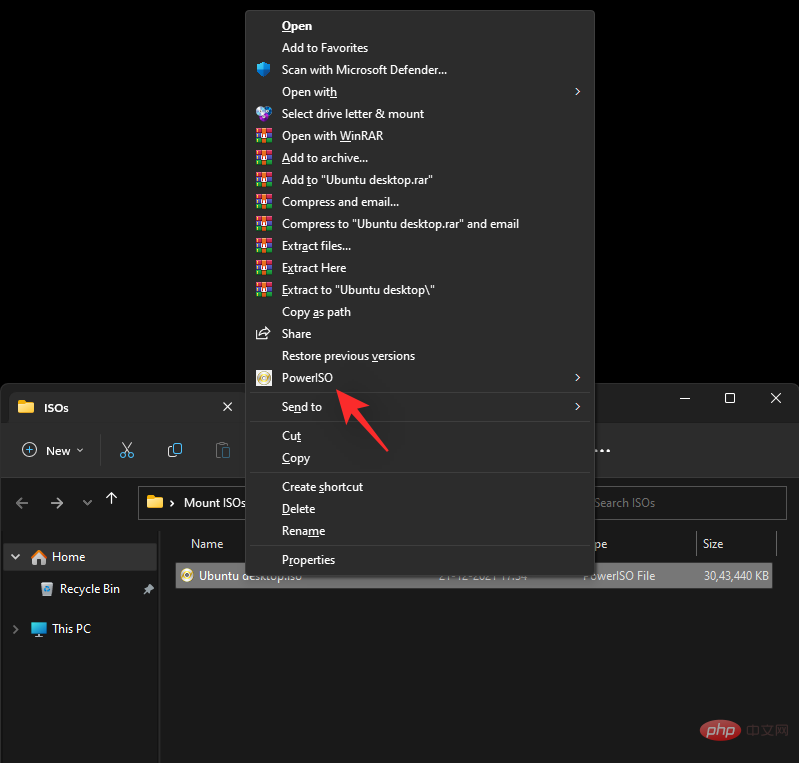
Select Mount image to drive [N:]

#The selected ISO will now be mounted to your PowerISO virtual drive. You can access the same content in the This PC section of Windows 11 File Explorer.
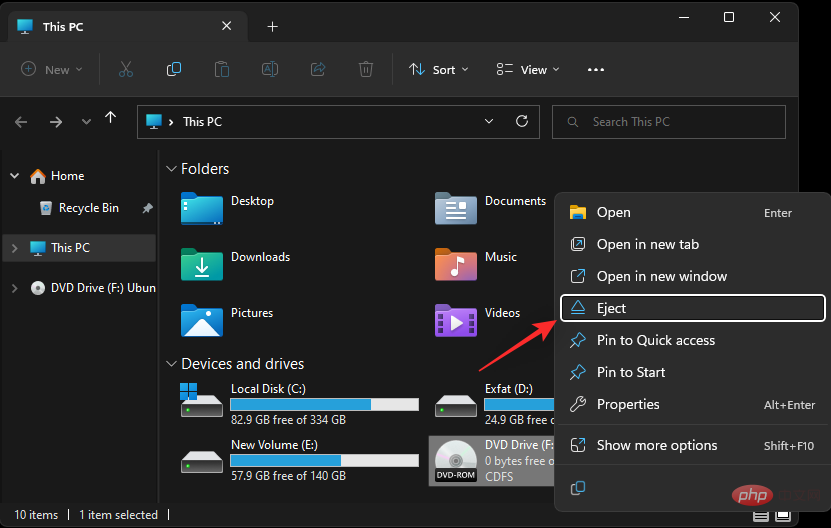
How to Uninstall an ISO
Uninstalling an ISO in Windows 11 is very easy thanks to its built-in options. Just right-click on your virtual drive and click Eject. This applies to all native methods mentioned above that don't use third-party tools.
#If you used a third-party tool to mount the ISO, then you will need to uninstall it from your system using the dedicated section in the context menu. Depending on the tool you are using, the option will be named "Eject " or "Uninstall".
The above is the detailed content of 5 Ways to Easily Mount an ISO in Windows 11. For more information, please follow other related articles on the PHP Chinese website!

Hot AI Tools

Undresser.AI Undress
AI-powered app for creating realistic nude photos

AI Clothes Remover
Online AI tool for removing clothes from photos.

Undress AI Tool
Undress images for free

Clothoff.io
AI clothes remover

Video Face Swap
Swap faces in any video effortlessly with our completely free AI face swap tool!

Hot Article
Hot Tools

Notepad++7.3.1
Easy-to-use and free code editor

SublimeText3 Chinese version
Chinese version, very easy to use

Zend Studio 13.0.1
Powerful PHP integrated development environment

Dreamweaver CS6
Visual web development tools

SublimeText3 Mac version
God-level code editing software (SublimeText3)
Hot Topics
 1387
1387
 52
52

 How to solve Rufus ISO image extraction failure issue
Apr 19, 2023 pm 01:04 PM
How to solve Rufus ISO image extraction failure issue
Apr 19, 2023 pm 01:04 PM
Rufus is the best in the industry when it comes to creating bootable USB drives. Just insert your USB drive, browse for the ISO file and click on the "Start" option to start the ISO extraction process, and that's it! But sometimes while Rufus is extracting ISO files, it may stumble upon the error message “Error: ISO image extraction failed”. You must close the error message and retry the entire process again. Fix 1 – Check USB Device and ISO File Before retrying the process, check the ISO file and USB device again. 1. Make sure the USB device is properly connected to your system. You can plug in the drive using the port on the back of the cabinet. 2. The ISO file may have
 How to open iso file on mobile phone
Feb 24, 2024 pm 05:33 PM
How to open iso file on mobile phone
Feb 24, 2024 pm 05:33 PM
With the development of technology, more and more people are now starting to use ISO files. An ISO file is a format of a disc file that usually contains all the contents of the disc, including operating system, software, games, etc. Opening an ISO file on your computer is relatively simple, just use virtual optical drive software. However, when we want to open ISO files on our mobile phones, it may be more troublesome. Well, this article will introduce some methods for you to easily open ISO files on your phone. 1. Using the virtual optical drive application First, we can install
 Unable to delete ISO file opened in system: How to fix it
Apr 16, 2023 pm 02:25 PM
Unable to delete ISO file opened in system: How to fix it
Apr 16, 2023 pm 02:25 PM
What is an ISO file? An ISO file is a file that contains an exact copy of an optical disc, such as a DVD or CD. This type of disc image can be installed on your computer and appear as if you have an optical drive connected to your computer and a CD or DVD containing data inserted into the drive. ISO files can also be used to burn new copies of the DVDs or CDs from which they were created, or simply to contain a large number of files in a single file that is easy to download. ISO files are often quite large; when you're done with them, you'll most likely want to
 5 Ways to Easily Mount an ISO in Windows 11
Apr 19, 2023 am 08:13 AM
5 Ways to Easily Mount an ISO in Windows 11
Apr 19, 2023 am 08:13 AM
Why mount ISO in Windows 11? Mounting an ISO is always more beneficial than extracting its contents. Not only is it super fast, it also helps you save disk while accessing its files quickly and helps save time spent on extracting ISO images. Mounting the ISO (or any other image file, for that matter) also has the advantage of accessing the operating system and other boot drives, which you can test beforehand to make sure they work as expected. How to Mount ISO in Windows 11 You can use the following method to easily mount ISO in Windows 11. Depending on your current preferences, follow any of the sections below. Method 1: Use double-click Windows File Explorer
 Install Windows XP ISO on Windows 11 using VirtualBox
May 05, 2023 pm 02:25 PM
Install Windows XP ISO on Windows 11 using VirtualBox
May 05, 2023 pm 02:25 PM
Windows XP on Windows 11 VirtualBox Virtual Machine The steps given here to install a Windows XP ISO image using VirtualBox are not limited to Windows 11. Users can follow these steps on Linux such as Ubuntu, macOS, Windows 10, 7, or other operating systems they are using and have Virtualbox. Download Windows
 How to upgrade ReviOS to a newer version?
Apr 13, 2023 am 11:46 AM
How to upgrade ReviOS to a newer version?
Apr 13, 2023 am 11:46 AM
Information and Prerequisites¶For newer versions of ReviOS, we provide 2 separate ISOs. One for installing a brand new ReviOS instance and one for upgrading a previous ReviOS version. This way, users can update their ReviOS instances without reinstalling and losing files. DANGER This is an experimental approach. The upgrade has been tested multiple times, but we obviously can't cover all edge cases, so use with caution! This method is only available when upgrading to at least 21H2 Windows versions or libraries
 Recommended Three Best Custom ISO Files for Windows 11
Apr 22, 2023 pm 09:58 PM
Recommended Three Best Custom ISO Files for Windows 11
Apr 22, 2023 pm 09:58 PM
In the context of Windows, an ISO file is something that contains all the installation files for a program or operating system. Microsoft has made ISO versions of Windows 11 available on its website for those who want to create bootable installation media. You can save these files to a flash drive or DVD and then take them to your computer to install or use it to create a virtual machine. But there are people on the Internet who create custom ISO files. What is a custom ISO file? Some people find that Windows 11 has a lot of unnecessary files and applications that only slow down the operating system. At least for these people, Windows 11
 Download the Windows 10 22H2 ISO image (offline installer)
Apr 16, 2023 pm 10:16 PM
Download the Windows 10 22H2 ISO image (offline installer)
Apr 16, 2023 pm 10:16 PM
Windows 10 ISO images (version 22H2/November 2022 update) are available for download via the Microsoft website. According to the tech giant, the Windows 10 22H2 ISO with the latest cumulative update applied is available in all editions, languages and two formats (64-bit and 32-bit). The Windows 10 version 22H2 update was released in November 2021, and Microsoft has confirmed that the update is now widely available. This means that most users manually