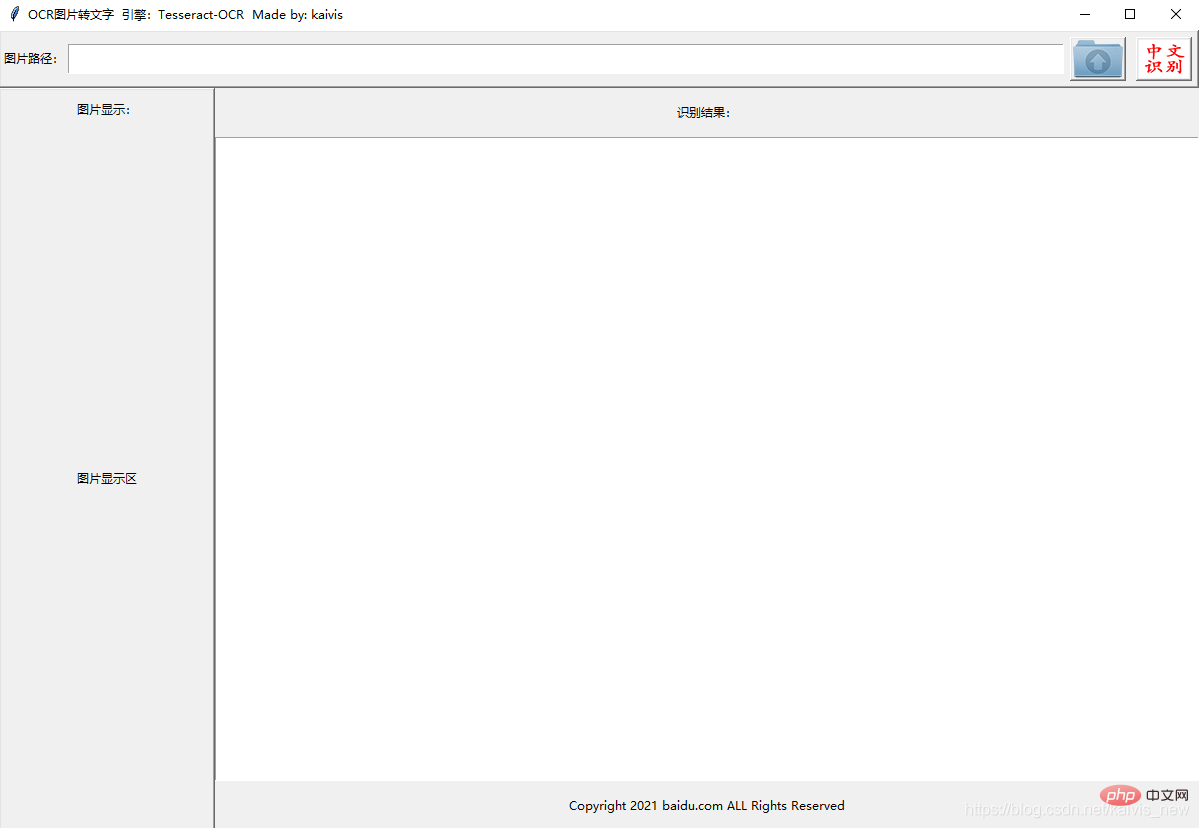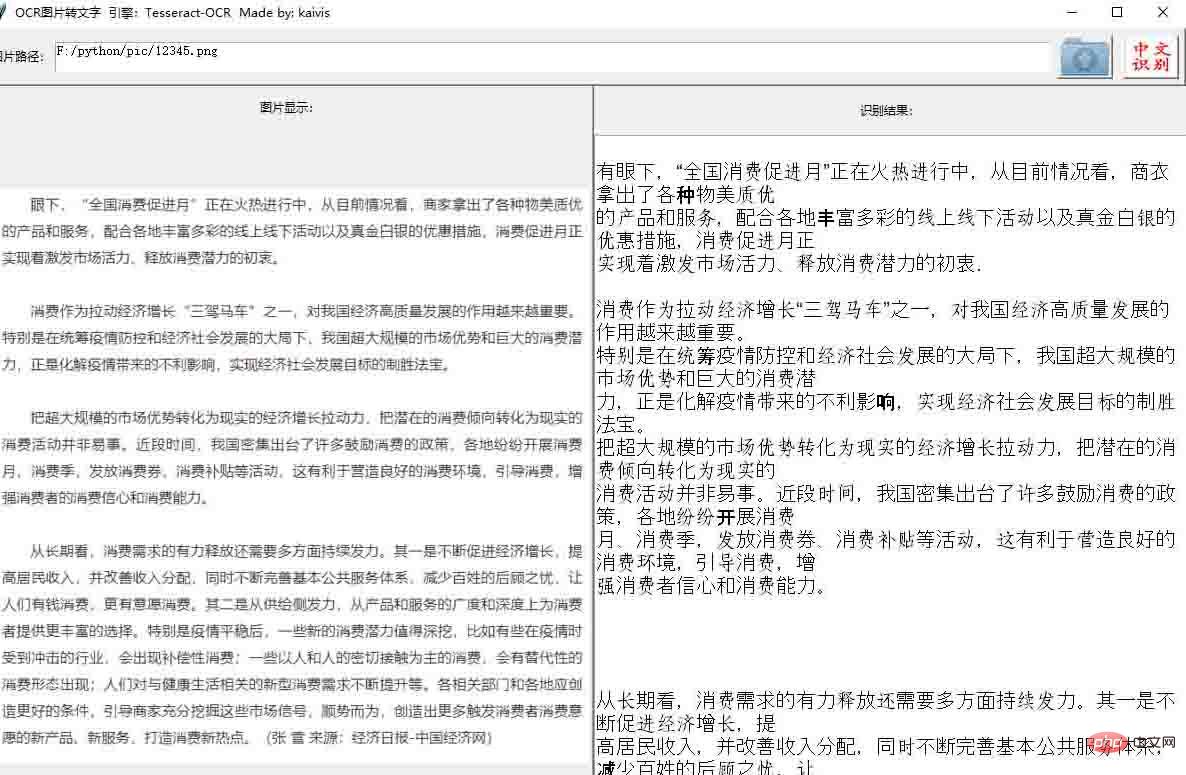
I used python Tesseract-OCR to make a small tool for image to text conversion, and the GUI design uses the control of the tkinter library
See the picture below for the interface and effect:

 ##
##
#进一步优化  1. 底部添加label   2.对识别后的文本处理,去空格


from PIL import Image as PImage
from PIL import ImageTk
import pytesseract
from tkinter import *
from tkinter import filedialog
from tkinter.scrolledtext import ScrolledText
import re

# 将图片内容翻译为文字,显示在文本框内
def trans():
    contents.delete('1.0', END)
    transTxt = pytesseract.image_to_string(PImage.open(filePath.get()),lang='chi_sim')
    #对transTxt进行处理  去空格,换行符去重
    transTxt = transTxt.strip('\n\r')   #无参数可以删除开头结尾的空格\n\t\r
    print(transTxt)
    contents.insert( INSERT, transTxt.replace(' ','').replace('\n\n','\n').replace('\r',''))

#打开图片文件,显示路径,并将图片展现
def openfile():
    filename.delete('1.0', END)
    filePath.set(filedialog.askopenfilename())
    filename.insert(1.0,filePath.get())
    org_img = PImage.open(filePath.get())
    #调整图片显示大小 600*800
    w,h = org_img.size
    if w>600:
        h=int(h*600/w)
        w=600
    if h>800:
        w=int(w*800/h)
        h=800
    img = ImageTk.PhotoImage(org_img.resize((w,h)))
    showPic.config(image=img)
    showPic.image = img       #保持一个引用才能显示图片,tkinter的BUG


#设置主窗口
top = Tk()
top.title("OCR图片转文字  引擎:Tesseract-OCR  Made by: kaivis")
#top.iconbitmap("./pic/y1.ico")
top.geometry("1200x800")

filePath=StringVar()

bt_img1 = ImageTk.PhotoImage( file= "./pic/Outbox1.png")
bt_img2 = ImageTk.PhotoImage( file= "./pic/bt_img2.png")

#第一个窗体
frame1 = Frame (top, relief=RAISED, borderwidth=2)
frame1.pack(side=TOP, fill=BOTH,  ipady=5, expand=0)
Label(frame1,height=1,text="图片路径:").pack(side=LEFT)
filename = Text(frame1,height=2)
filename.pack(side=LEFT,padx=1, pady=0,expand=True, fill=X)
Button(frame1,text="打开文件", image=bt_img1, command=openfile).pack(side=LEFT,padx=5, pady=0)
Button(frame1,text="中文识别", image=bt_img2, command=trans).pack(side=LEFT,padx=5, pady=0)

#第二个窗体
frame2 = Frame (top, relief=RAISED, borderwidth=2)
frame2.pack (side=LEFT, fill=BOTH,  expand=1)
Label(frame2,text='图片显示:',borderwidth=5).pack(side=TOP,padx=20,pady=5)
showPic = Label(frame2,text='图片显示区')
showPic.pack(side=BOTTOM,expand=1,fill=BOTH)

#第三个窗体
frame3 = Frame (top)
frame3.pack (side=RIGHT, fill=BOTH,  expand=1)
#contents = ScrolledText(frame3)
Label(frame3,text='识别结果:',borderwidth=5).pack(side=TOP,padx=20,pady=10)
contents = Text(frame3,font=('Arial',15))
contents.pack(side=TOP,expand=1,fill=BOTH)
Label(frame3,text='Copyright 2021 baidu.com ALL Rights Reserved',borderwidth=5).pack(side=BOTTOM,padx=20,pady=10)

top.mainloop()
2.1 Import related libraries

2.2 Create a class and write a function to save screenshots
Since I am using the screenshot software that comes with win10, the screenshot hotkey is ‘win shift s’. You can freely change it according to different screenshot software.
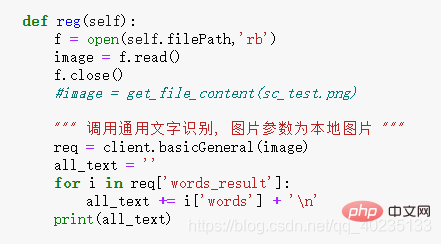
2.3 Write a function to convert images to text
First go to Baidu Intelligent Cloud official website to apply for an image recognition API.


2.5 Run
Create a class when using it, just call two functions:
2.6 Effect
Run the program and take a screenshot from an article in Baidu Library:

Note:
It can be seen from the running results of 2.6 that the effect is still good. Perfectly solved my current needs.The above is the detailed content of How to convert images to text in python. For more information, please follow other related articles on the PHP Chinese website!


