

How to use ClipChamp: the free Windows 11 video editor

Remember Windows Movie Maker on Windows 7? Since discontinuing Windows Movie Maker, Microsoft hasn't launched any real movie makers. On the other hand, they tried to revamp the Photos app with a small and lightweight built-in video editor. After a long time, Microsoft launched Clipchamp, a better video processor for all Windows 11 devices. In this article, we’ll take a deep dive into how to get everything from the Clipchamp app on your Windows 11 device.
How to Use Clipchamp – Detailed Tutorial
We provide detailed tutorials on how to use Clipchamp to manage your videos using different tools, stock audio video clips, text to speech generator and more.
Step 1 - Log in to Clipchamp
You must log in to Clipchamp before you can do anything else.
1. Press the Windows key and click on the " Clipchamp " application.
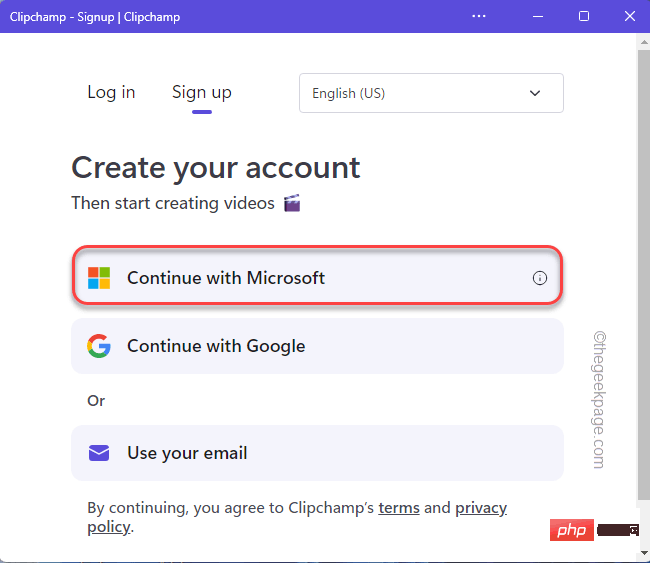
2. In the Clipchamp app, click " Continue with Microsoft ".
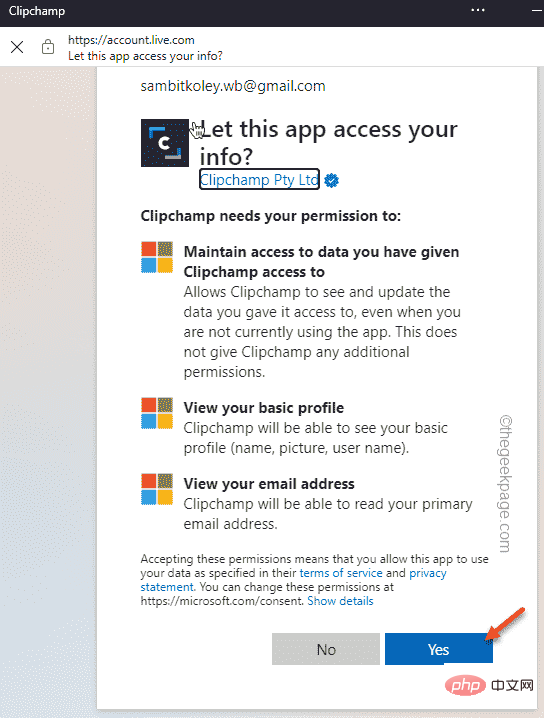
#3. This will automatically detect your Microsoft ID and sign you in.
4. Just click "is" to enable Clipchamp.
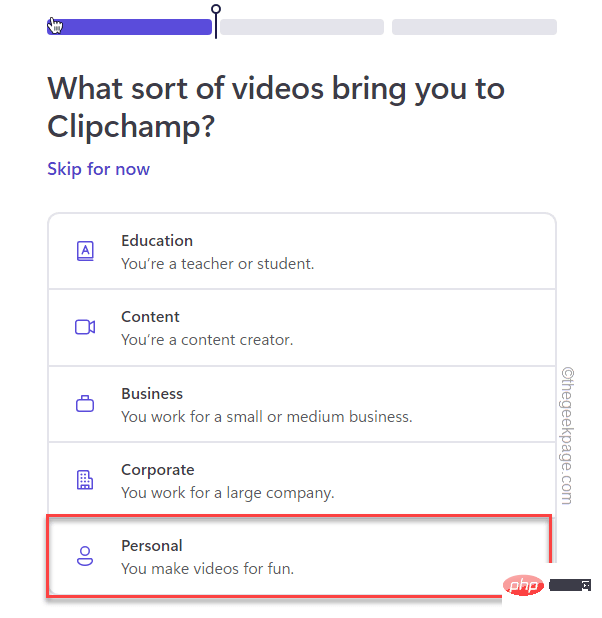
#5. Now, you will be asked 'What kind of video brought you to Clipchamp? '.
6. Click "Personal". Otherwise, you can choose anything else from the options.
Step 2 - Create a New Video
Now you can edit your video using Clipchamp.
1. In Clipchamp, click Create Video at the top of the screen.
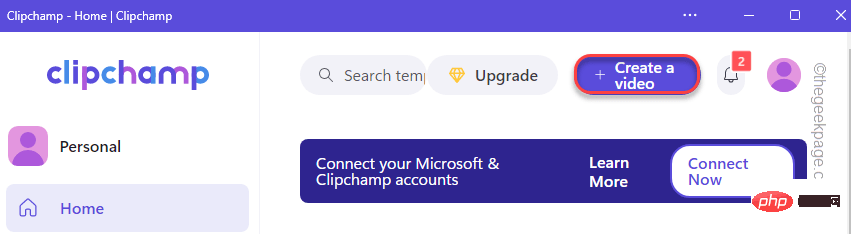
This will open a blank screen with all the useful accessories on the left and the main video player and timeline on the right of the screen.
2. Additionally, you can switch the aspect ratio of the video. To do this, click on the small rectangular box set to " 16:9 ".
3. You can choose any option you like.

Step 3 – Import Original Video File
You can import video files into Clipchamp. Clipchamp allows a wide range of import options.
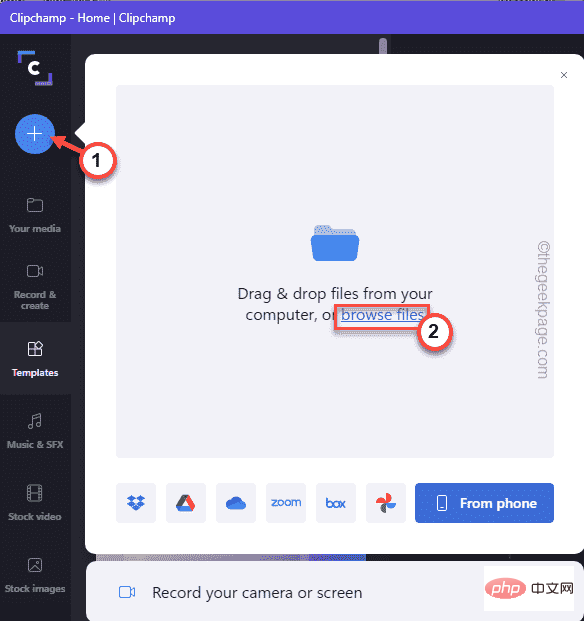
1. Just click on the " ⊕ " sign on the left.
2. Now you will see several places from which you can import files. You can even import files from your phone using the "From phone" option.
Also, you can drag and drop files.
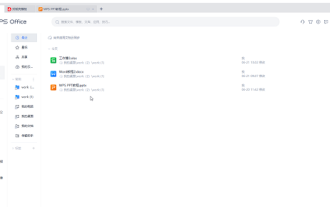
3. Click "Browse File" and navigate to the video file.
4. Simply select the file you want and click "Open".
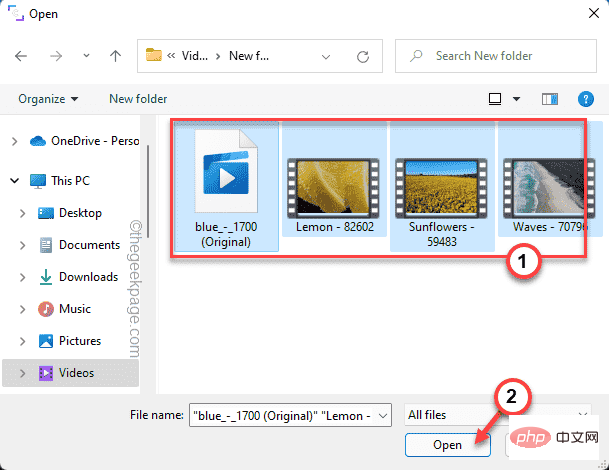
This will import your file into the Clipchamp editor.
Step 4 – Add Video Files to the Timeline
After importing audio, video, and image files, you can add the files directly to the Timeline.
1. Just select the video file you want to start with.
2. Then, drag and drop the file onto the timeline in the lower left corner of Clipchamp.
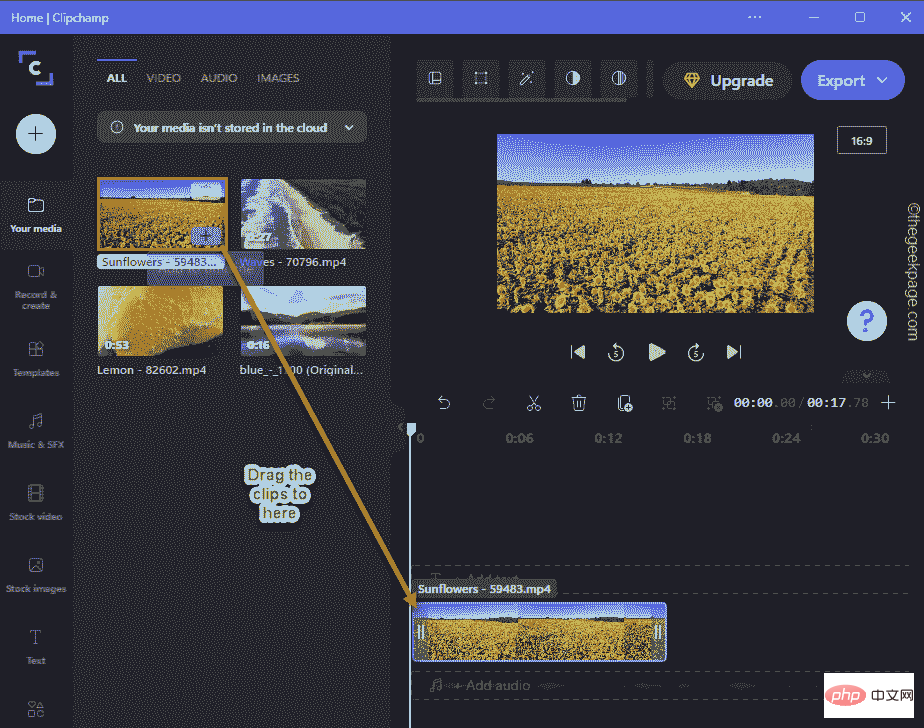
The timeline, as the name suggests, shows the order of clips that will play in the video.
You can view these clips in detail by zooming in on them. It allows you to edit your clips to the finer details you like.
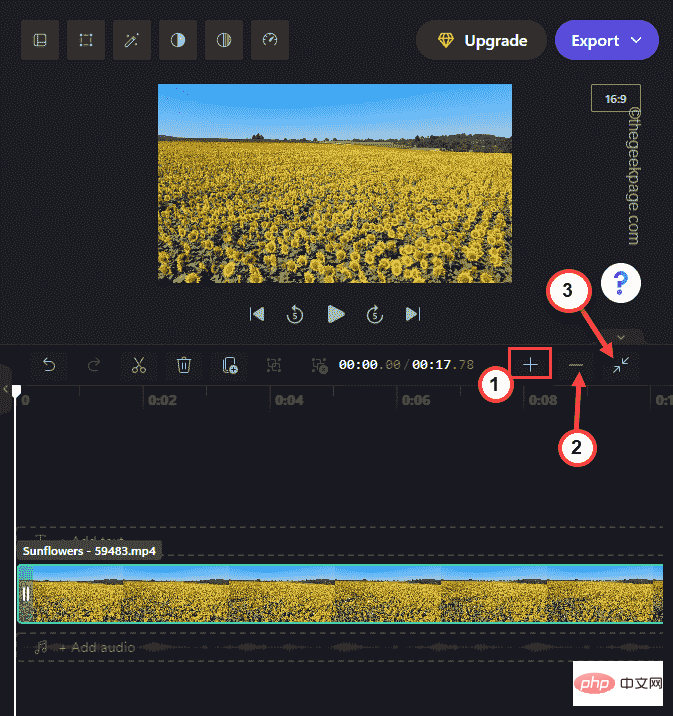
3. Just click the " " button to zoom in on the timeline. Moreover, the "-" button has exactly the opposite effect, that is, shrinking the timeline.
4. Additionally, there is another key that can be used to zoom in to fit the clip in the timeline.
Step 5 - Use the Viewer Effectively
The Video Viewer section in the upper right corner shows the actual video you are making.
You can resize the video viewer screen to your liking.
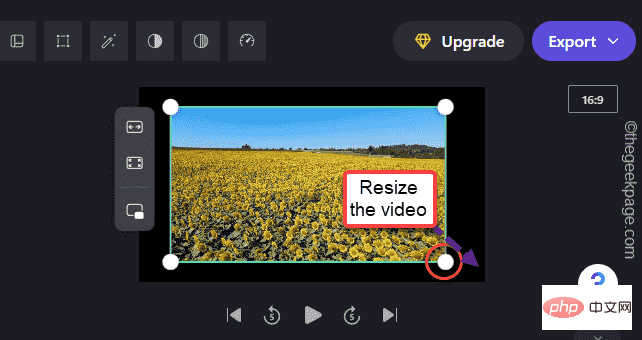
1. Simply select the video clip in the viewer.
You will notice that four dots are visible in the four corners of the video. You can switch the size of the video as needed.
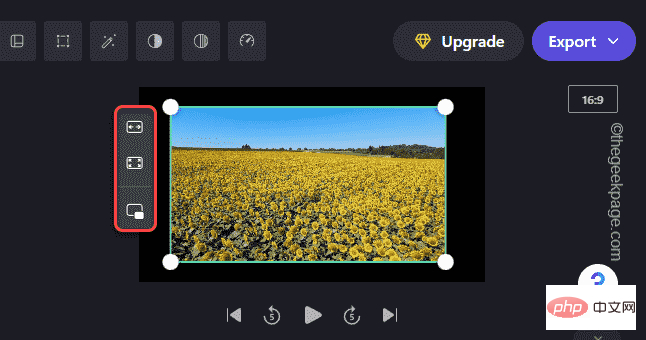
#2. Additionally, there are three different options for setting video files in the viewer feed.
适合居中裁剪以填充画中画
You can use these three options to resize the video.
This way you can dynamically adjust the screen size.
Step 6 - Basic Editing Tools
Clipchamp also includes a set of basic editing tools that you can use to trim, move, and split your original files.
Trim–
1. Simply select the video you want to trim from the timeline.
2. Then you can resize the video from both ends with your mouse.
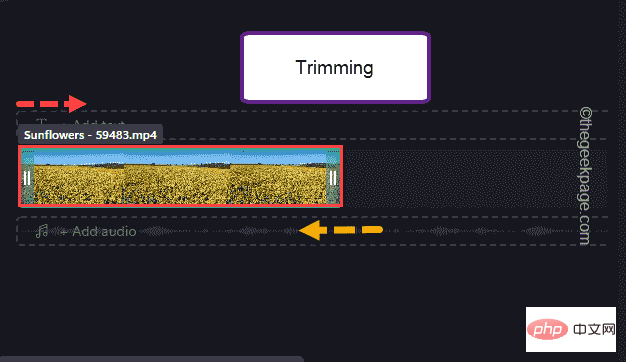
#In this way, you can trim the video clip.
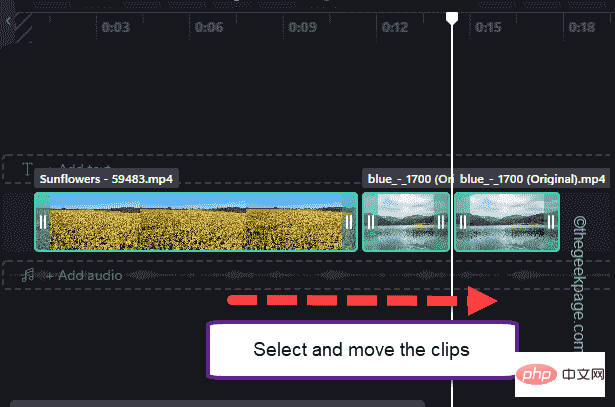
Moving Clips –
You can move and adjust clips as needed.
1. Just select the clip and drag it to a specific position on the timeline.
2. Even you can select multiple clips and move them. Just hold down the Ctrl button while selecting clips, and then you can easily drag and drop them into the timeline.
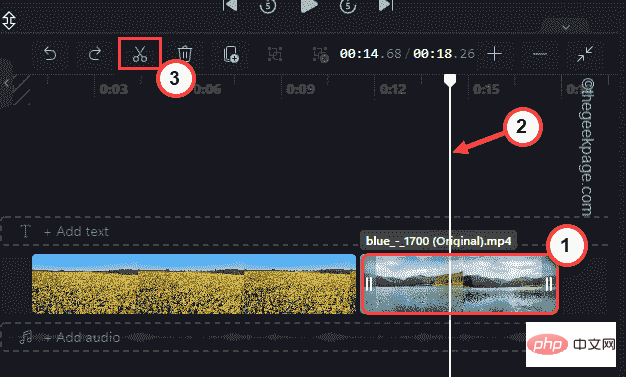
You can split a video clip into multiple clips as needed.
1. Select a clip from the timeline.
2. Adjust the slider of the clip to be divided.
2. When finished, just click the scissors icon on the tray to split the clip in half.
 Step 7 – Other Tools
In addition to these basic tools, there are some other tools you can use to edit your video in more detail.
1. Select the video in the viewer area.
2. Here you will notice a few options at the top of the screen.
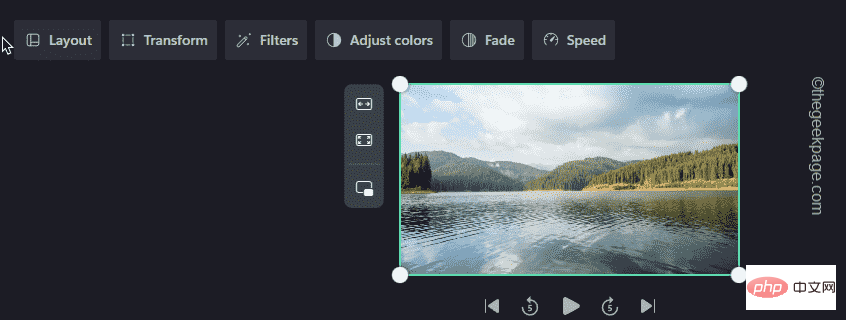 These are the various tools and their functions -
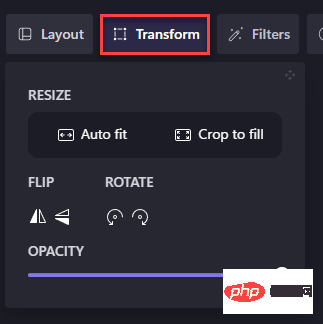
- Control the size of the clips on the screen.
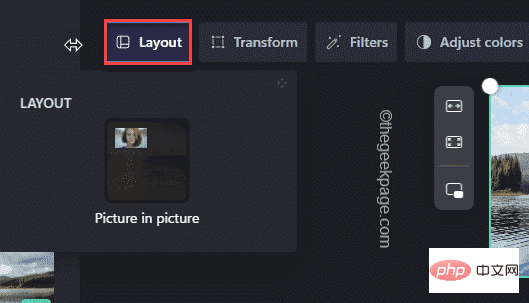
- You can crop your feed or rotate it in any direction from this menu. Also, you can control the opacity of the video clip.
- You can apply multiple filters to a video clip. Just click on "Filter" and select any filter you like.

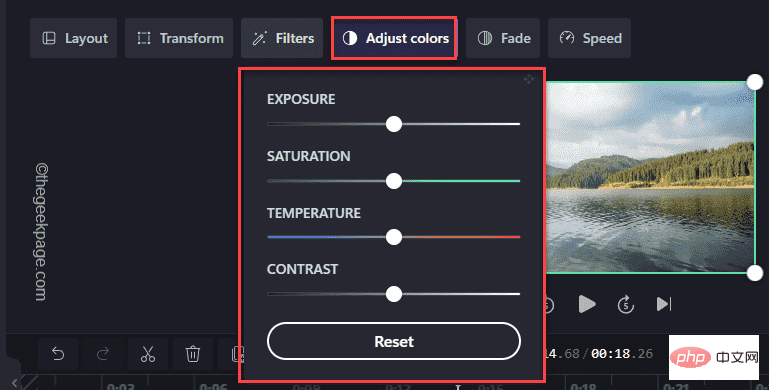
Sometimes you need color correction tools to balance the exposure, saturation of a clip , Temperature and Contrast. You can start here.
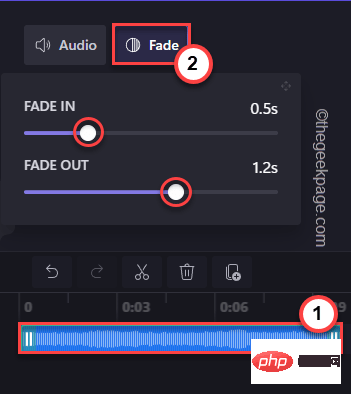
– The fade tool can be used for transitions between video clips. 1. Simply select the clip you want to fade out from the timeline.
2. Then, click "
Fade" and adjust the "FadeIn" and "FadeOut" times.
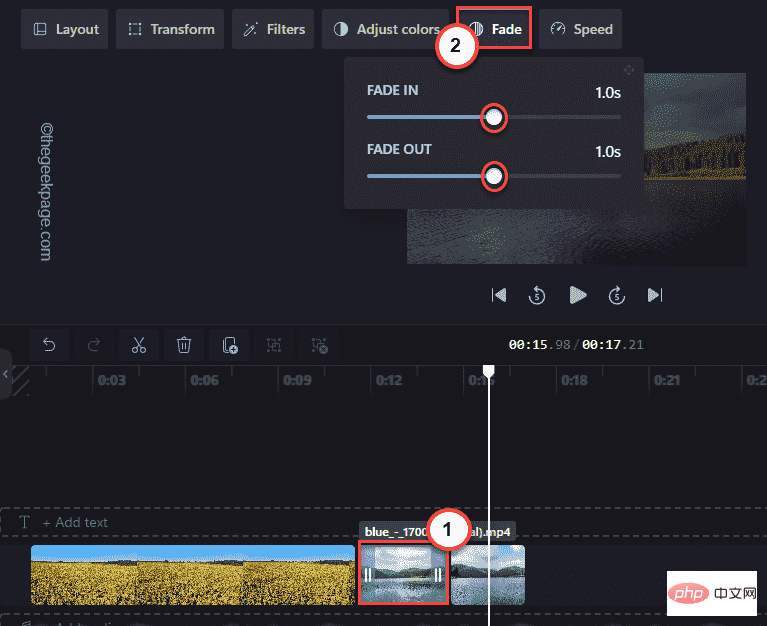 That's it! You can play the clips and notice this transition effect between clips.
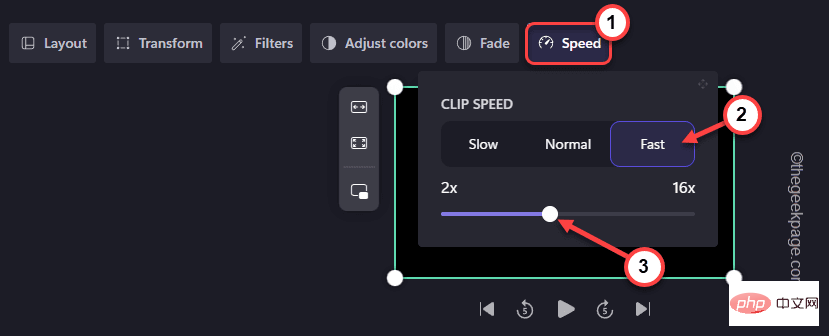
- You can use this option to adjust the speed of the clip.
1. Select the clip you want to change the speed of.
2. Then, click "
Speed" in the menu bar. After that, set it to "fast", "slow". 3. Adjust the speed.
 Step 8 - Text to Speech Generator
This app comes with a text to speech generator that you can use to the maximum extent.
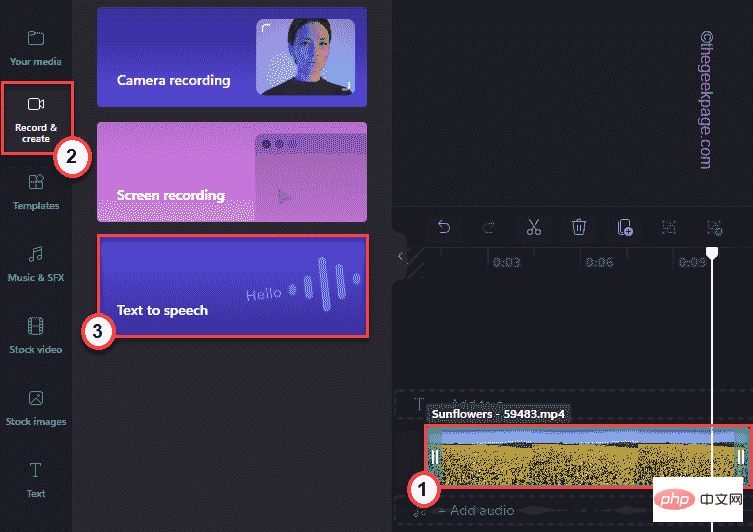
1. Select a clip from the timeline.
2. Then, click "
Record and Create" in the left pane.3. After that, click "
Text to Speech".
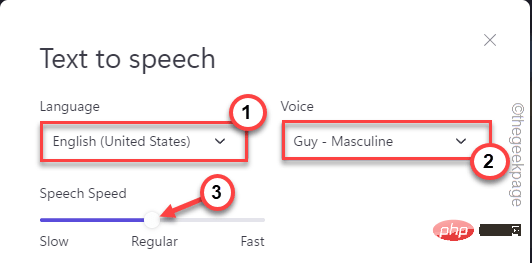
 #4. Now you can select your preferred language from the Language section.
5. After that, set "Sound".
6. Next, set the "Speech Speed" to "
Normal", "Slow" or "Fast" according to your preference.
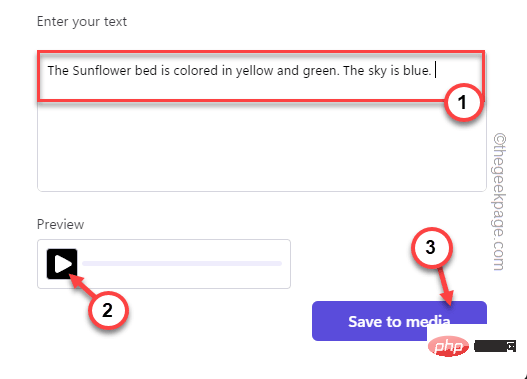
 # 7. Just write your "text" in voice format in the box you want.
8. You can "Preview".
9. After that, click "
Save to media" to save the audio file.
 #10. On the left, you will notice that the text-to-speech audio file has appeared.
11. Move the file to the timeline to insert it into the timeline.
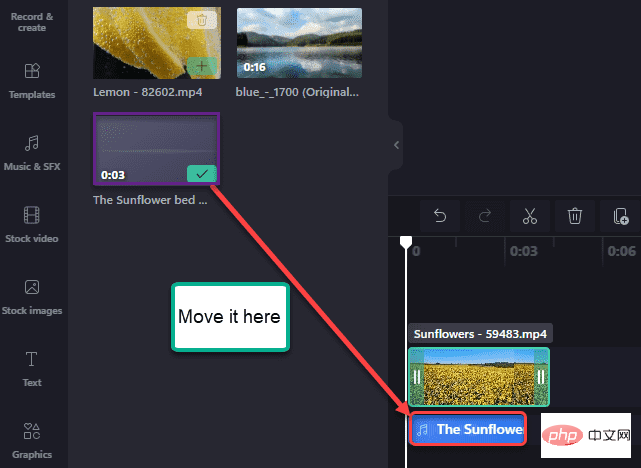 In this way, you can easily create video clips with the help of text-to-speech tool.
Step 9 - Use the built-in screen recorder
The most commonly used feature of the Clipchamp app is the built-in screen recorder.
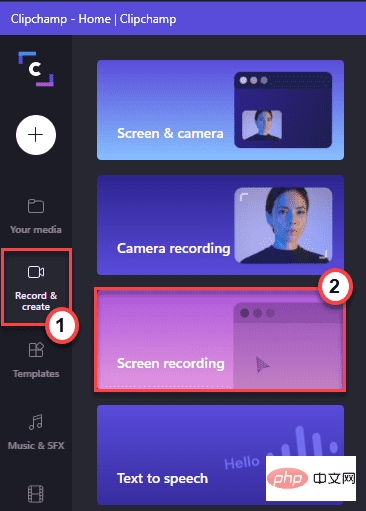
1. In the Clipchamp app, click "Record & Create" in the left pane.
2. After that, click "Record Screen".
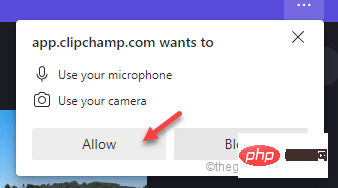
#3. You must allow this app to access the microphone and camera.
4. Just click "Allow" to continue.
5. Now, click the red button in the corner to start recording the screen.
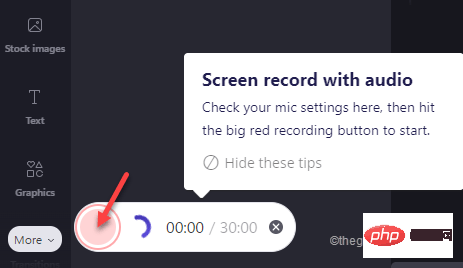
# 6. There are many options you can use to record your screen.
7. Select your window and click "Share" to start recording.
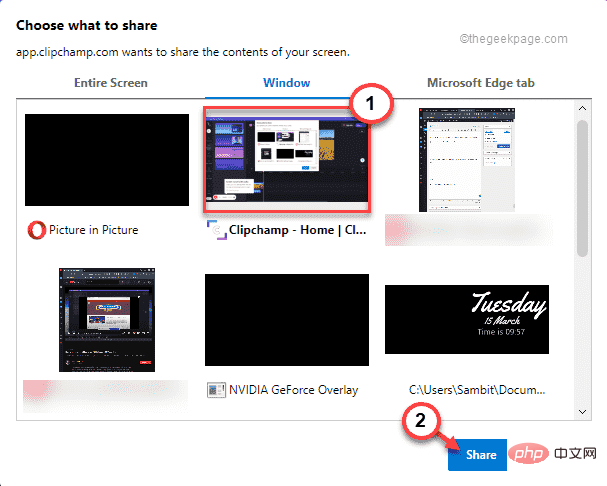
#8. After completing the screen recording, click the square symbol to end the recording.
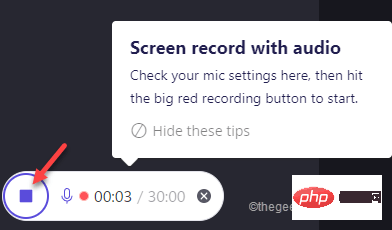
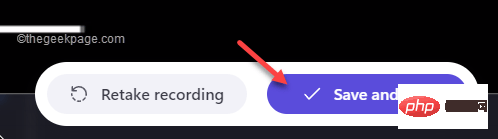
9. After recording the video, click "Save and Edit" to start editing the video.
After that, close Clipchamp and test.
Step 10 - Add Stock Music, Videos and Images
You can add stock music, videos and images directly to your video clips.
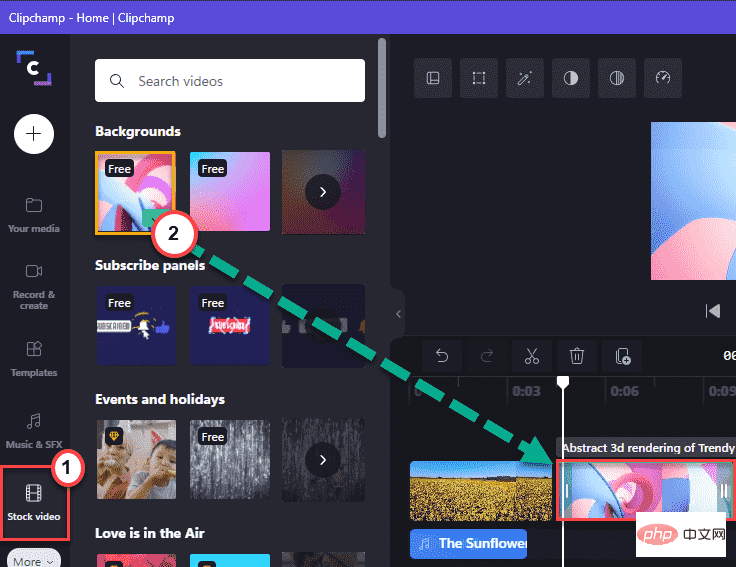
1. Simply click on "Stock Videos" in the left pane.
2. You will see the stock video clip. Just select the clip and drag it directly to the timeline.
3. In the same way, click "Music & Visual Effects" in the left pane.
4. Just select your favorite music or video effect and drag it to the clip you want.
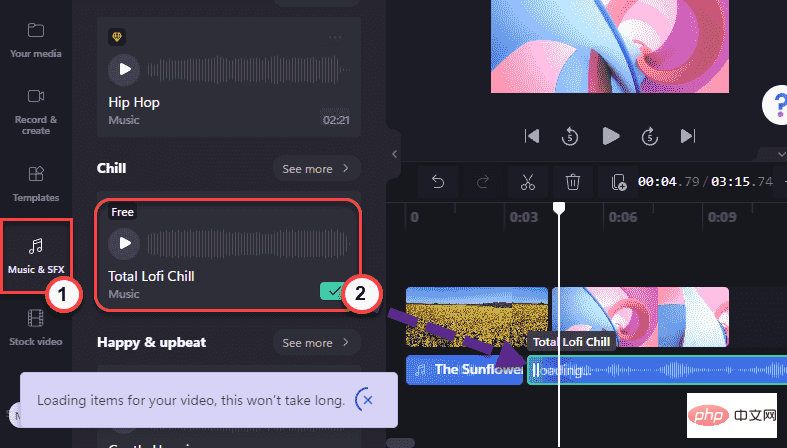
5. Now, select the audio file from the timeline.
6. Then, click "Fade Out" and switch between "Fade In" and "Fade Out" according to your preference.
In this way, you can add videos, images and audio tracks to your video clips.
Step 11 - Add Text
You can add text to your video if you wish.
Add text file–
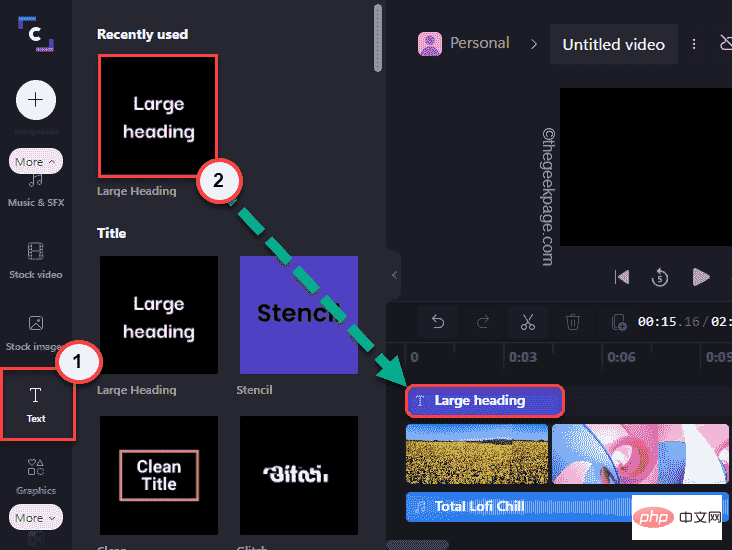
1. In the left pane, click “Text”.
2. After that, select the specific text style and drag it to your preferred timeline.
Edit text——
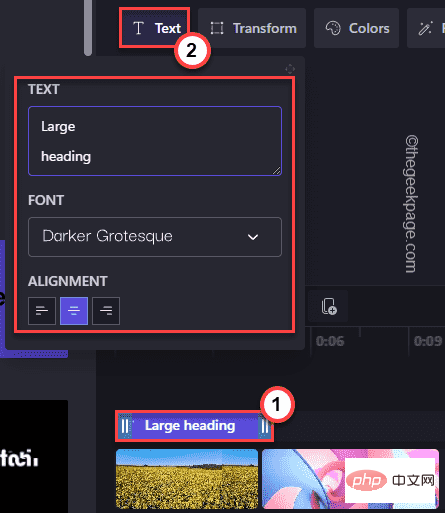
1. Select the text file in the timeline.
2. Then, click "Text" on the menu bar. Now, write what you want to appear in the "Text" box.
3. Additionally, you can set 'FONT' and 'ALIGNMENT' separately.
Changing Colors and Filters -
1. Select "Color" from the menu.
2. Now you can click on "Primary Color" and set the color you want.
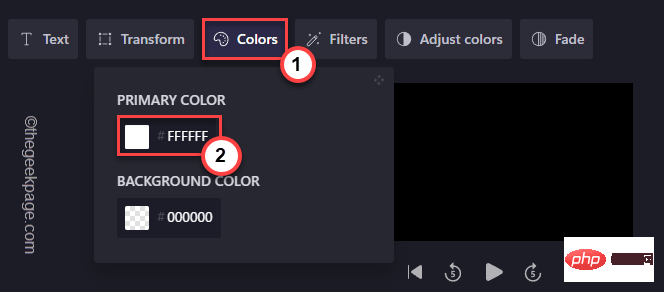
3. Also, click on "Filter" and you can select any filter from the extensive list of filters provided there.

In addition, you can also use Adjust Color and Fade effects to add more details to the text.
Step 12 - Add Graphics and Overlays
Clipchamp provides a wide range of graphics and overlay tools for you to use.
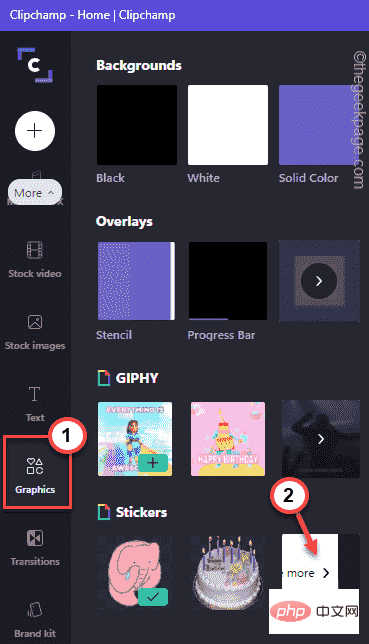
1. Simply click on "Graphics" in the left pane.
2. Here are four different options you can use -
Background- You can use these backgrounds in your clips.
Overlays - Overlays can be used extensively.
GIPHY - Deliver short animated GIFs directly from GIPHY.
Stickers - Various types of stickers.
3. Click the arrow button in "Stickers" and then click "View more>".
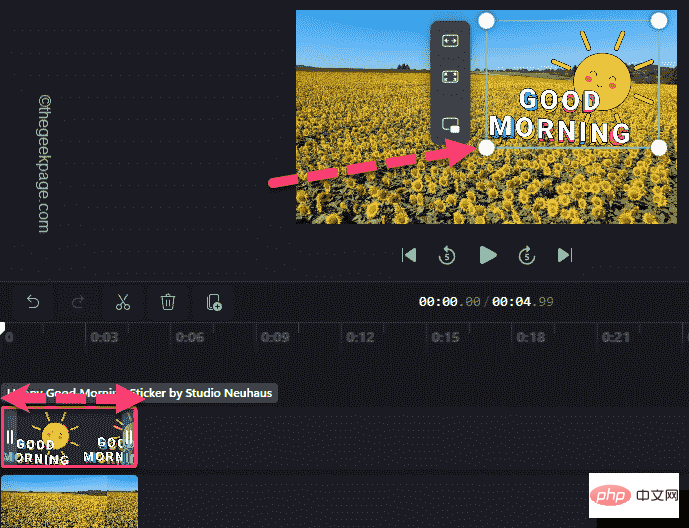
#4. Now you can search for stickers using the search box.
5. Then, drag the file to add it to the timeline.

# 6. You can easily adjust the size of the stickers. Just click on it and you can resize it from the four corners.
7. In addition to this, you can also control spans directly from the timeline.
Step 13 - Add Transitions
Transitions play a very important role in the video production process.
1. Go to the Conversion tab in the left pane.
2. All transformation lists should be visible here. Just select a transition from the list and drag it to the intersection of the two slides ( ).
This will create the transition.
#3. You can further control the duration of the transition.
4. Select a transition from the timeline. Then, tap "Duration" and switch the time to whatever you like.
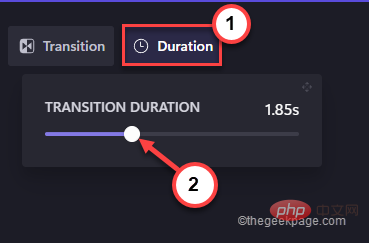
This way you can add more transitions to your video clip as needed.
Step 14 - Export the Video
Finally, it’s time to export the final video.
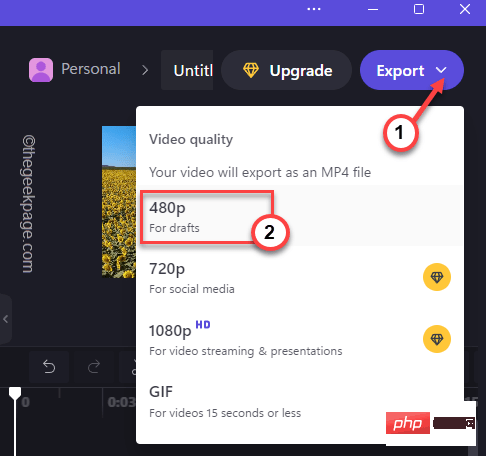
1. After completing video editing, click "Export".
2. Click " 480p " in the drop-down menu.
You can choose other qualities, but for this, you have to choose the premium plan. Only 480p export quality is available for free.
Let Clipchamp render the video.
3. Click the pen number to rename the file.
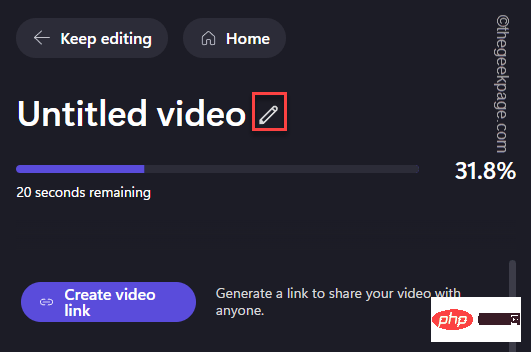
4. After completing the rendering, click "Save to computer".
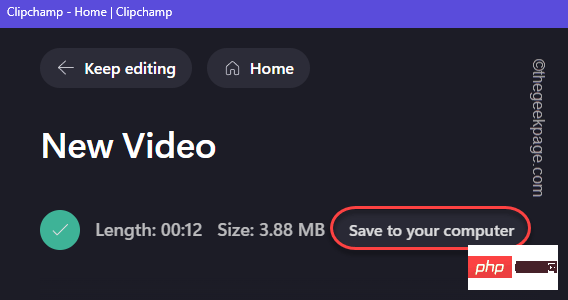
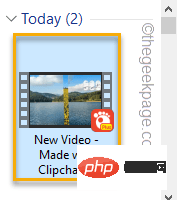
5. Now you should get the final result.
Additional Features -
Apart from these features, there are some additional features that can come in handy.
1.Create Brand Kit
has a very useful tool that you can use to create your brand fonts, logo, colors.
But this is a premium feature and is only available in plans above Business level.
2.Ready-made templates
There are several ready-made templates that you can easily use to create quick videos for multiple topics.
This way, you can use Clipchamp and quickly edit your videos on your new Windows 11 device.
The above is the detailed content of How to use ClipChamp: the free Windows 11 video editor. For more information, please follow other related articles on the PHP Chinese website!

Hot AI Tools

Undresser.AI Undress
AI-powered app for creating realistic nude photos

AI Clothes Remover
Online AI tool for removing clothes from photos.

Undress AI Tool
Undress images for free

Clothoff.io
AI clothes remover

AI Hentai Generator
Generate AI Hentai for free.

Hot Article
Hot Tools

Notepad++7.3.1
Easy-to-use and free code editor

SublimeText3 Chinese version
Chinese version, very easy to use

Zend Studio 13.0.1
Powerful PHP integrated development environment

Dreamweaver CS6
Visual web development tools

SublimeText3 Mac version
God-level code editing software (SublimeText3)
Hot Topics
 1359
1359
 52
52

 What to do if WPS Office cannot open the PPT file - What to do if WPS Office cannot open the PPT file
Mar 04, 2024 am 11:40 AM
What to do if WPS Office cannot open the PPT file - What to do if WPS Office cannot open the PPT file
Mar 04, 2024 am 11:40 AM
Recently, many friends have asked me what to do if WPSOffice cannot open PPT files. Next, let us learn how to solve the problem of WPSOffice not being able to open PPT files. I hope it can help everyone. 1. First open WPSOffice and enter the homepage, as shown in the figure below. 2. Then enter the keyword "document repair" in the search bar above, and then click to open the document repair tool, as shown in the figure below. 3. Then import the PPT file for repair, as shown in the figure below.
 What software is crystaldiskmark? -How to use crystaldiskmark?
Mar 18, 2024 pm 02:58 PM
What software is crystaldiskmark? -How to use crystaldiskmark?
Mar 18, 2024 pm 02:58 PM
CrystalDiskMark is a small HDD benchmark tool for hard drives that quickly measures sequential and random read/write speeds. Next, let the editor introduce CrystalDiskMark to you and how to use crystaldiskmark~ 1. Introduction to CrystalDiskMark CrystalDiskMark is a widely used disk performance testing tool used to evaluate the read and write speed and performance of mechanical hard drives and solid-state drives (SSD). Random I/O performance. It is a free Windows application and provides a user-friendly interface and various test modes to evaluate different aspects of hard drive performance and is widely used in hardware reviews
 CrystalDiskinfo usage tutorial-What software is CrystalDiskinfo?
Mar 18, 2024 pm 04:50 PM
CrystalDiskinfo usage tutorial-What software is CrystalDiskinfo?
Mar 18, 2024 pm 04:50 PM
CrystalDiskInfo is a software used to check computer hardware devices. In this software, we can check our own computer hardware, such as reading speed, transmission mode, interface, etc.! So in addition to these functions, how to use CrystalDiskInfo and what exactly is CrystalDiskInfo? Let me sort it out for you! 1. The Origin of CrystalDiskInfo As one of the three major components of a computer host, a solid-state drive is the storage medium of a computer and is responsible for computer data storage. A good solid-state drive can speed up file reading and affect consumer experience. When consumers receive new devices, they can use third-party software or other SSDs to
 How to set the keyboard increment in Adobe Illustrator CS6 - How to set the keyboard increment in Adobe Illustrator CS6
Mar 04, 2024 pm 06:04 PM
How to set the keyboard increment in Adobe Illustrator CS6 - How to set the keyboard increment in Adobe Illustrator CS6
Mar 04, 2024 pm 06:04 PM
Many users are using the Adobe Illustrator CS6 software in their offices, so do you know how to set the keyboard increment in Adobe Illustrator CS6? Then, the editor will bring you the method of setting the keyboard increment in Adobe Illustrator CS6. Interested users can take a look below. Step 1: Start Adobe Illustrator CS6 software, as shown in the figure below. Step 2: In the menu bar, click the [Edit] → [Preferences] → [General] command in sequence. Step 3: The [Keyboard Increment] dialog box pops up, enter the required number in the [Keyboard Increment] text box, and finally click the [OK] button. Step 4: Use the shortcut key [Ctrl]
 How to resolve an incompatible software attempt to load with Edge?
Mar 15, 2024 pm 01:34 PM
How to resolve an incompatible software attempt to load with Edge?
Mar 15, 2024 pm 01:34 PM
When we use the Edge browser, sometimes incompatible software attempts to be loaded together, so what is going on? Let this site carefully introduce to users how to solve the problem of trying to load incompatible software with Edge. How to solve an incompatible software trying to load with Edge Solution 1: Search IE in the start menu and access it directly with IE. Solution 2: Note: Modifying the registry may cause system failure, so operate with caution. Modify registry parameters. 1. Enter regedit during operation. 2. Find the path\HKEY_LOCAL_MACHINE\SOFTWARE\Policies\Micros
 What software is photoshopcs5? -photoshopcs5 usage tutorial
Mar 19, 2024 am 09:04 AM
What software is photoshopcs5? -photoshopcs5 usage tutorial
Mar 19, 2024 am 09:04 AM
PhotoshopCS is the abbreviation of Photoshop Creative Suite. It is a software produced by Adobe and is widely used in graphic design and image processing. As a novice learning PS, let me explain to you today what software photoshopcs5 is and how to use photoshopcs5. 1. What software is photoshop cs5? Adobe Photoshop CS5 Extended is ideal for professionals in film, video and multimedia fields, graphic and web designers who use 3D and animation, and professionals in engineering and scientific fields. Render a 3D image and merge it into a 2D composite image. Edit videos easily
 Introduction to Go language development tools: a list of essential tools
Mar 29, 2024 pm 01:06 PM
Introduction to Go language development tools: a list of essential tools
Mar 29, 2024 pm 01:06 PM
Title: Introduction to Go language development tools: List of essential tools In the development process of Go language, using appropriate development tools can improve development efficiency and code quality. This article will introduce several essential tools commonly used in Go language development, and attach specific code examples to allow readers to understand their usage and functions more intuitively. 1.VisualStudioCodeVisualStudioCode is a lightweight and powerful cross-platform development tool with rich plug-ins and functions.
 How to delete recently opened files in Adobe Reader XI - How to delete recently opened files in Adobe Reader XI
Mar 04, 2024 am 11:13 AM
How to delete recently opened files in Adobe Reader XI - How to delete recently opened files in Adobe Reader XI
Mar 04, 2024 am 11:13 AM
Recently, many friends have asked me how to delete recently opened files in Adobe Reader XI. Next, let us learn how to delete recently opened files in Adobe Reader XI. I hope it can help everyone. Step 1: First, use the "win+R" shortcut key to open the run, enter "regedit", and press Enter to open it, as shown in the picture. Step 2: After entering the new interface, click "HKEY_CURRENT_USERSoftwareAdobeAcrobatReader11.0AVGeneralcRecentFiles" on the left, select "c1", right-click and select the "Delete" option, as shown in the figure. Step 3: Then pop up