

How to fix SSL error issue on iPhone? (solved)

Many iPhone users have reported that when they try to launch apps on their web browser or browse certain web pages, they receive an error message that reads as follows.
Listed below are the main reasons behind this error occurring on any iPhone.
- Outdated Apple Phone
- Date and Time Settings Error on iPhone
- Changes in Network Settings Completed
- Internal iPhone Technical Failure
- The application that caused this error has not been updated to the latest version
- The location services feature is not enabled
If you also encounter the same problem, please don’t worry. We will explain the troubleshooting fixes in the article below.
Initial Fix
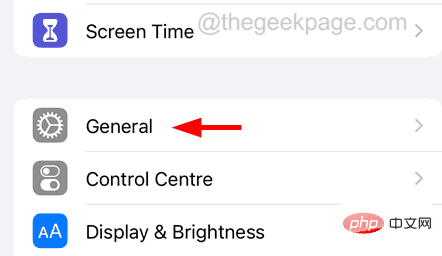
- UpdateiPhone - When an iPhone becomes outdated, it may create such issues. Therefore, as a preliminary step, we recommend users to first try to update their iPhone by going to "General > Software Update" > Settings.
- Use a different internet connection - If this problem is very persistent, it may be due to a network issue. Therefore, you need to try a different network or a dedicated connection. Check if this helps.
- Turn off content filters in router settings – Some router settings also offer a feature where you can enable content restrictions or filters. This may prevent users from accessing certain content. Therefore, log into your router settings and disable any content filter functionality.
- Force RestartiPhone – Many iPhone users have reported that they were able to fix it by force restarting their iPhone which got rid of all the technical errors created in their iPhone.
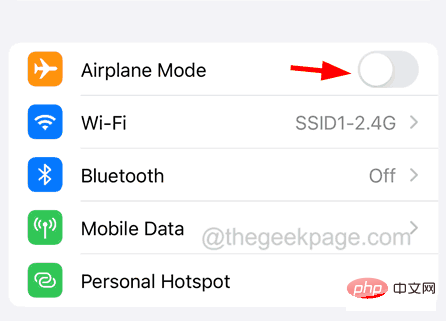
Fix 1 – Turn on airplane mode and turn it off
Step 1: First, you have to tap on the Settings icon to open the Settings page.
Step 2: At the top of the Settings app page, click the toggle button for the Airplane Mode option to enable it.

Then turn it off by clicking on its toggle switch It is grey as shown below.
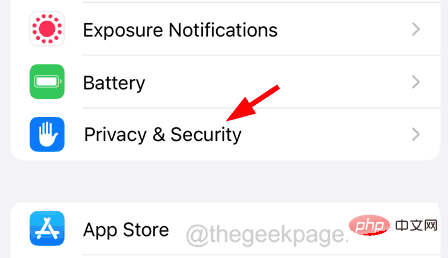
"Settings" page.
Step 2: Click thePrivacy and Security options in the settings list.
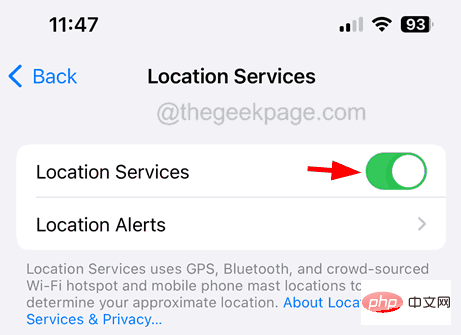
"Location Services" option at the top as shown below.

Open the "Location Services" option by clicking its switch button , such as As shown in the figure.
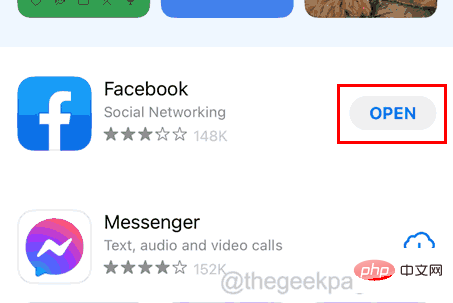
App Store on your iPhone.
Step 2: Then go to the"Search" tab at the bottom.

Update if one is available.
Step 5: Otherwise, it will show"Open".
Settings"app.
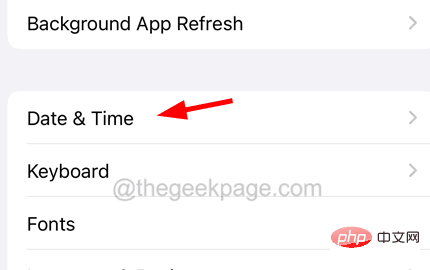
Step 2: Then scroll down and click onOther related options.
Date and Time option.
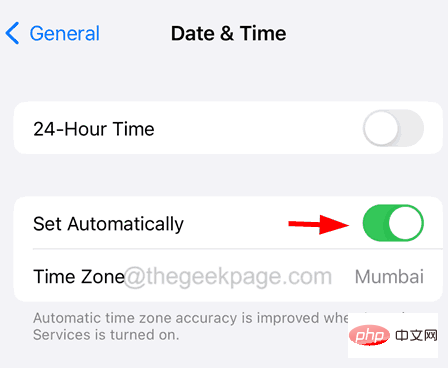
Automatic settings toggle button to green to enable it.
Fix 5 – Change DNS Server Settings
Step 1: If you have any application installed on your iPhone that allows you to easily change DNS server settings (eg: DNS overrides, etc.), uninstall it from your iPhone they.
Step 2: After uninstalling, check if the problem still exists.
Step 3: If the problem persists, go to your iPhone's "Settings" app.
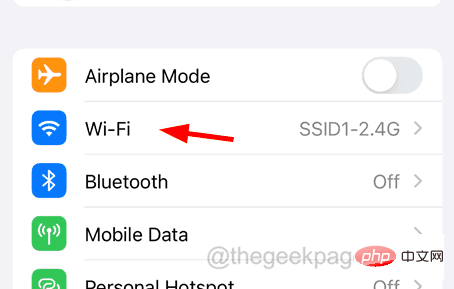
Step 4: Then click on the Wi-Fi option.
Step 5: Now, select the Wi-Fi network from the available networks by clicking on it.
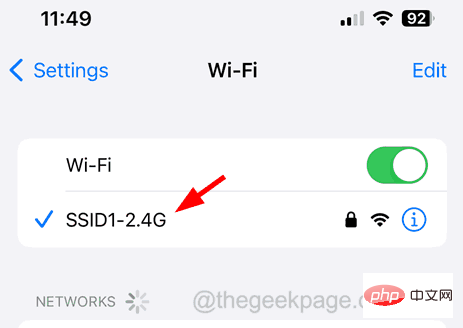
Step 6: This will open the Wi-Fi network settings page.
Step 7: Scroll down to the bottom and select the"Configure DNS" option as shown in the image below.
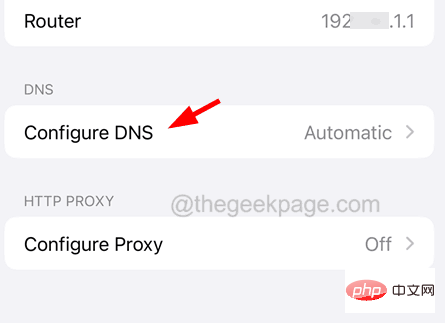
Step 8: Click Automatic to display the options in the list, then click to save.

#Step 9: You can now test if the problem still exists.
Step 10: If the problem persists, go to your Wi-Fi network's Configure DNS settings again.
Step 11: Now select the "Manual" option and click on the "Add Server" as shown below.
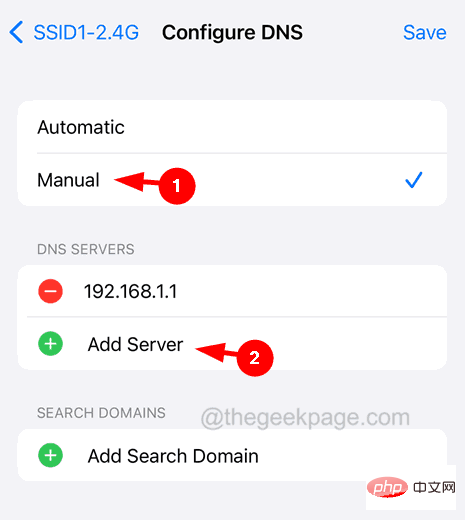
Step 12: Enter the DNS server value as 1.1.1.1, then click Add Server again.
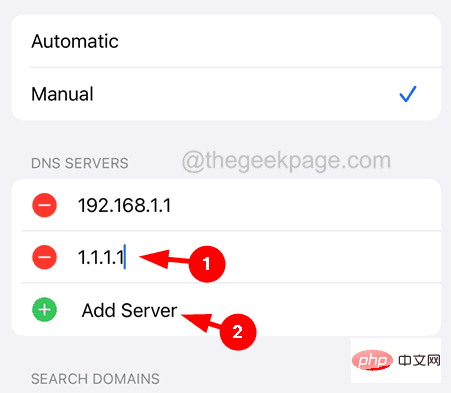
Step 13: Use the same process to add another server with a value of 1.0.0.1 and finally click to save.
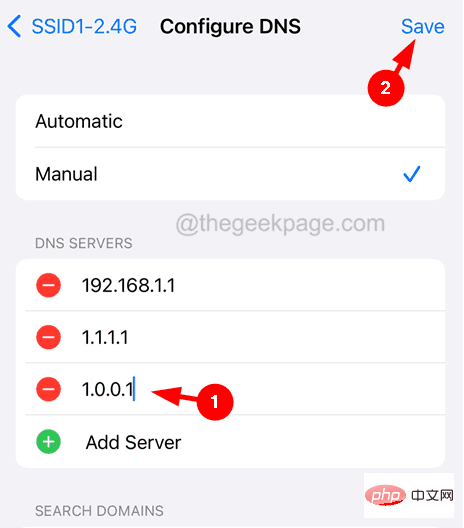
#Step 14: This will definitely resolve the SSL error issue on iPhone.
Fix 6 – Reset Network Settings on iPhone
Step 1: Go to the “Settings” app.
Step 2: Click the Company Information option.
Step 3: At the bottom, you will find Transfer or Reset iPhone.
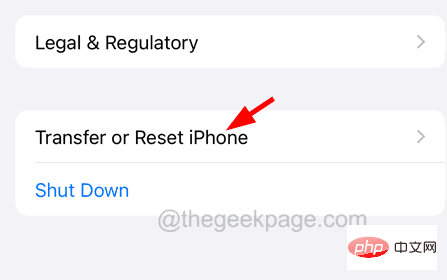
Step 4: Click on it to continue.
Step 5: Click Reset at the bottom.
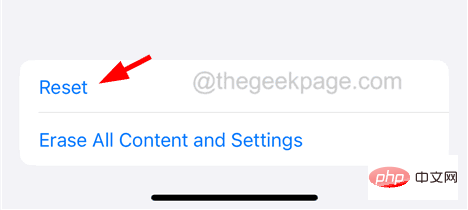
Step 6: You should select Reset Network Settings from the list that pops up.

Step 7: To continue, you must successfully enter the iPhone passcode.
Step 8: Finally, click Reset Network Settings.
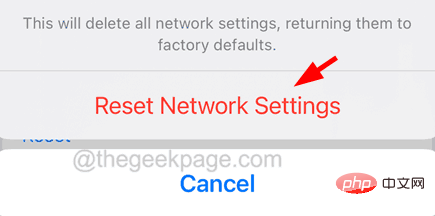
#Step 9: Then, it will start to reset the network settings on your iPhone.
The above is the detailed content of How to fix SSL error issue on iPhone? (solved). For more information, please follow other related articles on the PHP Chinese website!

Hot AI Tools

Undresser.AI Undress
AI-powered app for creating realistic nude photos

AI Clothes Remover
Online AI tool for removing clothes from photos.

Undress AI Tool
Undress images for free

Clothoff.io
AI clothes remover

AI Hentai Generator
Generate AI Hentai for free.

Hot Article
Hot Tools

Notepad++7.3.1
Easy-to-use and free code editor

SublimeText3 Chinese version
Chinese version, very easy to use

Zend Studio 13.0.1
Powerful PHP integrated development environment

Dreamweaver CS6
Visual web development tools

SublimeText3 Mac version
God-level code editing software (SublimeText3)
Hot Topics


 iPhone 16 Pro and iPhone 16 Pro Max official with new cameras, A18 Pro SoC and larger screens
Sep 10, 2024 am 06:50 AM
iPhone 16 Pro and iPhone 16 Pro Max official with new cameras, A18 Pro SoC and larger screens
Sep 10, 2024 am 06:50 AM
Apple has finally lifted the covers off its new high-end iPhone models. The iPhone 16 Pro and iPhone 16 Pro Max now come with larger screens compared to their last-gen counterparts (6.3-in on the Pro, 6.9-in on Pro Max). They get an enhanced Apple A1
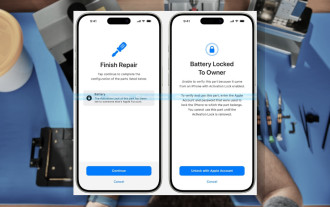 iPhone parts Activation Lock spotted in iOS 18 RC — may be Apple\'s latest blow to right to repair sold under the guise of user protection
Sep 14, 2024 am 06:29 AM
iPhone parts Activation Lock spotted in iOS 18 RC — may be Apple\'s latest blow to right to repair sold under the guise of user protection
Sep 14, 2024 am 06:29 AM
Earlier this year, Apple announced that it would be expanding its Activation Lock feature to iPhone components. This effectively links individual iPhone components, like the battery, display, FaceID assembly, and camera hardware to an iCloud account,
 iPhone parts Activation Lock may be Apple\'s latest blow to right to repair sold under the guise of user protection
Sep 13, 2024 pm 06:17 PM
iPhone parts Activation Lock may be Apple\'s latest blow to right to repair sold under the guise of user protection
Sep 13, 2024 pm 06:17 PM
Earlier this year, Apple announced that it would be expanding its Activation Lock feature to iPhone components. This effectively links individual iPhone components, like the battery, display, FaceID assembly, and camera hardware to an iCloud account,
 Gate.io trading platform official app download and installation address
Feb 13, 2025 pm 07:33 PM
Gate.io trading platform official app download and installation address
Feb 13, 2025 pm 07:33 PM
This article details the steps to register and download the latest app on the official website of Gate.io. First, the registration process is introduced, including filling in the registration information, verifying the email/mobile phone number, and completing the registration. Secondly, it explains how to download the Gate.io App on iOS devices and Android devices. Finally, security tips are emphasized, such as verifying the authenticity of the official website, enabling two-step verification, and being alert to phishing risks to ensure the safety of user accounts and assets.
 LCD iPhone becomes history! Apple will be completely abandoned: the end of an era
Sep 03, 2024 pm 09:38 PM
LCD iPhone becomes history! Apple will be completely abandoned: the end of an era
Sep 03, 2024 pm 09:38 PM
According to media reports citing sources, Apple will completely abandon the use of LCD (liquid crystal display) screens in iPhones, and all iPhones sold next year and beyond will use OLED (organic light-emitting diode) displays. Apple first used OLED displays on iPhoneX in 2017. Since then, Apple has popularized OLED displays in mid-to-high-end models, but the iPhone SE series still uses LCD screens. However, iPhones with LCD screens are about to become history. People familiar with the matter said that Apple has begun ordering OLED displays from BOE and LG for the new generation iPhone SE. Samsung currently holds about half of the iPhone OLED display market, LG
 How to install and register an app for buying virtual coins?
Feb 21, 2025 pm 06:00 PM
How to install and register an app for buying virtual coins?
Feb 21, 2025 pm 06:00 PM
Abstract: This article aims to guide users on how to install and register a virtual currency trading application on Apple devices. Apple has strict regulations on virtual currency applications, so users need to take special steps to complete the installation process. This article will elaborate on the steps required, including downloading the application, creating an account, and verifying your identity. Following this article's guide, users can easily set up a virtual currency trading app on their Apple devices and start trading.
 Anbi app official download v2.96.2 latest version installation Anbi official Android version
Mar 04, 2025 pm 01:06 PM
Anbi app official download v2.96.2 latest version installation Anbi official Android version
Mar 04, 2025 pm 01:06 PM
Binance App official installation steps: Android needs to visit the official website to find the download link, choose the Android version to download and install; iOS search for "Binance" on the App Store. All should pay attention to the agreement through official channels.
 Download link of Ouyi iOS version installation package
Feb 21, 2025 pm 07:42 PM
Download link of Ouyi iOS version installation package
Feb 21, 2025 pm 07:42 PM
Ouyi is a world-leading cryptocurrency exchange with its official iOS app that provides users with a convenient and secure digital asset management experience. Users can download the Ouyi iOS version installation package for free through the download link provided in this article, and enjoy the following main functions: Convenient trading platform: Users can easily buy and sell hundreds of cryptocurrencies on the Ouyi iOS app, including Bitcoin and Ethereum. and Dogecoin. Safe and reliable storage: Ouyi adopts advanced security technology to provide users with safe and reliable digital asset storage. 2FA, biometric authentication and other security measures ensure that user assets are not infringed. Real-time market data: Ouyi iOS app provides real-time market data and charts, allowing users to grasp encryption at any time