

How to set up a shared printer on Windows 11?

How to Enable File and Printer Sharing on Windows 11
Before setting up a shared printer, you need to go to the Network and Sharing Center and turn on the File and Printer Sharing option.
To enable file and printer sharing on Windows 11:
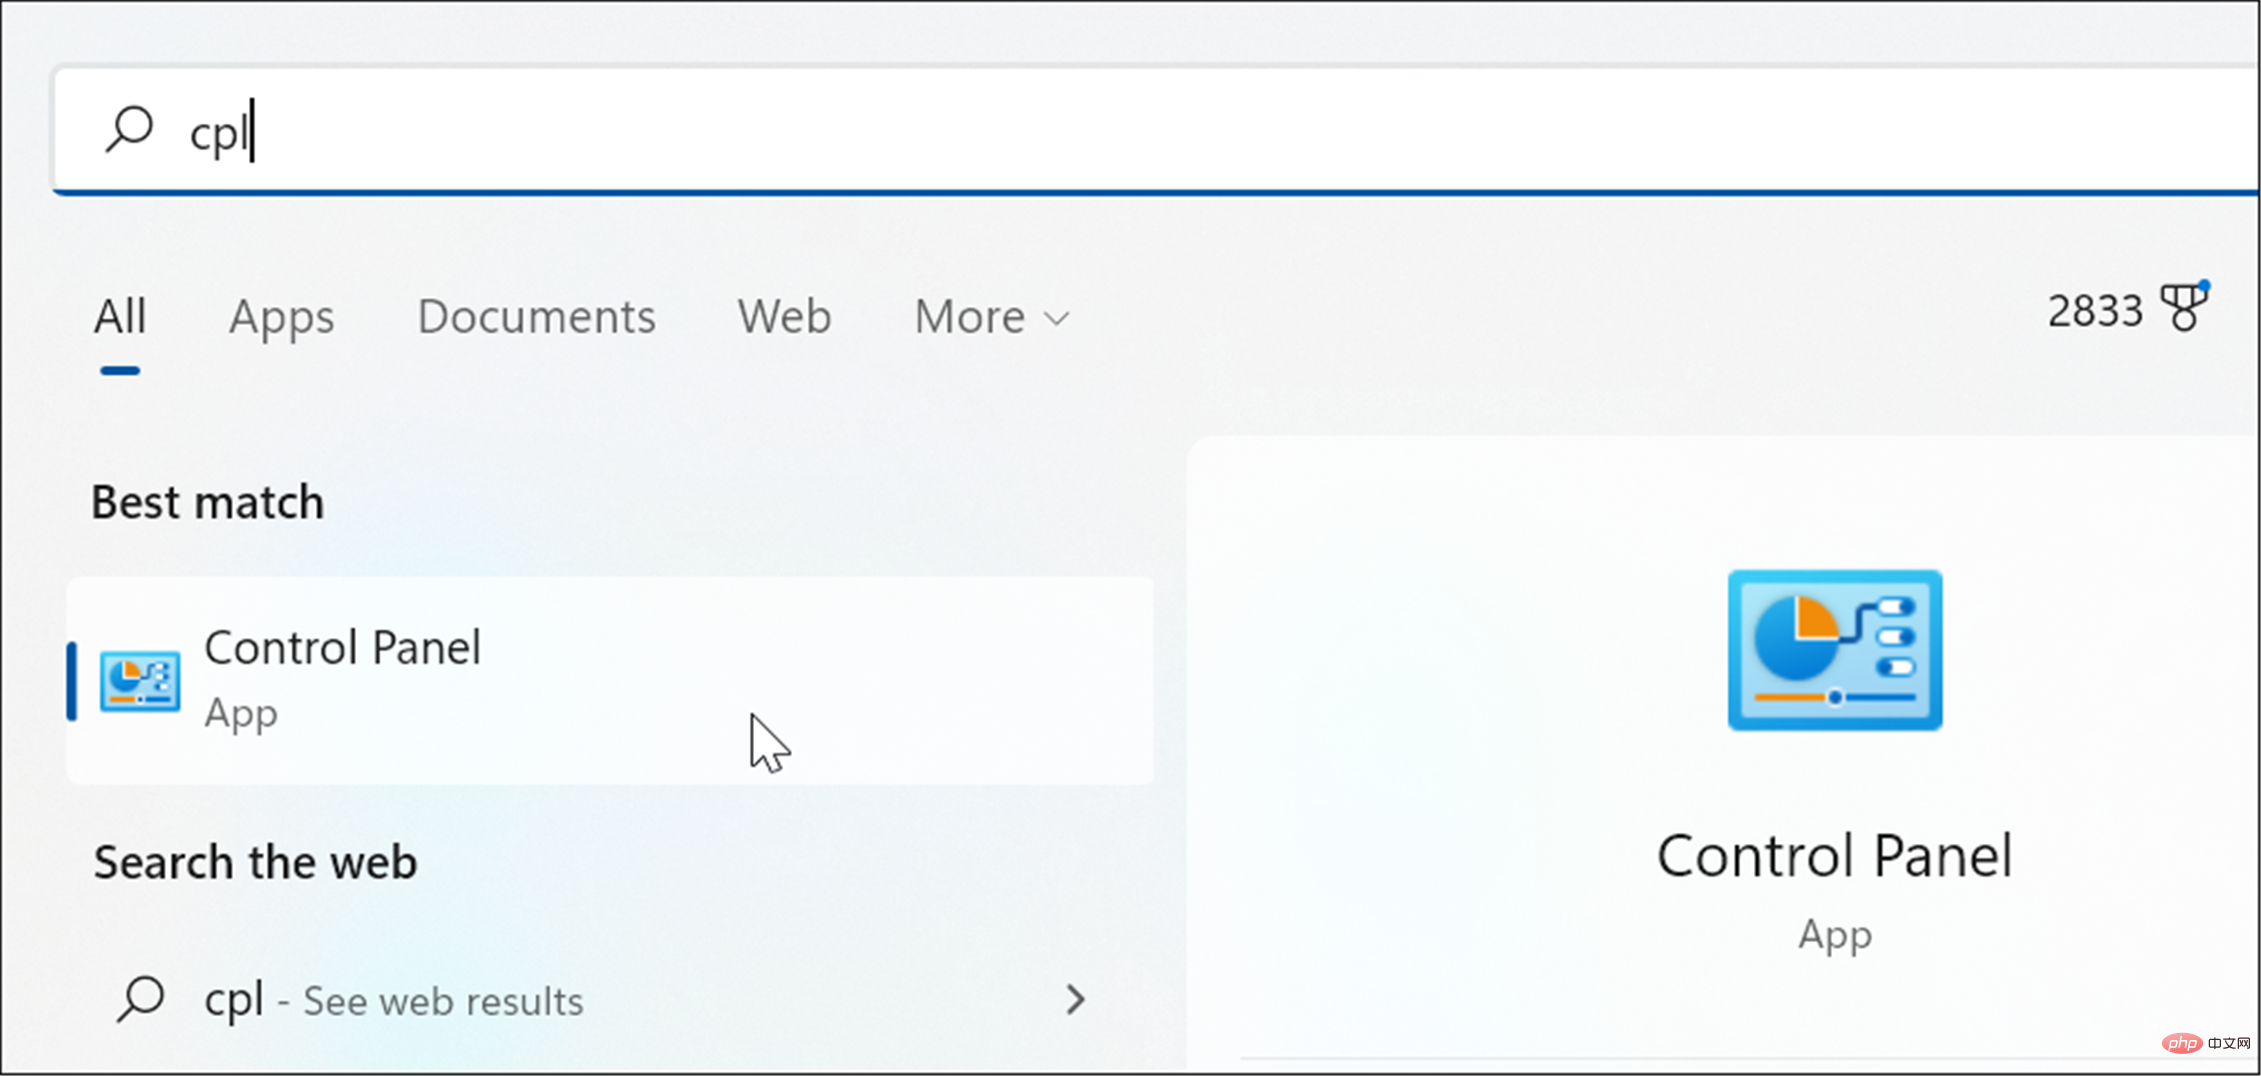
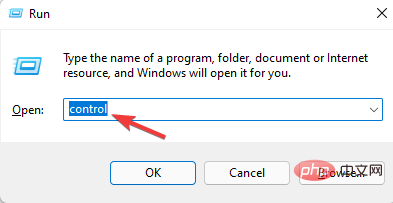
- Open Start Menu and type cpl or Control Panel .
- Select Control Panel from the best matching results.

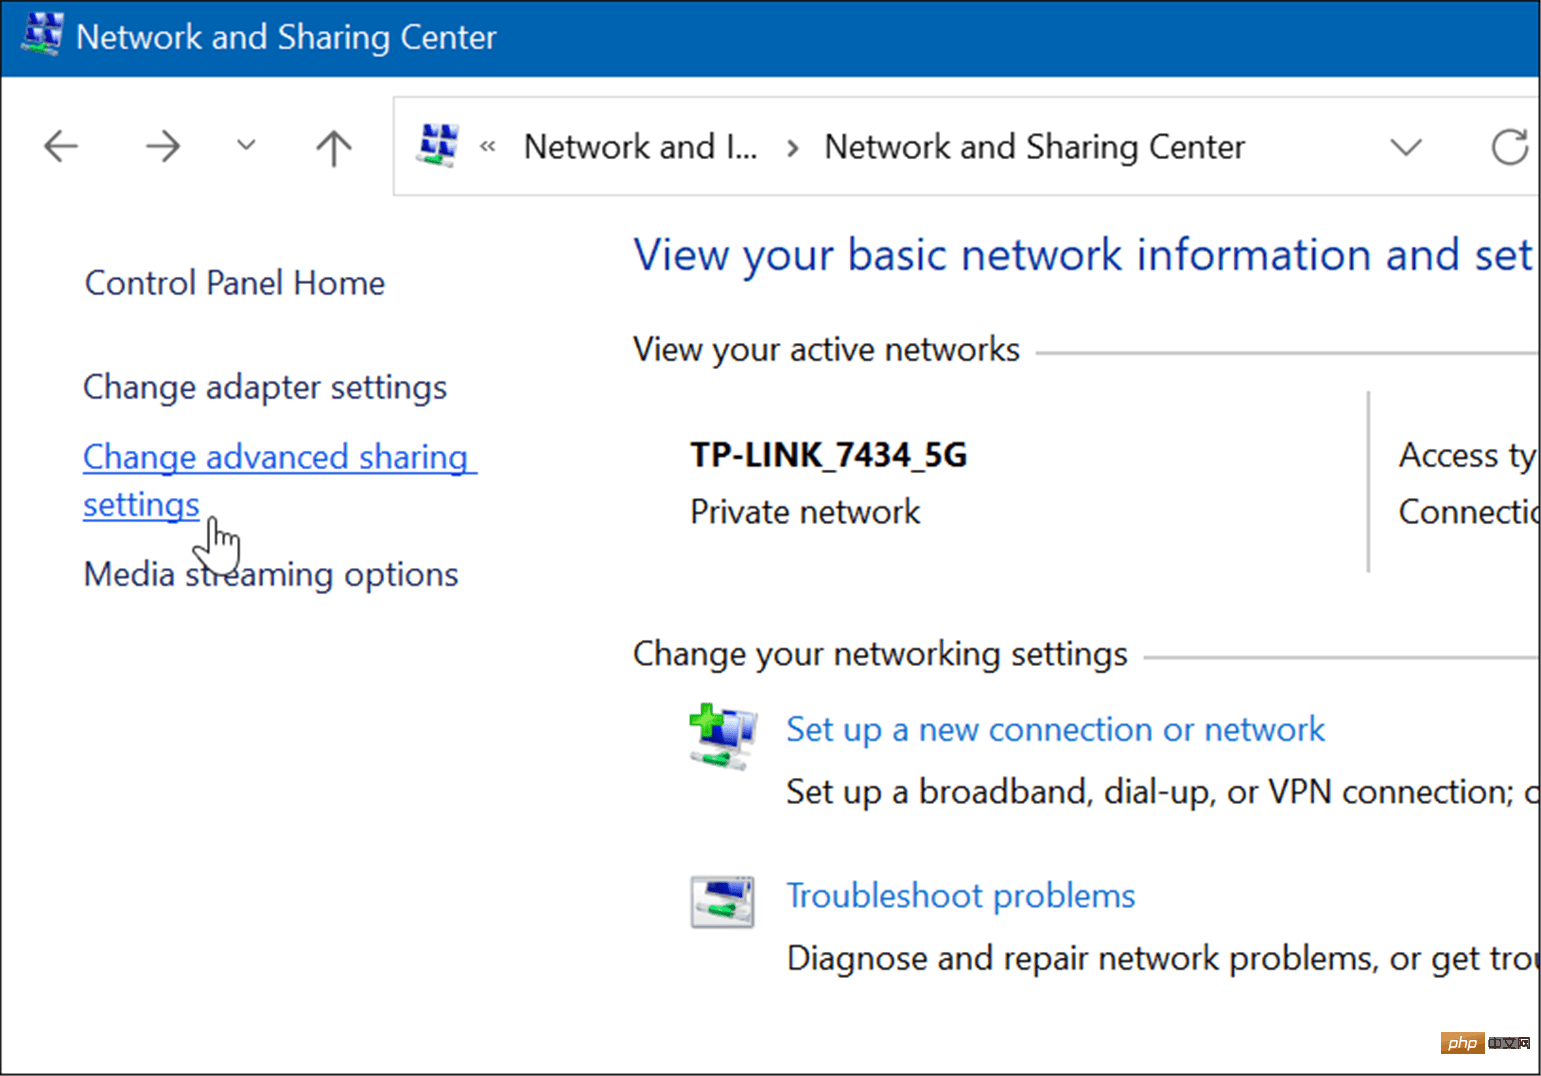
- Make sure the View by option is set to Category, then click the View Network Status and Tasks link.
- Next, click the Change advanced sharing settings link on the left.
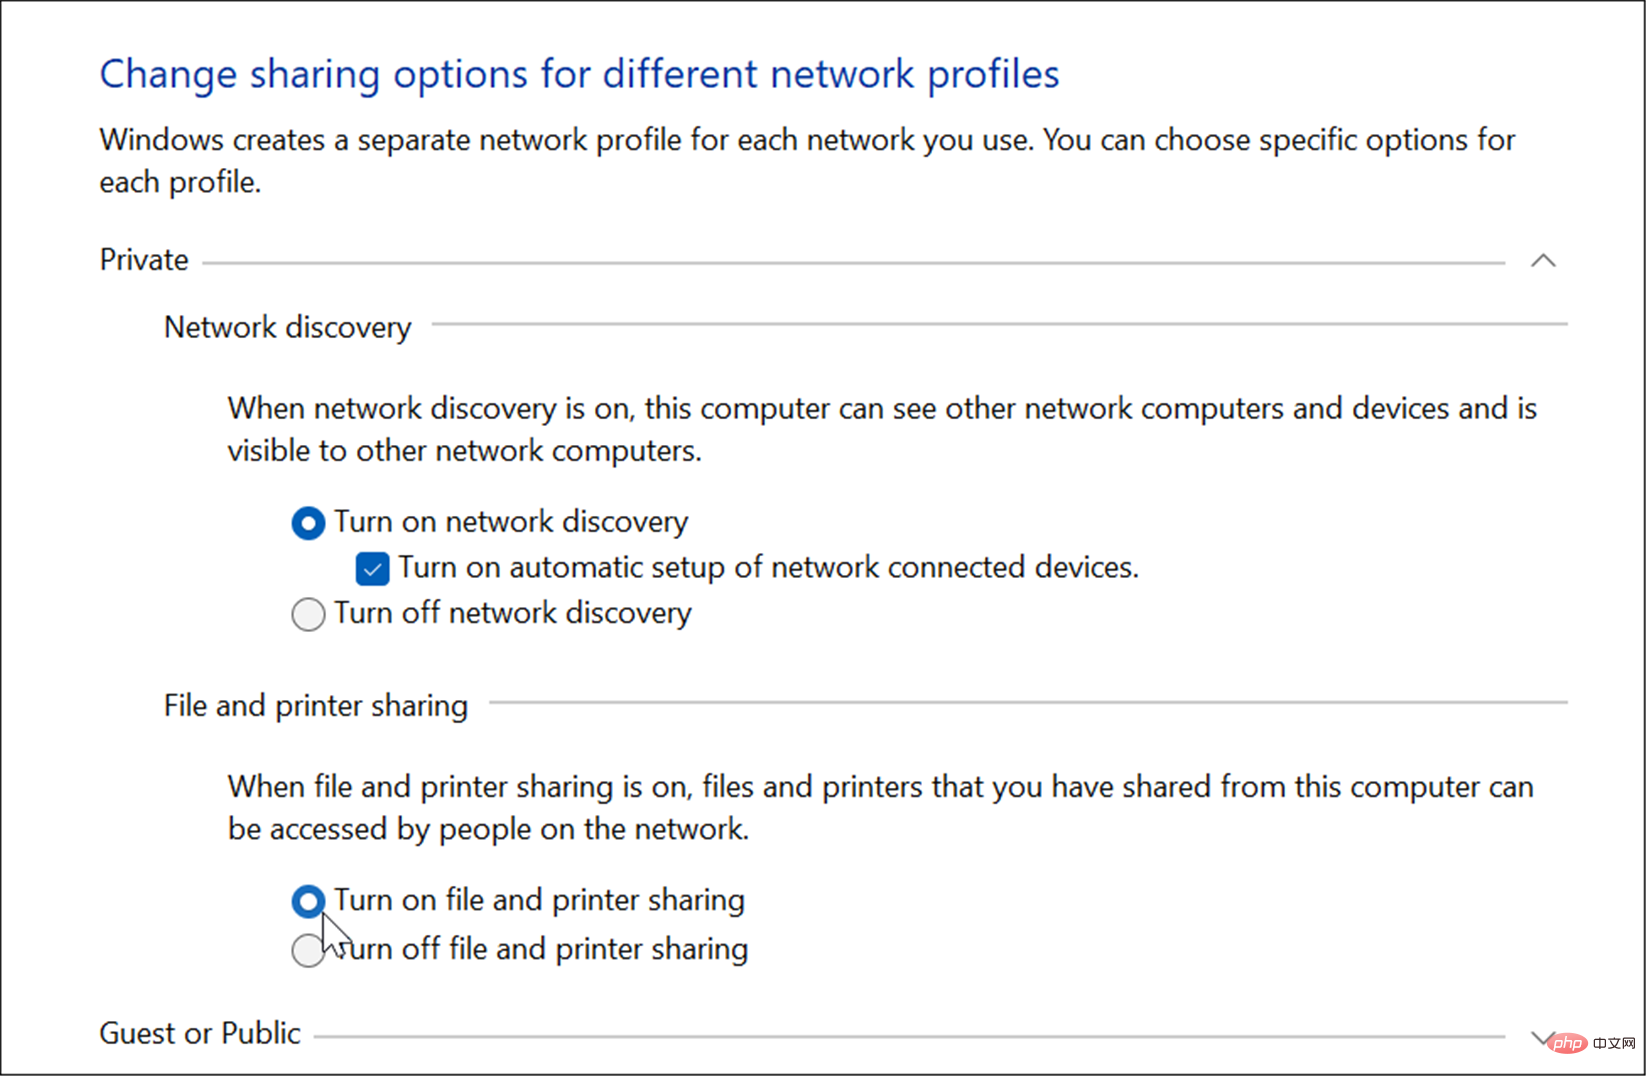
- Now you want to expand the Network Discovery section and make sure Network Discovery is enabled and File and Printer Sharing is turned on .
- Click the Save Changes button at the bottom for the settings to take effect.

How to Share a Printer in Windows 11
There are several ways to share your printer from Windows 11. First, we'll look at doing it through the Settings app.
You can use the following steps to share a printer from Windows 11:
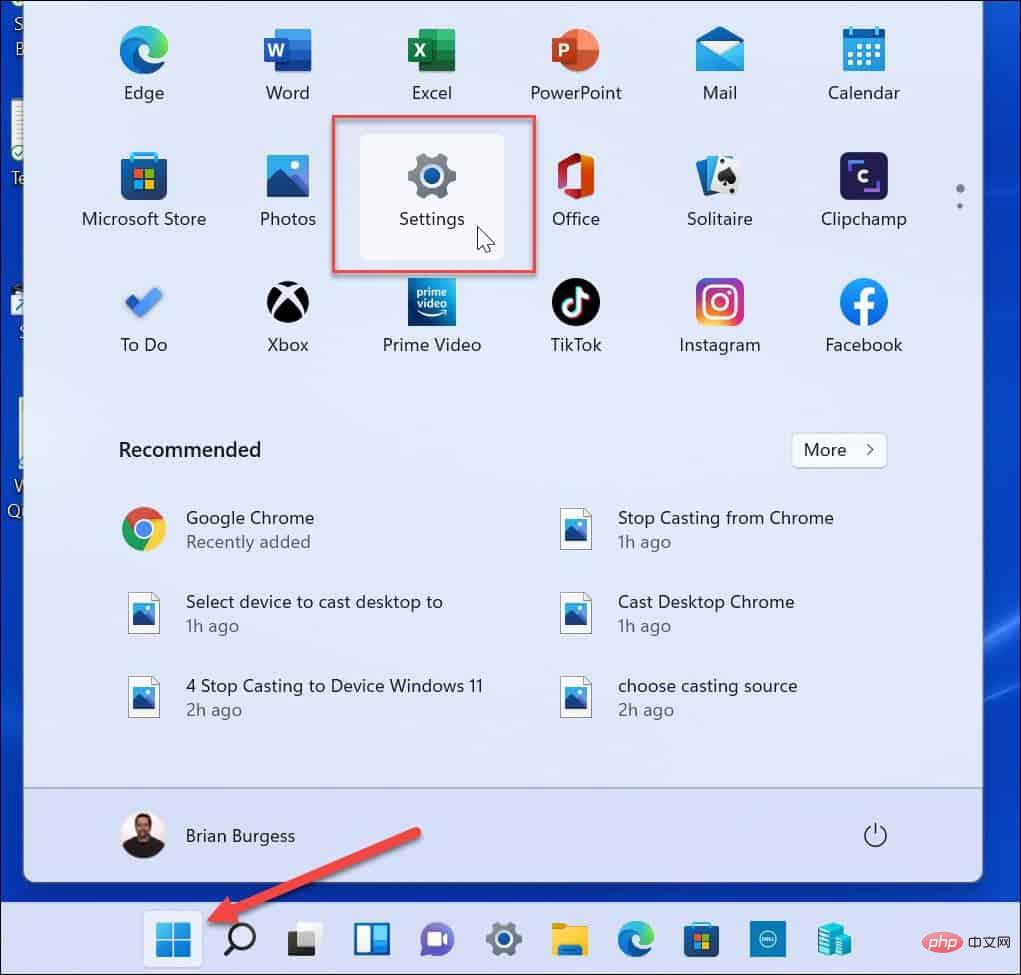
- Click Start or press the Windows keyand open set up. You can also open it directly by pressing the Windows key I.
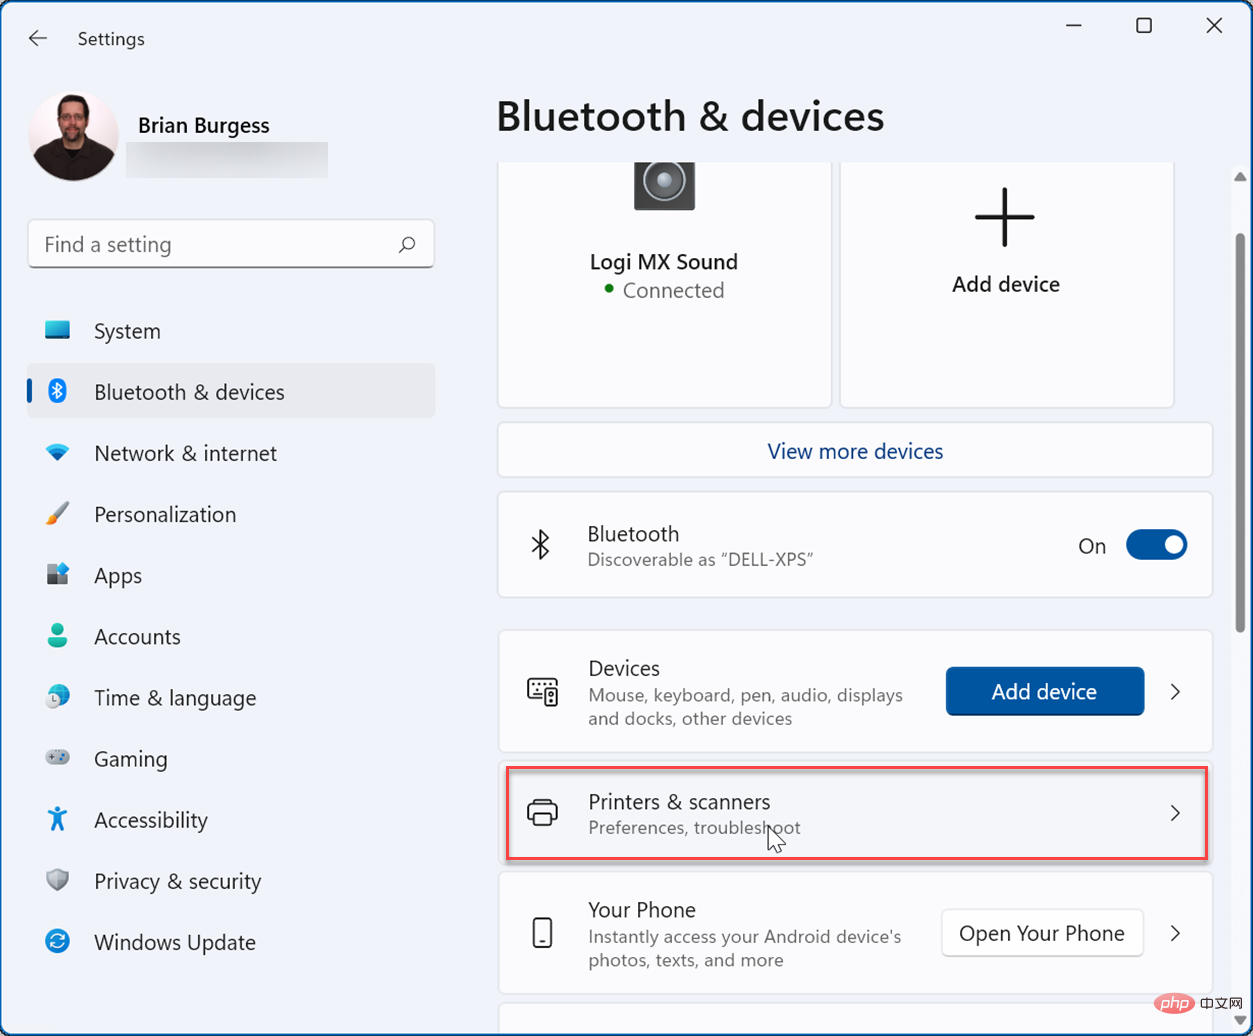
- When the Settings app opens, click Bluetooth & Devices and then select the Printers & Scanners option on the right.
- Next, click on the printer you want to share.
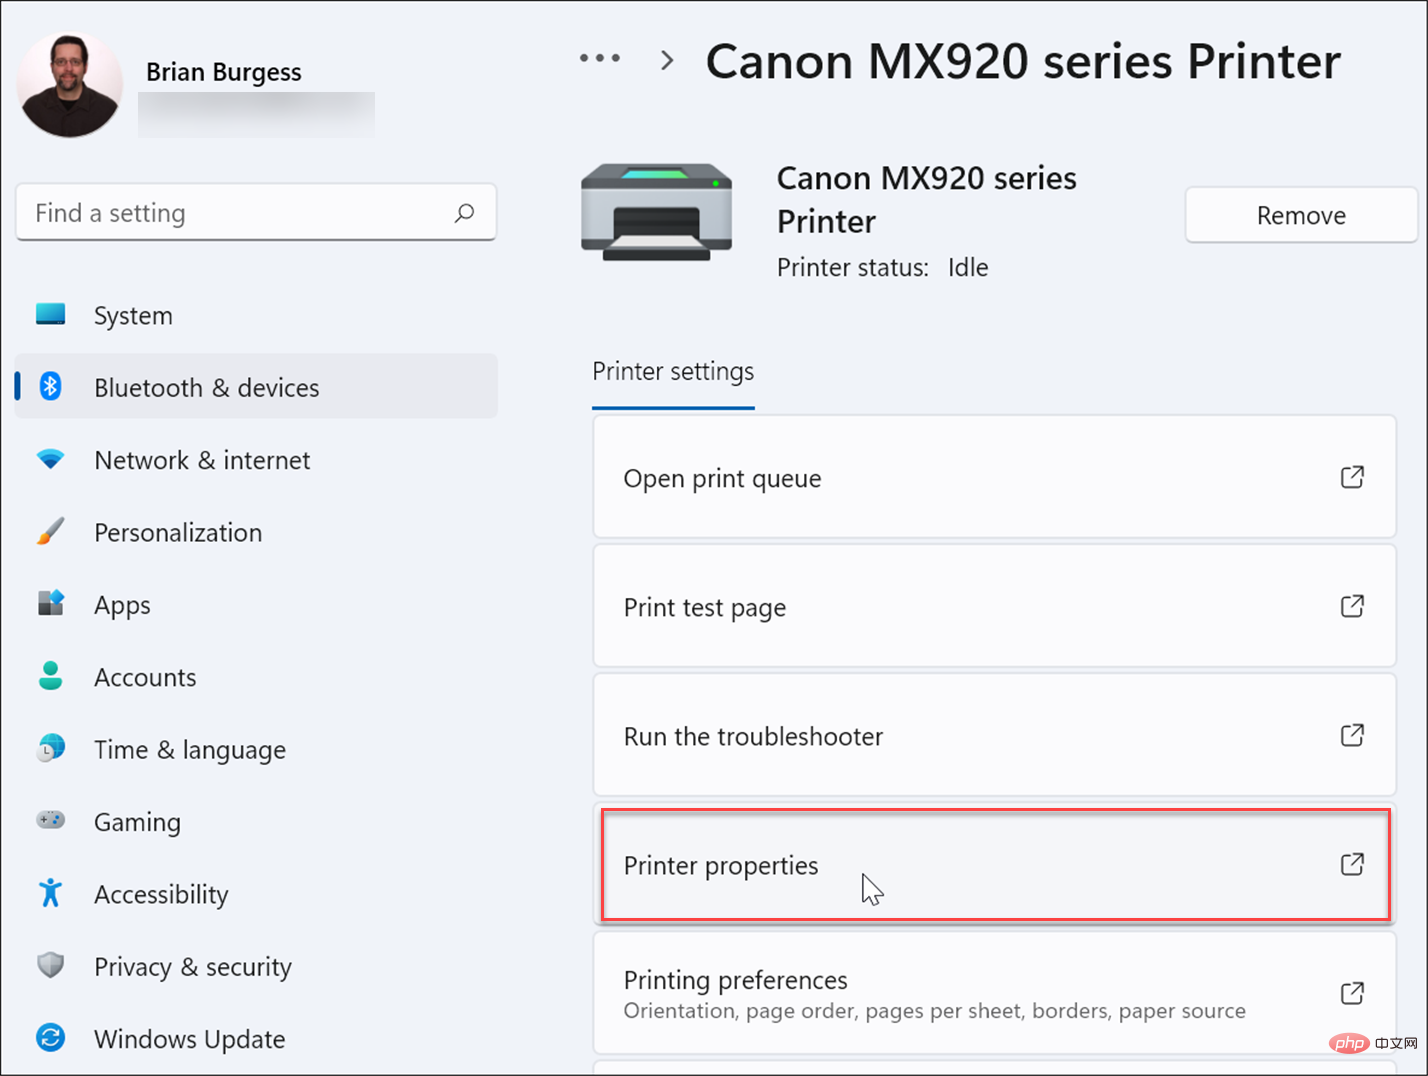
- Next, click on the Printer Properties option on the following screen.
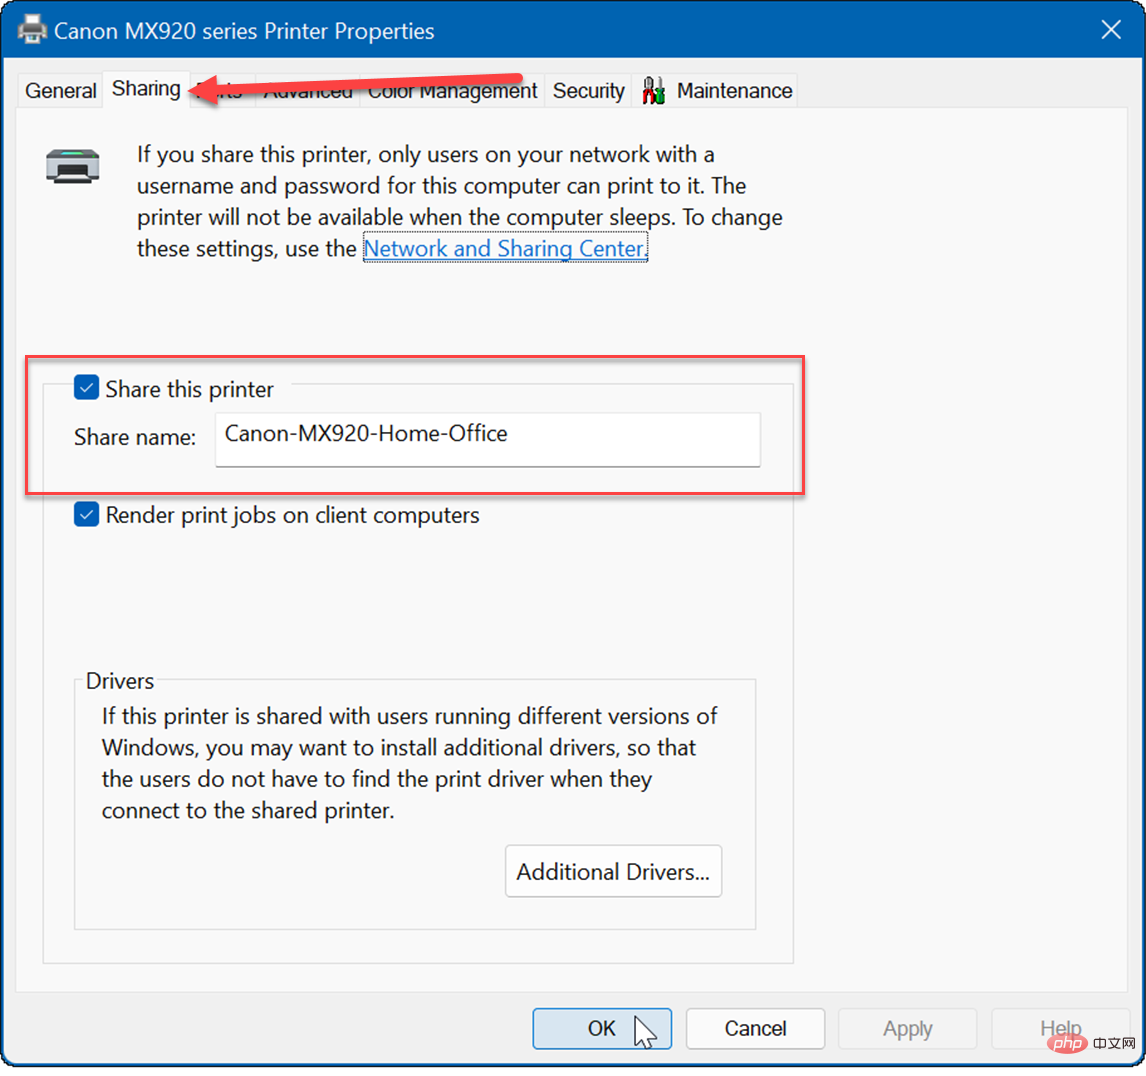
- When the Printer Properties window opens, click the Sharing tab. Check the Share this printer box and give the printer a name so it's easier to remember and manage later. Once done, click Apply and OK at the bottom of the screen.

How to share a printer via Control Panel on Windows 11
You can also share a printer using Control Panel in Windows 11 by following these steps:
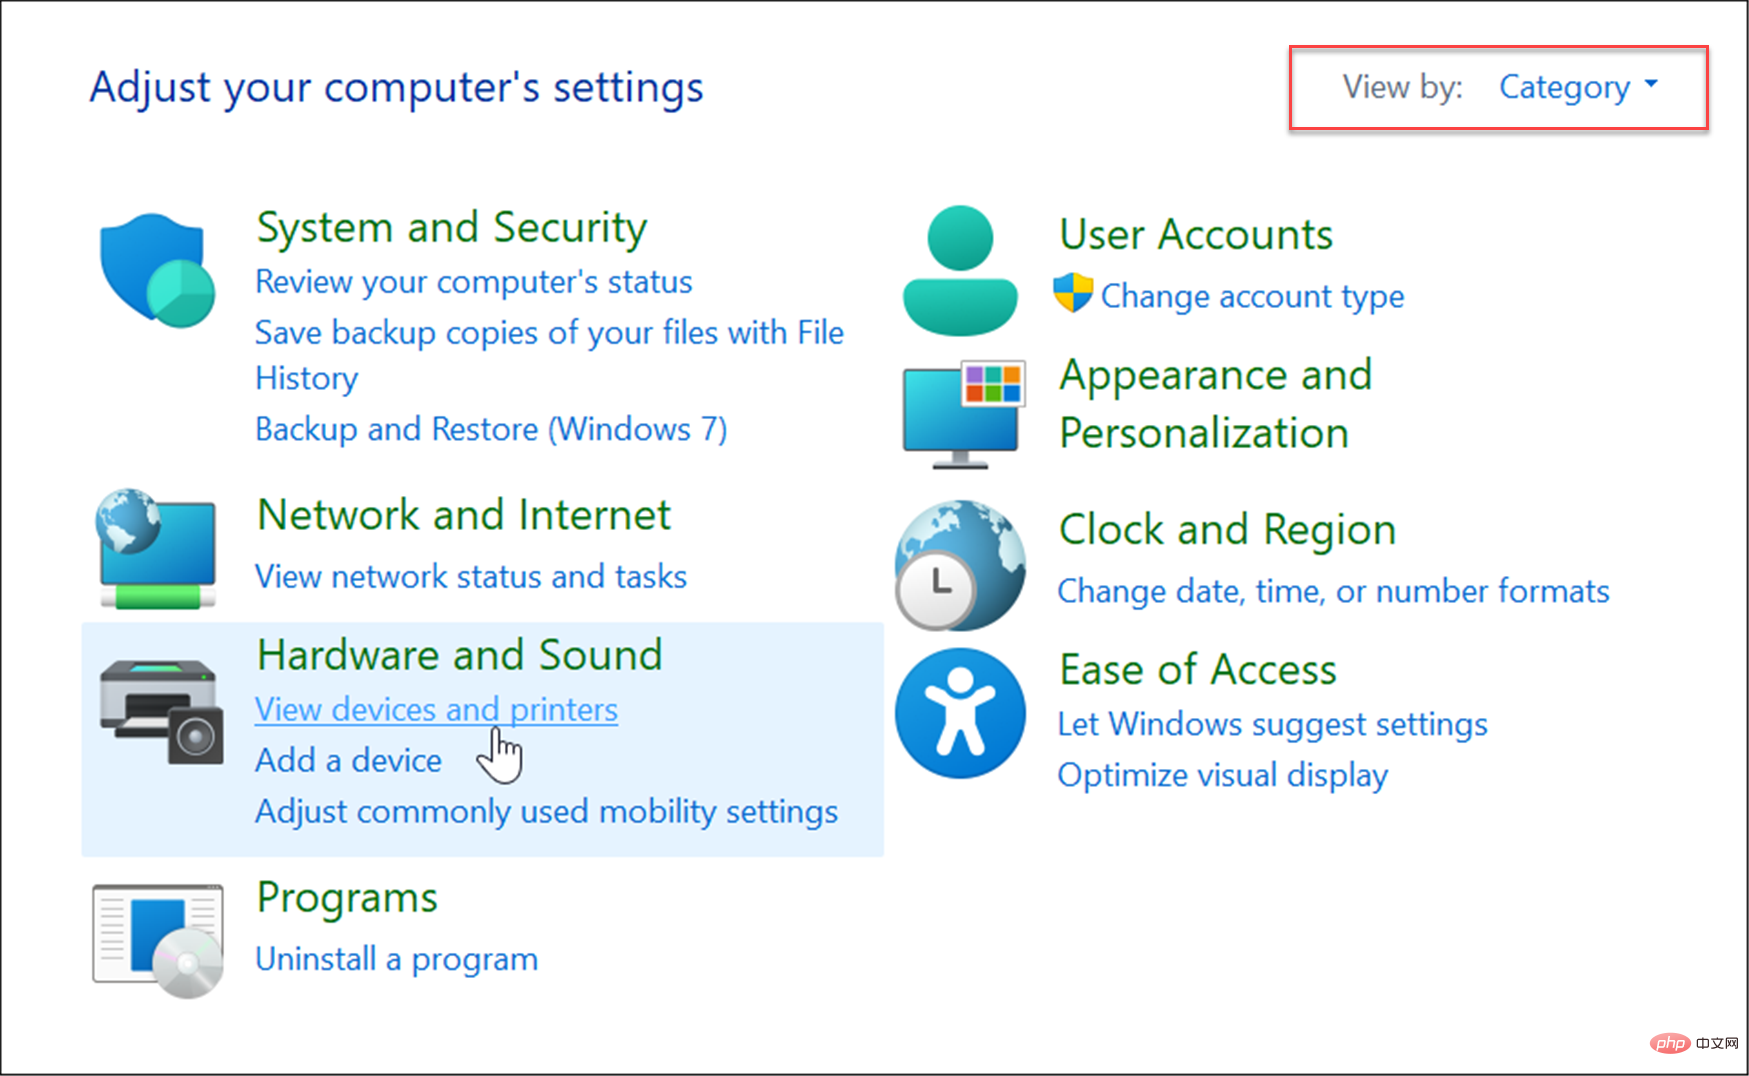
- Click Start or press the Windows key, type cpl, and then open Control Panel.
- When Control Panel opens, make sure View by is set to Category, and then click the View Devices and Printers link.
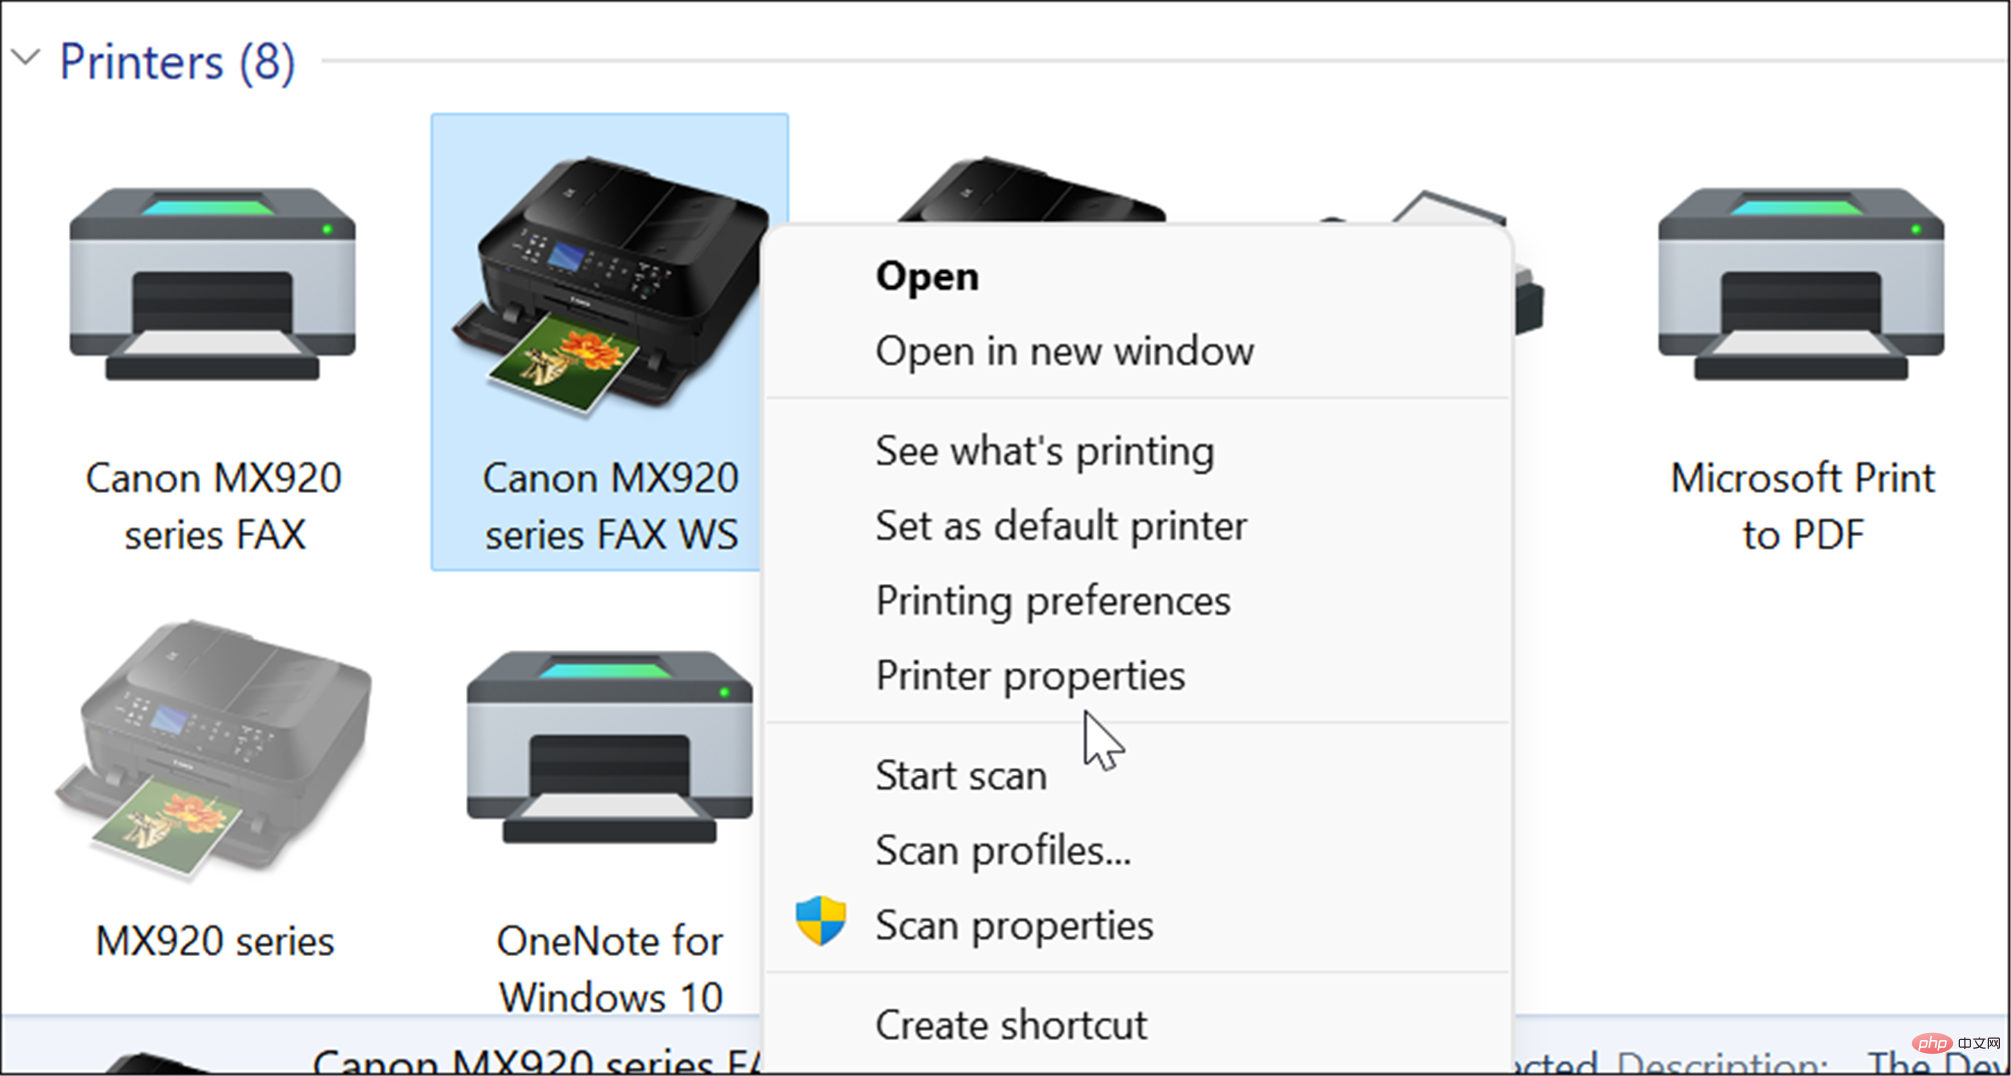
- Right-click the printer you want to share and select Printer Properties from the menu.
- Select the Sharing tab at the top, check the Share this printer box, and enter a name for the share. Once completed, click Apply and OK to share the printer.
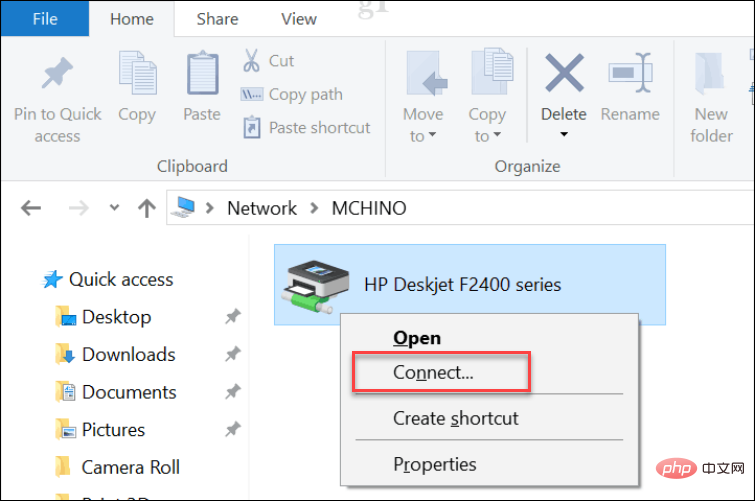
- Now the printer is shared and you can connect to it from other PCs on the network. To do this, open File Explorer and select the Network folder.
- Right-click the shared printer and select Connect from the menu.
Print on Windows 11
For PDFs, shared documents, and emails, printing hard copies is no longer as important as it once was . However, Windows 11 still has printing capabilities built into it, and if you need to share a printer, you still can. Not on Windows 11 yet? You can also share a printer from Windows 10.
The above is the detailed content of How to set up a shared printer on Windows 11?. For more information, please follow other related articles on the PHP Chinese website!

Hot AI Tools

Undresser.AI Undress
AI-powered app for creating realistic nude photos

AI Clothes Remover
Online AI tool for removing clothes from photos.

Undress AI Tool
Undress images for free

Clothoff.io
AI clothes remover

Video Face Swap
Swap faces in any video effortlessly with our completely free AI face swap tool!

Hot Article
Hot Tools

Notepad++7.3.1
Easy-to-use and free code editor

SublimeText3 Chinese version
Chinese version, very easy to use

Zend Studio 13.0.1
Powerful PHP integrated development environment

Dreamweaver CS6
Visual web development tools

SublimeText3 Mac version
God-level code editing software (SublimeText3)
Hot Topics
 1386
1386
 52
52

 Outlook emails lost from control panel in Windows 11
Feb 29, 2024 pm 03:16 PM
Outlook emails lost from control panel in Windows 11
Feb 29, 2024 pm 03:16 PM
Is the Outlook mail icon missing from Windows 11's Control Panel? This unexpected situation has caused confusion and concern among some individuals who rely on OutlookMail for their communication needs. Why don't my Outlook emails show up in Control Panel? There may be several possible reasons why there are no Outlook mail icons in Control Panel: Outlook is not installed correctly. Installing Office applications from the Microsoft Store does not add the Mail applet to Control Panel. The location of the mlcfg32.cpl file in Control Panel is missing. The path to the mlcfg32.cpl file in the registry is incorrect. The operating system is not currently configured to run this application
 3 Easy Ways to Change Windows 11 Control Panel to Classic View
Apr 19, 2023 pm 11:34 PM
3 Easy Ways to Change Windows 11 Control Panel to Classic View
Apr 19, 2023 pm 11:34 PM
With the rollout of Windows 11, Microsoft has been slowly deprioritizing some Control Panel features and moving them into the Settings app. While the Control Panel is still relevant for some of its basic functions, a complete switch to the Settings app is inevitable. However, many users are not used to the changed interface in Windows 11 and prefer the previous way. For example, open the Windows 11 Control Panel in classic view. So, while you are still adapting to the Windows 11 interface, this article will guide you on how to change to the classic control panel in Windows 11. What are the new features in Windows 11 Control Panel? Here's what you need to know
 NVIDIA Control Panel not opening/working issue fixed in Windows 11
Apr 13, 2023 pm 11:10 PM
NVIDIA Control Panel not opening/working issue fixed in Windows 11
Apr 13, 2023 pm 11:10 PM
The NVIDIA Control Panel contains everything and settings you can adjust to extract the full power of your graphics card. Therefore, when NVIDIA Control Panel stops working, you cannot change many of the settings you want to change unless you find a fix to make NVIDIA Control Panel work again. Fix 1 – Kill all NVIDIA processes You must kill all NVIDIA processes and restart the File Explorer process. 1. Try opening the NVIDIA Control Panel. Windows will try to launch the NVIDIA Control Panel. It won't open. Don't worry. 2. Now, just right-click on the Windows icon and click on Task Manager. 4.
![Thrustmaster control panel not working or displaying properly [Fixed]](https://img.php.cn/upload/article/000/887/227/170831073283375.jpg?x-oss-process=image/resize,m_fill,h_207,w_330) Thrustmaster control panel not working or displaying properly [Fixed]
Feb 19, 2024 am 10:45 AM
Thrustmaster control panel not working or displaying properly [Fixed]
Feb 19, 2024 am 10:45 AM
Thrustmaster is a company that specializes in the production of gaming wheels and other gaming accessories. Its wheel products are very popular in the gaming community. Thrustmaster wheel settings can be installed and adjusted using the Thrustmaster control panel. If you encounter problems with the control panel not working or displaying, it may affect your gaming experience. Therefore, when this happens, you need to check whether the connection is normal and ensure that the software driver is installed correctly and updated to the latest version. In addition, you can also try to restart the device or reconnect the device to resolve possible failures. When you encounter problems, you can refer to Thrustmaster's official website or contact customer service for further help. How to access Thrustma
 NVIDIA control panel cannot be opened problem fixed
May 19, 2023 pm 03:22 PM
NVIDIA control panel cannot be opened problem fixed
May 19, 2023 pm 03:22 PM
In Windows, the NVIDIA Control Panel is basically a tool for managing graphics driver settings and NVIDIA utilities in your graphics card. Graphics cards are very important for gaming, 3D animation and rendering videos. Therefore, we need a control panel to manage the graphics card settings. It will help users change display quality, size, orientation, etc. Sometimes the Control Panel won't open or work due to using the wrong graphics driver. Each graphics adapter has a specific graphics driver, so choosing the right driver will provide you with the best optimization for your game. In some cases, the antivirus software used in the system may cause some interference. Let’s look at some ways to fix this problem NVIDIA can’t
 5 Tips to Fix Missing NVIDIA Control Panel in Windows 11
Apr 19, 2023 pm 05:10 PM
5 Tips to Fix Missing NVIDIA Control Panel in Windows 11
Apr 19, 2023 pm 05:10 PM
Several NVIDIA graphics card users have reported that the NVIDIA Control Panel is missing in Windows 11. There are several possible causes for this, including bad graphics driver, outdated software, missing registry subkeys and values, or random errors. In addition to providing control over NVIDIA graphics driver settings, this panel also allows you to access and use other NVIDIA utilities you may have installed on your system. It is recommended that you download and install the NVIDIA Control Panel on your device as soon as you obtain the drivers required to run your graphics card. The use of this software is particularly beneficial for those who use 3D applications or are avid Windows gamers. You can learn more about how your system works
 Stuck on 'Don't shut down your computer until the update is 100% complete'? This is the solution
Apr 18, 2023 pm 06:43 PM
Stuck on 'Don't shut down your computer until the update is 100% complete'? This is the solution
Apr 18, 2023 pm 06:43 PM
Is your Windows 10 computer stuck at "Processing updates 100% complete. Do not shut down the computer"? This is a common problem that occurs when Windows attempts to install updates while shutting down or restarting. In this case, the first thing you can try is to force restart your PC. However, if this doesn't help, you can continue to try the following potential solutions. Scenario 1: When You Can Access Windows Before you follow the method below, make sure to wait a few hours and see if it works or restart your PC: Method 1: Run the Windows Update Troubleshooter Step 1: Right-click Start and select Run to open the run command window. Step 2: Run the command
 Where is the preferred graphics processor in the nvidia control panel - Introduction to the location of the preferred graphics processor in the nvidia control panel
Mar 04, 2024 pm 01:50 PM
Where is the preferred graphics processor in the nvidia control panel - Introduction to the location of the preferred graphics processor in the nvidia control panel
Mar 04, 2024 pm 01:50 PM
Friends, do you know where the preferred graphics processor of the nvidia control panel is? Today I will explain the location of the preferred graphics processor of the nvidia control panel. If you are interested, come and take a look with the editor. I hope it can help you. . 1. We need to right-click a blank space on the desktop and open the "nvidia Control Panel" (as shown in the picture). 2. Then enter "Manage 3D Settings" under "3D Settings" on the left (as shown in the picture). 3. After entering, you can find "Preferred Graphics Processor" on the right (as shown in the picture).