

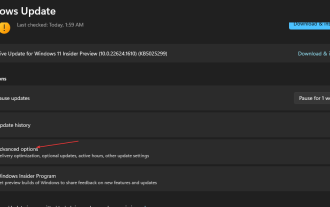
How to fix missing brightness slider issue in Windows 11/10?

Several Windows users have recently reported that their brightness adjustment slider is suddenly stuck/grayed out or missing on their windows 11,10 systems and they are unable to change the brightness level on their systems. Some other Windows users reported that after they updated their bios or made some changes to the bios settings.
There may be several reasons for this problem in the system, it may be because the Windows system and graphics card driver are not updated. This may also be due to disabling the monitor driver and because some users may have unknowingly removed the brightness settings option from the action center on the taskbar.
If you are facing a similar issue like the brightness slider option is frozen or missing on your system, then all the solutions given in this article can prove to be of great help in resolving the issue. We came up with these solutions after extensive investigation into the cause of this issue, so read on...
Fix 1 – Make sure the monitor driver is enabled and updated
Disabled The monitor driver can be the cause of such issues on any Windows device, so we recommend users to try enabling the monitor driver through Device Manager using the following steps.
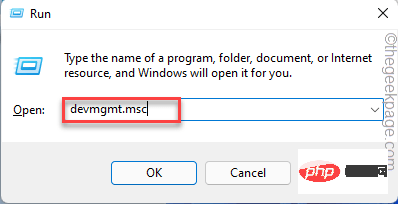
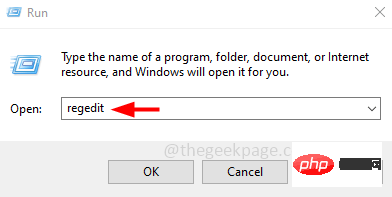
Step 1: Press the Windows and R keys simultaneously to open the Run command box in the lower left corner of the screen, as shown in the figure below.
Step 2: Then, type devmgmt.msc ,thenpress the Enter key## in the run text box #Open Device Manager.
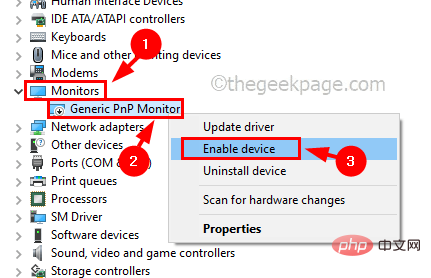
Monitor from the device list and double-clickit to expand it.
Step 4: Next,right-click on the DisplayDriver and click Enable from the context menu if it was disabled previously. Otherwise, it will show the disabled option in the context menu.
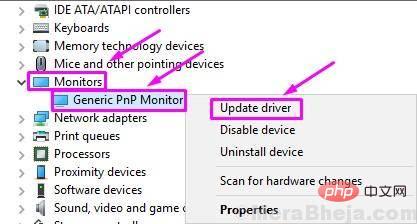
right-click DisplayDriver again and select## from the context menu #Update Driver as shown below.
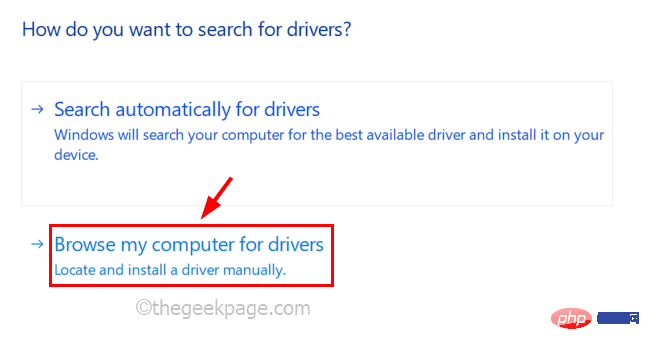
 Step 6: Next, select the
option from the window that appears on the screen as shown below .
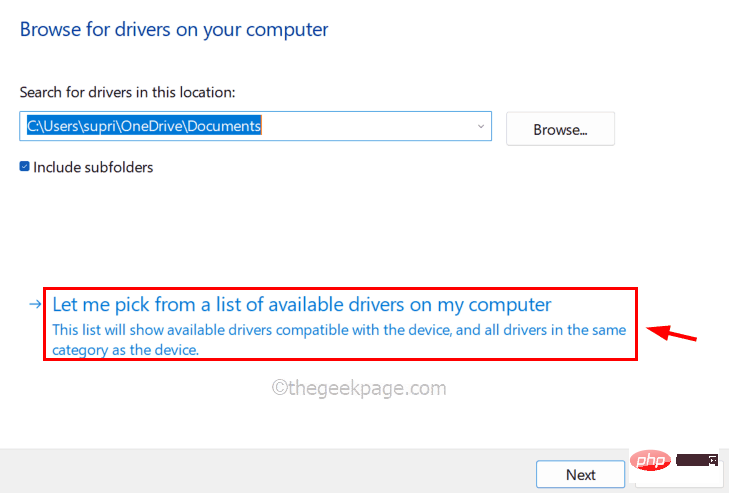
 Step 7: Then, click
from a list of available drivers on my computer to continue.
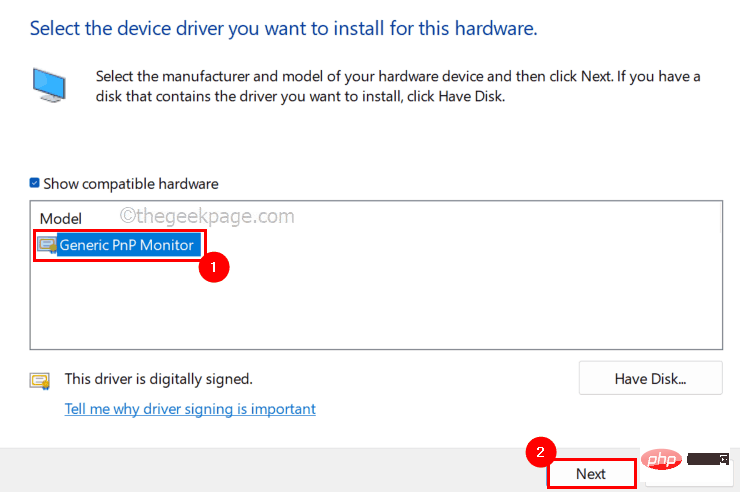
 Step 8: Select the monitor driver (
) from the compatible hardware list as shown in the image below and click Next step.
 Step 9: It will start updating the monitor driver you selected from the list and once it is completed, it will throw a success message window.
 Step 10: Once completed, close the Device Manager window and see if the issue is resolved.
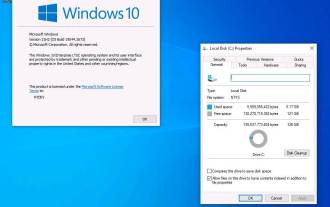
Fix 2 – Update Windows System
If you don’t have an updated Windows system, it may create the issue mentioned above in this article as Microsoft releases updates that are essential to keep your system updated to update It is very necessary to run well and have a good user experience. So let us see how to update windows system.
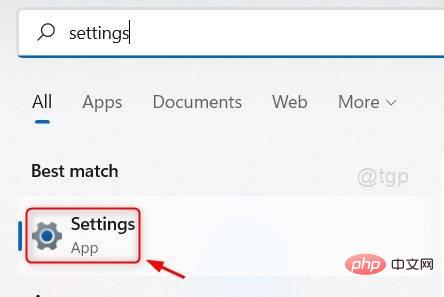
Step 1: Press the
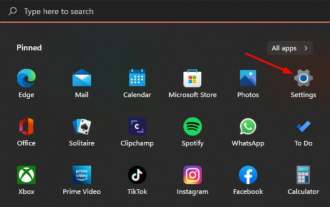
Windowskey on your keyboard and type settings. Step 2: Then, select
Settingsfrom the search results as shown below.
 Step 3: Once the Settings page opens, go to the
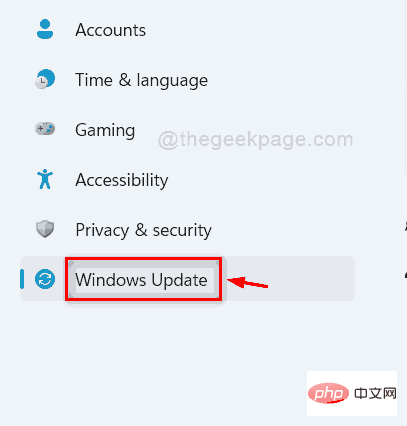 Step 4: Later, click on the
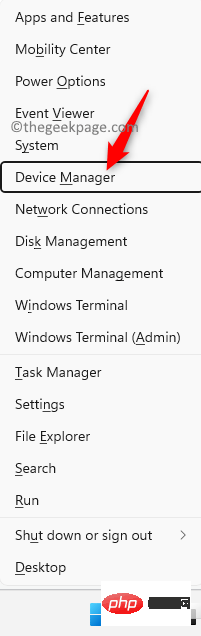
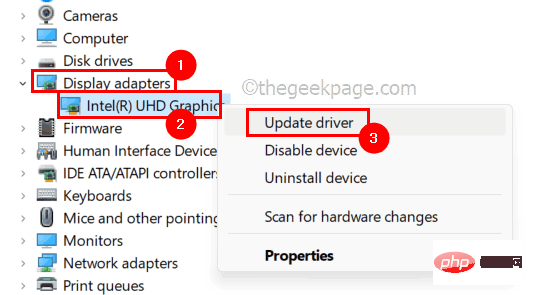
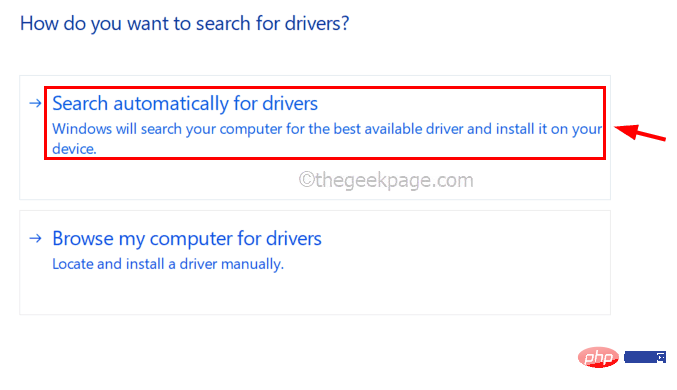
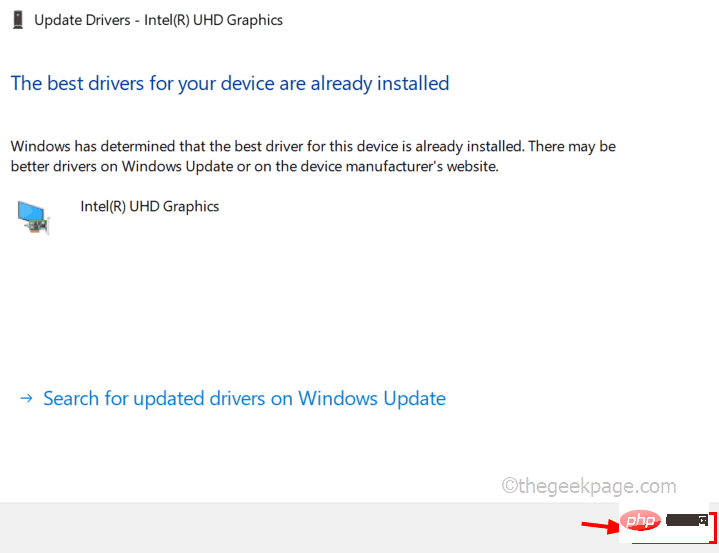
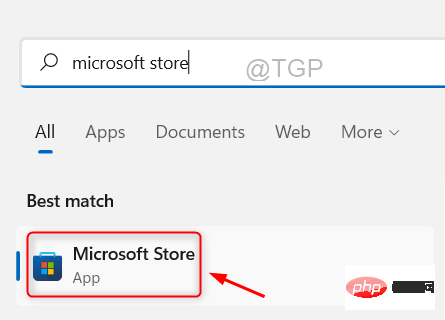
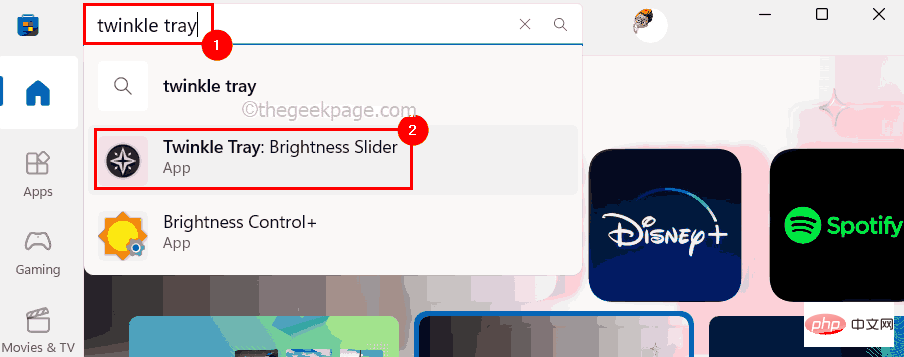
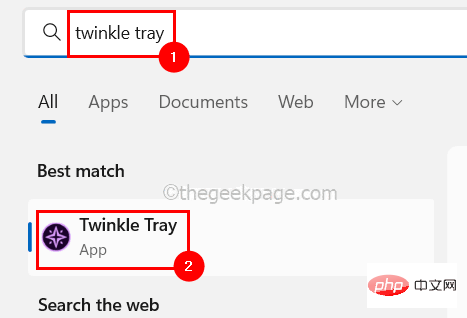
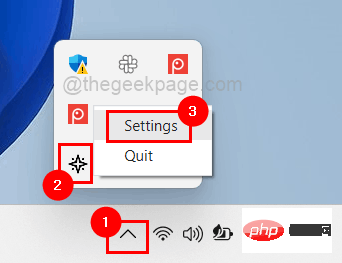
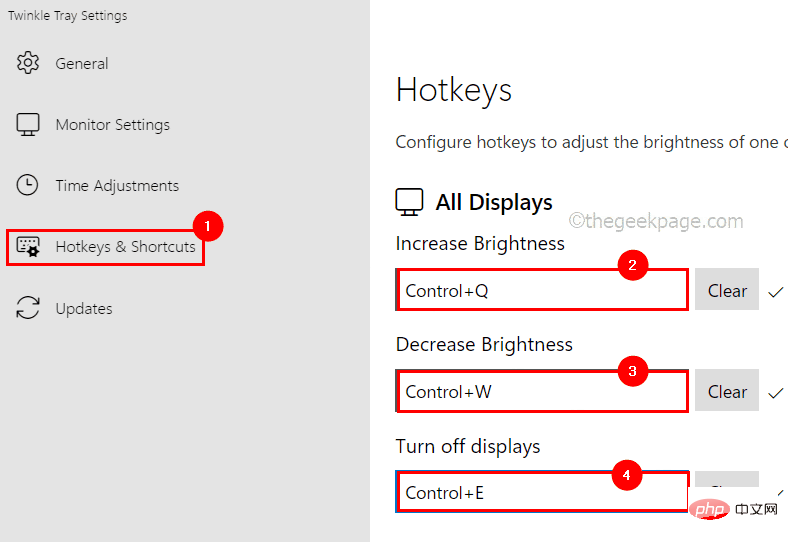
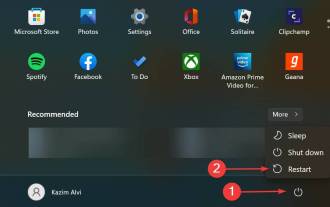
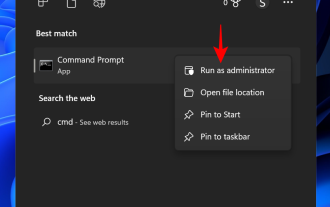
Step 5: Now it will start checking for any updates and if it finds any, download and install them. Step 6: Restart the system after completion to take effect. The display adapter is also important and needs to be updated regularly for brightness or any other display related issues on your system. Here are a few steps to follow to update your display adapter using Device Manager. Step 1: Press and hold the Windows and X keys on your keyboard simultaneously. Step 2: This will display the context menu of the Start button on the taskbar. Step 3: Select Device Manager from the list by clicking as shown below. Step 4: In the Device Manager window that just opened, double-click Display Adapters in the device list to expand it. Step 5: Now right click on Intel(R) UHD Graphicsetc display adapter and click on Update Driver. Step 6: Click on the Automatically search for drivers option in the update window that appears on the screen as shown below. Step 7: It will start updating the display adapter and once completed, it will display a success message as shown below. Then, click Close to close the window. Step 8: After that, close the Device Manager window. If none of the above fixes helped you, then this is probably the last thing you need to install this awesome app called Twinkle Tray The best solution, this app is for adjusting the brightness level of your monitor using keyboard shortcuts. Let us start with how to install and use Twinkle Tray application on windows system. Step 1: Press the Windows key and type microsoft store. Step 2: Press the Enter key to open the Microsoft Store app on your system. Step 3: In the Microsoft Store app, type blink tray in the search bar at the top of the app. Step 4: Select the Twinkle Tray:Brightness Slider app from the search results drop-down list as shown below. Step 5: Click Get to start downloading and installing the application on your system. Step 6: Now it will start downloading and installing the application. Step 7: Once completed, open the twinkle tray application on your system by pressing the Windows key and typing twinkle tray. Step 8: Then, select the Twinkle Tray app from the search results as shown below. Step 9: Open the system tray on the right side of the taskbar, right-click on the flashing tray icon and select Settings from the context menu as shown below. Step 10: This will open the Flash Tray settings window where you need to go to Hotkeys & Shortcuts on the left menu options. Step 11: Then, click on the “Increase brightness” field and press any key to set a shortcut for increasing system brightness. Similarly, configure hotkeys for the "Reduce brightness" and "Turn off display" options. Step 11: Once completed, you can close the settings window. You can now adjust your monitor's brightness level using these shortcuts set using the Blink Tray app. 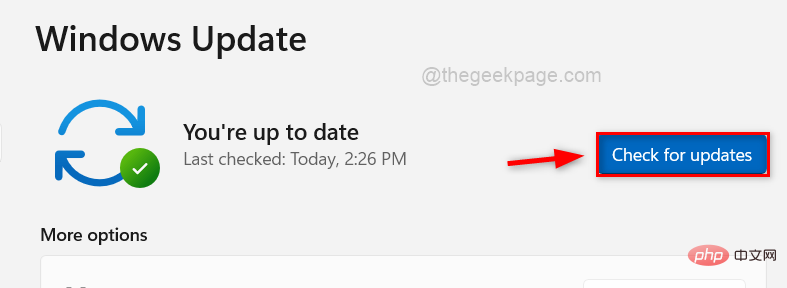
Fix 3 – Update Display Adapter
Fix 4 – Install Twinkle Tray: Brightness Slider App

The above is the detailed content of How to fix missing brightness slider issue in Windows 11/10?. For more information, please follow other related articles on the PHP Chinese website!

Hot AI Tools

Undresser.AI Undress
AI-powered app for creating realistic nude photos

AI Clothes Remover
Online AI tool for removing clothes from photos.

Undress AI Tool
Undress images for free

Clothoff.io
AI clothes remover

AI Hentai Generator
Generate AI Hentai for free.

Hot Article
Hot Tools

Notepad++7.3.1
Easy-to-use and free code editor

SublimeText3 Chinese version
Chinese version, very easy to use

Zend Studio 13.0.1
Powerful PHP integrated development environment

Dreamweaver CS6
Visual web development tools

SublimeText3 Mac version
God-level code editing software (SublimeText3)
Hot Topics
 1377
1377
 52
52

 How to disable driver signature enforcement in Windows 11
May 20, 2023 pm 02:17 PM
How to disable driver signature enforcement in Windows 11
May 20, 2023 pm 02:17 PM
Microsoft has built several security features into Windows to ensure your PC remains secure. One of them is driver signature enforcement in Windows 11. When this feature is enabled, it ensures that only drivers digitally signed by Microsoft can be installed on the system. This helps most of the users to a great extent as it protects them. But there is a downside to enabling driver signature enforcement. Suppose you find a driver that works for your device, but it is not signed by Microsoft, although it is completely safe. But you won't be able to install it. Therefore, you must know how to disable driver signing in Windows 11
 How to fix Windows 11 activation error 0xc004c060
May 17, 2023 pm 08:47 PM
How to fix Windows 11 activation error 0xc004c060
May 17, 2023 pm 08:47 PM
Why am I encountering Windows 11 activation error 0xc004c060? First make sure you are using genuine Windows and that the license key is valid. Also, check if it was obtained from an official source and if the key is suitable for the installed OS version. If there is an issue with any of these, you may encounter Windows 11 activation error 0xc004c060. So be sure to verify these and if you find everything is in order, move on to the next section. If you obtained the key through unreliable means or believe that the installed copy is a pirated version, you will need to purchase a valid key from Microsoft. In addition to this, misconfigured settings, missing
 0x80010105: How to fix this Windows update error
May 17, 2023 pm 05:44 PM
0x80010105: How to fix this Windows update error
May 17, 2023 pm 05:44 PM
Microsoft regularly releases Windows updates to improve functionality or increase the security of the operating system. You can ignore some of these updates, but it's important to always install security updates. While installing these updates, you may encounter error code; 0x80010105. An unstable connection usually causes most update errors, and once the connection is reestablished you're good to go. However, some require more technical troubleshooting, such as the 0x80010105 error, which is what we will see in this article. What causes WindowsUpdate error 0x80010105? This error may occur if your computer has not been updated in a while. Some users may have permanently disabled W for their reasons
 5 Ways to Disable Delivery Optimization Service in Windows
May 17, 2023 am 09:31 AM
5 Ways to Disable Delivery Optimization Service in Windows
May 17, 2023 am 09:31 AM
There are many reasons why you might want to disable the Delivery Optimization service on your Windows computer. However, our readers complained about not knowing the correct steps to follow. This guide discusses how to disable the Delivery Optimization service in a few steps. To learn more about services, you may want to check out our How to open services.msc guide for more information. What does Delivery Optimization Service do? Delivery Optimization Service is an HTTP downloader with cloud hosting solution. It allows Windows devices to download Windows updates, upgrades, applications and other large package files from alternative sources. Additionally, it helps reduce bandwidth consumption by allowing multiple devices in a deployment to download these packages. In addition, Windo
 How to disable display scaling for high DPI settings in Windows 11 or 10
May 22, 2023 pm 10:11 PM
How to disable display scaling for high DPI settings in Windows 11 or 10
May 22, 2023 pm 10:11 PM
The default display scaling feature on Windows 10 or later is a core component of the Windows operating system. But sometimes, this feature of certain apps can cause compatibility issues, unreadable text, blurry logos, and ultimately, app crashes. This can be a huge headache if you're dealing with 2160p or higher resolutions. There are many ways to disable the default display scaling feature on high DPI settings. We've selected the best ones and detailed step-by-step instructions for each process. How to Disable Display Scaling on High DPI Settings There is a way, all you have to do is disable high DPI scaling for a single application, and there is a way to do it for the entire Window
 How to disable core parking on Windows 10
May 16, 2023 pm 01:07 PM
How to disable core parking on Windows 10
May 16, 2023 pm 01:07 PM
If you are a Windows user and want to disable the core parking functionality in your system, this article will guide you through the process. What is core parking? The core parking function is a power saving mechanism. It puts some of your processors into a sleep mode that doesn't perform any tasks and consumes very little or no power. This helps reduce energy consumption and therefore heat in the system. These cores are unparked when needed. Few users need to disable this feature, especially gamers. Disabling this feature will improve your system performance. Disable Windows Core Parking using Windows Registry Editor Step 1: Use Windows + R keys simultaneously to open the run prompt. Step 2: At the run prompt
 10 Ways to Fix Corrupted Registry Keys in Windows 11: A Step-by-Step Guide
May 15, 2023 pm 04:10 PM
10 Ways to Fix Corrupted Registry Keys in Windows 11: A Step-by-Step Guide
May 15, 2023 pm 04:10 PM
Click to enter: ChatGPT tool plug-in navigation. Ordinary Windows users may never have to access the Windows registry, but various applications and Windows services do. If the registry keys go bad, you will experience various issues such as higher CPU usage, random system crashes, extended startup and shutdown times, and sub-par global performance. Needless to say, the registry must remain functioning properly. What is the Windows Registry? The Windows Registry is a system-wide repository of files and settings that stores important information about Windows, user preferences, applications, hardware, and many other important parts that make up your personal computer. This data is stored in "
 Tiny10 makes Windows 10 durable on (very old) PCs
May 22, 2023 pm 04:02 PM
Tiny10 makes Windows 10 durable on (very old) PCs
May 22, 2023 pm 04:02 PM
Tiny10 is one developer's attempt to make Microsoft's Windows 10 operating system usable on both older PC systems and modern systems. When Microsoft released Windows 10 in 2015, it ensured that the operating system had the same system requirements as previous versions of Windows. That changes with the release of Windows 11 in 2021. Still, Windows 10 felt noticeably heavier than previous Windows versions, and users began looking for ways to improve the usability of the operating system. Faster hard drive, more memory, faster and more powerful CP