

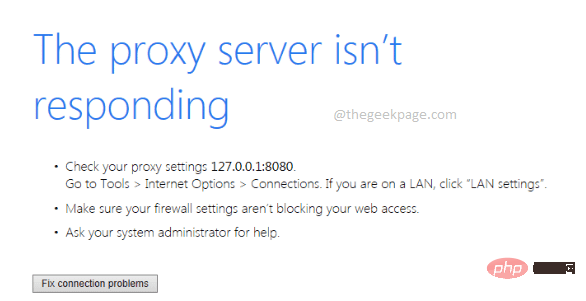
How to fix proxy server not responding issue on Windows 11/10?

Many users face proxy server not responding issue when accessing the Internet through popular web browsers such as Mozilla Firefox, Google Chrome, Internet Explorer, etc. The main reason why this error may appear on your computer may be due to incorrect proxy settings. Incorrect proxy settings can be corrected by disabling the proxy, so we can resolve the issue.
In this article, we have explained 3 different methods on how to easily disable the proxy in your machine and thus resolve proxy server not responding issue. Read on to learn this simple trick.
Method 1: Disable proxy via Internet Properties
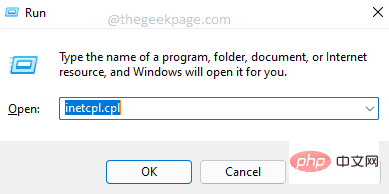
Step 1: Press Win R simultaneously key to launch the Run dialog box.
When it opens, enter inetcpl.cpl and press Enter to start Internet Properties.
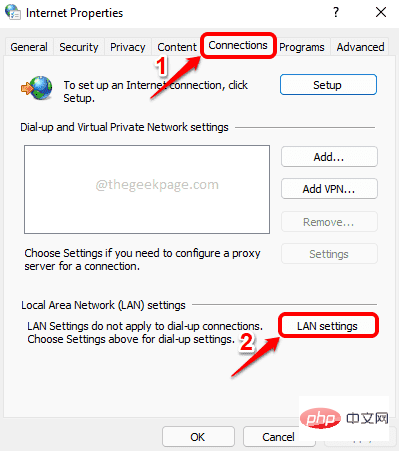
Step 2: First click on the "Connection" tab.
Next, click the button named LAN settings.
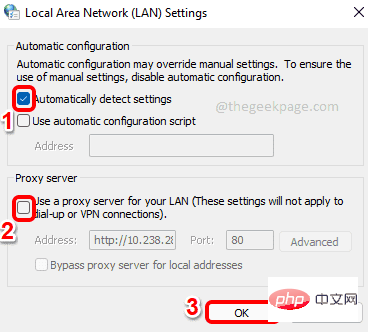
Step 3: In the Local Area Network (LAN) Settings window, select and Automatically detect settingscorrespondingcheckbox.
Next, uncheck the checkbox corresponding to Use a proxy server for your LAN.
After all is completed, click the OK button.
That's it. You can try to check if the problem still exists. If it persists, continue to the next method.
Method 2: Disable the proxy via registry settings
This method involves changing your registry settings. Incorrect registry settings can cause serious problems, so it is always recommended that you back up your registry keys before making any changes. Therefore, please make a backup before proceeding.
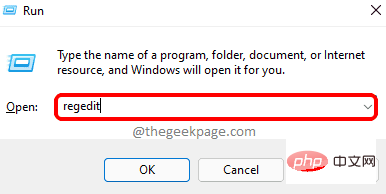
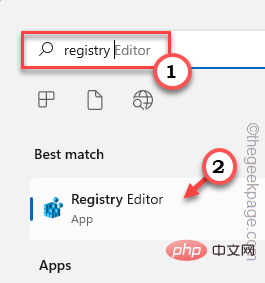
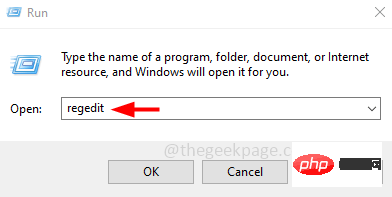
Step 1: Press the Win and R keys simultaneously to open the Run window.
When it opens, type regedit and press Enter.
Step 2: In the Registry Editor window, perform the following steps:
-
Copy and paste the following URL and press Enter.
1
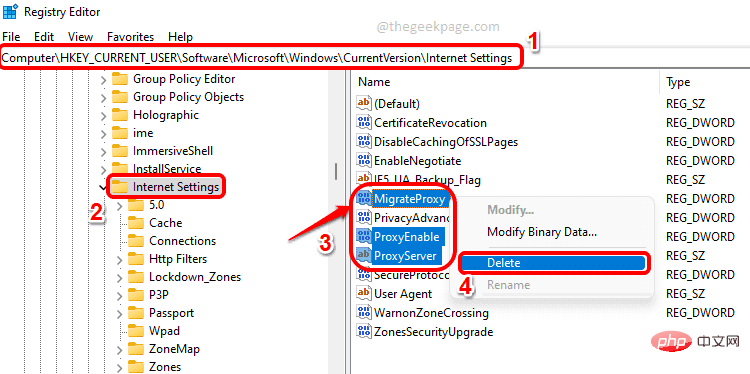
计算机\HKEY_CURRENT_USER\Software\Microsoft\Windows\CurrentVersion\Internet 设置Copy after login - Make sure the Internet Settings folder is selected in the left pane by clicking once.
- In the right pane, right-click and click the Delete option for all of the following keys in the list below.
- Migration Agent
- Agent Enable
- Proxy Server
- Proxy Override
Note: In the screenshot below, the ProxyOverride key is not present. But if it exists, it must be removed.
Please check if your issue has been resolved. If not, try restarting your machine.
If the problem persists after restarting, please try the following methods.
Method 3: Disable the proxy through the Settings app
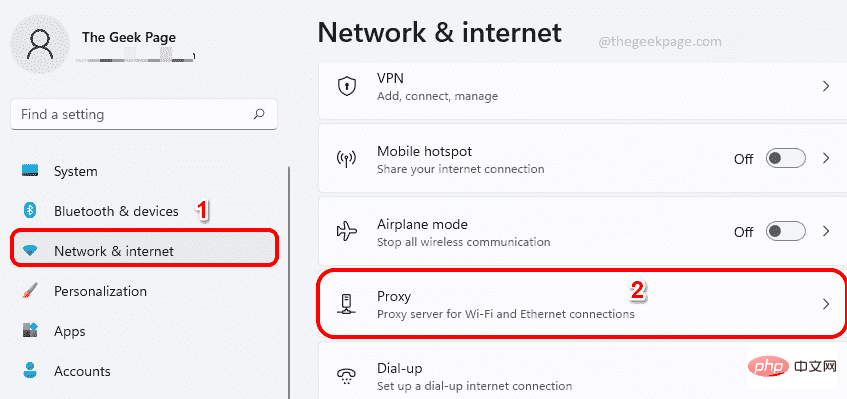
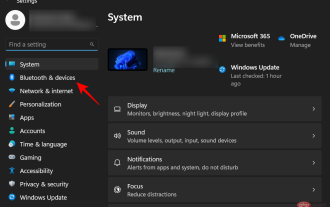
Step 1: Press the Win I key simultaneously to open Settingsapp.
In the left pane, click the Network & internet tile, and then in the right pane click the ##Proxy's tile.
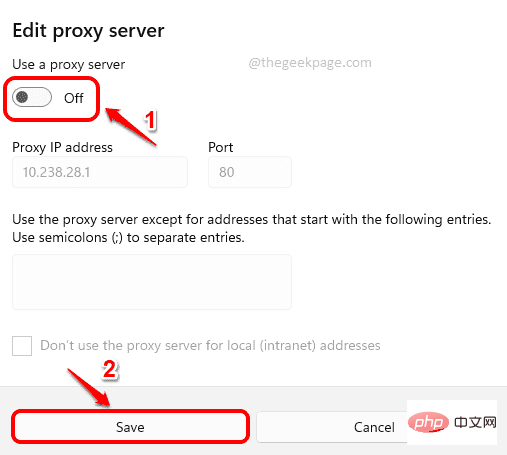
Step 2: Now under the Manual proxy setup section, click on the name Edit button.
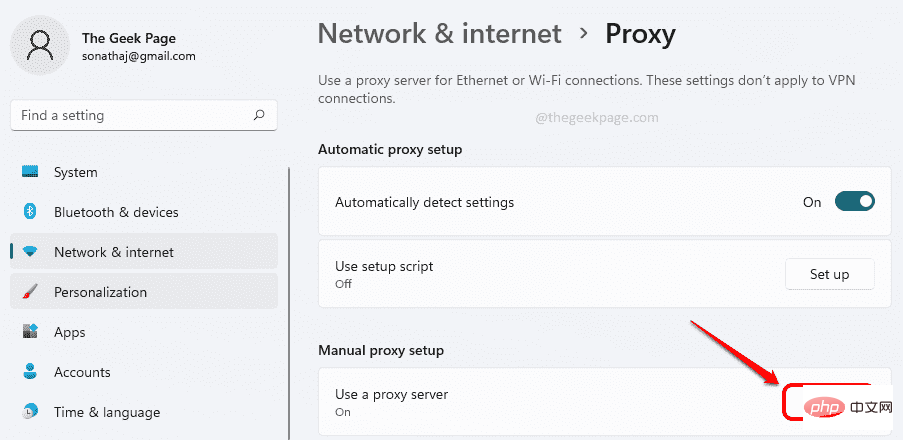
Step 3: A new window named Edit proxy server will now open. Here make sure that the toggle button corresponding to Use a proxy server is turned off. Click the Save button.
The above is the detailed content of How to fix proxy server not responding issue on Windows 11/10?. For more information, please follow other related articles on the PHP Chinese website!

Hot AI Tools

Undresser.AI Undress
AI-powered app for creating realistic nude photos

AI Clothes Remover
Online AI tool for removing clothes from photos.

Undress AI Tool
Undress images for free

Clothoff.io
AI clothes remover

Video Face Swap
Swap faces in any video effortlessly with our completely free AI face swap tool!
Hot Article
Hot Tools

Notepad++7.3.1
Easy-to-use and free code editor

SublimeText3 Chinese version
Chinese version, very easy to use

Zend Studio 13.0.1
Powerful PHP integrated development environment

Dreamweaver CS6
Visual web development tools

SublimeText3 Mac version
God-level code editing software (SublimeText3)
Hot Topics
 1389
1389
 52
52

 Fix: ERR_ADDRESS_UNREACHABLE error in Google Chrome
May 15, 2023 pm 06:22 PM
Fix: ERR_ADDRESS_UNREACHABLE error in Google Chrome
May 15, 2023 pm 06:22 PM
Several Windows users have complained that when they try to access some websites on Google Chrome browser on their systems, they are unable to access the web pages. It also displays a message on the browser saying "The site cannot be reached" with error code ERR_ADDRESS_UNREACHABLE. There could be many potential reasons behind this issue, it could be due to website server issues, proxy server settings, unstable internet connection, etc. If you encounter similar problems, don't panic. After deeply analyzing the problem in this article, we got a bunch of solutions. Before proceeding, try the following workarounds: Try checking if the user is trying to access the site from other devices and there are no issues, then this
 Remove a printer on Windows 11: 6 methods and 7 fix instructions
Apr 17, 2023 am 09:37 AM
Remove a printer on Windows 11: 6 methods and 7 fix instructions
Apr 17, 2023 am 09:37 AM
Removing a Printer on Windows 11 Completely removing a printer requires two things - removing the printer itself, and then removing the driver. There are several ways you can perform these operations on Windows 11. They are: Method 1: From Settings Perhaps the most common method, a printer can be easily removed from the Windows Settings application. Here's how to do it: Press Win+I to open Settings. Then click Bluetooth & Devices in the left pane. On the right, click Printers & Scanners. Click the printer you want to uninstall. Select Delete. When prompted, click Yes. Method 2: Use Device Manager to Remove Printer Drivers Device Manager lets you manage and remove Windows
 How to solve the problem of location services being grayed out in Windows 10/11?
Apr 26, 2023 pm 03:49 PM
How to solve the problem of location services being grayed out in Windows 10/11?
Apr 26, 2023 pm 03:49 PM
Location services are an important feature for some applications on Windows, depending on the location of your system. So if you see the Location Services option grayed out on your system, you can't even toggle it manually. Usually, some system glitch causes this issue and you can easily fix it by following these simple solutions. Fix 1 – Adjust the registry You can adjust the registry to fix this greyed out location services issue. 1. Press the Win key and type "Registry". 2. Then, click "Registry Editor" to open the Registry Editor on your system. 3. You will delete a specific registry subdirectory. Usually, it won't affect your system at all. However, it is recommended that you perform a system backup. one. After opening the Registry Editor, click
 How to disable core parking on Windows 10
May 16, 2023 pm 01:07 PM
How to disable core parking on Windows 10
May 16, 2023 pm 01:07 PM
If you are a Windows user and want to disable the core parking functionality in your system, this article will guide you through the process. What is core parking? The core parking function is a power saving mechanism. It puts some of your processors into a sleep mode that doesn't perform any tasks and consumes very little or no power. This helps reduce energy consumption and therefore heat in the system. These cores are unparked when needed. Few users need to disable this feature, especially gamers. Disabling this feature will improve your system performance. Disable Windows Core Parking using Windows Registry Editor Step 1: Use Windows + R keys simultaneously to open the run prompt. Step 2: At the run prompt
 Fix: WD My Cloud doesn't show up on the network in Windows 11
Oct 02, 2023 pm 11:21 PM
Fix: WD My Cloud doesn't show up on the network in Windows 11
Oct 02, 2023 pm 11:21 PM
If WDMyCloud is not showing up on the network in Windows 11, this can be a big problem, especially if you store backups or other important files in it. This can be a big problem for users who frequently need to access network storage, so in today's guide, we'll show you how to fix this problem permanently. Why doesn't WDMyCloud show up on Windows 11 network? Your MyCloud device, network adapter, or internet connection is not configured correctly. The SMB function is not installed on the computer. A temporary glitch in Winsock can sometimes cause this problem. What should I do if my cloud doesn't show up on the network? Before we start fixing the problem, you can perform some preliminary checks:
 How to add jump list items on Windows 10 and 11
May 11, 2023 pm 04:31 PM
How to add jump list items on Windows 10 and 11
May 11, 2023 pm 04:31 PM
Jump list on Windows provides easy access to recent files. If you want to add jump list items on Windows, this tutorial will help you get started. Jump Lists on Windows 10 and Windows 11 allow easy access to recently used files, folders, and websites. However, you may want to display more than the 10 most recent items that Windows displays by default. You can make Windows display more items in your jump list by adjusting the registry. For example, you can set it to display about 15-20 items, which will display well on most monitors. This tutorial will show you how to use Windows 10 and Windows 10
 How to disable 'Let's finish setting up the device' on Windows
May 12, 2023 pm 10:43 PM
How to disable 'Let's finish setting up the device' on Windows
May 12, 2023 pm 10:43 PM
Windows 11 comes with many features out of the box, as long as you attach a Microsoft account to them. When you clean install Windows 11, it asks you to set up Microsoft Office, OneDrive, Windows Hello, PhoneLinks (formerly YourPhone), and more. If you don't set up these Microsoft services, you will receive a message reminding you to complete the setup every few days. You can click Continue or Remind Me within 3 days. Both options are annoying, and there's no option to say no. Instead, you need to try a workaround. This is done on Windows by disabling "Let
 How to turn off notifications on Windows 11?
Apr 23, 2023 pm 01:28 PM
How to turn off notifications on Windows 11?
Apr 23, 2023 pm 01:28 PM
How to Block Notifications on Windows 11 You can easily block notifications on Windows 11 by following the steps below. To block your notifications: Open the Start menu and select Settings. Alternatively, you can directly press Windows key + I to open Settings. When settings open, click System in the list on the left, then click Notifications on the right. On the following screen, turn off notification options. Exit the Settings application. Going forward, application and system notifications will stop showing on the desktop. However, it's worth noting that some apps have their own built-in notification settings. In this case, you'll need to disable notifications directly from the app - but this is rare. By turning off notifications in Settings, you will eliminate