

[Organization and sharing] 7 popular React state management tools

![[Organization and sharing] 7 popular React state management tools](https://img.php.cn/upload/article/000/000/024/6448f30165876684.jpg)
Recently I am working on organizing the project technology stack;
As the team becomes larger, the number of people increases, and the number of projects increases;
The unified technology stack is A very necessary thing;

There are many React state management tools, but choosing a suitable state management tool is actually very important;
Follow me today Let me share with you some very popular React state management that I have compiled. I hope it will be helpful to you.
【 1. Mobx 】

Mobx
#MobX can run independently of React, but they usually Used together; the new version of mobx-react-lite library is very lightweight; when using it, you only need to use the exported observer package component; and then introduce the state;
import React from "react"
import ReactDOM from "react-dom"
import { makeAutoObservable } from "mobx"
import { observer } from "mobx-react-lite"

class Timer {
    secondsPassed = 0

    constructor() {
        makeAutoObservable(this)
    }

    increaseTimer() {
        this.secondsPassed += 1
    }
}

const myTimer = new Timer()

//被`observer`包裹的函数式组件会被监听在它每一次调用前发生的任何变化
const TimerView = observer(({ timer }) =>
           <span>Seconds passed: {timer.secondsPassed}
</span>)

ReactDOM.render(<TimerView timer={myTimer} />, document.body)【 2. Redux 】
Redux
Redux is also a very popular state management tool, but it is more cumbersome than other state management tools; of course I like it People who use Redux will also find Redux very elegant;
import { createStore } from 'redux'

/**
 * This is a reducer - a function that takes a current state value and an
 * action object describing "what happened", and returns a new state value.
 * A reducer's function signature is: (state, action) => newState
 *
 * The Redux state should contain only plain JS objects, arrays, and primitives.
 * The root state value is usually an object. It's important that you should
 * not mutate the state object, but return a new object if the state changes.
 *
 * You can use any conditional logic you want in a reducer. In this example,
 * we use a switch statement, but it's not required.
 */
function counterReducer(state = { value: 0 }, action) {
  switch (action.type) {
    case 'counter/incremented':
      return { value: state.value + 1 }
    case 'counter/decremented':
      return { value: state.value - 1 }
    default:
      return state
  }
}

// Create a Redux store holding the state of your app.
// Its API is { subscribe, dispatch, getState }.
let store = createStore(counterReducer)

// You can use subscribe() to update the UI in response to state changes.
// Normally you'd use a view binding library (e.g. React Redux) rather than subscribe() directly.
// There may be additional use cases where it's helpful to subscribe as well.

store.subscribe(() => console.log(store.getState()))

// The only way to mutate the internal state is to dispatch an action.
// The actions can be serialized, logged or stored and later replayed.
store.dispatch({ type: 'counter/incremented' })
// {value: 1}
store.dispatch({ type: 'counter/incremented' })
// {value: 2}
store.dispatch({ type: 'counter/decremented' })
// {value: 1}It is not easy to get started with Redux quickly, and you need to think about it carefully; but fortunately, redux officially launched the new Redux-tookit The steps for using Redux are greatly simplified.
【 3. Rematch 】
Rematch
Rematch continues the advantages of Redux, and the core concept is still based on Redux; but compared to Redux, it is simply too powerful! .
import { createModel } from "@rematch/core";
import { RootModel } from ".";

export const count = createModel<RootModel>()({
  state: 0, // initial state
  reducers: {
    // handle state changes with pure functions
    increment(state, payload: number) {
      return state + payload;
    },
  },
  effects: (dispatch) => ({
    // handle state changes with impure functions.
    // use async/await for async actions
    async incrementAsync(payload: number, state) {
      console.log("This is current root state", state);
      await new Promise((resolve) => setTimeout(resolve, 1000));
      dispatch.count.increment(payload);
    },
  }),
});The following are some features of Rematch:
- Size less than 2kb
- No configuration required
- Reduce Redux boilerplate files
- Built-in side effect support
- React Devtools support
- TypeScript native support
- Support dynamic addition of reducers
- Support hot reload
- Allow Create multiple stores
- Support React Native
- Extensible plug-ins
Rematch’s store still continues some Redux writing methods, but overall it is much more streamlined . It’s also very easy to get started.
【 4. Recoil 】
Recoil
Recoil provides a new state management model— —Atom model, which can better handle complex state logic.
If you need to use Recoil in a component, you can place RecoilRoot somewhere in the parent component. It is best to set it as the root component:
import React from 'react';
import {
  RecoilRoot,
  atom,
  selector,
  useRecoilState,
  useRecoilValue,
} from 'recoil';

function App() {
  return (
    <RecoilRoot>
      <CharacterCounter />
    </RecoilRoot>
  );
}A atom represents a state. Atom can be read and written from any component. The component that reads the atom value implicitly subscribes to the atom, so any update of the atom will cause the component corresponding to the atom to be re-rendered;
To use atom state, useRecoilState needs to be introduced in the component:
const textState = atom({
  key: 'textState', // unique ID (with respect to other atoms/selectors)
  default: '', // default value (aka initial value)
});

function CharacterCounter() {
  return (
    <div>
      <TextInput />
      <CharacterCount />
    </div>
  );
}

function TextInput() {
  const [text, setText] = useRecoilState(textState);

  const onChange = (event) => {
    setText(event.target.value);
  };

  return (
    <div>
      <input type="text" value={text} onChange={onChange} />
      <br />
      Echo: {text}
    </div>
  );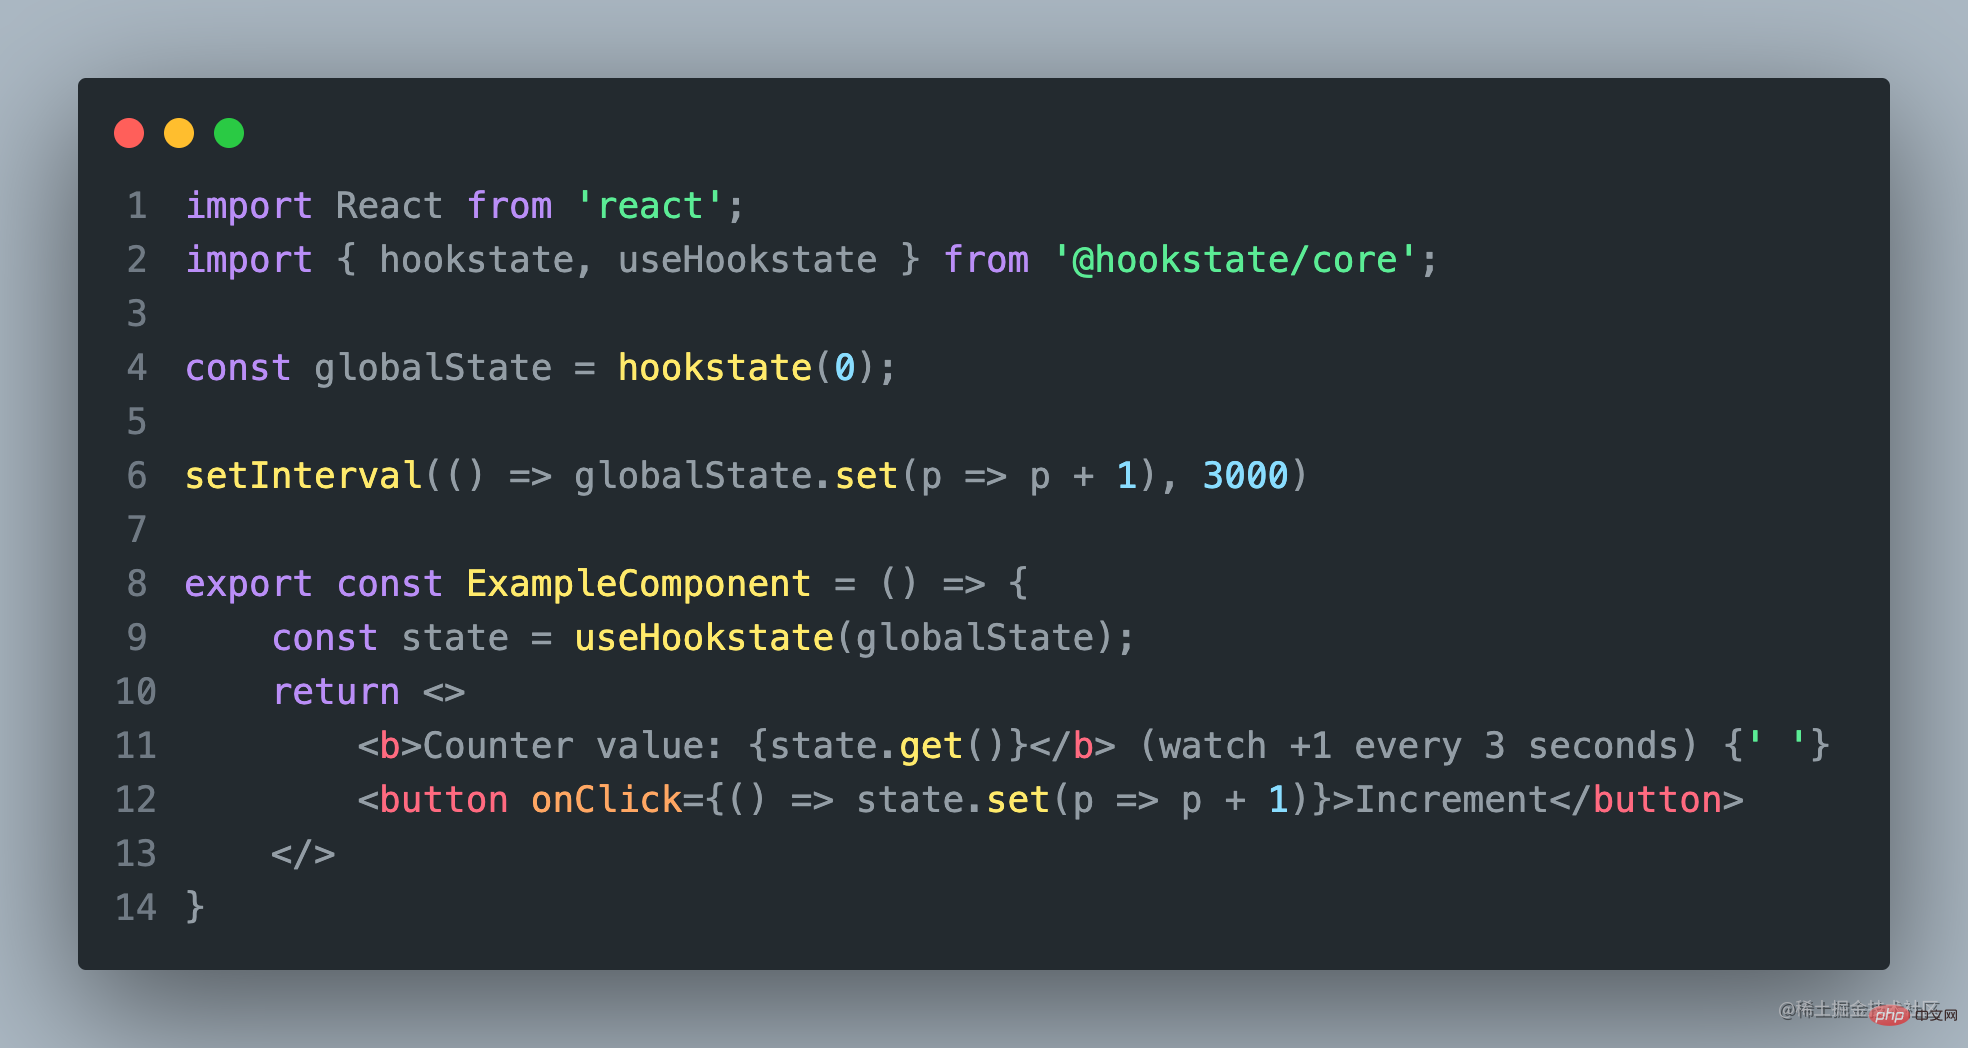
}【 5. Hookstate 】
hookState
HookState is also a very simple state management tool library that is intuitive API for you to easily access the state;
Its main features include:
- Create global state
- Create internal State
- Nested state
- Partial state
- Empty state
HookState mainly includes two important Api HookState and useHookState.
If you need other functions, you can refer to other official APIs.
【 6. Jotai 】
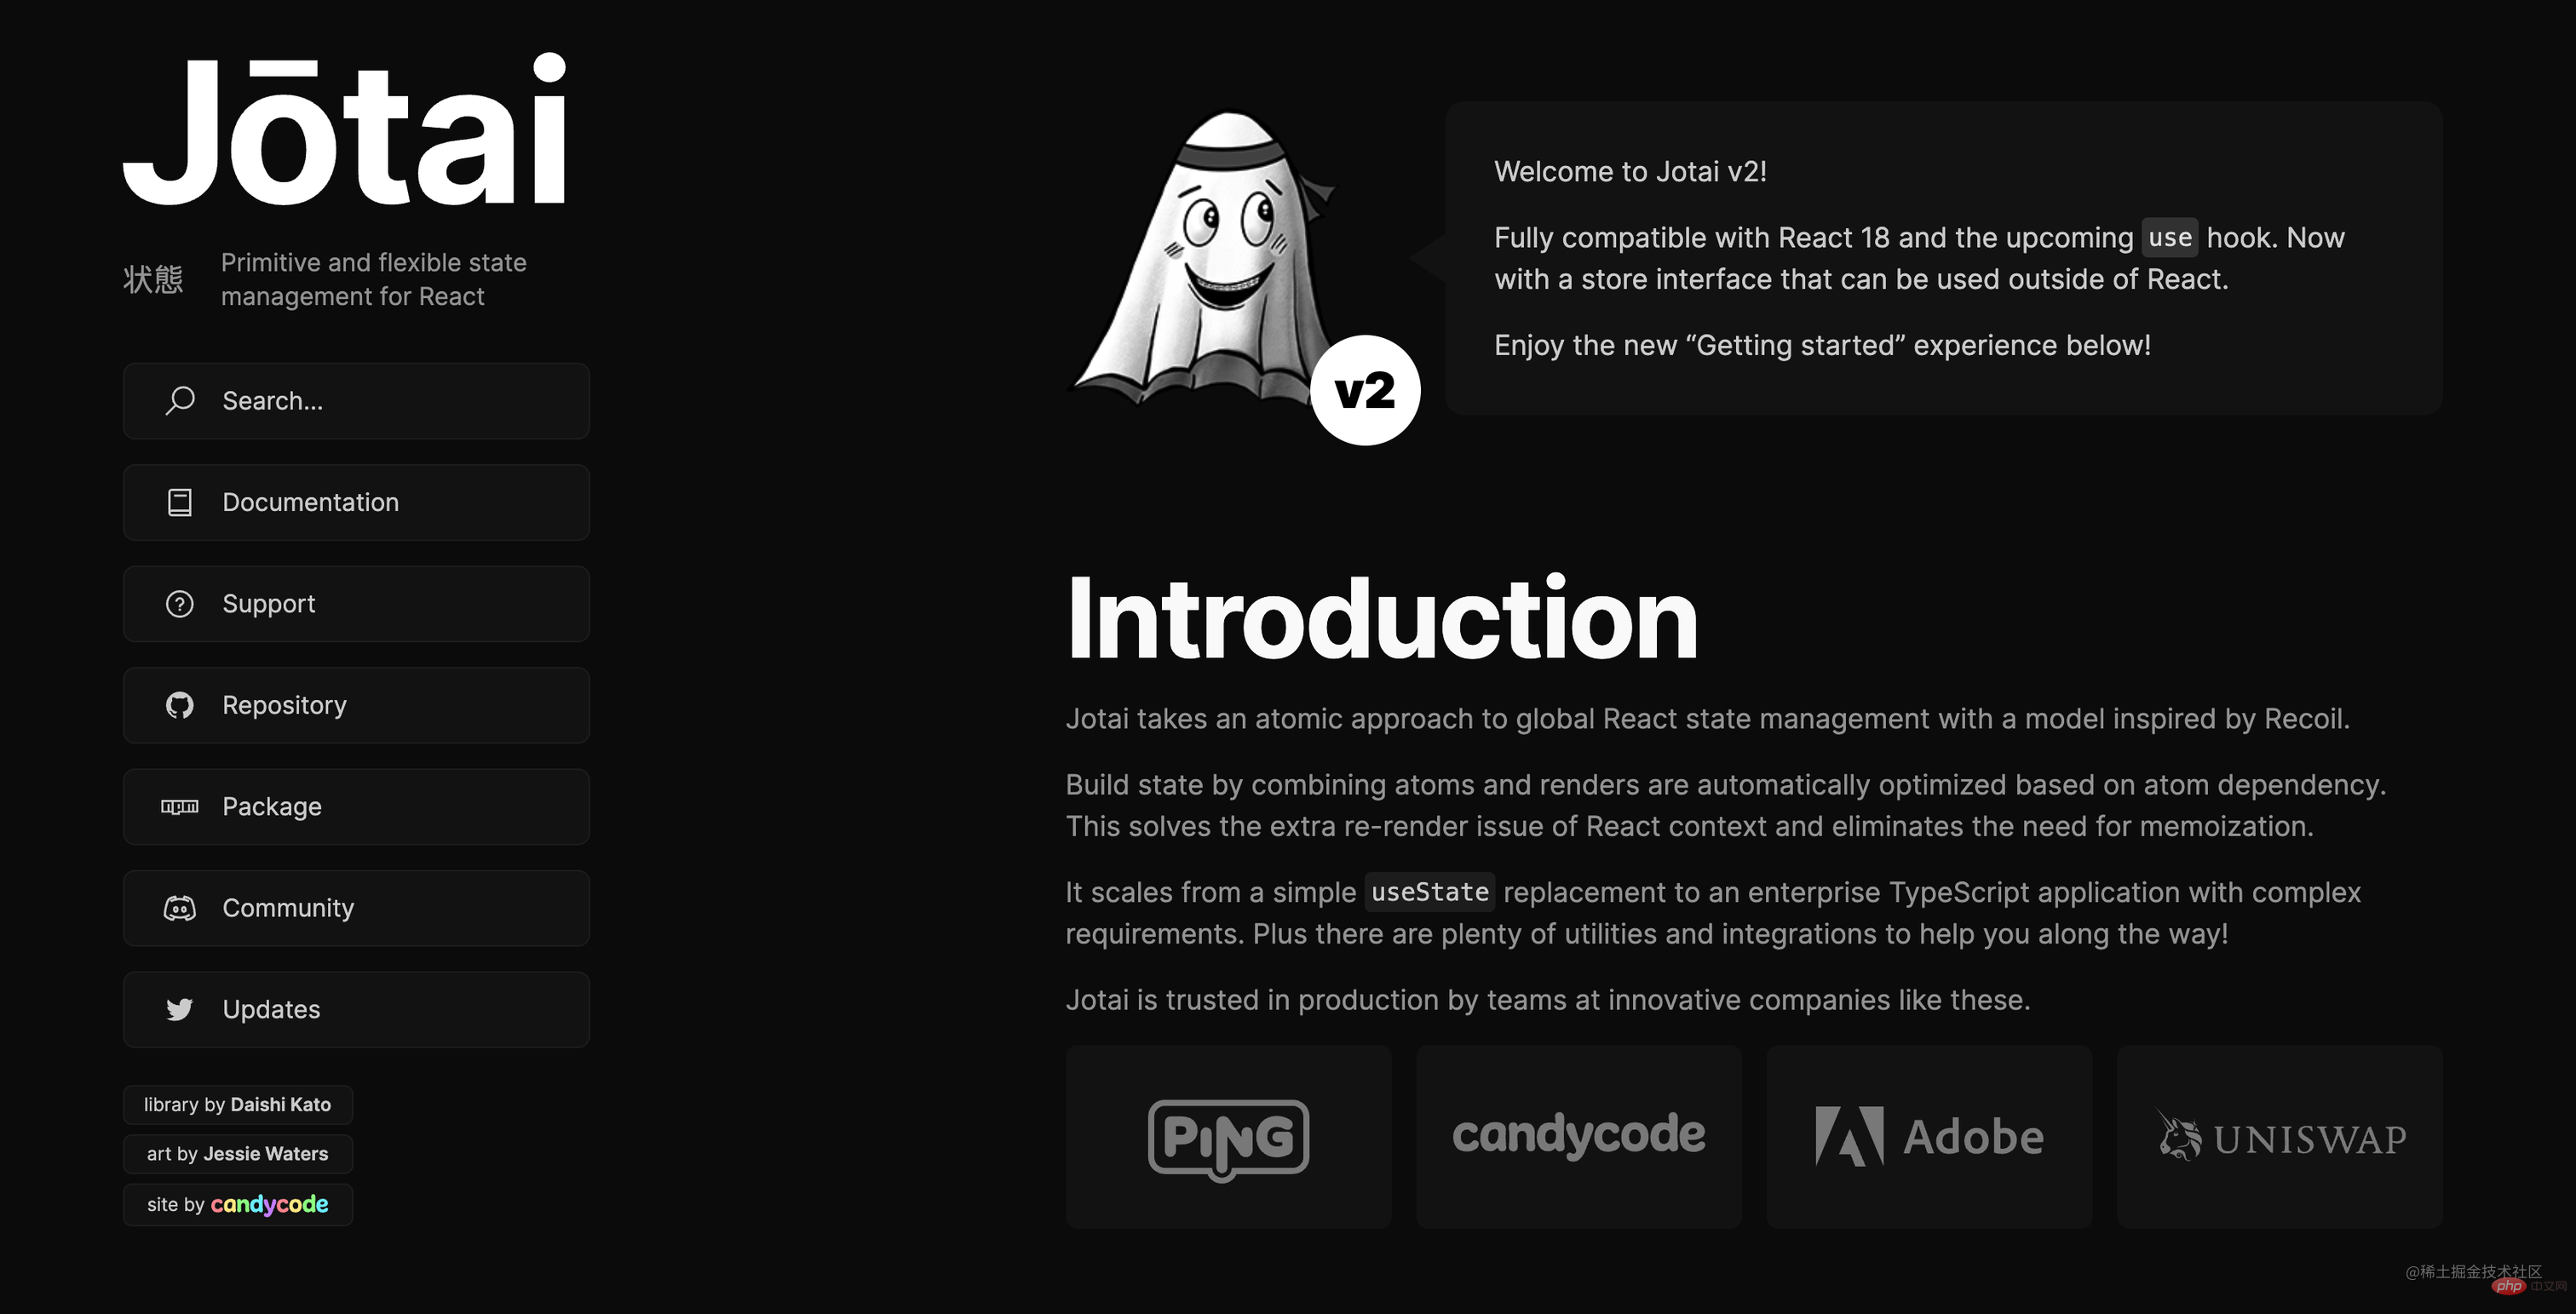
Jotai
Jotai is a primitive and flexible state management for React Library. It is similar to Recoil, but has a smaller package size, a more minimalist API, better TypeScript support, wider documentation, and no experimental tags.
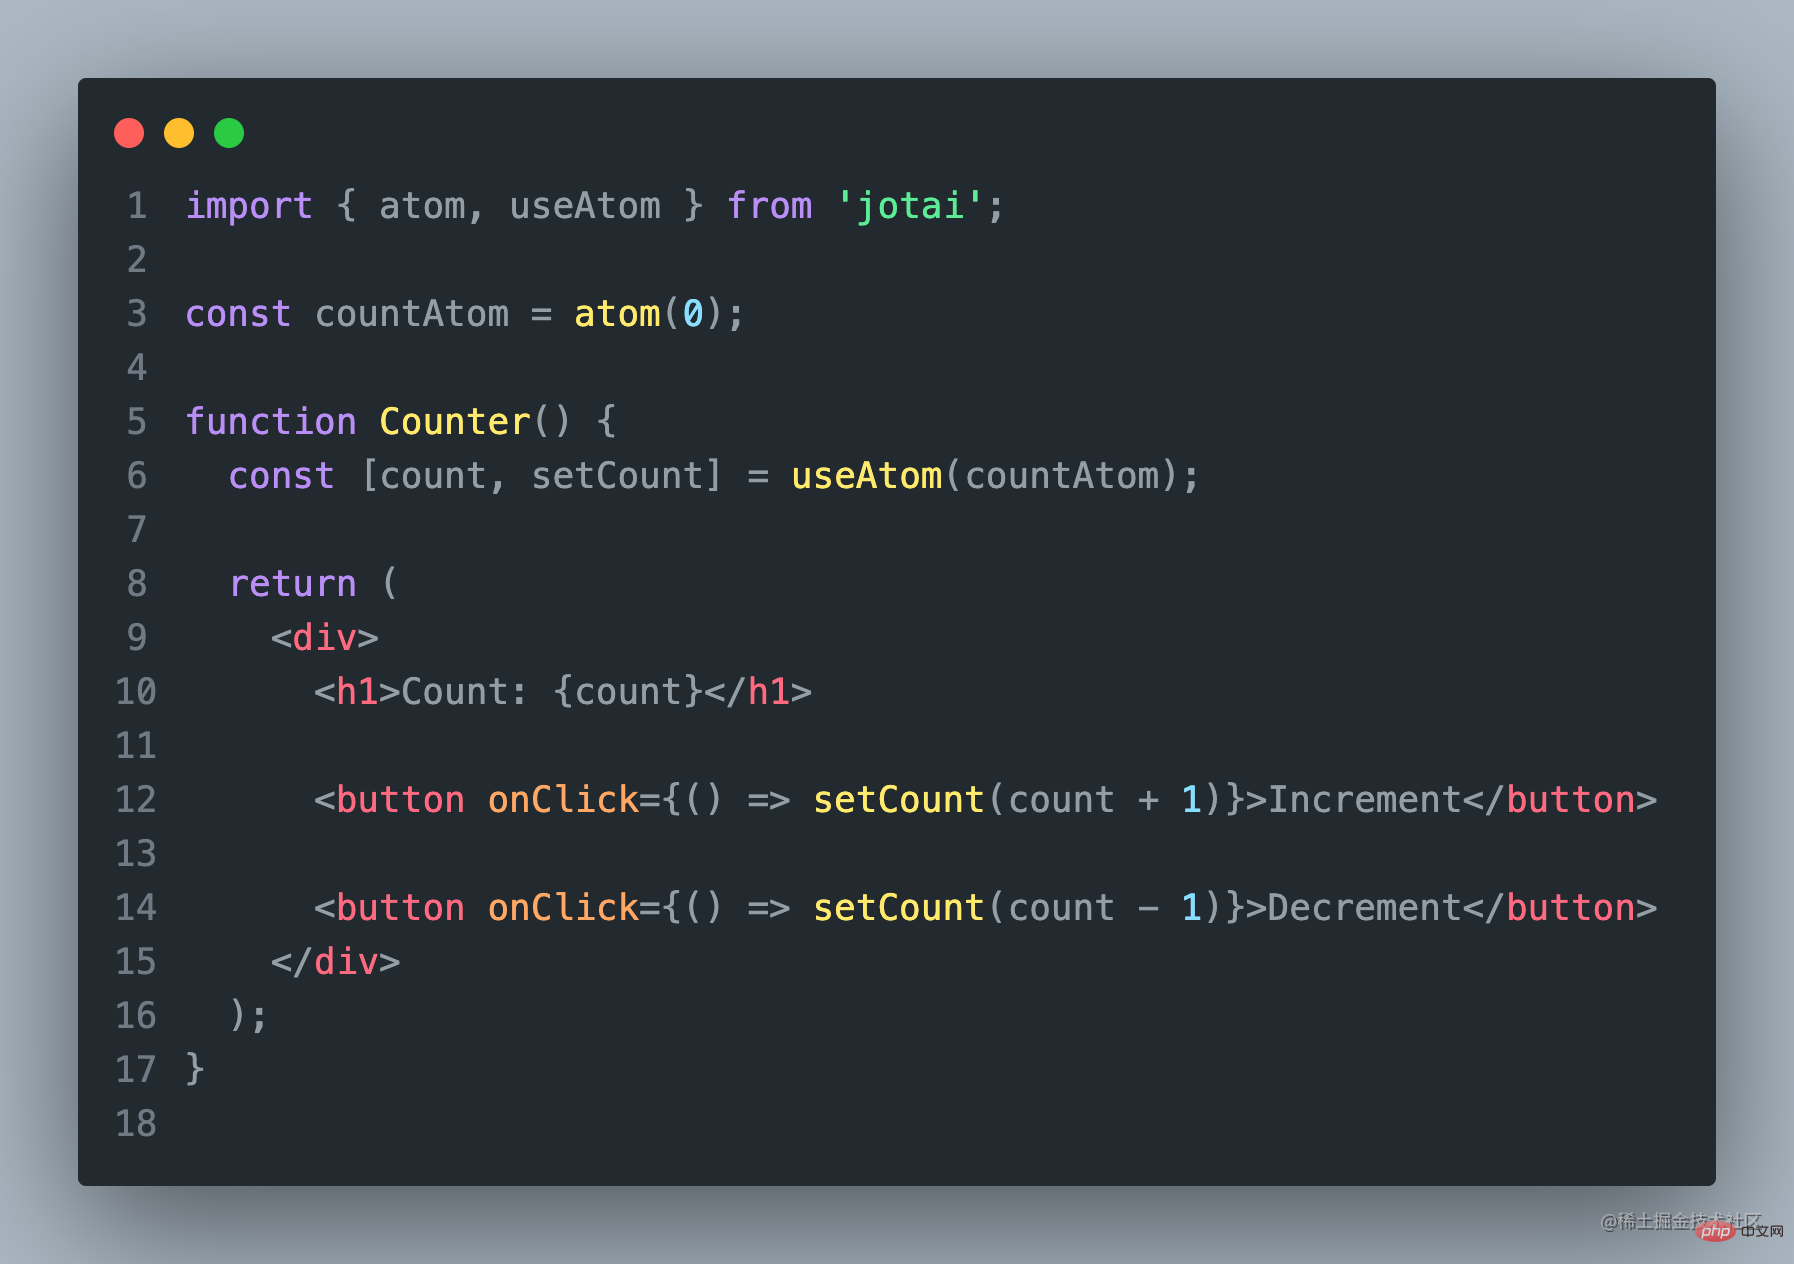
With Jotai, you can store state in a single store and use custom hooks to access and update state.
import { atom, useAtom } from 'jotai';

const countAtom = atom(0);

function Counter() {
  const [count, setCount] = useAtom(countAtom);

  return (
    <div>
      <h1>Count: {count}</h1>

      <button onClick={() => setCount(count + 1)}>Increment</button>

      <button onClick={() => setCount(count - 1)}>Decrement</button>
    </div>
  );
}The above is the sample code for using Jotai. Using Jotai is very simple.
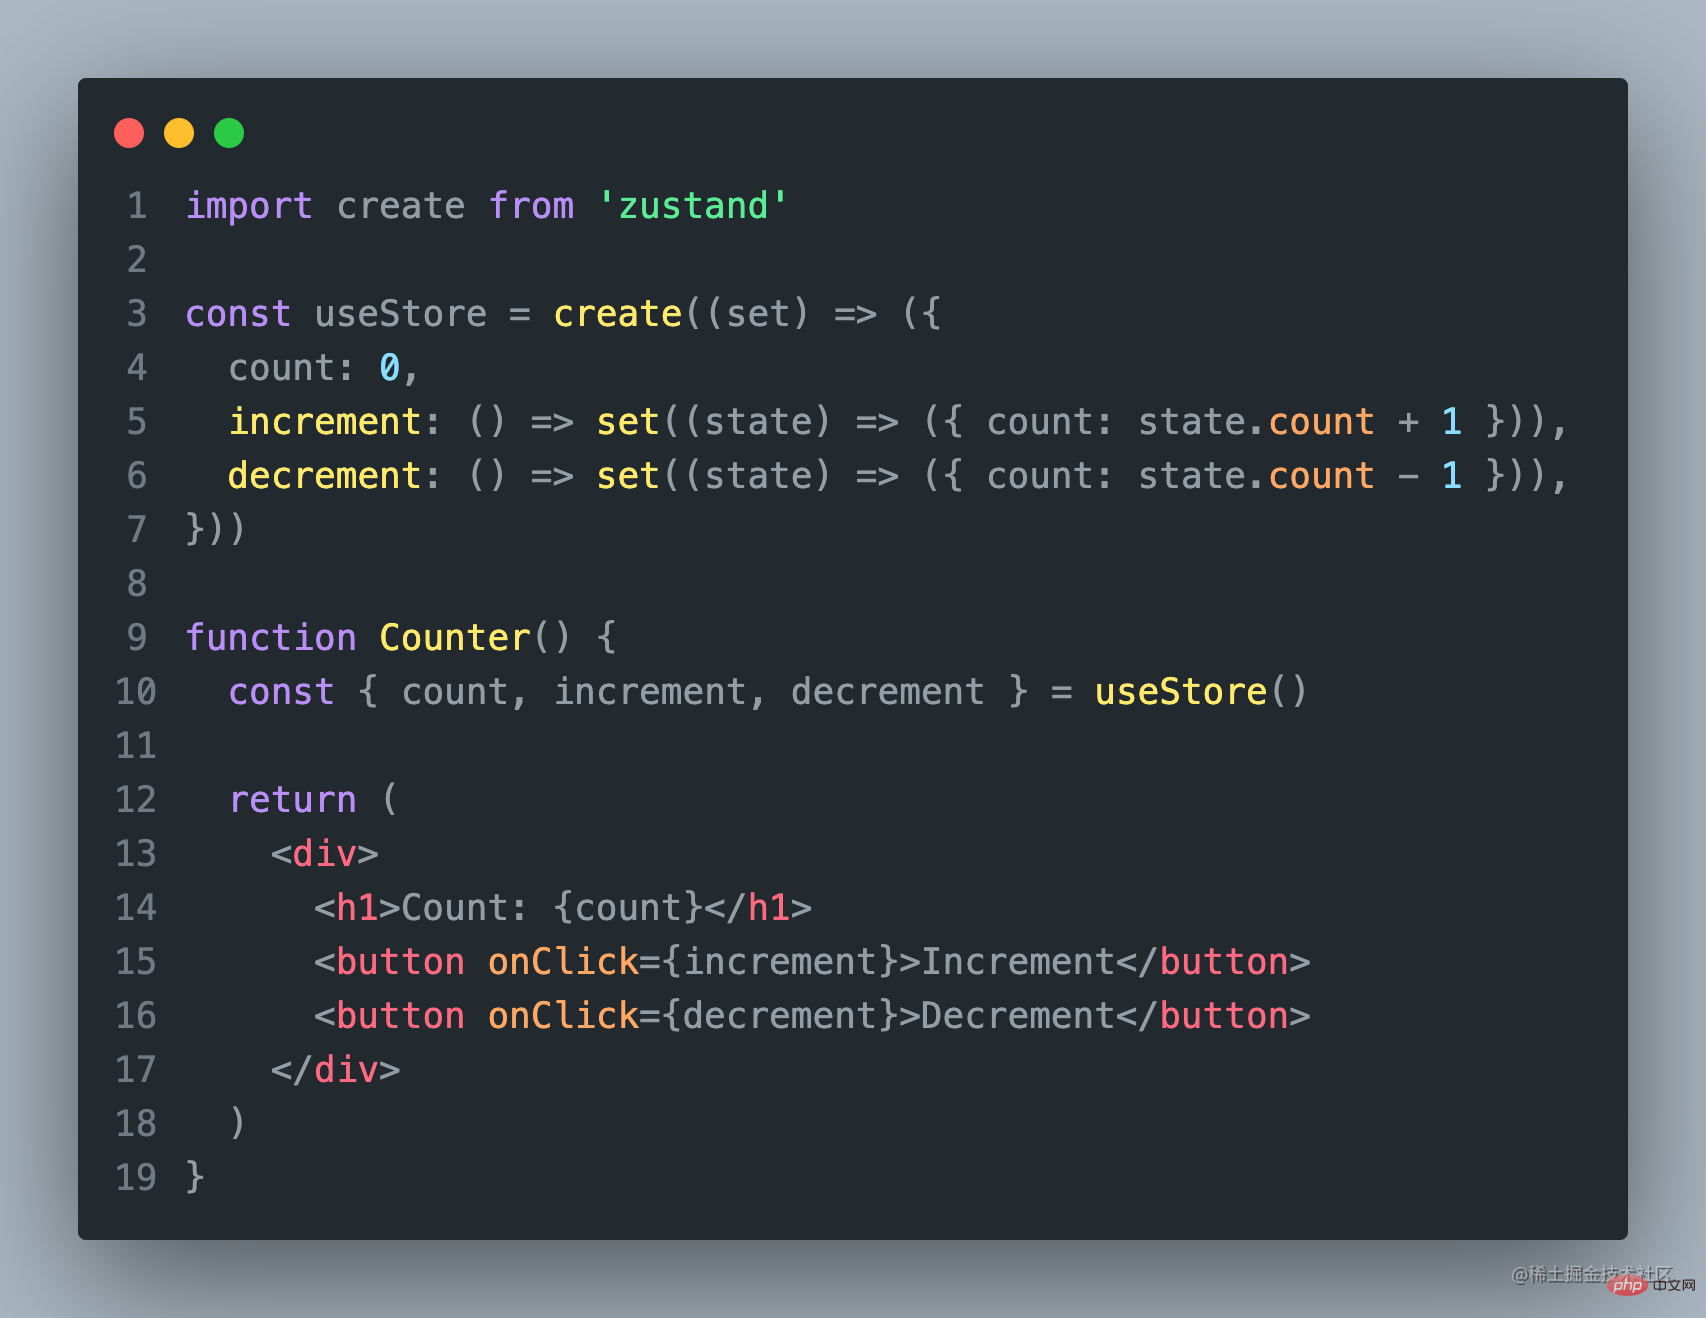
【 7. Zustand】

Zustand provides a simple way to manage state in React applications.
Its main features are ease of use and lightweight.
Zustand Code
使用Zustand,你可以将状态存储在一个单一的store中,并使用自定义的hooks来访问和更新状态。这使得状态管理变得非常简单和直观。
import create from 'zustand'

const useStore = create((set) => ({
  count: 0,
  increment: () => set((state) => ({ count: state.count + 1 })),
  decrement: () => set((state) => ({ count: state.count - 1 })),
}))

function Counter() {
  const { count, increment, decrement } = useStore()

  return (
    <div>
      <h1>Count: {count}</h1>
      <button onClick={increment}>Increment</button>
      <button onClick={decrement}>Decrement</button>
    </div>
  )
}使用Zustand也非常的简单!
在这个例子中,我们使用 create 函数创建了一个新的store,
并定义了一个名为 count 的状态和两个更新状态的
函数 increment 和 decrement 。
然后,我们使用 useStore 自定义 hook 来访问和更新状态。
【以上7个状态管理工具各有特点】
考虑到团队人员技术的参差不齐,未来项目的可维护、延展性;
建议大家选择入门简单,上手快的工具;
因为之前最早我们选择的是Redux,现在再回头看原来的项目,简直难以维护了。
如果你的团队还是倾向于Redux,这里建议还是使用Rematch比较好。
如果是还没使用状态管理,又想用的,建议使用mobx吧!
(学习视频分享:编程基础视频)
The above is the detailed content of [Organization and sharing] 7 popular React state management tools. For more information, please follow other related articles on the PHP Chinese website!

Hot AI Tools

Undresser.AI Undress
AI-powered app for creating realistic nude photos

AI Clothes Remover
Online AI tool for removing clothes from photos.

Undress AI Tool
Undress images for free

Clothoff.io
AI clothes remover

Video Face Swap
Swap faces in any video effortlessly with our completely free AI face swap tool!

Hot Article
Hot Tools

Notepad++7.3.1
Easy-to-use and free code editor

SublimeText3 Chinese version
Chinese version, very easy to use

Zend Studio 13.0.1
Powerful PHP integrated development environment

Dreamweaver CS6
Visual web development tools

SublimeText3 Mac version
God-level code editing software (SublimeText3)
Hot Topics
 1392
1392
 52
36
110
52
36
110

 PHP and Vue: a perfect pairing of front-end development tools
Mar 16, 2024 pm 12:09 PM
PHP and Vue: a perfect pairing of front-end development tools
Mar 16, 2024 pm 12:09 PM
PHP and Vue: a perfect pairing of front-end development tools. In today's era of rapid development of the Internet, front-end development has become increasingly important. As users have higher and higher requirements for the experience of websites and applications, front-end developers need to use more efficient and flexible tools to create responsive and interactive interfaces. As two important technologies in the field of front-end development, PHP and Vue.js can be regarded as perfect tools when paired together. This article will explore the combination of PHP and Vue, as well as detailed code examples to help readers better understand and apply these two
 PHP, Vue and React: How to choose the most suitable front-end framework?
Mar 15, 2024 pm 05:48 PM
PHP, Vue and React: How to choose the most suitable front-end framework?
Mar 15, 2024 pm 05:48 PM
PHP, Vue and React: How to choose the most suitable front-end framework? With the continuous development of Internet technology, front-end frameworks play a vital role in Web development. PHP, Vue and React are three representative front-end frameworks, each with its own unique characteristics and advantages. When choosing which front-end framework to use, developers need to make an informed decision based on project needs, team skills, and personal preferences. This article will compare the characteristics and uses of the three front-end frameworks PHP, Vue and React.
 Integration of Java framework and front-end React framework
Jun 01, 2024 pm 03:16 PM
Integration of Java framework and front-end React framework
Jun 01, 2024 pm 03:16 PM
Integration of Java framework and React framework: Steps: Set up the back-end Java framework. Create project structure. Configure build tools. Create React applications. Write REST API endpoints. Configure the communication mechanism. Practical case (SpringBoot+React): Java code: Define RESTfulAPI controller. React code: Get and display the data returned by the API.
 Questions frequently asked by front-end interviewers
Mar 19, 2024 pm 02:24 PM
Questions frequently asked by front-end interviewers
Mar 19, 2024 pm 02:24 PM
In front-end development interviews, common questions cover a wide range of topics, including HTML/CSS basics, JavaScript basics, frameworks and libraries, project experience, algorithms and data structures, performance optimization, cross-domain requests, front-end engineering, design patterns, and new technologies and trends. . Interviewer questions are designed to assess the candidate's technical skills, project experience, and understanding of industry trends. Therefore, candidates should be fully prepared in these areas to demonstrate their abilities and expertise.
 Is Django front-end or back-end? check it out!
Jan 19, 2024 am 08:37 AM
Is Django front-end or back-end? check it out!
Jan 19, 2024 am 08:37 AM
Django is a web application framework written in Python that emphasizes rapid development and clean methods. Although Django is a web framework, to answer the question whether Django is a front-end or a back-end, you need to have a deep understanding of the concepts of front-end and back-end. The front end refers to the interface that users directly interact with, and the back end refers to server-side programs. They interact with data through the HTTP protocol. When the front-end and back-end are separated, the front-end and back-end programs can be developed independently to implement business logic and interactive effects respectively, and data exchange.
 Exploring Go language front-end technology: a new vision for front-end development
Mar 28, 2024 pm 01:06 PM
Exploring Go language front-end technology: a new vision for front-end development
Mar 28, 2024 pm 01:06 PM
As a fast and efficient programming language, Go language is widely popular in the field of back-end development. However, few people associate Go language with front-end development. In fact, using Go language for front-end development can not only improve efficiency, but also bring new horizons to developers. This article will explore the possibility of using the Go language for front-end development and provide specific code examples to help readers better understand this area. In traditional front-end development, JavaScript, HTML, and CSS are often used to build user interfaces
 Django: A magical framework that can handle both front-end and back-end development!
Jan 19, 2024 am 08:52 AM
Django: A magical framework that can handle both front-end and back-end development!
Jan 19, 2024 am 08:52 AM
Django: A magical framework that can handle both front-end and back-end development! Django is an efficient and scalable web application framework. It is able to support multiple web development models, including MVC and MTV, and can easily develop high-quality web applications. Django not only supports back-end development, but can also quickly build front-end interfaces and achieve flexible view display through template language. Django combines front-end development and back-end development into a seamless integration, so developers don’t have to specialize in learning
 Combination of Golang and front-end technology: explore how Golang plays a role in the front-end field
Mar 19, 2024 pm 06:15 PM
Combination of Golang and front-end technology: explore how Golang plays a role in the front-end field
Mar 19, 2024 pm 06:15 PM
Combination of Golang and front-end technology: To explore how Golang plays a role in the front-end field, specific code examples are needed. With the rapid development of the Internet and mobile applications, front-end technology has become increasingly important. In this field, Golang, as a powerful back-end programming language, can also play an important role. This article will explore how Golang is combined with front-end technology and demonstrate its potential in the front-end field through specific code examples. The role of Golang in the front-end field is as an efficient, concise and easy-to-learn
