

How to rename audio devices on Windows 11

Audio equipment is equally important when using the system. It can be used for listening to music and online meetings. When you have many audio devices connected to your system, it can be confusing for users to select audio devices from the devices listed if they have similar names. Therefore, users need to rename the audio device for their convenience. If you are also looking for how to change the name of an audio device on your system, then this article will show you how to do it.
How to Rename an Audio Device on Windows 11
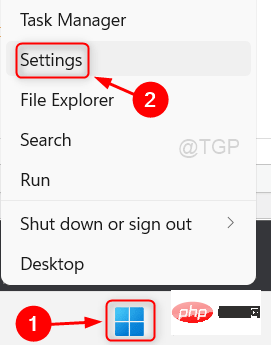
Step 1: Right-click the Start button on the taskbar.
Step 2: Select the Settings option from the context menu of the Start button as shown in the screenshot below.
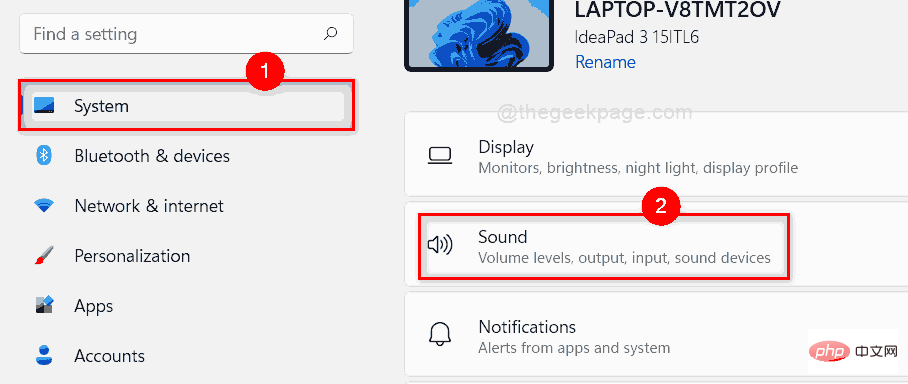
Step 3: In the "Settings" window, select "System" in the left menu.
Step 4: Then, click on the Sound option on the right side of the window as shown in the screenshot below.
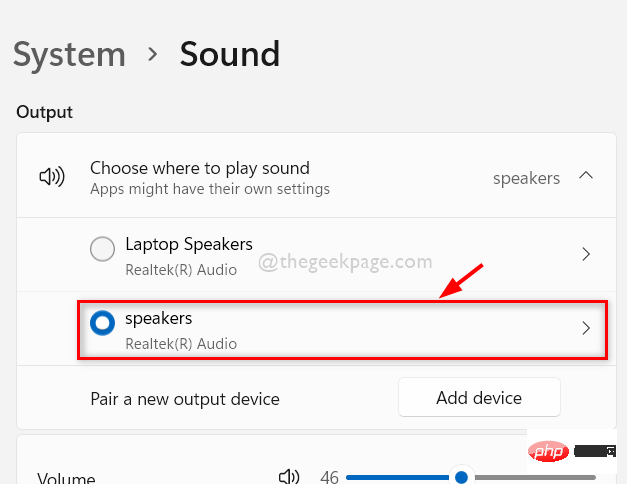
Step 5: Select the sound device you want to rename by clicking on it as shown below.
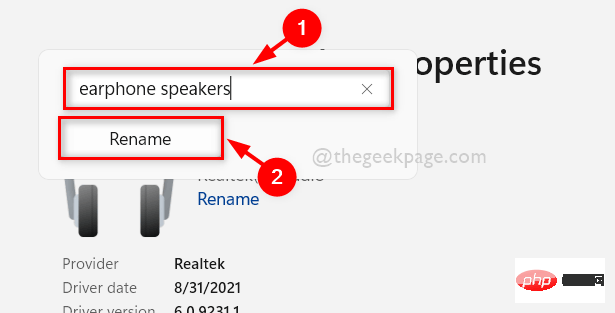
Step 6: Then, click the Rename button under the Sound Device on the Properties page as shown below.
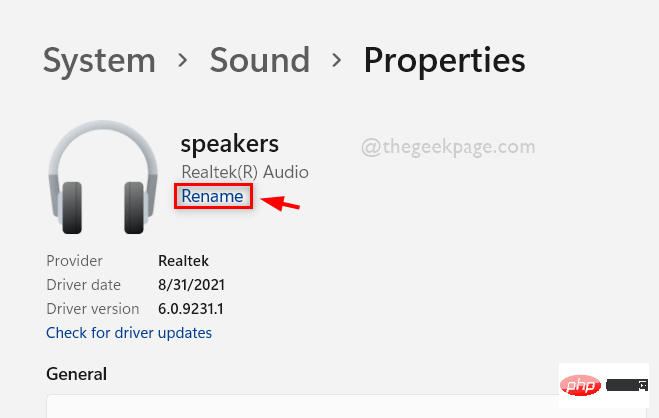
Step 7: Rename the sound device to whatever you want and click the Rename button.
Step 8: Then, close all settings windows.
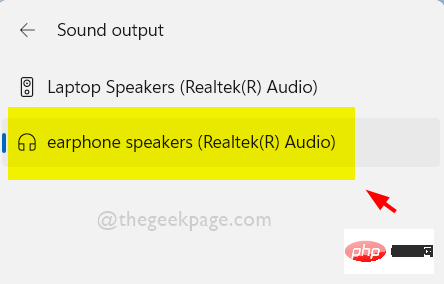
Step 9: To verify the sound device, simultaneously press the Windows A keys on your keyboard to enter the Action Center.
Step 10: In the Action Center Wizard, click Select the Sound Output icon as shown in the image below.

Step 11: Now you can see the renamed sound device appear in this list.
that's all.
Here’s how to rename audio devices on Windows 11 systems.
Hope you enjoyed this article and found it useful.
The above is the detailed content of How to rename audio devices on Windows 11. For more information, please follow other related articles on the PHP Chinese website!

Hot AI Tools

Undresser.AI Undress
AI-powered app for creating realistic nude photos

AI Clothes Remover
Online AI tool for removing clothes from photos.

Undress AI Tool
Undress images for free

Clothoff.io
AI clothes remover

AI Hentai Generator
Generate AI Hentai for free.

Hot Article
Hot Tools

Notepad++7.3.1
Easy-to-use and free code editor

SublimeText3 Chinese version
Chinese version, very easy to use

Zend Studio 13.0.1
Powerful PHP integrated development environment

Dreamweaver CS6
Visual web development tools

SublimeText3 Mac version
God-level code editing software (SublimeText3)
Hot Topics


 CUDA's universal matrix multiplication: from entry to proficiency!
Mar 25, 2024 pm 12:30 PM
CUDA's universal matrix multiplication: from entry to proficiency!
Mar 25, 2024 pm 12:30 PM
General Matrix Multiplication (GEMM) is a vital part of many applications and algorithms, and is also one of the important indicators for evaluating computer hardware performance. In-depth research and optimization of the implementation of GEMM can help us better understand high-performance computing and the relationship between software and hardware systems. In computer science, effective optimization of GEMM can increase computing speed and save resources, which is crucial to improving the overall performance of a computer system. An in-depth understanding of the working principle and optimization method of GEMM will help us better utilize the potential of modern computing hardware and provide more efficient solutions for various complex computing tasks. By optimizing the performance of GEMM
 Huawei's Qiankun ADS3.0 intelligent driving system will be launched in August and will be launched on Xiangjie S9 for the first time
Jul 30, 2024 pm 02:17 PM
Huawei's Qiankun ADS3.0 intelligent driving system will be launched in August and will be launched on Xiangjie S9 for the first time
Jul 30, 2024 pm 02:17 PM
On July 29, at the roll-off ceremony of AITO Wenjie's 400,000th new car, Yu Chengdong, Huawei's Managing Director, Chairman of Terminal BG, and Chairman of Smart Car Solutions BU, attended and delivered a speech and announced that Wenjie series models will be launched this year In August, Huawei Qiankun ADS 3.0 version was launched, and it is planned to successively push upgrades from August to September. The Xiangjie S9, which will be released on August 6, will debut Huawei’s ADS3.0 intelligent driving system. With the assistance of lidar, Huawei Qiankun ADS3.0 version will greatly improve its intelligent driving capabilities, have end-to-end integrated capabilities, and adopt a new end-to-end architecture of GOD (general obstacle identification)/PDP (predictive decision-making and control) , providing the NCA function of smart driving from parking space to parking space, and upgrading CAS3.0
 What is the shortcut key for renaming? What is the shortcut key for renaming?
Feb 22, 2024 pm 02:50 PM
What is the shortcut key for renaming? What is the shortcut key for renaming?
Feb 22, 2024 pm 02:50 PM
The shortcut key for renaming is F2. Analysis 1 The shortcut key for renaming is F2. 2 If you want to rename a file or folder, you can press F2 after selecting the file, modify it directly and press Enter. 3 Sometimes you can also use the mouse to select the file, right-click, select Rename, and press Enter after the modification is completed. 4 Shortcut keys refer to the special combination or sequence of keys on the keyboard to quickly complete a certain command, which can effectively improve work efficiency. Supplement: What are shortcut keys? 1 Shortcut keys, also called hot keys, refer to completing an operation through certain specific keys, key sequences or key combinations. You can use shortcut keys to do some work instead of the mouse. You can use keyboard shortcuts to open, close, and navigate the start menu, desktop, menus, and dialog boxes.
 Which version of Apple 16 system is the best?
Mar 08, 2024 pm 05:16 PM
Which version of Apple 16 system is the best?
Mar 08, 2024 pm 05:16 PM
The best version of the Apple 16 system is iOS16.1.4. The best version of the iOS16 system may vary from person to person. The additions and improvements in daily use experience have also been praised by many users. Which version of the Apple 16 system is the best? Answer: iOS16.1.4 The best version of the iOS 16 system may vary from person to person. According to public information, iOS16, launched in 2022, is considered a very stable and performant version, and users are quite satisfied with its overall experience. In addition, the addition of new features and improvements in daily use experience in iOS16 have also been well received by many users. Especially in terms of updated battery life, signal performance and heating control, user feedback has been relatively positive. However, considering iPhone14
 Always new! Huawei Mate60 series upgrades to HarmonyOS 4.2: AI cloud enhancement, Xiaoyi Dialect is so easy to use
Jun 02, 2024 pm 02:58 PM
Always new! Huawei Mate60 series upgrades to HarmonyOS 4.2: AI cloud enhancement, Xiaoyi Dialect is so easy to use
Jun 02, 2024 pm 02:58 PM
On April 11, Huawei officially announced the HarmonyOS 4.2 100-machine upgrade plan for the first time. This time, more than 180 devices will participate in the upgrade, covering mobile phones, tablets, watches, headphones, smart screens and other devices. In the past month, with the steady progress of the HarmonyOS4.2 100-machine upgrade plan, many popular models including Huawei Pocket2, Huawei MateX5 series, nova12 series, Huawei Pura series, etc. have also started to upgrade and adapt, which means that there will be More Huawei model users can enjoy the common and often new experience brought by HarmonyOS. Judging from user feedback, the experience of Huawei Mate60 series models has improved in all aspects after upgrading HarmonyOS4.2. Especially Huawei M
 What are the computer operating systems?
Jan 12, 2024 pm 03:12 PM
What are the computer operating systems?
Jan 12, 2024 pm 03:12 PM
A computer operating system is a system used to manage computer hardware and software programs. It is also an operating system program developed based on all software systems. Different operating systems have different users. So what are the computer systems? Below, the editor will share with you what computer operating systems are. The so-called operating system is to manage computer hardware and software programs. All software is developed based on operating system programs. In fact, there are many types of operating systems, including those for industrial use, commercial use, and personal use, covering a wide range of applications. Below, the editor will explain to you what computer operating systems are. What computer operating systems are Windows systems? The Windows system is an operating system developed by Microsoft Corporation of the United States. than the most
 Detailed explanation of how to modify system date in Oracle database
Mar 09, 2024 am 10:21 AM
Detailed explanation of how to modify system date in Oracle database
Mar 09, 2024 am 10:21 AM
Detailed explanation of the method of modifying the system date in the Oracle database. In the Oracle database, the method of modifying the system date mainly involves modifying the NLS_DATE_FORMAT parameter and using the SYSDATE function. This article will introduce these two methods and their specific code examples in detail to help readers better understand and master the operation of modifying the system date in the Oracle database. 1. Modify NLS_DATE_FORMAT parameter method NLS_DATE_FORMAT is Oracle data
 Differences and similarities of cmd commands in Linux and Windows systems
Mar 15, 2024 am 08:12 AM
Differences and similarities of cmd commands in Linux and Windows systems
Mar 15, 2024 am 08:12 AM
Linux and Windows are two common operating systems, representing the open source Linux system and the commercial Windows system respectively. In both operating systems, there is a command line interface for users to interact with the operating system. In Linux systems, users use the Shell command line, while in Windows systems, users use the cmd command line. The Shell command line in Linux system is a very powerful tool that can complete almost all system management tasks.