2 Easy Ways to Flash the BIOS When Your Computer Won't Start
When your PC won't boot, it's almost difficult to fix anything, so flashing the BIOS may be your only option.
The basic input and output system of a computer is one of its most important components, and it is extremely sensitive to any changes or adjustments.
Flashing the BIOS simply means upgrading it or restoring it to default settings, which will undo any changes.
Even if your computer won't boot, you can flash the BIOS with the help of this article. So, without further ado, let’s get started.
How to refresh the BIOS when the computer cannot boot?
1. From a bootable USB flash drive or update the BIOS
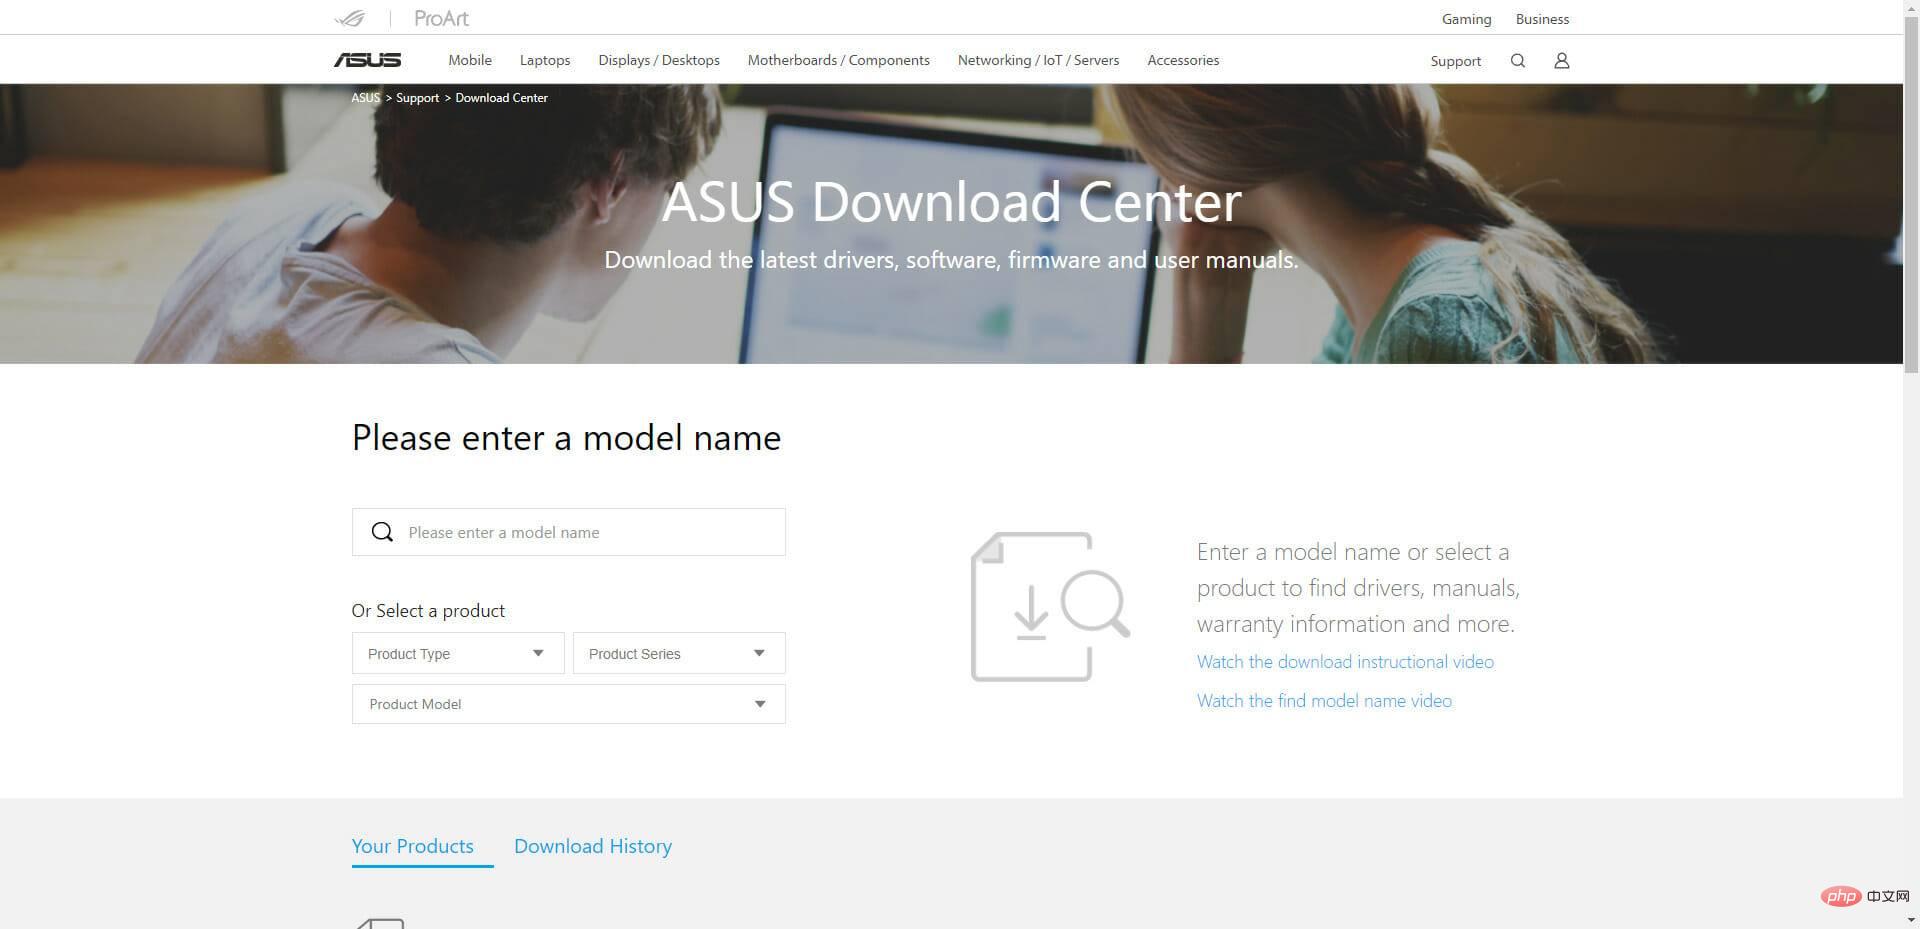
- Using another computer or laptop, visit your motherboard or computer manufacturer's website and find the support page.
- They should list your motherboard or laptop model. In our example, we go to the ASUS Help Center and enter our motherboard model number.

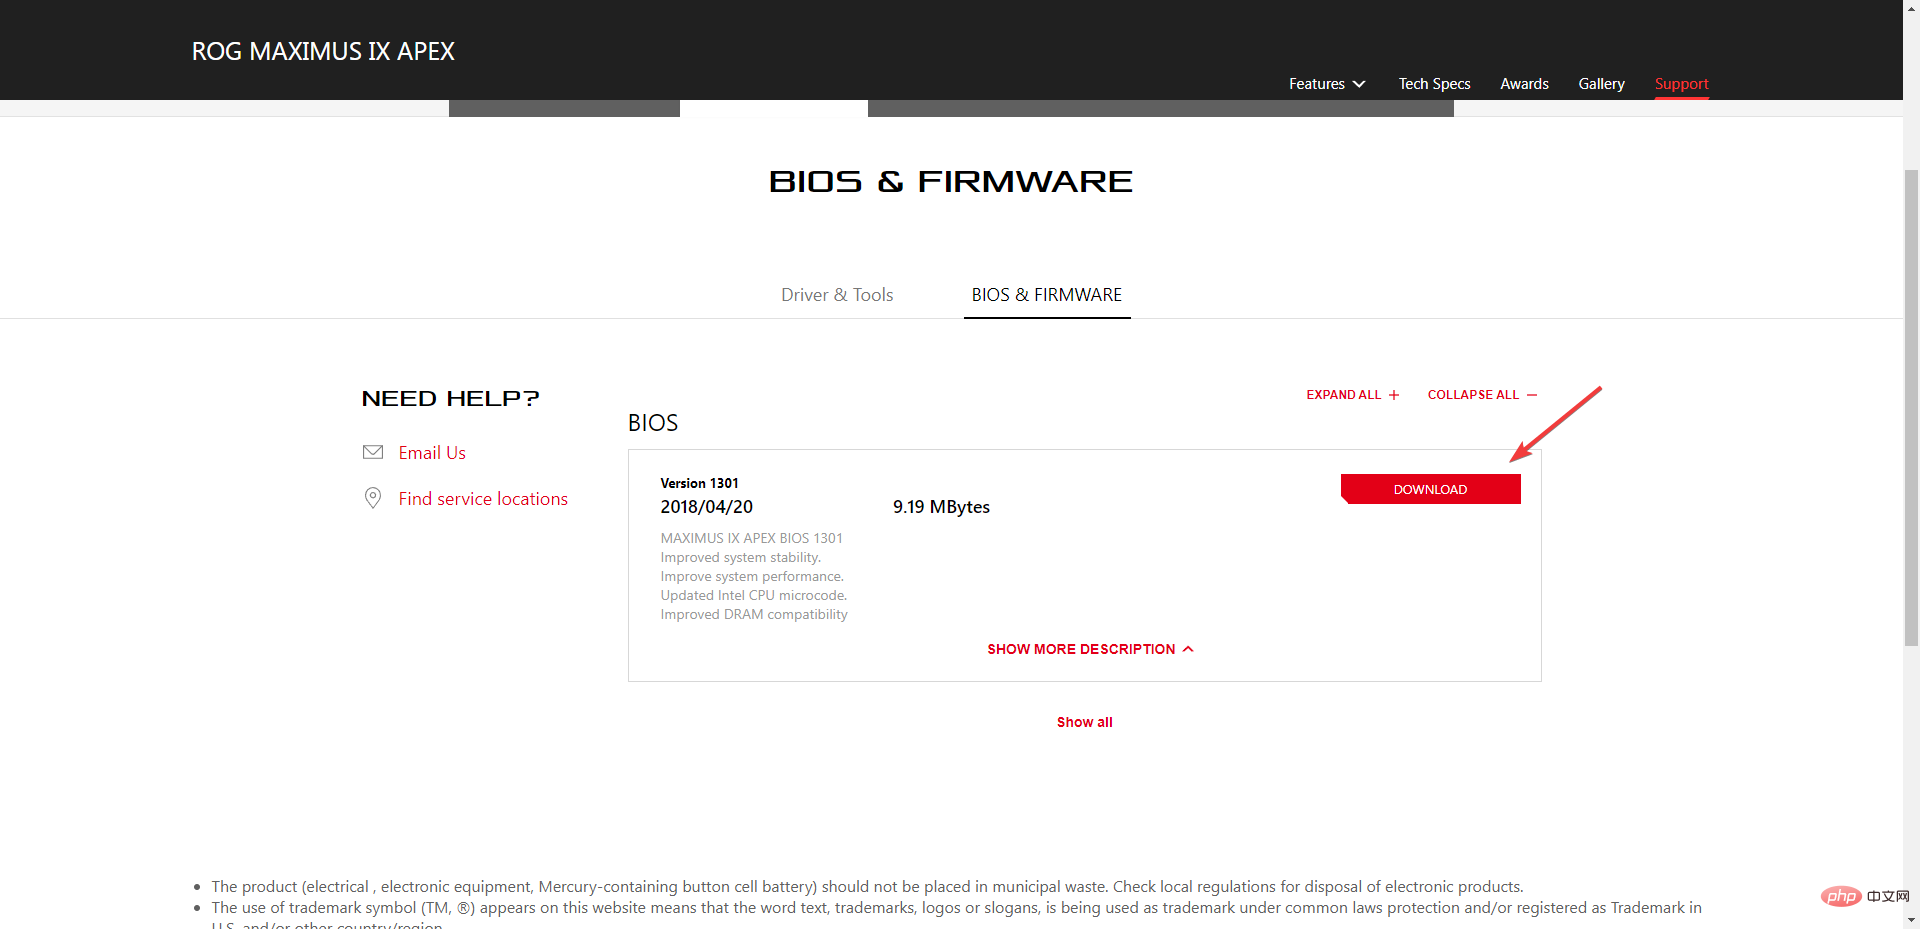
- Then download the BIOS file.

- If the downloaded file is a ZIP file, please extract the content.
- Look for the BIOS file in the contents of the unzipped file and note the location of this BIOS file.
- Before starting the BIOS flash process, save the BIOS file to an external device such as a USB drive.
- Boot the failed computer after making sure it is plugged in or the laptop is fully charged and plugged in.
- After the computer starts, press the keys specified in the manufacturer's instructions to enter the BIOS screen for a BIOS update. F1, F2, Delete, F8, Esc, or other keys can be used.
- After entering the BIOS panel, start the update process according to your computer model. (To complete the upgrade, you may want to check out a different tutorial on the manufacturer's website.)
- The BIOS flash can take anywhere from a few minutes to a few hours, and your system will reboot after the BIOS update is complete.
It is important not to interrupt the power supply to your computer; therefore, any interruption may cause BIOS corruption, rendering your computer unusable.
Remember, this is only an option if your computer can boot into BIOS instead of Windows.
2. Remove the motherboard battery to reset the BIOS
- Unplug the computer from the electrical outlet and shut it down. Make sure to release any remaining power in the machine by holding down the Power button.
- Remove the side door of the chassis.
- On the motherboard, look for the CMOS battery. Most motherboards today use flat, round cells that are slightly less than an inch in diameter.
- Slide your fingers under one edge of the battery and gently pry up. The battery may have some kind of locking mechanism that you need to open.
Although this may seem like a complicated process, by following these steps, you'll find it easy to update or flash your BIOS to get your PC working again.
If none of the other options work, flashing the BIOS may be the answer, don't worry, it won't damage your motherboard if it doesn't break.
Reading the manufacturer's manual will also help reduce the chance of the BIOS flash process failing, so it's a good idea to visit the manufacturer's website and read the information.
The above is the detailed content of 2 Easy Ways to Flash the BIOS When Your Computer Won't Start. For more information, please follow other related articles on the PHP Chinese website!

Hot AI Tools

Undresser.AI Undress
AI-powered app for creating realistic nude photos

AI Clothes Remover
Online AI tool for removing clothes from photos.

Undress AI Tool
Undress images for free

Clothoff.io
AI clothes remover

AI Hentai Generator
Generate AI Hentai for free.

Hot Article

Hot Tools

Notepad++7.3.1
Easy-to-use and free code editor

SublimeText3 Chinese version
Chinese version, very easy to use

Zend Studio 13.0.1
Powerful PHP integrated development environment

Dreamweaver CS6
Visual web development tools

SublimeText3 Mac version
God-level code editing software (SublimeText3)

Hot Topics
 Ouyi Exchange app domestic download tutorial
Mar 21, 2025 pm 05:42 PM
This article provides a detailed guide to safe download of Ouyi OKX App in China. Due to restrictions on domestic app stores, users are advised to download the App through the official website of Ouyi OKX, or use the QR code provided by the official website to scan and download. During the download process, be sure to verify the official website address, check the application permissions, perform a security scan after installation, and enable two-factor verification. During use, please abide by local laws and regulations, use a safe network environment, protect account security, be vigilant against fraud, and invest rationally. This article is for reference only and does not constitute investment advice. Digital asset transactions are at your own risk.
 Binance Exchange app domestic download tutorial
Mar 21, 2025 pm 05:45 PM
This article provides a safe and reliable Binance Exchange App download guide to help users solve the problem of downloading Binance App in the country. Due to restrictions on domestic application stores, the article recommends priority to downloading APK installation packages from Binance official website, and introduces three methods: official website download, third-party application store download, and friends sharing. At the same time, it emphasizes security precautions during the download process, such as verifying the official website address, checking application permissions, scanning with security software, etc. In addition, the article also reminds users to understand local laws and regulations, pay attention to network security, protect personal information, beware of fraud, rational investment, and secure transactions. At the end of the article, the article once again emphasized that downloading and using Binance App must comply with local laws and regulations, and at your own risk, and does not constitute any investment advice.
 How to download okx trading platform
Mar 26, 2025 pm 05:18 PM
The OKX trading platform can be downloaded through mobile devices (Android and iOS) and computers (Windows and macOS). 1. Android users can download it from the official website or Google Play, and they need to pay attention to security settings. 2. iOS users can download it through the App Store or follow the official announcement to obtain other methods. 3. Computer users can download the client of the corresponding system from the official website. Always make sure to use official channels when downloading, and register, log in and security settings after installation.
 Binance binance computer version entrance Binance binance computer version PC official website login entrance
Mar 31, 2025 pm 04:36 PM
This article provides a complete guide to login and registration on Binance PC version. First, we explained in detail the steps for logging in Binance PC version: search for "Binance Official Website" in the browser, click the login button, enter the email and password (enable 2FA to enter the verification code) to log in. Secondly, the article explains the registration process: click the "Register" button, fill in the email address, set a strong password, and verify the email address to complete the registration. Finally, the article also emphasizes account security, reminding users to pay attention to the official domain name, network environment, and regularly updating passwords to ensure account security and better use of various functions provided by Binance PC version, such as viewing market conditions, conducting transactions and managing assets.
 How to jump from Word plug-in to browser for login authorization?
Apr 01, 2025 pm 08:27 PM
How to achieve login authorization from within the application to outside the application? In some applications, we often encounter the need to jump from one application to another...
 How to use binance security validator
Mar 27, 2025 pm 04:48 PM
Want to keep your Binance account safe? This article details how to use Binance security authenticator (such as Google Authenticator), including downloading and installing, enabling settings, backup keys, and daily usage tips to effectively prevent theft of the account.
 How to implement cross-application jump for Word plug-in login authorization?
Apr 01, 2025 pm 11:27 PM
How to implement cross-application jump for Word plug-in login authorization? When using certain Word plugins, we often encounter this scenario: click on the login in the plugin...
 How to download kraken exchange
Mar 27, 2025 pm 04:21 PM
Want to experience a safe and reliable Kraken exchange? This tutorial details how to download the Kraken App (iOS & Android) and access the web version, and reminds everyone to pay attention to safety. Be sure to download it from the official channel, enable two-factor authentication, and protect account security.


