

How to use system-wide live subtitles on Windows 11

Windows Accessibility functionality and features have been slowly growing. The Windows 11 22H2 update brings some new features, including the ability to use system-wide live captions on your system. This is a much-requested feature, especially since other platforms started including it last year. Let us know more about it.
What are system-wide live subtitles in Windows 11?
As the name suggests, system-wide live subtitles help you generate subtitles for any audio currently playing on your system.
This is an important accessibility feature for hearing-impaired users and can also be used to generate subtitles in unsupported applications.
You can also use live subtitles to transcribe audio files and make inaudible audio. System-wide live captions are bundled with Windows 11 22H2 out of the box, and you can start using them if the updates are currently installed on your system.
Live Subtitles processes your voice data and other audio files locally. Your data is never shared with Microsoft servers and never uploaded to the cloud. You can read more about the Live Captions privacy statement at this link.
How to enable system-wide live subtitles
Here’s how to enable system-wide live subtitles on Windows 11.
Requirements:
- Internet Connection
- Windows 11 22H2 Update
Guidelines:
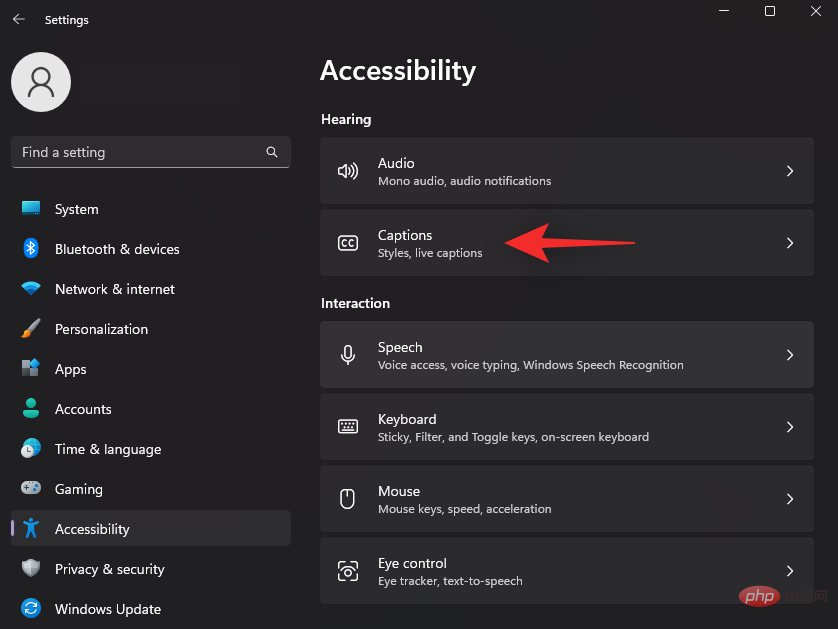
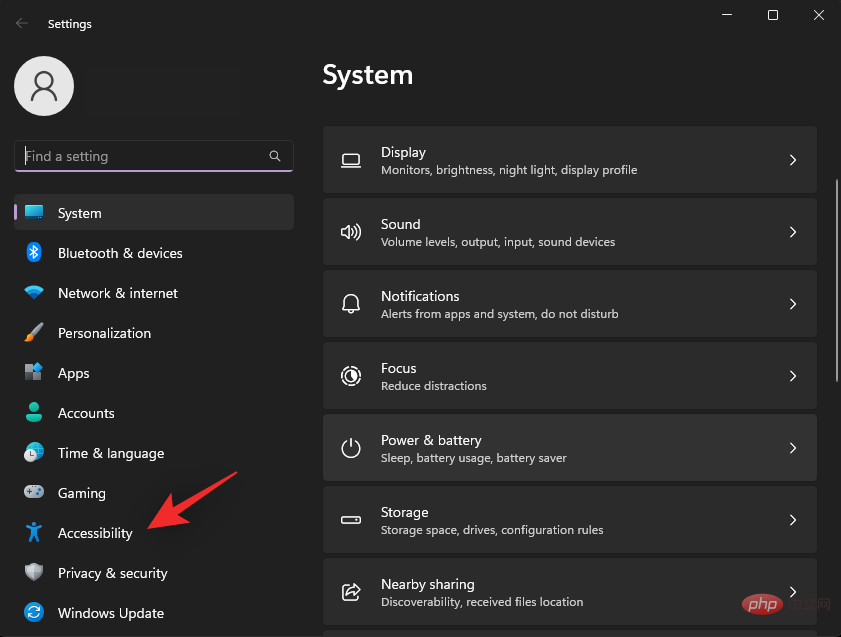
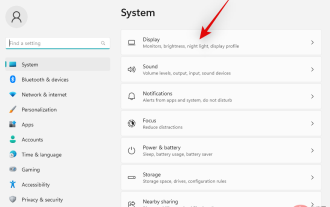
Press Windows i and click Accessibility.

Click "Subtitles " under "Listening".
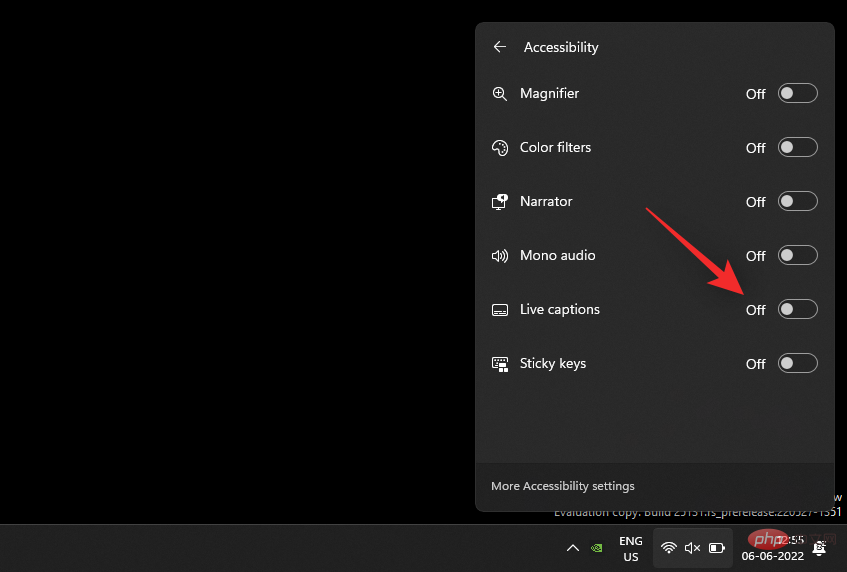
Now turn on the toggle switch for Live Captions.
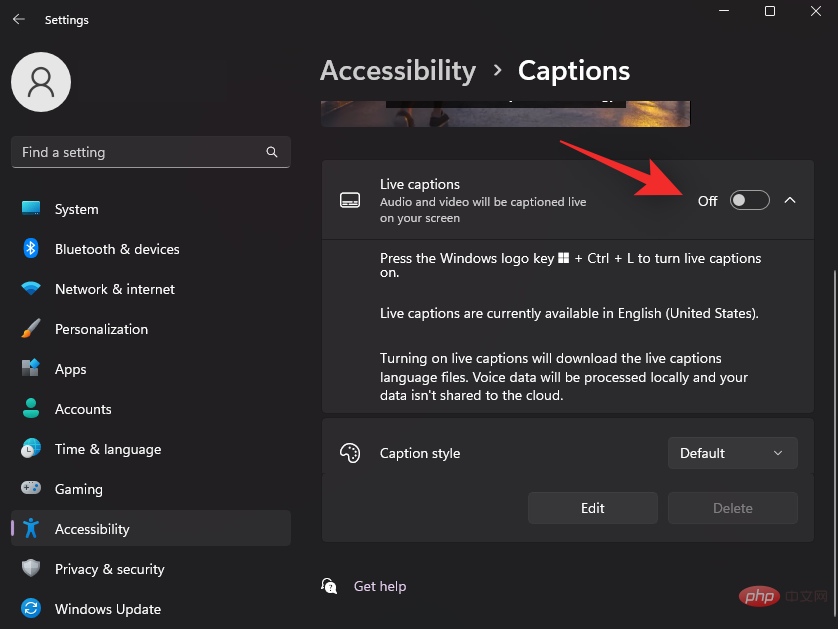
Click at the top to download. This will allow Windows to download the necessary language files required for live subtitles on your system.

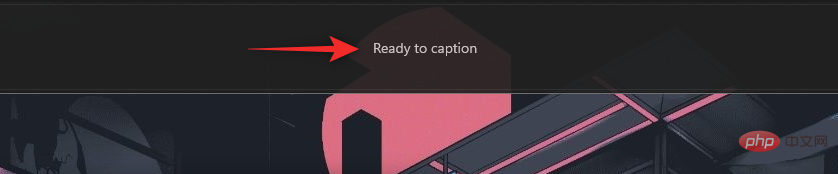
#After downloading the necessary files, Ready to caption will appear at the top of the screen.
#You can now use the following sections to customize and use live captions on your system.
How to access system-wide live subtitles
You can access system-wide live subtitles on Windows 11 in 2 ways. Depending on your current requirements, follow any of the methods below.
Method 1: Use the keyboard shortcut
Press the Windows Ctrl Lkeyboard anywhere in Windows to turn on live subtitles.

#Windows should automatically start adding subtitles to the audio currently playing on your system.
Method 2: Use Quick Access Settings
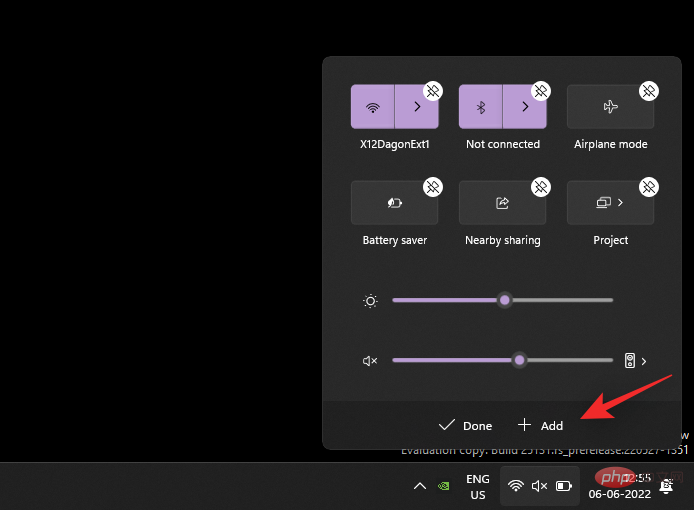
Press Windows A to access Quick Settings on your system. Click the Edit icon.
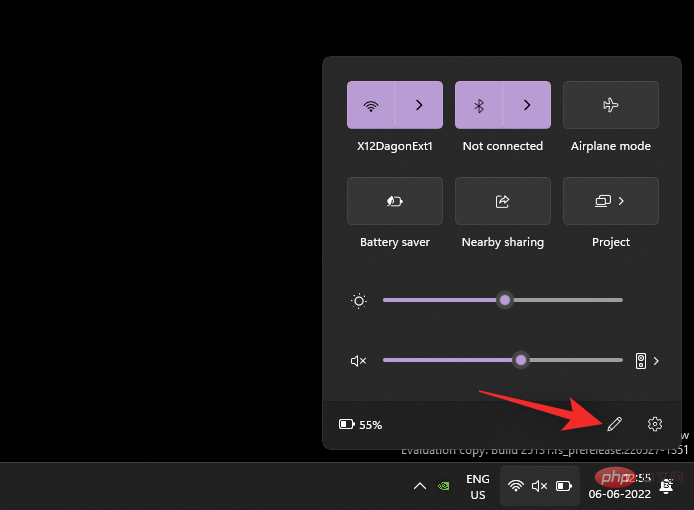
Click Add.
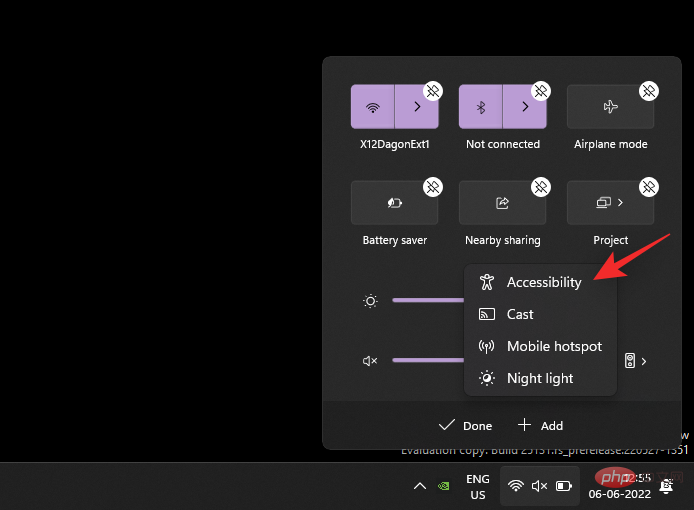
Select Accessibility.
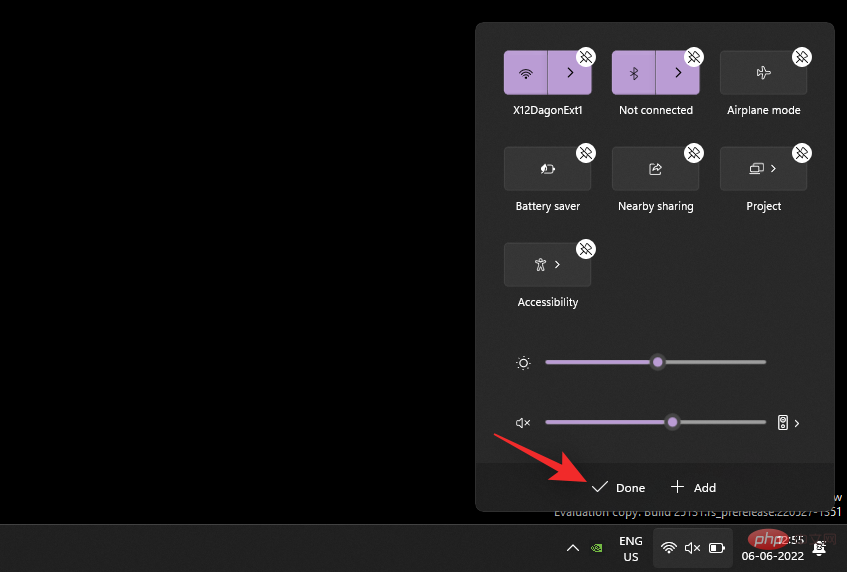
After adding accessibility features to your quick settings, click Finish.
Now click on Accessibility.
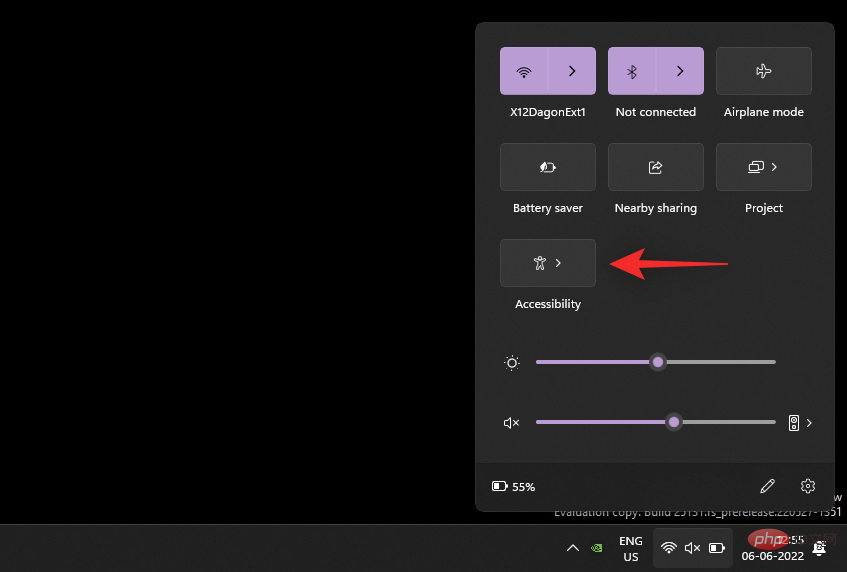
Turn on the switch for Live Captions.
That's it! You can now access live captions at any time from Quick Settings.
How to customize live subtitles
Let us customize your live subtitles to your liking. Please follow the steps below to help you through the process.
Press Windows ikeyboard and click Accessibility.
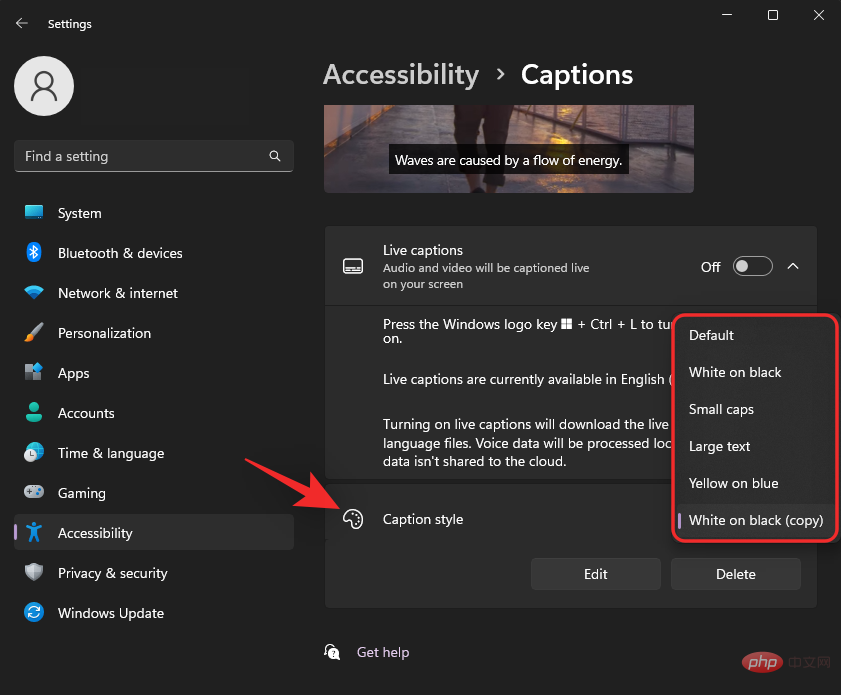
Click "Subtitles " under "Listening".

Click the drop-down menu for Title Style and select the style you want.
If you wish to further customize your heading style, click Edit .

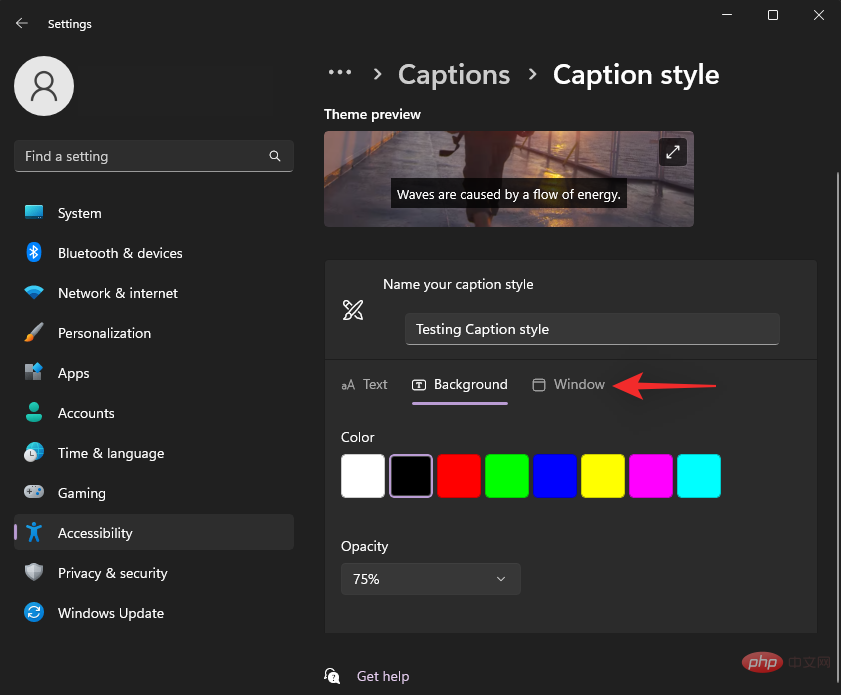
Rename your new style at the top.

text will be selected by default. You can now customize the following variables to your liking.

- Color: Click and select the desired color.
- Opacity:Click and use the drop-down menu to select how opaque you want the text to be.
- Size:Use this drop-down menu to select your text size.
-
Font:Use this drop-down menu to select your font. The following options are currently available to you.
- Single serif
- Proportional serif
- Single sans serif
- Proportional sans serif
- Casual
- cursive
- 小hat
-
Effect: Use this drop-down menu if you want to make the text stand out more with additional effects. You can use the following options.
- Improve
- Depressed
- Uniform
- Projection
Click on the background at the top . We will now customize the background for your live subtitles.

Use the options below to customize your subtitle background.

- Color: Click and select your preferred background color.
- Opacity: Use this drop-down menu to choose how opaque you want the background to be.
Now click on the top window to customize the subtitles window.
#You can customize the subtitles window using the same options as the live subtitles background.

- Color: Click and use this option to select a color for the Subtitles window.
- Opacity:Click and use this drop-down menu to select the opacity of the subtitle window.
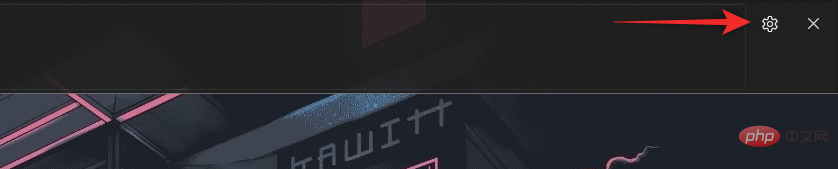
Close the Settings app when finished. There are more options in the Live Captions window to customize your experience. Launch it on your PC using one of the above methods. We recommend that you use the keyboard shortcut Windows Ctrl L. Now click on the gear(  ) icon in the upper right corner.
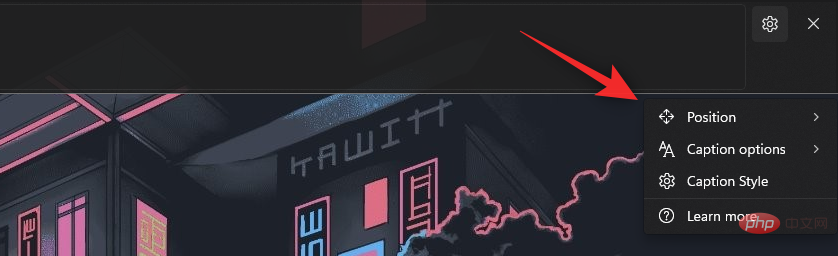
Hover over Position and select a location for your live caption window.
For the position option, you can use the following options.
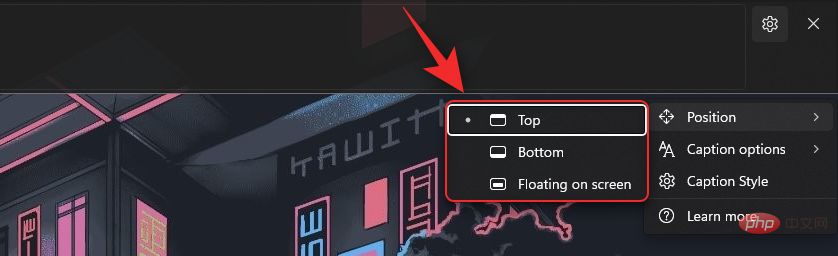
- Best
- Bottom
- Floating Screen
Similarly, hover over "Subtitle Options " to customize the type of subtitles displayed on your PC.
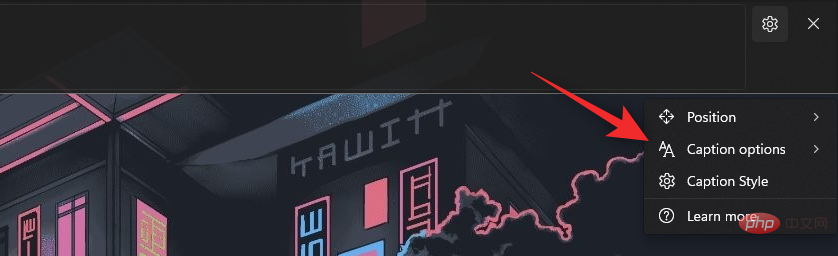
You can use the following options for Caption Options.
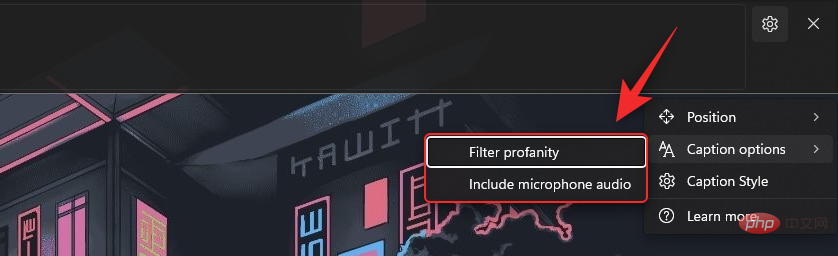
- Filtering swear words
- Including microphone audio
That’s it! You will now customize live captions based on your preferences on your system.
FAQ
Here are some frequently asked questions about Live Subtitles in Windows 11 to help you stay up to date.
Does Microsoft use my voice data?
Yes, Microsoft processes your voice data if live subtitles are included. Although this process occurs entirely locally. Any audio that Windows uses for live captions is not sent to the cloud or even Microsoft servers.
What languages are supported for system-wide live subtitles?
Currently, live subtitles only support English (US) as a supported language. Microsoft is expected to include more languages in future updates, but there's no official word yet.
Why is Internet required to enable live subtitles?
When you enable live subtitles for the first time, all you need is an Internet connection. After downloading the necessary language files on your PC, you will no longer need an Internet connection to use Live Subtitles on Windows 11.
The above is the detailed content of How to use system-wide live subtitles on Windows 11. For more information, please follow other related articles on the PHP Chinese website!

Hot AI Tools

Undresser.AI Undress
AI-powered app for creating realistic nude photos

AI Clothes Remover
Online AI tool for removing clothes from photos.

Undress AI Tool
Undress images for free

Clothoff.io
AI clothes remover

Video Face Swap
Swap faces in any video effortlessly with our completely free AI face swap tool!

Hot Article
Hot Tools

Notepad++7.3.1
Easy-to-use and free code editor

SublimeText3 Chinese version
Chinese version, very easy to use

Zend Studio 13.0.1
Powerful PHP integrated development environment

Dreamweaver CS6
Visual web development tools

SublimeText3 Mac version
God-level code editing software (SublimeText3)
Hot Topics
 1386
1386
 52
52

 How to make drop-down menu in WPS table
Mar 21, 2024 pm 01:31 PM
How to make drop-down menu in WPS table
Mar 21, 2024 pm 01:31 PM
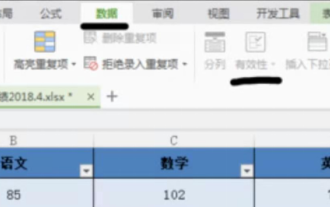
How to make the WPS table drop-down menu: After selecting the cell where you want to set the drop-down menu, click "Data", "Validity" in sequence, and then make the corresponding settings in the pop-up dialog box to pull down our menu. As a powerful office software, WPS has the ability to edit documents, statistical data tables, etc., which provides a lot of convenience for many people who need to deal with text, data, etc. In order to skillfully use WPS software to provide us with a lot of convenience, we need to be able to master various very basic operations of WPS software. In this article, the editor will share with you how to use WPS software. Perform drop-down menu operations in the WPS table that appears. After opening the WPS form, first select the
 How to add artistic page borders in Microsoft Word
Apr 27, 2023 pm 08:25 PM
How to add artistic page borders in Microsoft Word
Apr 27, 2023 pm 08:25 PM
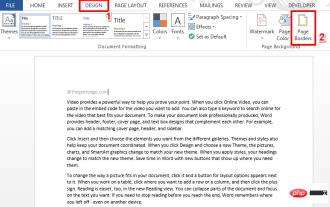
Are you tired of seeing the traditional black borders on your Word documents all the time? Are you looking for ways how to add some colorful and artistic borders to your documents to make them more attractive and fun? How about adding different artistic borders to different pages of your Word document? Or apply a single artistic border to all pages in the document at once? I know you’re as excited as we are about this whole artistic borders thing! Go straight to this article to learn how to successfully apply artistic borders to Word documents. Part 1: How to Apply the Same Artistic Page Border to All Pages in a Word Document Step 1: Open the Word document and click the "Design" tab in the top ribbon. Choose in DESIGN
 How to print a Word document without comments
Apr 18, 2023 pm 02:19 PM
How to print a Word document without comments
Apr 18, 2023 pm 02:19 PM
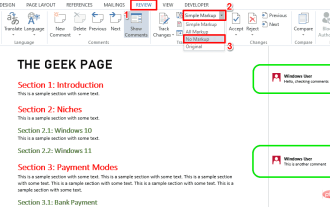
With Microsoft Word, comments are important, especially when the document is shared among multiple people. Everyone can add something to the document content through his/her comments, and it is very important to retain these comments for future reference. But when you need to print a document, do you really need to print comments? In some cases, yes. But for some other cases, this is a big no! In this article, we explain through 2 different solutions how to easily print a Word document without printing the comments on it. Please remember that comments are only hidden and will not be deleted. Therefore, you absolutely do not risk any part of your document here by printing it without comment. Hope you like it! Solution 1: Pass
 How to create a drop-down list with symbols in Excel
Apr 14, 2023 am 09:04 AM
How to create a drop-down list with symbols in Excel
Apr 14, 2023 am 09:04 AM
Creating a drop-down list in an Excel worksheet is easy, as long as it's a regular drop-down menu. But what if you have to make it special by adding a special symbol, or make it even more special by adding some text as well as symbols? Ok, sounds interesting but wondering if this is possible? What's an answer you don't know when Geek Page is here to help? This article is all about creating dropdown menus with symbols as well as symbols and text. Hope you enjoyed reading this article! Also Read: How to Add Dropdown Menu in Microsoft Excel Part 1: Create a Dropdown List with Only Symbols To create a dropdown menu with symbols, we first need to create the source
 5 Ways (and Fixes) to Adjust Your Screen for Monitoring on Windows 11
Apr 14, 2023 pm 03:28 PM
5 Ways (and Fixes) to Adjust Your Screen for Monitoring on Windows 11
Apr 14, 2023 pm 03:28 PM
Due to recent improvements around the world, PC parts are now available at MSRP, which has prompted many users to finally build their dream PC. Building a PC can have its challenges, and one of the tasks is fitting your screen to your monitor's display. If you can't fit a screen to your monitor on Windows 11, here's everything you need to know. let's start. How to adjust your screen for monitoring on Windows 11 in 5 ways To make your screen fit your monitor, you can adjust the resolution, scaling, or display output settings based on your current settings. We recommend that you try resizing the resolution to maintain visual quality and dpi. However, if this doesn't work for you, you can try
 Implement the drop-down menu effect in WeChat applet
Nov 21, 2023 pm 03:03 PM
Implement the drop-down menu effect in WeChat applet
Nov 21, 2023 pm 03:03 PM
To implement the drop-down menu effect in WeChat Mini Programs, specific code examples are required. With the popularity of mobile Internet, WeChat Mini Programs have become an important part of Internet development, and more and more people have begun to pay attention to and use WeChat Mini Programs. The development of WeChat mini programs is simpler and faster than traditional APP development, but it also requires mastering certain development skills. In the development of WeChat mini programs, drop-down menus are a common UI component, achieving a better user experience. This article will introduce in detail how to implement the drop-down menu effect in the WeChat applet and provide practical
 How to set image transparency in Google Slides?
Apr 25, 2023 pm 06:52 PM
How to set image transparency in Google Slides?
Apr 25, 2023 pm 06:52 PM
How to Change the Transparency of an Image in Google Slides Google Slides allows you to make small changes to your images. You can use the Format Options menu in Google Slides to change the transparency level of any image you insert. To make an image transparent using the Format Options menu in Google Slides: Open your existing Google Slides presentation or create a new one. Select an existing image on one of the slides in your presentation. Alternatively, add an image by pressing Insert > Image and selecting one of the upload options. After selecting the image, press the Format Options button in the toolbar. Alternatively, right-click the image and select Format options. Format Options menu
 How to disable search on Windows 11
Apr 13, 2023 pm 05:28 PM
How to disable search on Windows 11
Apr 13, 2023 pm 05:28 PM
Why do I need to disable Windows Search? Believe it or not, there are some benefits to disabling search on Windows 11 besides getting rid of those pesky Bing results. These benefits include reclaiming computer resources and space on the hard drive, as well as reducing power consumption and ongoing background tasks. Additionally, disabling features can help those low-end PCs struggling with Windows 11. Windows 11 has very high system requirements, and by reducing the amount of work your computer has to handle, you'll make your machine run smoother and faster. It is not recommended that you disable any type of search functionality. Windows Search is the most efficient yet on Windows 11