

How to fix Microsoft Video Editor export issues

Not many Windows users know all the features of Windows built-in applications. For example, most Windows users think of the Microsoft Photos application only for photo editing and viewing. In contrast, the app also allows users to create, edit and view videos.
Nowadays, most of the users face issues while exporting any video after creating it using Microsoft Photos application on Windows system. They cannot export any kind of video, be it huge videos or videos made using the basic features of the app.
There may be various reasons behind this issue and they are listed here.
- There is a problem with the Microsoft Photos application on your system.
- Outdated Windows system.
- The display graphics driver on the system has not been updated.
- The option called "Use hardware accelerated encoding" is enabled.
By studying these possible factors above, we have collected a series of solutions that may help users solve this problem. If you also face such an issue, you can find the fix in the article explained below.
Fix 1 – Reset or Repair Microsoft Photos Application
If this issue is caused due to any issue related to Microsoft Photos application on your system, then we can try to reset or repair it Photos app. Many users have been able to solve this problem by doing this.
Follow the steps below on how to reset the Microsoft Photos app.
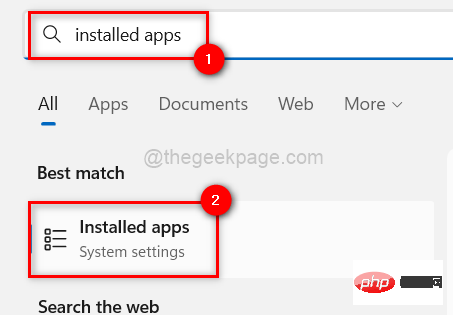
Step 1: Press the Windows key on your keyboard and type Installed Applications.
Step 2: Click Installed ApplicationsSystem Settings in the search results, as shown in the image below.
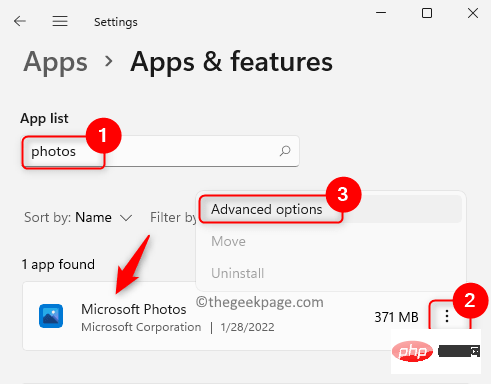
Step 3: After opening the installed apps page, type photos in the search bar to get all results related to the photo keyword .
Step 4: Click the horizontal ellipsis icon for the Microsoft Photos app on your system and select Advanced Options from the list.
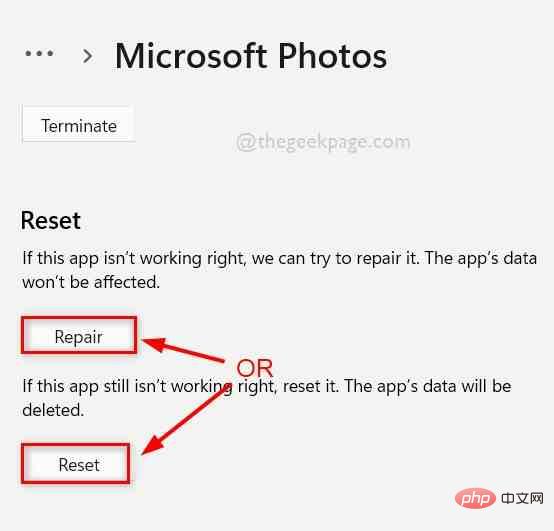
Step 5: Now you need to scroll down the Advanced Options page to the “Reset” section.
Step 6: There are two options available in the Reset section, Reset or Repair.
Note – The Reset button will completely reset the Microsoft Photos app and users will lose all data associated with the Photos app. However, if the user chooses the repair option, no data will be lost.
Step 7: So, select Reset or Repair and wait for it to complete its task.
Step 8: Once completed, you can close the Advanced Options page.
Fix 2 – Turn off the Use Hardware Accelerated Encoding option
There is an option in the Photos app called the “Use Hardware Accelerated Encoding” option. If you enable this option when trying to export any video, it will create the issue mentioned above in this article. So, let’s first try disabling the user hardware accelerated encoding option and then export the video as explained in the steps below.
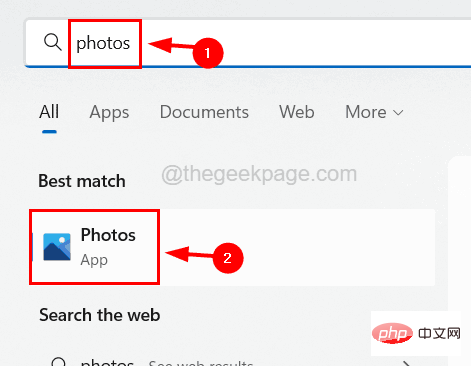
Step 1: First, open the Microsoft Photos app on your system by pressing the Windows key and typing photo.
Step 2: Select the Photos app from the search results as shown in the image below.
Step 3: Once the Photos app opens, try to create your desired video as per your requirement.
Note – We strongly recommend using MP4 type videos. Otherwise, please convert it before use.
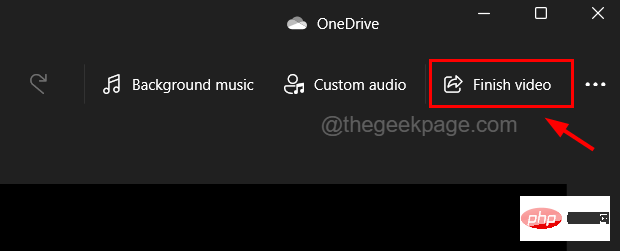
Step 4: Once you've finished editing your video and are ready to export, click the Finish Video button in the upper right corner of the Photos app.
Step 5: A small pop-up window will appear in the Photos application on your system.
Step 6: In the Complete Your Video window, click More Options as shown in the image below.

Step 7: Next in the drop-down section, uncheck the Use hardware accelerated encoding checkbox and click Export button.

Step 8: This will start exporting the video you created or edited without any issues.
Fix 3 – Reinstall the Microsoft Photos app
If none of the options resolve the issue, you can always try uninstalling the app completely and then reinstalling it. Many users claim that this has solved many issues related to this.
Here are the steps on how to reinstall the Microsoft Photos app on your system.
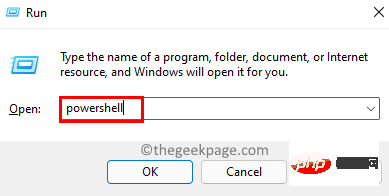
Step 1: Open the Run box by pressing the Windows and R keys simultaneously on your keyboard.
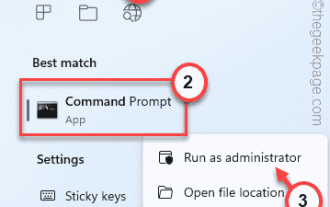
Step 2: Type powershell in the Run box, then press the Ctrl, Shift, and Enter keys simultaneously.
Step 3: Continue to accept the on-screen UAC prompt by clicking Yes.
Step 4: Once the PowerShell window opens, type the following lines and press Enter.
获取-appxpackage Microsoft.Windows.Photos | 删除-appxpackage

Step 5: This will completely remove the Microsoft Photos application from the system.
Step 6: After successfully uninstalling it from the system, open the Microsoft Store app.
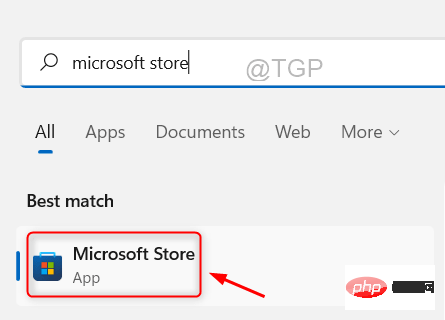
Step 7: To do this, press the Windows key and type microsoft store.
Step 8: Select the Microsoft Store app from the search results as shown in the screenshot below.
Step 9: After opening the Microsoft Store, enter Microsoft Photos in the search bar at the top and click from the search results. Microsoft Photos.

#Step 10: This will open the Microsoft Photos page on the app.
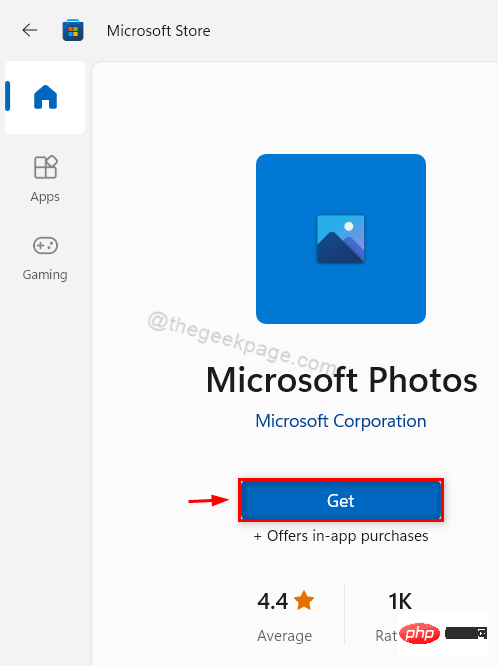
Step 11: Click on the Get button of Microsoft Photos and start downloading and installing it on your system.
Step 12: After successful installation, you can close the Microsoft Store app and start using the Photos app without any issues.
Fix 4 – Update Graphics Driver
This issue can occur if the display graphics driver is not updated. Therefore, it is always a good practice to regularly update the graphics drivers on your system.
Let’s see the steps explained below on how to update graphics driver using Device Manager application.
Step 1: Press the Windows key and type Device Manager on your keyboard.
Step 2: Click on the Device Manager application from the search results as shown in the image below.
Step 3: This will open the Device Manager application on your system.
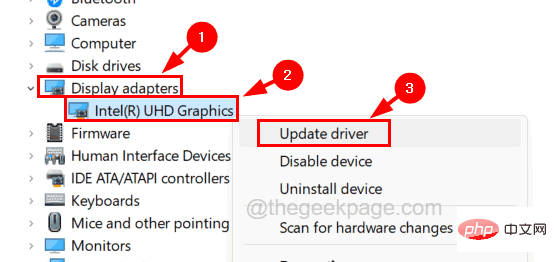
Step 4: Expand the Display Adapter options by double-clicking .
Step 5: Then right-click GraphicsDriver and select Update Driver from the context menu, As follows.
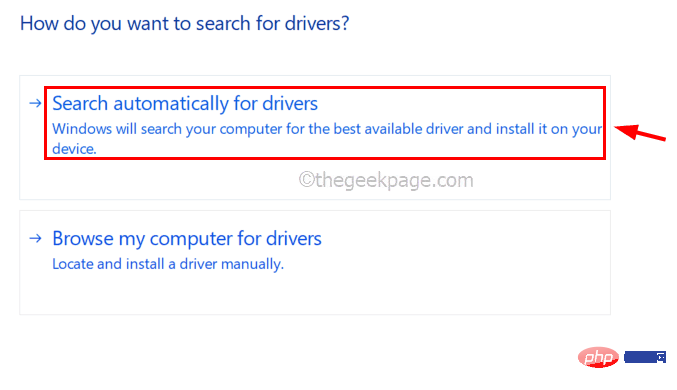
Step 6: This will pop up an update window.
Step 7: Click the Automatically search for drivers option from the available list in the window.
#Step 8: Once the update is complete, close the Device Manager window and restart the system.
Step 9: After the system boots, you can open the Photos application and start editing the video and exporting it without any difficulty.
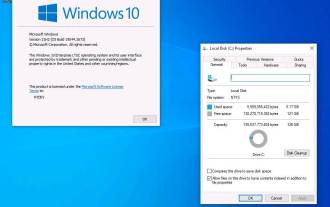
Fix 5 – Keep Windows System Updated
Microsoft continues to release newer Windows System Updates based on feedback received from users about glitches and defects. When these updates are not installed on our system, some issues may arise.
Well, here are the steps on how users can update their Windows systems.
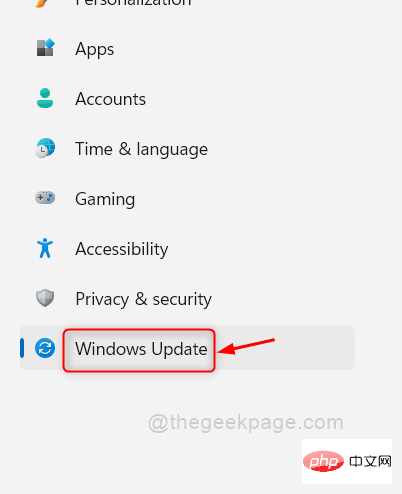
Step 1: Press the Windows and I keys simultaneously to open the Settings app on your system.
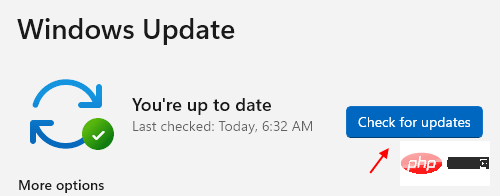
Step 2: Select the Windows Update option on the left panel of the Settings app.
Step 3: On the right side of the Settings app window, click the Check for Updates button in the upper right corner of the page.
#Step 4: Now it starts checking for available updates.
Step 5: If there are updates available for your windows system, please download and install them one by one.
Step 6: After the system is updated, close the Windows Update page and restart the system to apply the changes.
Fix 6 – System Restore
Unfortunately, when you can’t fix anything, you can always try to restore the system to the last best save point of the system, at which point, Everything runs very smoothly without any issues or errors.
Therefore, we recommend our users to try to restore the system using System Restore as shown in the steps below.
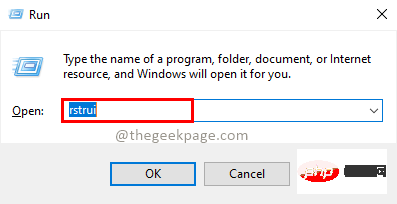
Step 1: Open the Run command box on your system by pressing the Windows and R keys simultaneously.
Step 2: When the Run box appears, type rstrui in the text box and press the Enter key.
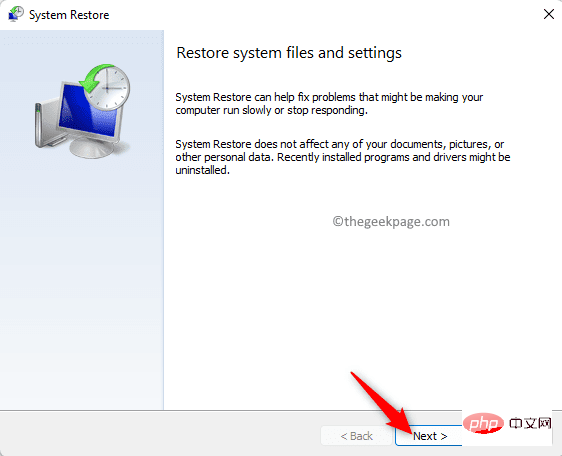
Step 3: This will open the System Restore window.
Step 4: Click Next to continue.
Step 5: In the next window, it will display all the previously created system restore points in the system.
Step 6: Select the one you want from the list and click Next to continue.
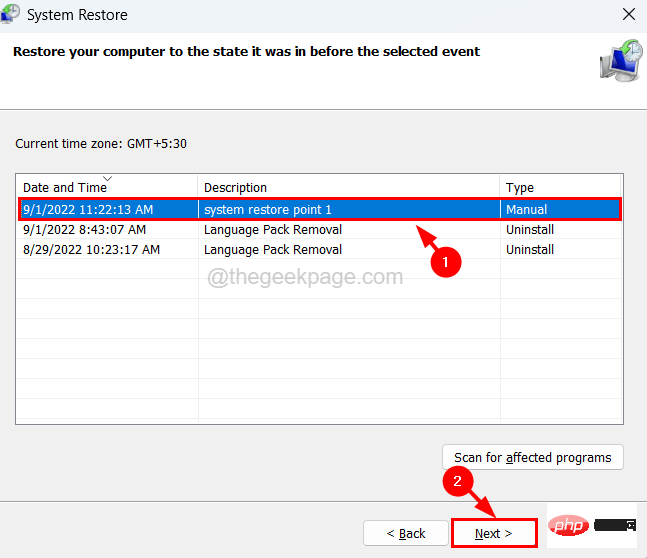
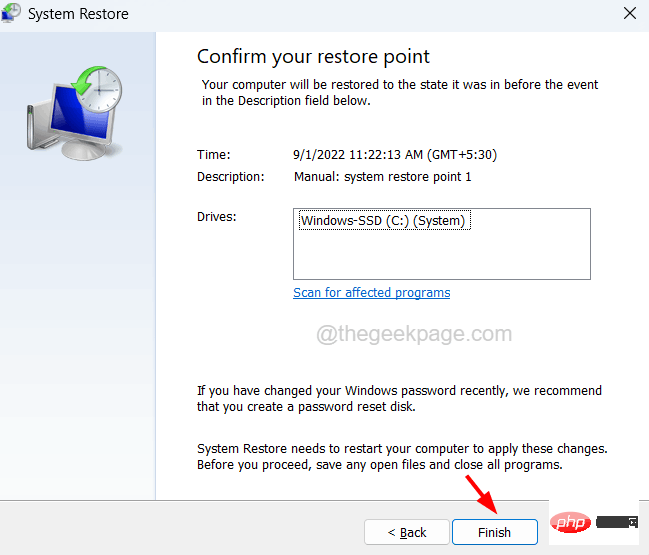
Step 7: Here, you need to confirm the system restore details such as time, description, etc.
Step 8: After confirming the system restore point of your choice, click Finish.
Step 9: It will then start restoring the system, which may take a while to complete.
Step 10: Once completed, you are ready to begin!
Fix 7 – Make sure the video file is of MP4 type
The problem may be because the video the user is trying to export is a .mov, .avi, .mkv file, etc. Some users claim that when they convert video files to MP4 type using Photos app. So we recommend trying to convert video files to MP4
before exportingThe above is the detailed content of How to fix Microsoft Video Editor export issues. For more information, please follow other related articles on the PHP Chinese website!

Hot AI Tools

Undresser.AI Undress
AI-powered app for creating realistic nude photos

AI Clothes Remover
Online AI tool for removing clothes from photos.

Undress AI Tool
Undress images for free

Clothoff.io
AI clothes remover

AI Hentai Generator
Generate AI Hentai for free.

Hot Article
Hot Tools

Notepad++7.3.1
Easy-to-use and free code editor

SublimeText3 Chinese version
Chinese version, very easy to use

Zend Studio 13.0.1
Powerful PHP integrated development environment

Dreamweaver CS6
Visual web development tools

SublimeText3 Mac version
God-level code editing software (SublimeText3)
Hot Topics
 1386
1386
 52
52

 How to disable display scaling for high DPI settings in Windows 11 or 10
May 22, 2023 pm 10:11 PM
How to disable display scaling for high DPI settings in Windows 11 or 10
May 22, 2023 pm 10:11 PM
The default display scaling feature on Windows 10 or later is a core component of the Windows operating system. But sometimes, this feature of certain apps can cause compatibility issues, unreadable text, blurry logos, and ultimately, app crashes. This can be a huge headache if you're dealing with 2160p or higher resolutions. There are many ways to disable the default display scaling feature on high DPI settings. We've selected the best ones and detailed step-by-step instructions for each process. How to Disable Display Scaling on High DPI Settings There is a way, all you have to do is disable high DPI scaling for a single application, and there is a way to do it for the entire Window
 Tiny10 makes Windows 10 durable on (very old) PCs
May 22, 2023 pm 04:02 PM
Tiny10 makes Windows 10 durable on (very old) PCs
May 22, 2023 pm 04:02 PM
Tiny10 is one developer's attempt to make Microsoft's Windows 10 operating system usable on both older PC systems and modern systems. When Microsoft released Windows 10 in 2015, it ensured that the operating system had the same system requirements as previous versions of Windows. That changes with the release of Windows 11 in 2021. Still, Windows 10 felt noticeably heavier than previous Windows versions, and users began looking for ways to improve the usability of the operating system. Faster hard drive, more memory, faster and more powerful CP
 How to Fix Error Code 1132 in Zoom on Windows PC
May 30, 2023 am 11:08 AM
How to Fix Error Code 1132 in Zoom on Windows PC
May 30, 2023 am 11:08 AM
Zoom's video conferencing capabilities have made it popular among users while working from home. Many Zoom desktop client users have reported seeing error code 1132 along with an “Unknown error has occurred” message on their Windows PCs. Usually, this error code pops up when users try to log into their account and join any meeting in Zoom. In the error window, the user has the option to open a browser and join the meeting. However, some users reported that they were unable to open the meeting even on the browser. Windows firewall settings, outdated Zoom installation, or Zoom blacklisting your account could be some of the possible reasons for this error. Are you encountering an error code while using the Zoom app
![Event ID 157: Disk has been removed unexpectedly [Fixed]](https://img.php.cn/upload/article/000/887/227/168576249277516.jpg?x-oss-process=image/resize,m_fill,h_207,w_330) Event ID 157: Disk has been removed unexpectedly [Fixed]
Jun 03, 2023 am 11:21 AM
Event ID 157: Disk has been removed unexpectedly [Fixed]
Jun 03, 2023 am 11:21 AM
Disk has been accidentally deleted is an error in the system event log on Windows devices. This is an unusual issue on the virtual disk that all XBOX Live PC and Microsoft PC installations rely on. Typically, this problem occurs when something disrupts the system's communication with the disk. Event ID157 in Event Viewer The disk has been accidentally deleted, preventing the user from installing the game using the specified virtual drive. This virtual drive will not be visible in File Explorer like other drives. You may also encounter VMWare issues where the disk has been accidentally deleted. The solution below will fix the problem, but you must make changes directly in VMWare's emulated operating system. Depend on
 Fix: Windows Driver Foundation missing error
Jun 02, 2023 pm 09:15 PM
Fix: Windows Driver Foundation missing error
Jun 02, 2023 pm 09:15 PM
It's really frustrating when your Windows PC lags or runs slowly while playing games or performing resource-intensive tasks. Your PC may have all the processing power to handle these tasks, but if certain drivers fail to load, then your PC will experience multiple issues. One such error is WindowsDriverFoundation missing issue. When this error pops up, you should know that some important system-related drivers fail to load on your Windows PC. Since drivers are one of the most important components that allow the hardware to communicate with your PC, any issues with the drivers can cause the hardware process to malfunction. Several users reported that Window
 Fix: An error occurred and not all updates were successfully uninstalled
May 23, 2023 pm 09:07 PM
Fix: An error occurred and not all updates were successfully uninstalled
May 23, 2023 pm 09:07 PM
Windows updates often make Windows devices better and more useful to billions of users. But sometimes some updates may not work properly, so you can easily choose to uninstall some recently installed updates. The process is very simple and Windows will roll back the current update. After uninstalling updates, you may see this prompt on your screen "An error occurred and not all updates were successfully uninstalled." If you get this, the uninstall process did not complete successfully, so you have to resolve the issue manually. Fix 1 – Uninstall updates using CMD There is a very easy way to uninstall the required updates. 1. Just click on the Windows icon in the middle of the taskbar. 2. Next start writing "cmd" in the search box at the top
 Detailed guide to 15 Python editors/IDEs, there is always one that suits you!
Aug 09, 2023 pm 05:44 PM
Detailed guide to 15 Python editors/IDEs, there is always one that suits you!
Aug 09, 2023 pm 05:44 PM
There is no better way to write Python code than using an integrated development environment (IDE). Not only can they make your work simpler and more logical, they can also improve programming experience and efficiency. Everyone knows this. The question is, how to choose the best Python development environment among the many options.
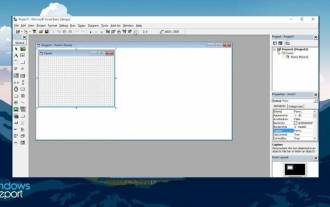 Does Windows 11 provide support for VB6 applications?
May 30, 2023 am 08:31 AM
Does Windows 11 provide support for VB6 applications?
May 30, 2023 am 08:31 AM
Windows 11 introduces more macOS-style UI elements. You get a redesigned taskbar with the Start menu in the center. Yes, you can change its position, but by default it will be placed in the center. The Control Center has also received some design tweaks. In the next update, support for Android apps will also come along with redesigned Notepad and Media Player. Although all these features make Windows 11 a nice upgrade over Windows 10, certain doubts are brewing in the minds of users. There is a segment of users and developers who are concerned about whether Windows 11 will support legacy applications and technologies, whether they are lagging behind or not. Since V