
1. Open the eclipse software and click the file option pointed by the arrow in the menu bar.
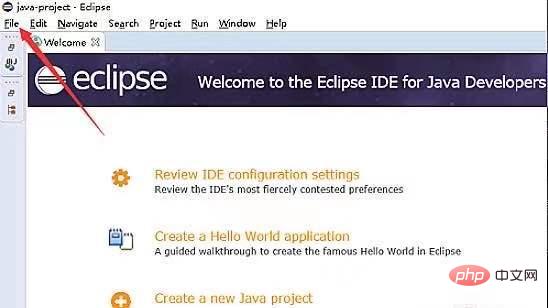
#2. Click the new and JAVA PROJECT options pointed by the arrow in the drop-down options of the file option.

3. Enter the new project, enter the project name in the enemy pointed by the arrow, and click the finsh pointed by the arrow to complete the creation.
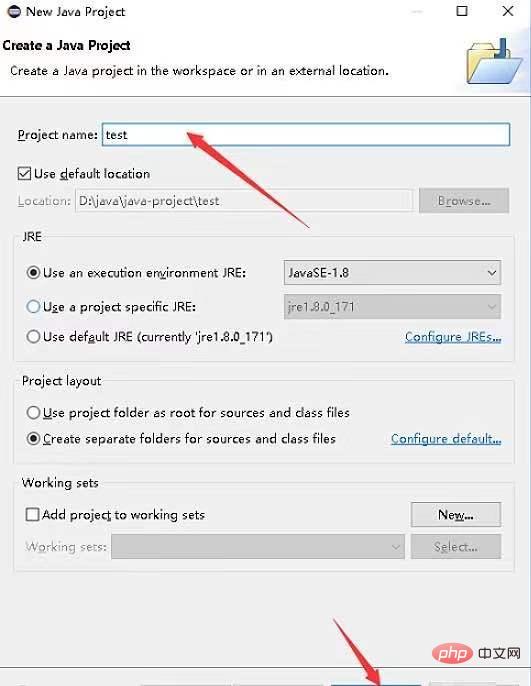
#4. We can see the new java project and click on the src package under the project.
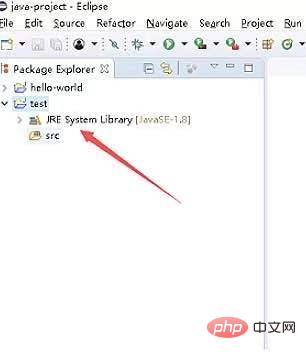
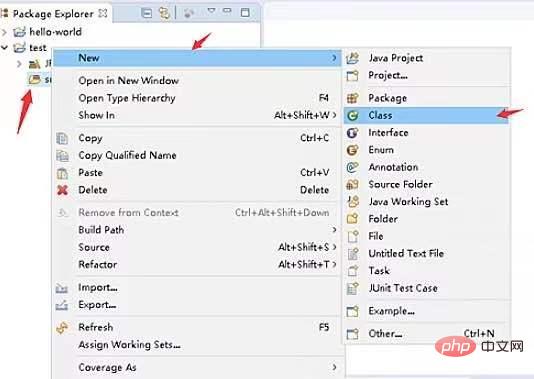
5. Right-click SEC, select new and CLASS pointed by the arrow, and enter the new page.
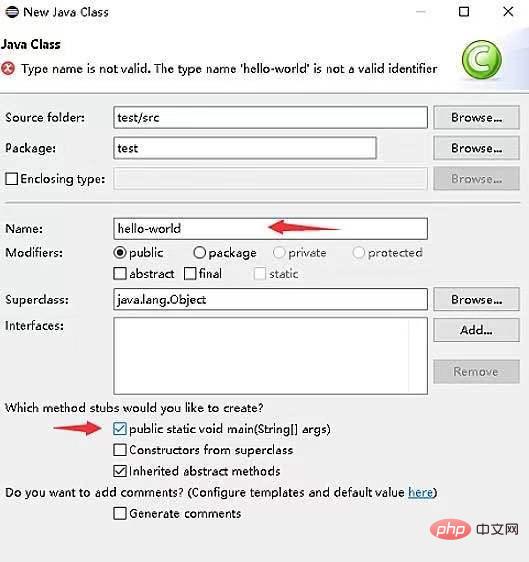
6. Enter the class name in the name input box pointed by the arrow, check the box pointed by the arrow, and click finish
7. Finally we can see that the java file is created.
The above is the detailed content of How to create a java project using eclipse. For more information, please follow other related articles on the PHP Chinese website!


