

Fix: Time sync fails on Windows 11

If your PC does not have the correct date and time set, then you will face multiple system-related issues.
It’s worth noting that multitasking on your PC will be hindered if the time is not synchronized or if the time is set incorrectly.
For example, if you download or save a file on your PC, the file information will contain adulterated information due to incorrect time. Since it's the system clock your PC uses to timestamp files, it's important to keep the time and date correct.
Software or updates also rely on Internet-based authorization times, and if the time set on your PC is incorrect, your PC may refuse these updates or install software.
Normally, Windows 11 uses NTP, or Network Time Protocol, to connect your PC with an Internet server to synchronize the clock. However, if it does not do so, then you will encounter time synchronization failure on Windows 11 issue.
If you are also facing time synchronization issues on Windows 11 and are looking for a solution, you are at the right place.
Because in this tutorial, we will list for you some effective solutions that have helped users solve the problem at hand. Let's examine each solution.
How to manually synchronize time on Windows 11 PC?
1. From the Settings menu
- press the Win I button to open Settings .
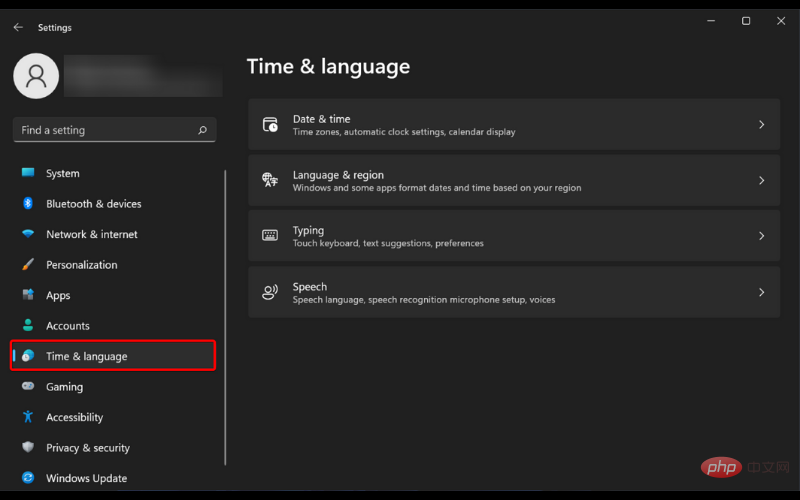
- ClickTime and Language.

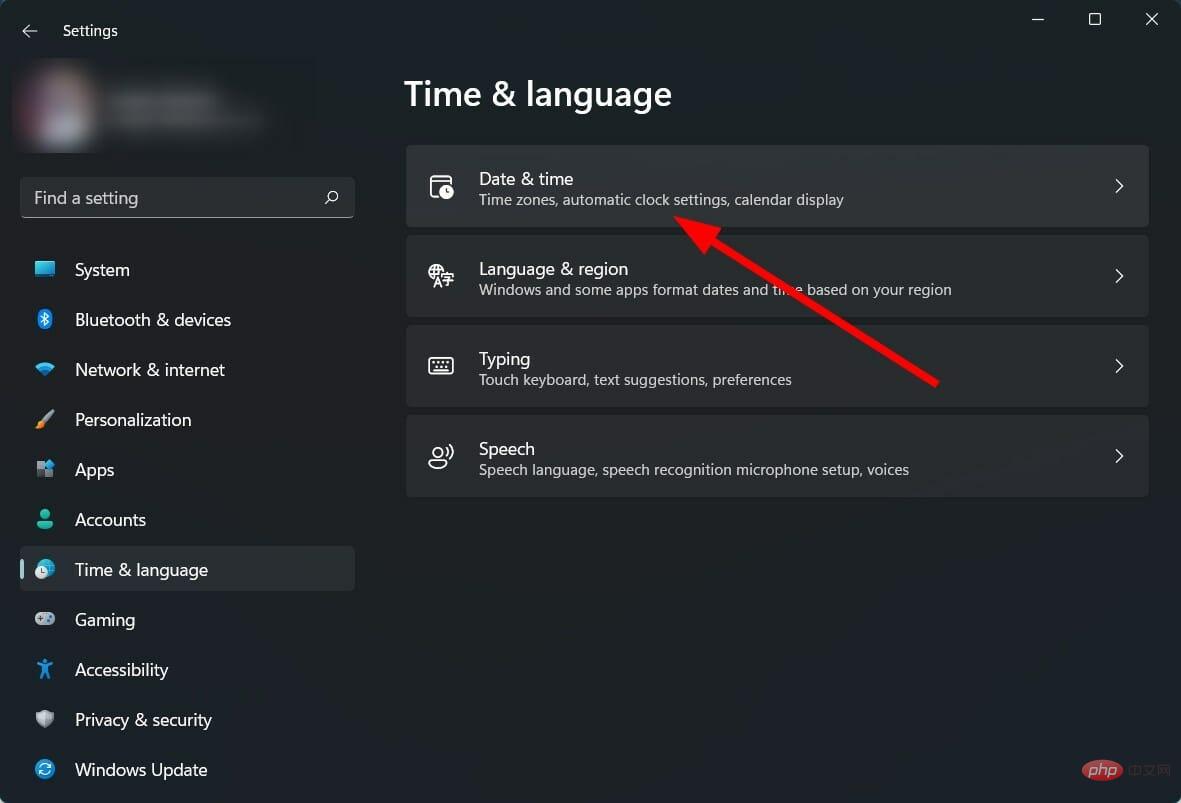
- Select Date and Time.
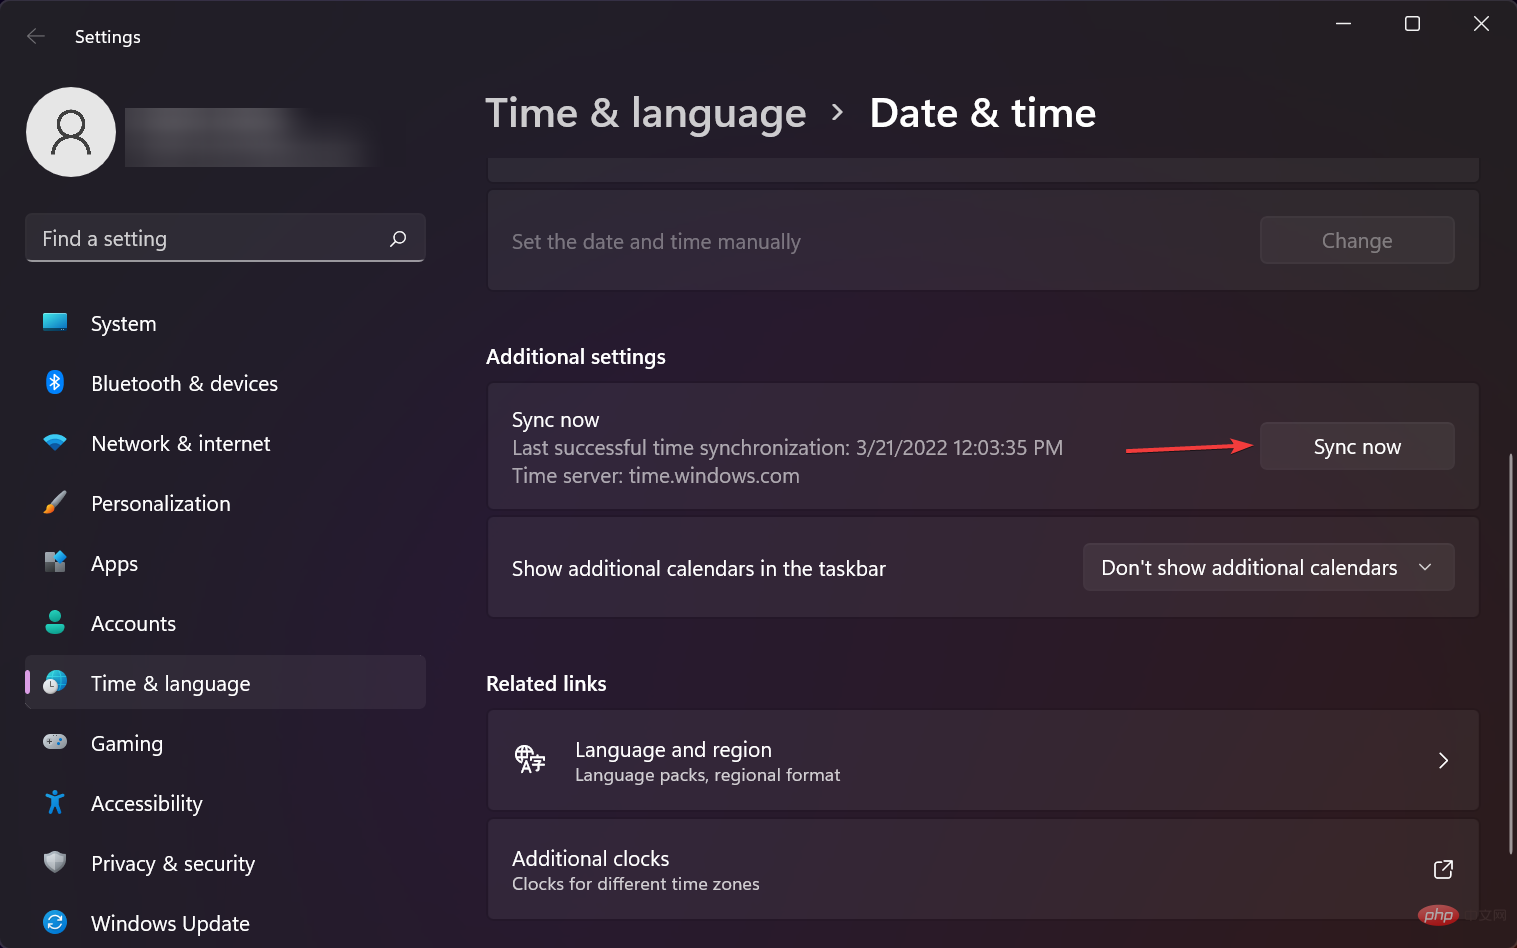
- Scroll down and under Additional settings, click the Sync now button.
- A tick will appear, confirming that your PC has been updated and time synchronized.
2. Open the
Start- menu from the Control Panel
- .
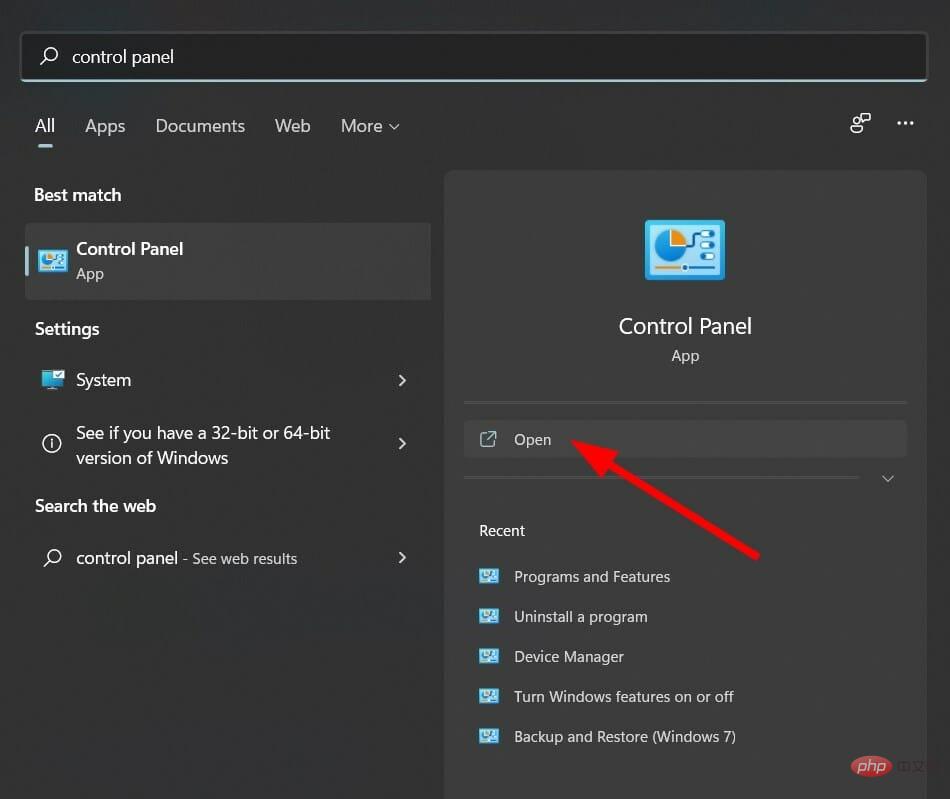
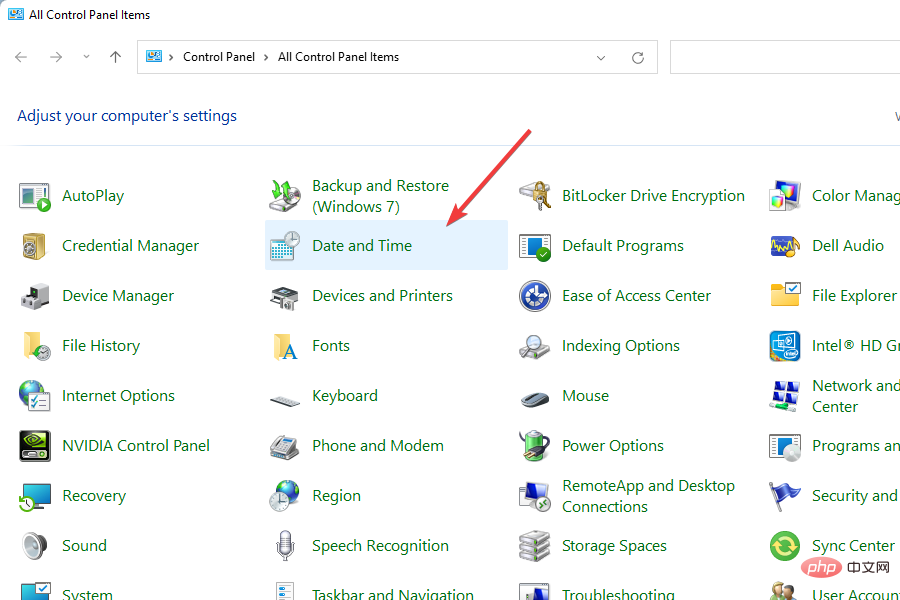
- Search Control Panel and open it.
- Click Date and Time.
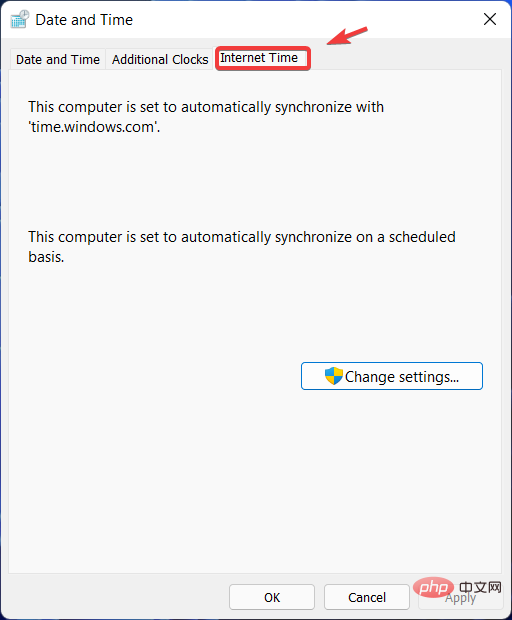
- Switch to Internet time.
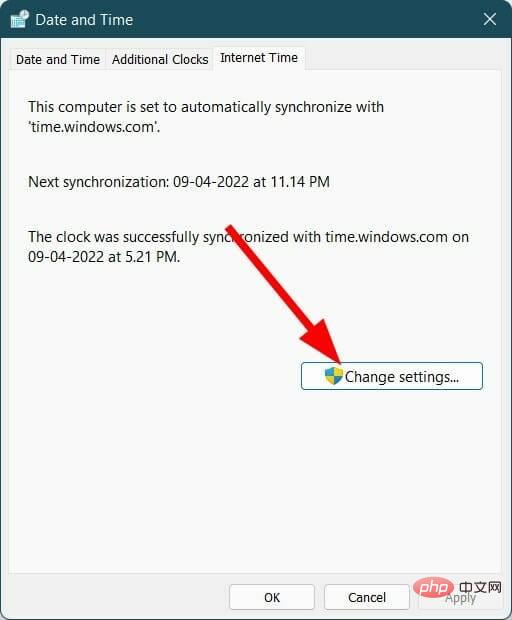
- Click Change Settings.
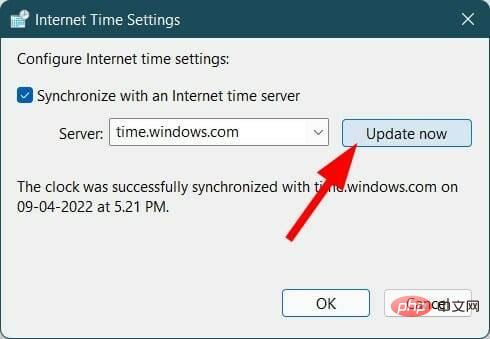
- Click the Update Now button next to Server.
- Click OK.
How to fix time sync failure on Windows 11?
1. Check the time settings
- Press the Win I button to open the Settings.
- ClickTime and Language.
- Select Date and Time.
- Turn on the switches for automatically setting time and automatically setting time zone.
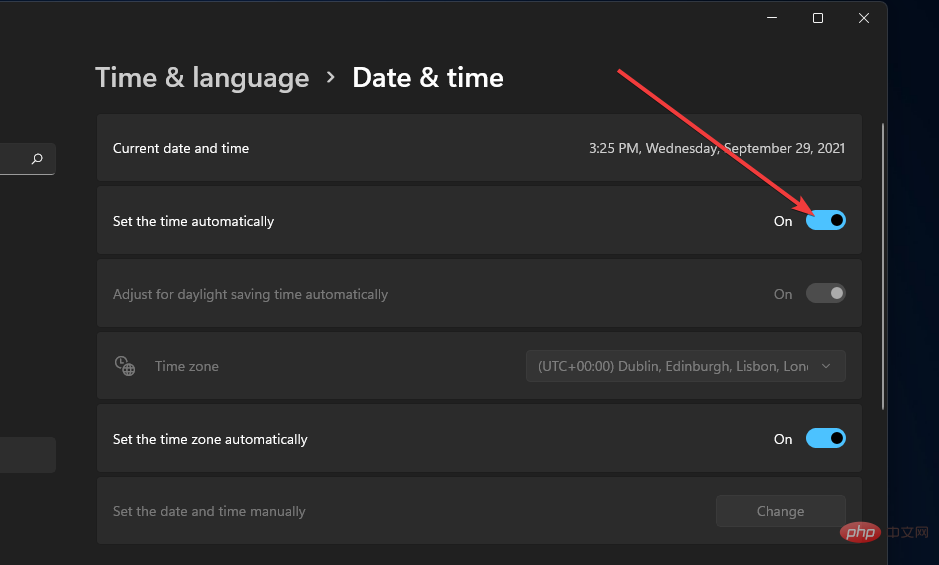
First, you can check whether the date and time settings in the Settings menu are set to update automatically.
2. Check whether the Windows Time service is active
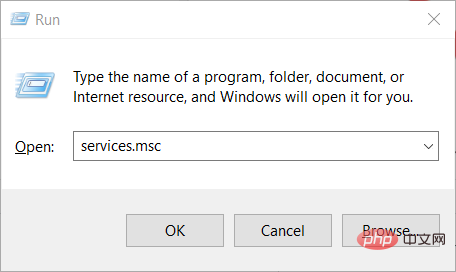
- Press the Win <kbd>R</kbd> key to open the Run dialog frame.
- Execute the following commands.
services.msc
- On the right, find Windows Time Services and double-click it.
- Under Startup type, select Automatic.
- Also, click the Start button.
- Click Apply and OK to save the changes.
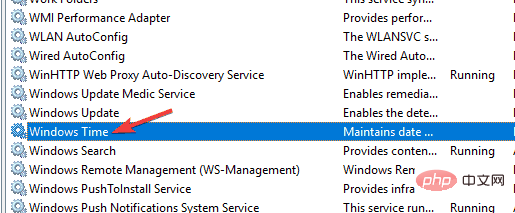
Your Windows 11 computer relies on the Windows Time service to update the date and time on your computer.
If due to any reason, this service is not functioning or functioning properly, then you will face issues like time sync failed on Windows 11 error.
3. Use the command prompt to force time synchronization
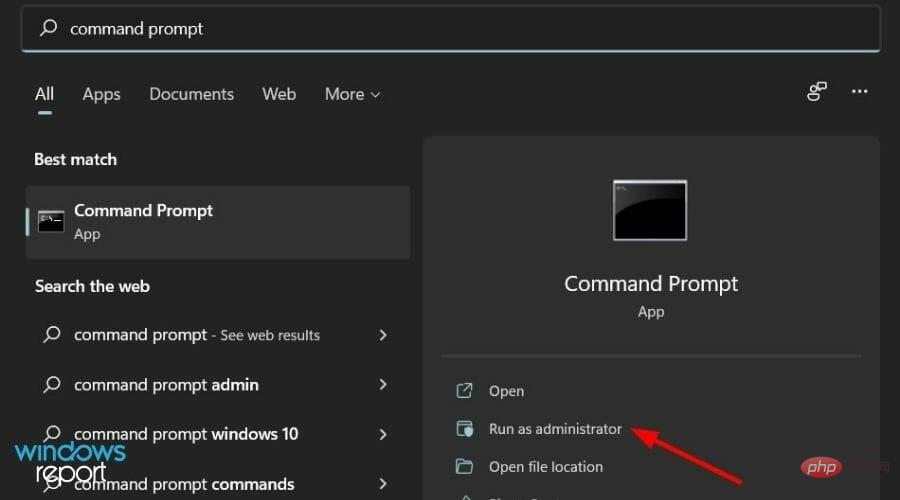
- Click Start.
- Search Command Prompt and run as administrator.
- Execute the following commands one by one.
net stop w32timew32tm /unregisterw32tm /registernet start w32timew32tm /resync - Restart your computer.
When you execute the above command, your Windows 11 PC will force the system to synchronize the PC's time with the server.
Some third-party applications may conflict with time synchronization. Therefore, we recommend that you run these commands and see if they help.
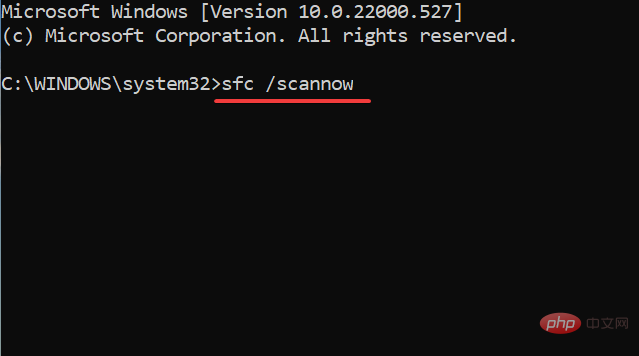
4. Run System File Checker
- Click Start.
- Search Command Prompt and run as administrator.
- Type the following command and press Enter.
sfc /scannow
- Restart your computer.
If there are corrupted system files, your PC will not function properly and it will also cause certain issues like time synchronization failure on Windows 11.
System File Checker is a built-in tool that not only detects corrupted files but also repairs them. All this is done by simply executing a command.
Alternatively, you can use a reliable third-party software called Restoro. This tool is very effective and will help you resolve several system-related issues triggered by corrupted system files.
⇒Get Recovery
5. Using a Different Server
- Open the Start menu.
- Search Control Panel and open it.
- Click Date and Time.
- Switch to Internet time.
- Click Change Settings.
- Select time.nist.gov as the server and click the Update Now button.
Some users reported that they managed to fix the time sync failure issue on Windows 11 by changing the time server. You can also give it a try and hope it solves the problem.
6. Adjust the SpecialPollInterval registry key
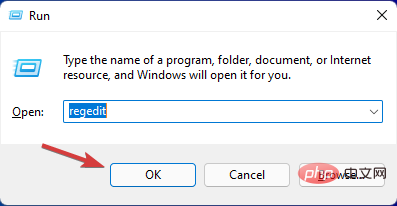
- Press the Win
<kbd>R</kbd>key to openRunOrder. - Type the following command and press Enter.
regedit
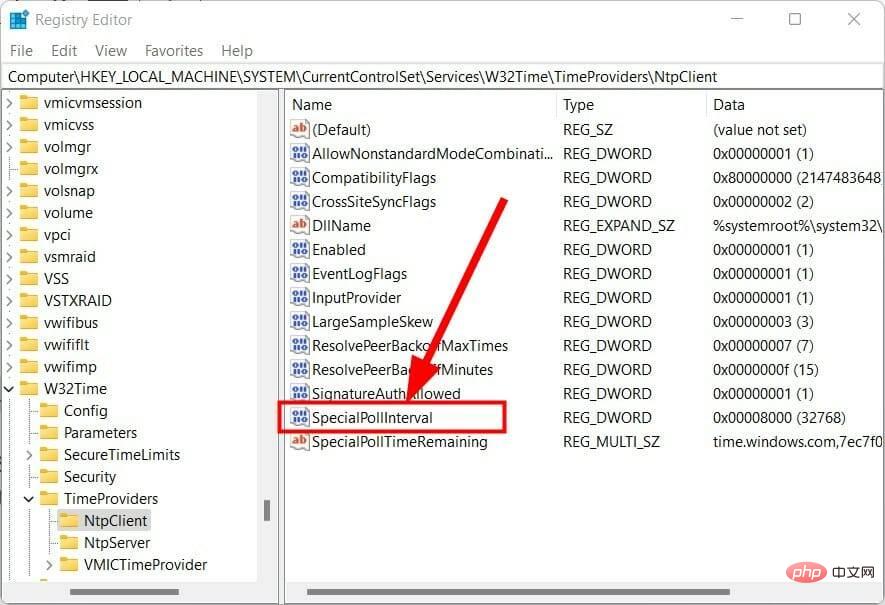
- Go to the address below.
HKEY_LOCAL_MACHINE\SYSTEM\CurrentControlSet\Services\W32Time\TimeProviders\NtpClient - On the right side, double-click the SpecialPollInterval key.
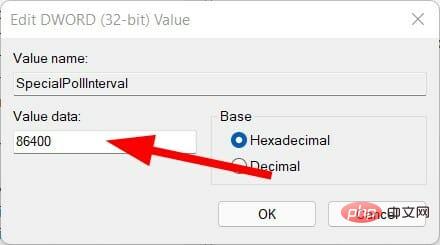
- Change the value to 86400 and click OK to save the changes.
- Restart your PC for the changes to take effect.
You can use the steps above to fix time sync failure on Windows 11. The above adjustments in the registry settings can help change the update interval on Windows.
However, we recommend that you only adjust the registry settings if you are sure of what you are doing. You can also continue with the above steps, but before doing so, make a backup of your registry files.
7. Add a new time server
- Press the Win
<kbd>R</kbd>key to open the run command . - Type the following command and press Enter.
regedit
- Go to the address below.
HKEY_LOCAL_MACHINE\SOFTWARE\Microsoft\Windows\CurrentVersion\DateTime\Servers - On the right, right-click the space and select New > String Value.
- In Value name, enter the server number, which is 3.
- In the Value Data field, enter time.google.com.
- Click OK to save changes.
- Open the Start menu.
- Search Control Panel and open it.
- Click Date and Time.
- Switch to Internet time.
- Click Change Settings.
- Click the server drop-down menu and select time.google.com.
- Click the Update Now button next to Server.
- Click OK.
Please note that the above is just an example of how to add a new time server to your PC and update it to fix the Windows 11 error causing time synchronization failure.
You can add as many servers as you need. If you are confused about which servers you can add, you can refer to the server list below:
- time-a.nist.gov
- time- b.nist.gov
- 128.105.37.11
- europe.pool.ntp.org
- clock.isc.org
- North America.pool.ntp.org
- ##time.windows.com
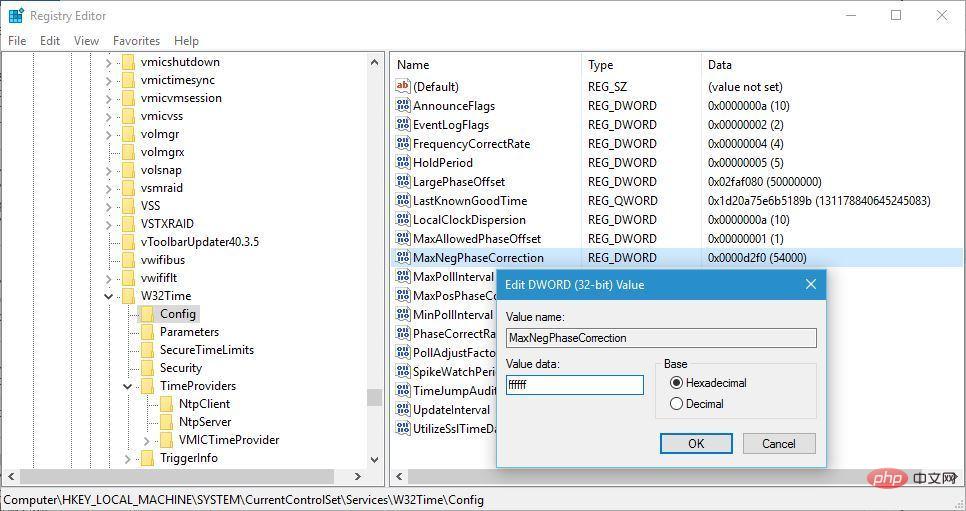
- Time.nist.gov ##8. Change the registry value
- Win
- <kbd>R</kbd> key to open run command. Type the following command and press Enter
- . regedit Go to the address below. HKEY_LOCAL_MACHINESYSTEMCurrentControlSetServicesW32TimeConfig
-
On the right side, findMaxNegPhaseCorrection - and double-click it. Set the value data
- to fffff. Click OK
- to save changes. Double-click MaxPosPhaseCorrection
- and set the value data to ffffff. Click OK
- to save changes and exit. Read more about this topic
 Set the
 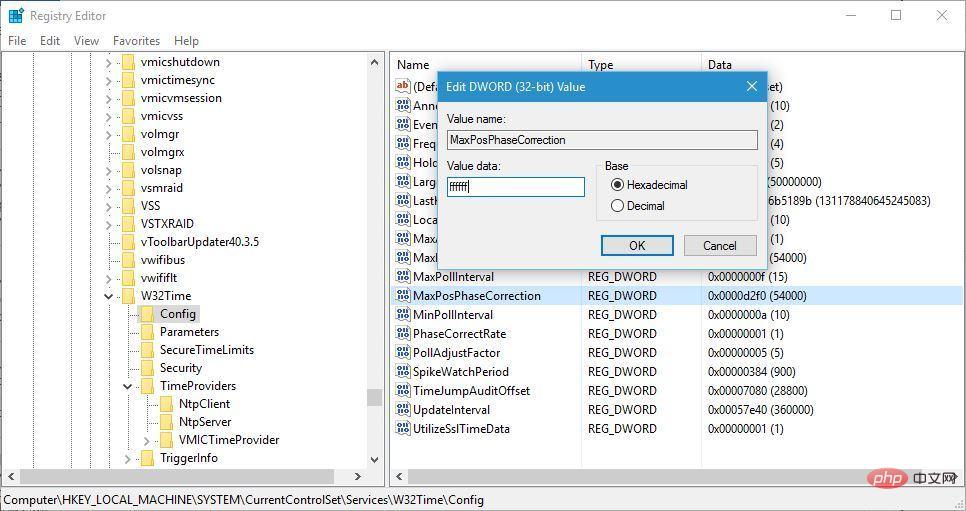 Click
Click - Face ID not working on Windows 11? Fix Now
- How to use Windows 11 widgets without logging in
- How to activate Windows 11 File Explorer tab
- Windows 11 won’t eject external hard drive ? Try these fixes
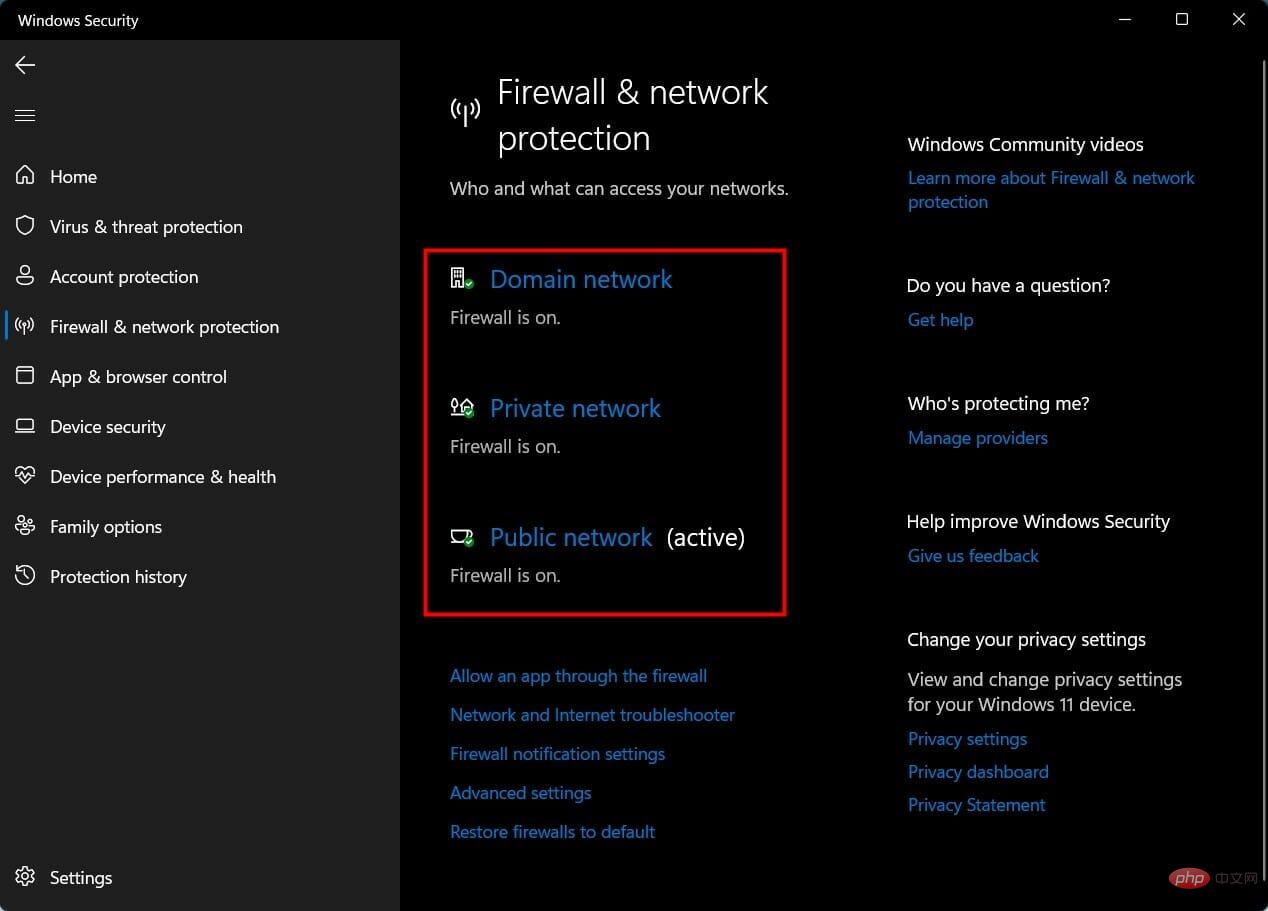
- 9. Disable the firewall
- Up Arrow button on the taskbar in the lower right corner.
- Select Windows Security
- . Select Firewall and Network Protection from the left pane. Close the firewalls of
-
domain network
- , private network, and public network one by one. If you use third-party antivirus software, you will also need to disable the firewall. Firewall-enabled antivirus software is one of the most common reasons for lost connections to time synchronization servers.
Aggressive anti-malware software can also cause multiple problems, including the issue at hand. You can try disabling antivirus or anti-malware software and check if this fixes time sync failure on Windows 11 issue.
The above solutions should be enough to help you solve the problem. However, if nothing helps you resolve the issue, you can start over by resetting your Windows 11 PC or reinstalling Windows 11 on your PC.
The above is the detailed content of Fix: Time sync fails on Windows 11. For more information, please follow other related articles on the PHP Chinese website!

Hot AI Tools

Undresser.AI Undress
AI-powered app for creating realistic nude photos

AI Clothes Remover
Online AI tool for removing clothes from photos.

Undress AI Tool
Undress images for free

Clothoff.io
AI clothes remover

Video Face Swap
Swap faces in any video effortlessly with our completely free AI face swap tool!

Hot Article
Hot Tools

Notepad++7.3.1
Easy-to-use and free code editor

SublimeText3 Chinese version
Chinese version, very easy to use

Zend Studio 13.0.1
Powerful PHP integrated development environment

Dreamweaver CS6
Visual web development tools

SublimeText3 Mac version
God-level code editing software (SublimeText3)
Hot Topics
 1392
1392
 52
52

 What is the reason why PS keeps showing loading?
Apr 06, 2025 pm 06:39 PM
What is the reason why PS keeps showing loading?
Apr 06, 2025 pm 06:39 PM
PS "Loading" problems are caused by resource access or processing problems: hard disk reading speed is slow or bad: Use CrystalDiskInfo to check the hard disk health and replace the problematic hard disk. Insufficient memory: Upgrade memory to meet PS's needs for high-resolution images and complex layer processing. Graphics card drivers are outdated or corrupted: Update the drivers to optimize communication between the PS and the graphics card. File paths are too long or file names have special characters: use short paths and avoid special characters. PS's own problem: Reinstall or repair the PS installer.
 How to solve the problem of loading when PS is always showing that it is loading?
Apr 06, 2025 pm 06:30 PM
How to solve the problem of loading when PS is always showing that it is loading?
Apr 06, 2025 pm 06:30 PM
PS card is "Loading"? Solutions include: checking the computer configuration (memory, hard disk, processor), cleaning hard disk fragmentation, updating the graphics card driver, adjusting PS settings, reinstalling PS, and developing good programming habits.
 How to speed up the loading speed of PS?
Apr 06, 2025 pm 06:27 PM
How to speed up the loading speed of PS?
Apr 06, 2025 pm 06:27 PM
Solving the problem of slow Photoshop startup requires a multi-pronged approach, including: upgrading hardware (memory, solid-state drive, CPU); uninstalling outdated or incompatible plug-ins; cleaning up system garbage and excessive background programs regularly; closing irrelevant programs with caution; avoiding opening a large number of files during startup.
 Is slow PS loading related to computer configuration?
Apr 06, 2025 pm 06:24 PM
Is slow PS loading related to computer configuration?
Apr 06, 2025 pm 06:24 PM
The reason for slow PS loading is the combined impact of hardware (CPU, memory, hard disk, graphics card) and software (system, background program). Solutions include: upgrading hardware (especially replacing solid-state drives), optimizing software (cleaning up system garbage, updating drivers, checking PS settings), and processing PS files. Regular computer maintenance can also help improve PS running speed.
 How to solve the problem of loading when the PS opens the file?
Apr 06, 2025 pm 06:33 PM
How to solve the problem of loading when the PS opens the file?
Apr 06, 2025 pm 06:33 PM
"Loading" stuttering occurs when opening a file on PS. The reasons may include: too large or corrupted file, insufficient memory, slow hard disk speed, graphics card driver problems, PS version or plug-in conflicts. The solutions are: check file size and integrity, increase memory, upgrade hard disk, update graphics card driver, uninstall or disable suspicious plug-ins, and reinstall PS. This problem can be effectively solved by gradually checking and making good use of PS performance settings and developing good file management habits.
 How to use mysql after installation
Apr 08, 2025 am 11:48 AM
How to use mysql after installation
Apr 08, 2025 am 11:48 AM
The article introduces the operation of MySQL database. First, you need to install a MySQL client, such as MySQLWorkbench or command line client. 1. Use the mysql-uroot-p command to connect to the server and log in with the root account password; 2. Use CREATEDATABASE to create a database, and USE select a database; 3. Use CREATETABLE to create a table, define fields and data types; 4. Use INSERTINTO to insert data, query data, update data by UPDATE, and delete data by DELETE. Only by mastering these steps, learning to deal with common problems and optimizing database performance can you use MySQL efficiently.
 Is PS slow loading related to other programs that are running?
Apr 06, 2025 pm 06:03 PM
Is PS slow loading related to other programs that are running?
Apr 06, 2025 pm 06:03 PM
The secrets to mastering Office software include: understanding different versions and platforms, correctly installing and configuring, proficient in using the software interface, in-depth understanding of feature operations, application collaboration and sharing functions, utilizing templates and styles, mastering advanced skills, and solving common problems. In addition, you need to choose a version that suits your needs, make good use of templates and styles, develop backup habits, and learn shortcut keys and advanced techniques to improve efficiency.
 How to solve the problem of loading when PS is started?
Apr 06, 2025 pm 06:36 PM
How to solve the problem of loading when PS is started?
Apr 06, 2025 pm 06:36 PM
A PS stuck on "Loading" when booting can be caused by various reasons: Disable corrupt or conflicting plugins. Delete or rename a corrupted configuration file. Close unnecessary programs or upgrade memory to avoid insufficient memory. Upgrade to a solid-state drive to speed up hard drive reading. Reinstalling PS to repair corrupt system files or installation package issues. View error information during the startup process of error log analysis.