

How to clear TPM in Windows 11: A step-by-step guide

Starting with Windows 10 and Windows 11, TPMs are now initialized immediately and granted ownership by the operating system, making them more secure.
This is in contrast to previous operating systems where you would initialize the TPM and generate the owner password before proceeding.
Before proceeding to clear the TPM in Windows 11, make sure you have a backup and recovery solution set up for any data protected or encrypted by it.
Although the TPM must be wiped before a new operating system can be installed, it is likely that the vast majority of TPM functionality will continue to function normally after the TPM is cleared.
There are several ways to clear Windows 11’s TPM chip, and in this article, we’ll teach you how to do it in detail.
Precautions to be taken before clearing a TPM
Note that when you clear a TPM, you will lose all keys that have been established and associated with the TPM, as well as any data protected by those keys, such as virtual Smart card or login PIN.
- If you have any data that is protected or encrypted by a TPM, make sure you have a backup and recovery solution in place.
- Remove the TPM from devices that don't belong to you (such as a work or school computer) unless your IT administrator specifically orders you to do so.
- If your TPM 1.2 is used with Windows 10 version 1507 or 1511 and you want to temporarily pause TPM activity, you can turn off the TPM by pressing the Power button. For more information, see the section titled "Turn off the TPM" later in this article.
- To clear TPM, always use operating system functionality (such as TPM.msc) rather than third-party software. Clearing the TPM directly from UEFI is not recommended.
- Because the TPM security hardware is a physical component of the computer, you may want to consult the manual or instructions that came with your computer, or search the manufacturer's website before attempting to clear the TPM security hardware.
How to clear TPM in Windows 11?
Note that you need to be an administrator on the device to clear TPM
1. Use the Windows Security Center app
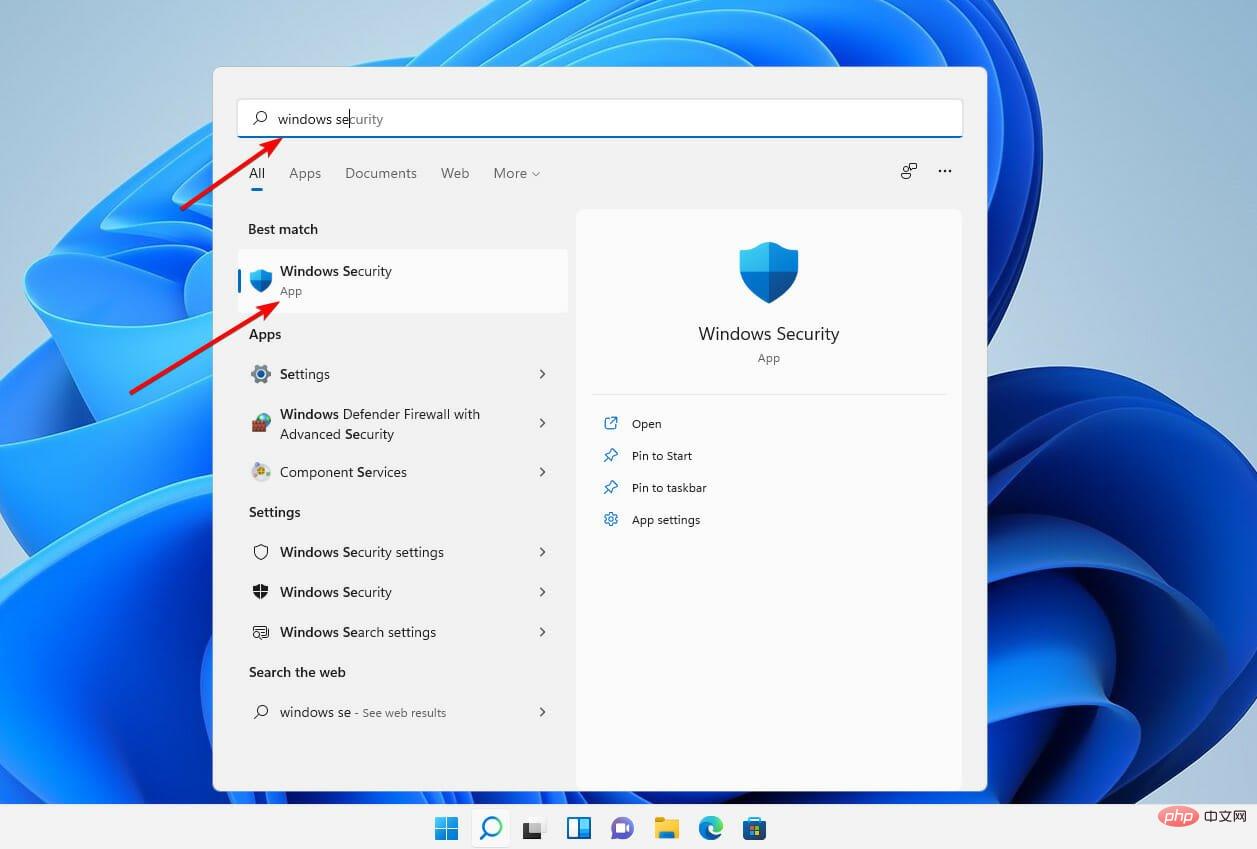
- Press on the keyboard and then type Windows Security Centerand select the most relevant results. WindowsS

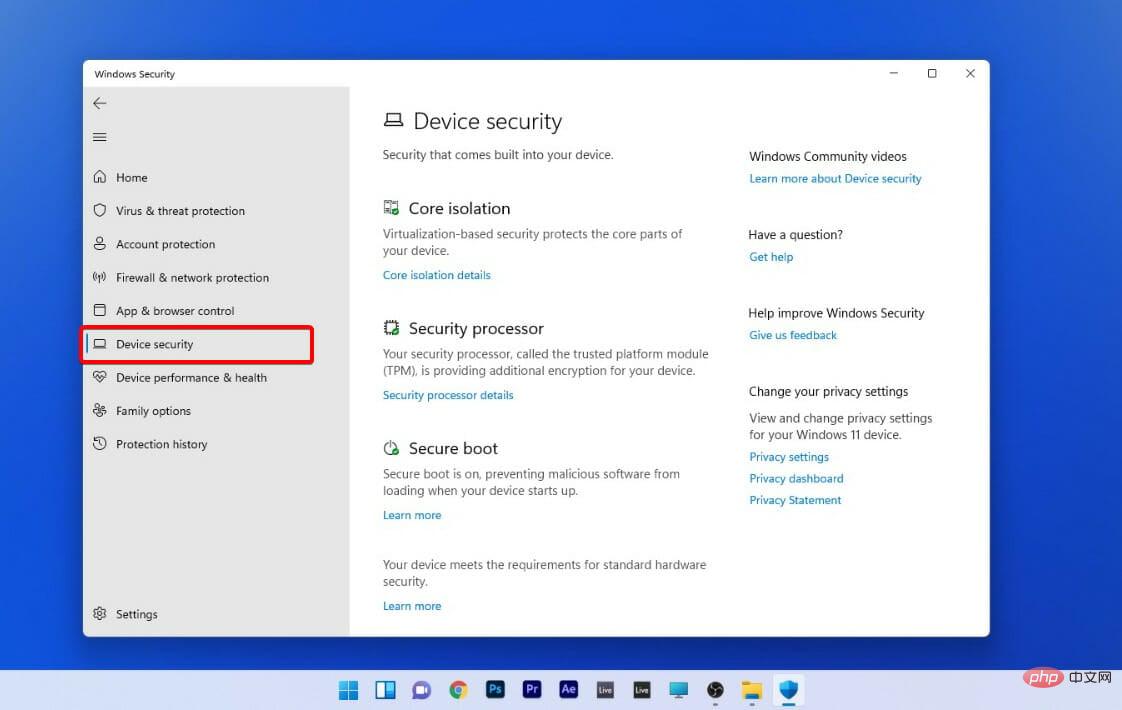
- #From the left panel, select the Device Security option.
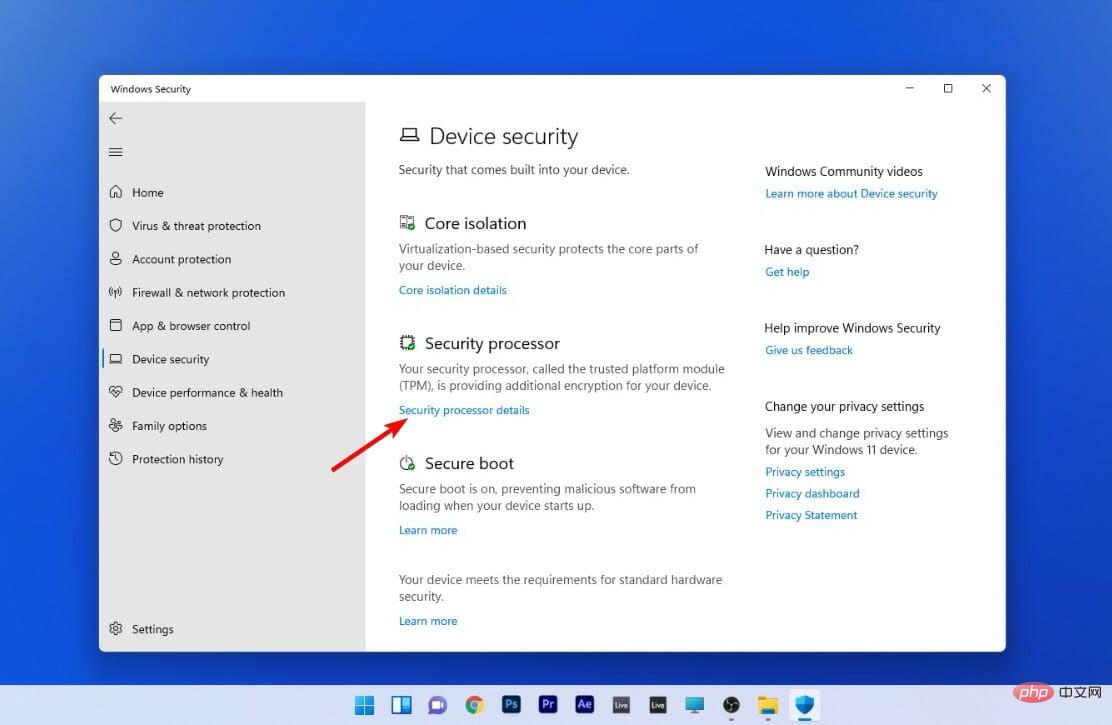
- Under the Security Processor section, select Security Processor Details.
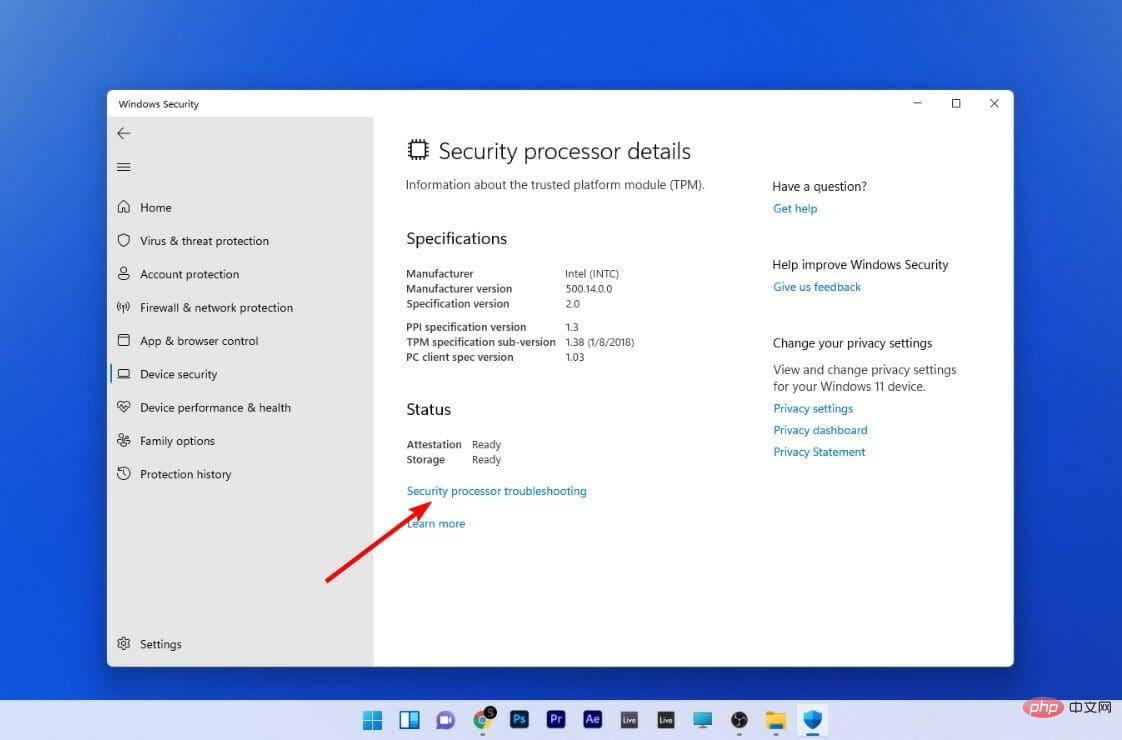
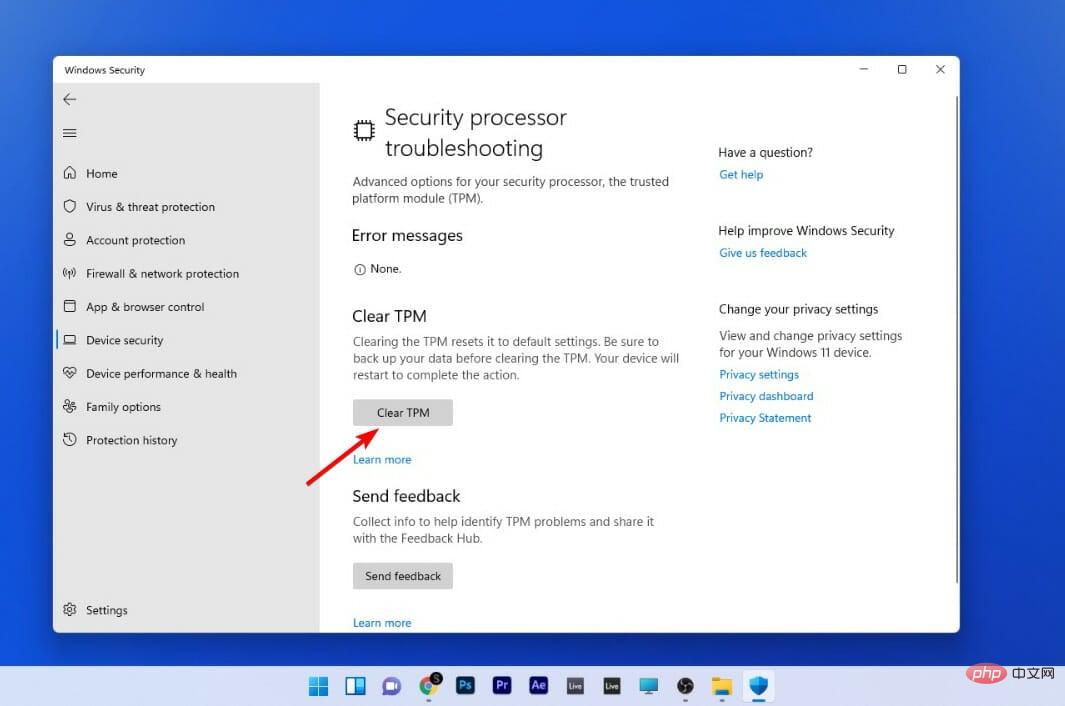
- Click Security Processor Troubleshooting.
- Next, click Clear TPM.
- Finally click the Clear and Restart button.
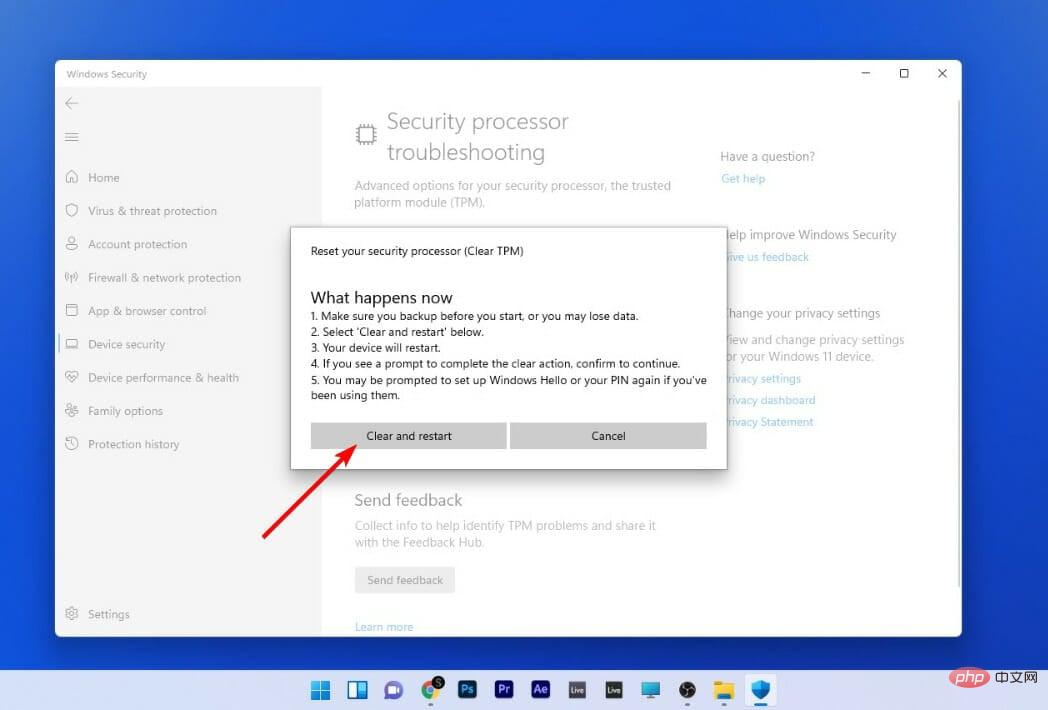
In some cases, you may be asked to confirm UEFI's decision to clear the TPM. All you have to do is press a button when your computer restarts.
After your computer restarts, your TPM will automatically be ready for use by Windows 11.
2. Open TPM MMC
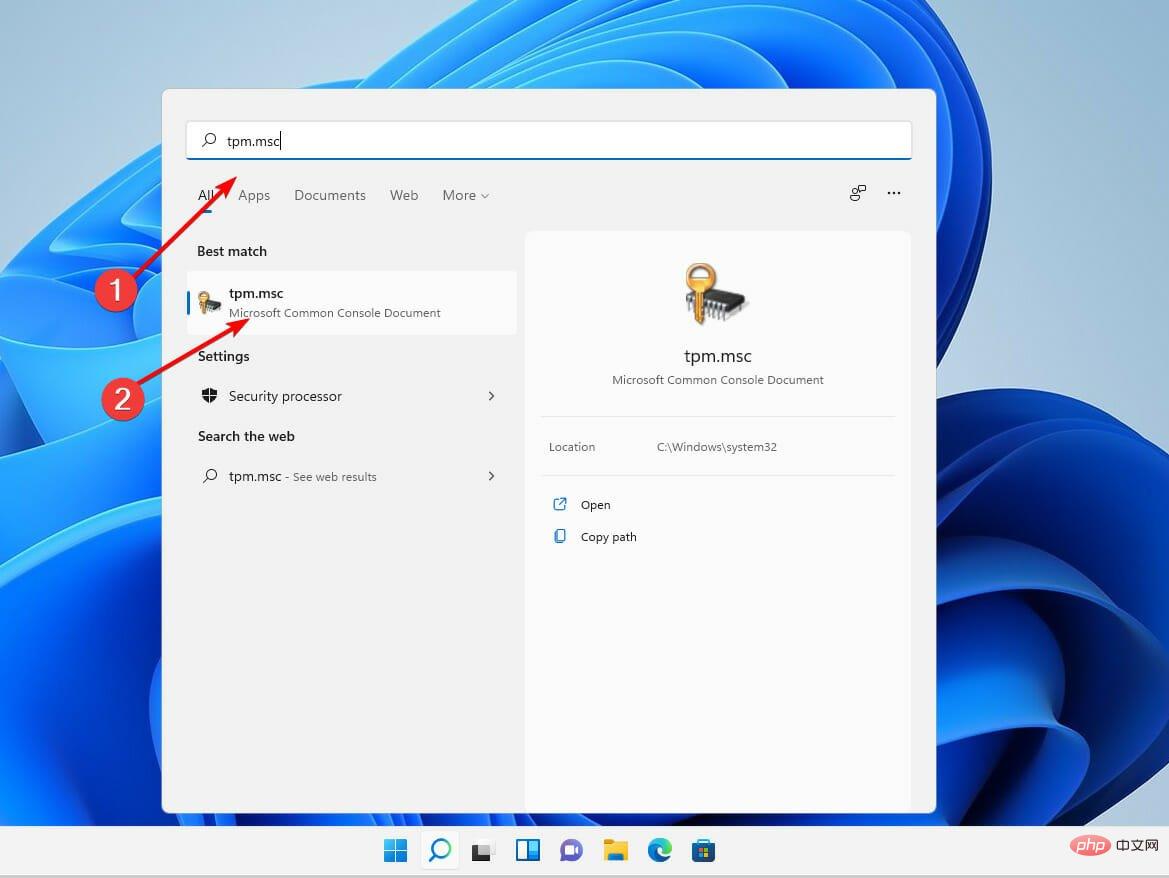
- Press on your keyboard, then type tpm.msc and select the most relevant result. WindowsS
- #If the User Account Control dialog box appears, make sure it shows the action you want , and then click "is".
- Click Actions and selectClear TPM.
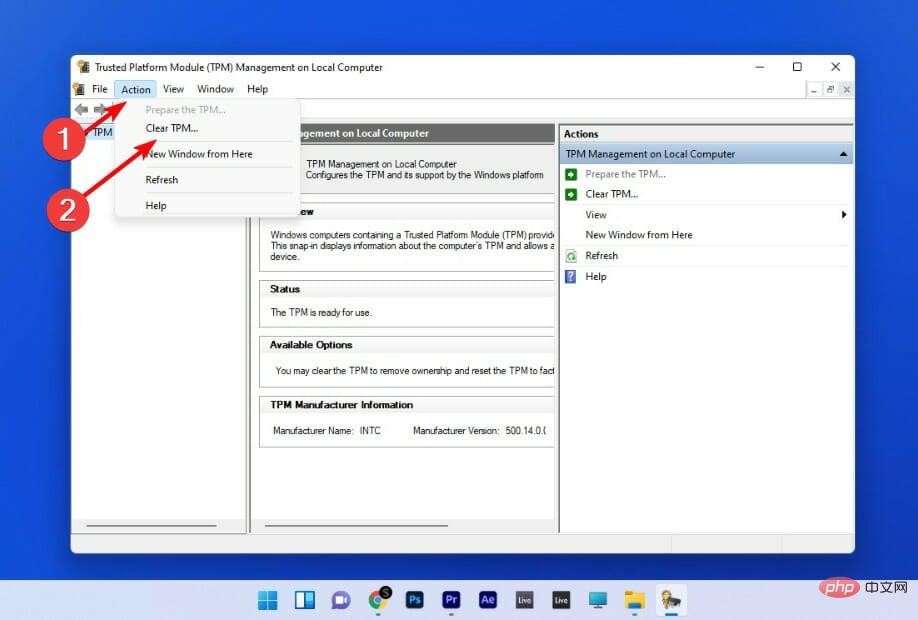
#After the process is complete, your computer will automatically restart. During the reboot, UEFI may prompt you to press a button to confirm that you want to clear the TPM.
After your computer restarts, your TPM will automatically be ready for use by Windows 11.
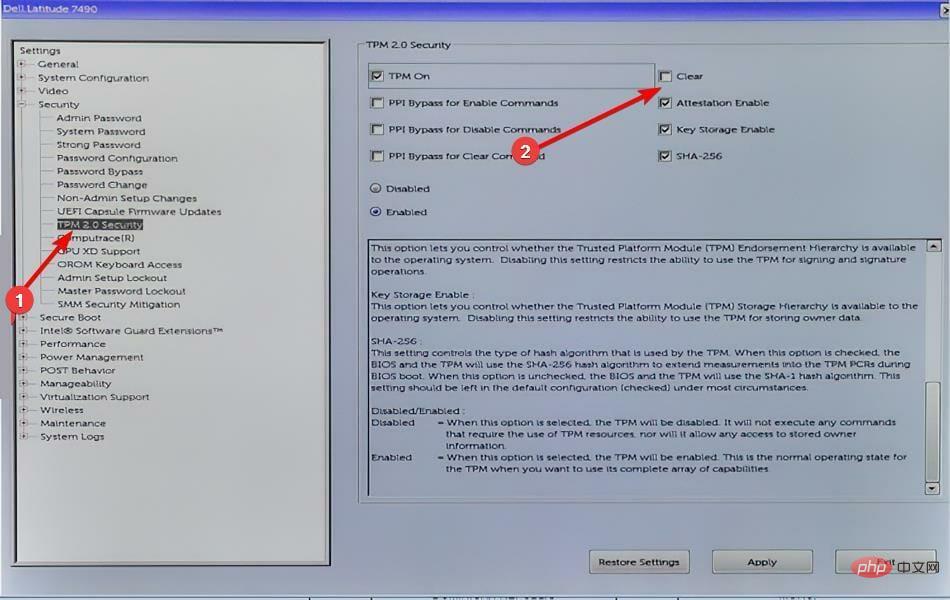
3. Clear
- from the BIOS menu to start the computer and press the key to enter BIOS Setup mode. F2
- Find the option to the left of Keep Safe and expand it.
- Click the TPM option nested under Security settings and check the Clear box.
- Restart the computer and re-enter the BIOS menu and press the key again. F2
- Make sure the "Enabled" radio button is selected to activate the TPM.
- Restart the computer.

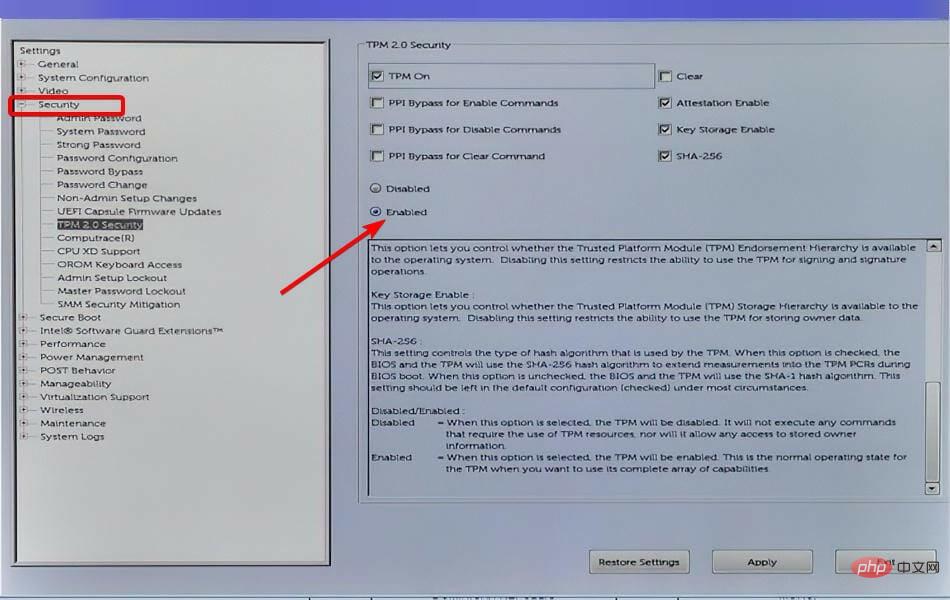
After restarting the computer, the TPM adjustment will take effect.
How to use TPM in Windows 11?
Expert Tips:
Sponsored
Some PC problems are difficult to solve, especially when they involve a corrupted repository or When losing Windows files. If you are having trouble fixing errors, your system may be partially corrupted.
We recommend installing Restoro, a tool that will scan your machine and determine what the fault is.
Click here to download and start repairing.
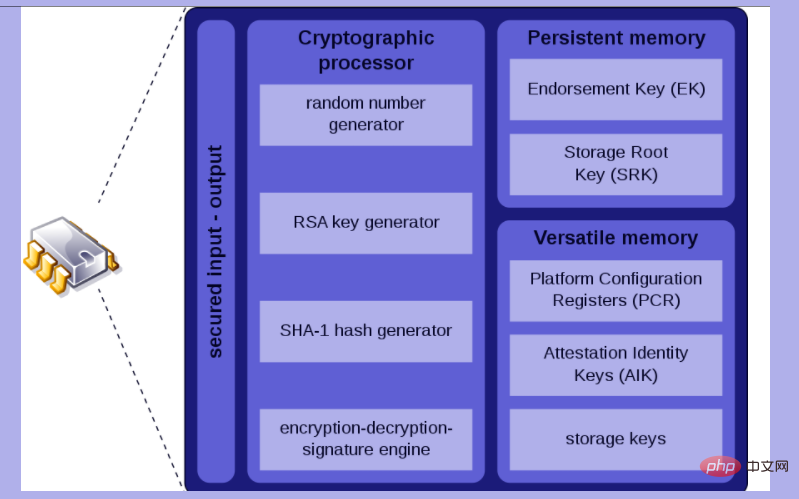
The Trusted Platform Module (TPM) is a cryptographic module that improves the security and privacy of computer systems. 
Basic computer security features include protecting data through encryption and decryption and demonstrating programs currently running on the system, to name a few.
TPM is a passive device that only accepts and responds to commands. In realizing the full potential of the TPM, OEMs must properly integrate the system hardware and firmware with the TPM so that it can receive commands from the system and respond to its answers.
Windows 11 operating system enhances the security of the operating system’s existing security features while also introducing groundbreaking new security features such as Device Guard and Windows Hello for Business.
It integrates hardware-based security more deeply into the operating system than previous Windows versions, improving platform security while improving usability.
Windows 11 security features combine with the benefits of TPM to deliver practical security and privacy benefits
Does TPM slow down my computer?
When you start a computer, TPM checks the status of the computer and the state of the computer environment to determine whether the computer is safe.
As long as the computer is in a trusted state (in other words, has not been tampered with), it will function properly.
As long as the computer is not in a trusted state, it will not boot, which means no data will be accessed or extracted.
In order for the TPM to function properly, it must generate encryption code. In this case, removing the TPM chip from the computer will prevent the computer from booting because only half of the encryption key remains on the TPM chip and half on the computer's hard drive.
TPM is required by some firmwares, such as Microsoft's BitLocker, and will remain inactive until activated in the BIOS menu, so it has no effect on the computer.
Once engaged, the only difference users may notice is that the operating system's boot process is slightly slower than before.
When Windows 11 is installed on hardware that includes a TPM, it can provide significant security benefits.
Another important consideration is that you should check if your computer is compatible with Windows 11.
For additional information on how the Trusted Platform Module (TPM) works with Windows 11, see our post for everything you need to know.
However, you can install Windows 11 without a TPM, but we encourage you not to do so because of the additional security features it provides.
We hope you managed to clear TPM in Windows 11 using our guide.
The above is the detailed content of How to clear TPM in Windows 11: A step-by-step guide. For more information, please follow other related articles on the PHP Chinese website!

Hot AI Tools

Undresser.AI Undress
AI-powered app for creating realistic nude photos

AI Clothes Remover
Online AI tool for removing clothes from photos.

Undress AI Tool
Undress images for free

Clothoff.io
AI clothes remover

Video Face Swap
Swap faces in any video effortlessly with our completely free AI face swap tool!

Hot Article
Hot Tools

Notepad++7.3.1
Easy-to-use and free code editor

SublimeText3 Chinese version
Chinese version, very easy to use

Zend Studio 13.0.1
Powerful PHP integrated development environment

Dreamweaver CS6
Visual web development tools

SublimeText3 Mac version
God-level code editing software (SublimeText3)
Hot Topics
 1387
1387
 52
52

 What is the reason why PS keeps showing loading?
Apr 06, 2025 pm 06:39 PM
What is the reason why PS keeps showing loading?
Apr 06, 2025 pm 06:39 PM
PS "Loading" problems are caused by resource access or processing problems: hard disk reading speed is slow or bad: Use CrystalDiskInfo to check the hard disk health and replace the problematic hard disk. Insufficient memory: Upgrade memory to meet PS's needs for high-resolution images and complex layer processing. Graphics card drivers are outdated or corrupted: Update the drivers to optimize communication between the PS and the graphics card. File paths are too long or file names have special characters: use short paths and avoid special characters. PS's own problem: Reinstall or repair the PS installer.
 How to solve the problem of loading when PS is always showing that it is loading?
Apr 06, 2025 pm 06:30 PM
How to solve the problem of loading when PS is always showing that it is loading?
Apr 06, 2025 pm 06:30 PM
PS card is "Loading"? Solutions include: checking the computer configuration (memory, hard disk, processor), cleaning hard disk fragmentation, updating the graphics card driver, adjusting PS settings, reinstalling PS, and developing good programming habits.
 Does H5 page production require continuous maintenance?
Apr 05, 2025 pm 11:27 PM
Does H5 page production require continuous maintenance?
Apr 05, 2025 pm 11:27 PM
The H5 page needs to be maintained continuously, because of factors such as code vulnerabilities, browser compatibility, performance optimization, security updates and user experience improvements. Effective maintenance methods include establishing a complete testing system, using version control tools, regularly monitoring page performance, collecting user feedback and formulating maintenance plans.
 How to speed up the loading speed of PS?
Apr 06, 2025 pm 06:27 PM
How to speed up the loading speed of PS?
Apr 06, 2025 pm 06:27 PM
Solving the problem of slow Photoshop startup requires a multi-pronged approach, including: upgrading hardware (memory, solid-state drive, CPU); uninstalling outdated or incompatible plug-ins; cleaning up system garbage and excessive background programs regularly; closing irrelevant programs with caution; avoiding opening a large number of files during startup.
 How to solve the problem of loading when the PS opens the file?
Apr 06, 2025 pm 06:33 PM
How to solve the problem of loading when the PS opens the file?
Apr 06, 2025 pm 06:33 PM
"Loading" stuttering occurs when opening a file on PS. The reasons may include: too large or corrupted file, insufficient memory, slow hard disk speed, graphics card driver problems, PS version or plug-in conflicts. The solutions are: check file size and integrity, increase memory, upgrade hard disk, update graphics card driver, uninstall or disable suspicious plug-ins, and reinstall PS. This problem can be effectively solved by gradually checking and making good use of PS performance settings and developing good file management habits.
 Is slow PS loading related to computer configuration?
Apr 06, 2025 pm 06:24 PM
Is slow PS loading related to computer configuration?
Apr 06, 2025 pm 06:24 PM
The reason for slow PS loading is the combined impact of hardware (CPU, memory, hard disk, graphics card) and software (system, background program). Solutions include: upgrading hardware (especially replacing solid-state drives), optimizing software (cleaning up system garbage, updating drivers, checking PS settings), and processing PS files. Regular computer maintenance can also help improve PS running speed.
 How to use mysql after installation
Apr 08, 2025 am 11:48 AM
How to use mysql after installation
Apr 08, 2025 am 11:48 AM
The article introduces the operation of MySQL database. First, you need to install a MySQL client, such as MySQLWorkbench or command line client. 1. Use the mysql-uroot-p command to connect to the server and log in with the root account password; 2. Use CREATEDATABASE to create a database, and USE select a database; 3. Use CREATETABLE to create a table, define fields and data types; 4. Use INSERTINTO to insert data, query data, update data by UPDATE, and delete data by DELETE. Only by mastering these steps, learning to deal with common problems and optimizing database performance can you use MySQL efficiently.
 Can mysql run on android
Apr 08, 2025 pm 05:03 PM
Can mysql run on android
Apr 08, 2025 pm 05:03 PM
MySQL cannot run directly on Android, but it can be implemented indirectly by using the following methods: using the lightweight database SQLite, which is built on the Android system, does not require a separate server, and has a small resource usage, which is very suitable for mobile device applications. Remotely connect to the MySQL server and connect to the MySQL database on the remote server through the network for data reading and writing, but there are disadvantages such as strong network dependencies, security issues and server costs.