

Add a launcher on Windows 11: A step-by-step tutorial

How to add a program to startup
Here are the different ways you can add a program to startup.
Method 1: From the Settings app
The traditional way to make any of these changes is from the Settings app. That's it:
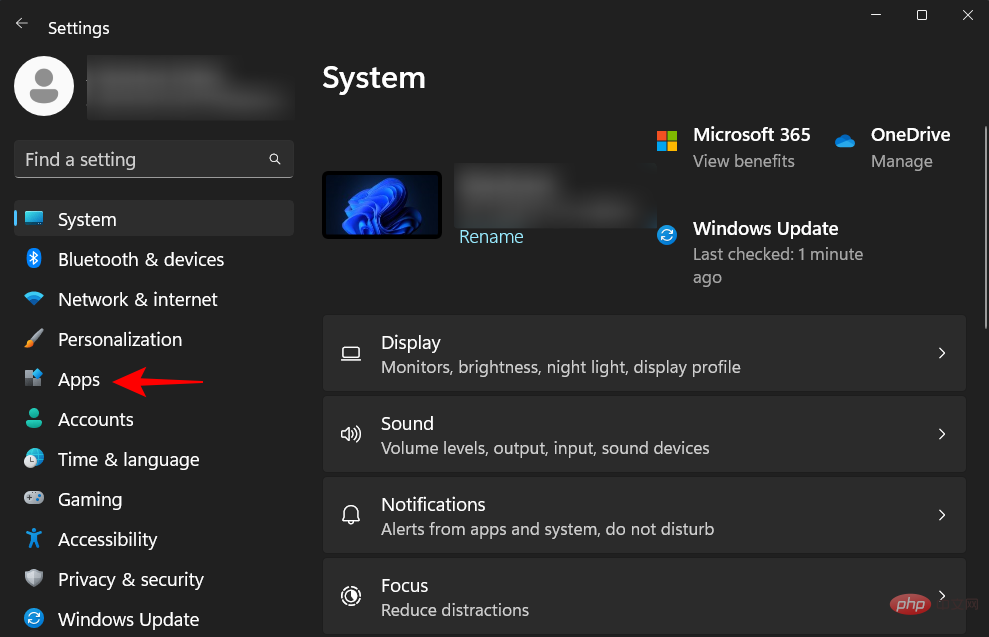
Press Win I to open the Settings app. Then click Apps.
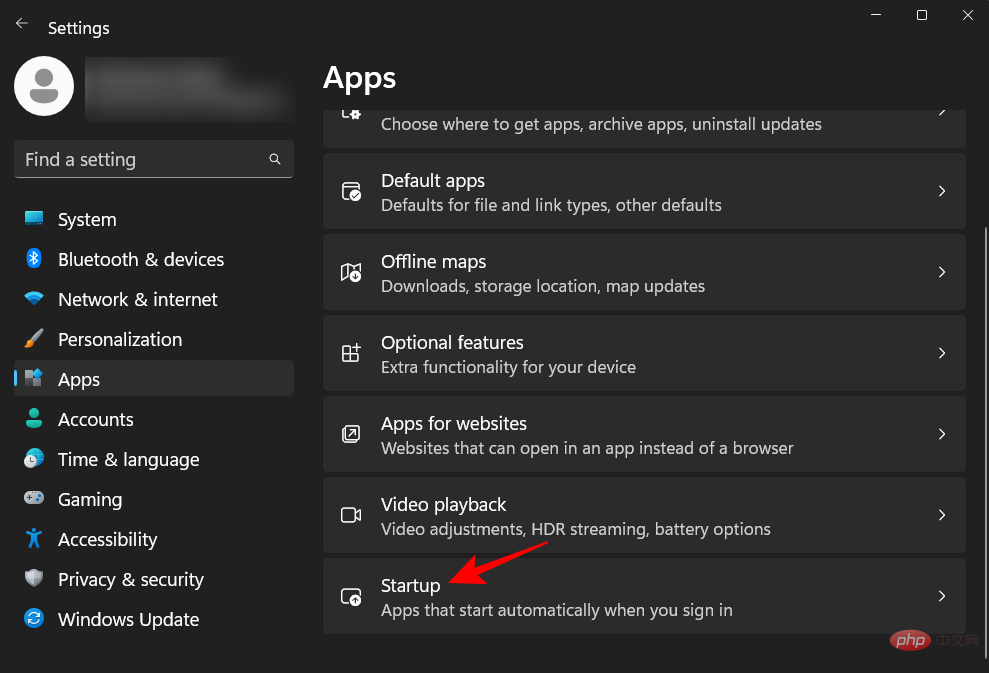
Scroll down on the right side and select Start.
Here you will find a list of applications to enable or add to startup. Just tap the switch next to the ones you want to activate at startup.
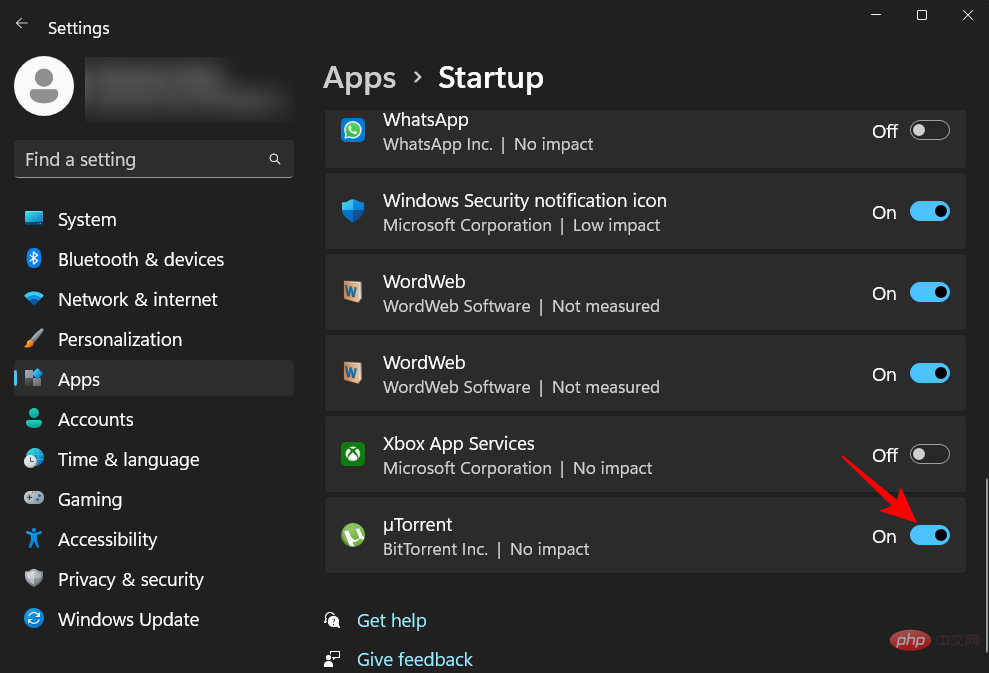
If some installed applications are not listed here, continue using other methods to add them to startup.
Method 2: Create a shortcut in the Startup folder
When you start your computer, applications with shortcuts in the Startup folder will open. You can add programs to Launcher yourself by creating shortcuts for them in folders. Here's how to do it:
Open the startup folder on this page in the next section as shown below. Scroll down a bit to find this section after all the methods in this section.
Navigate to the Startup folder as shown previously. We'll use the current user's Startup folder in our example, but know that it will work equally well for all users' Startup folders.
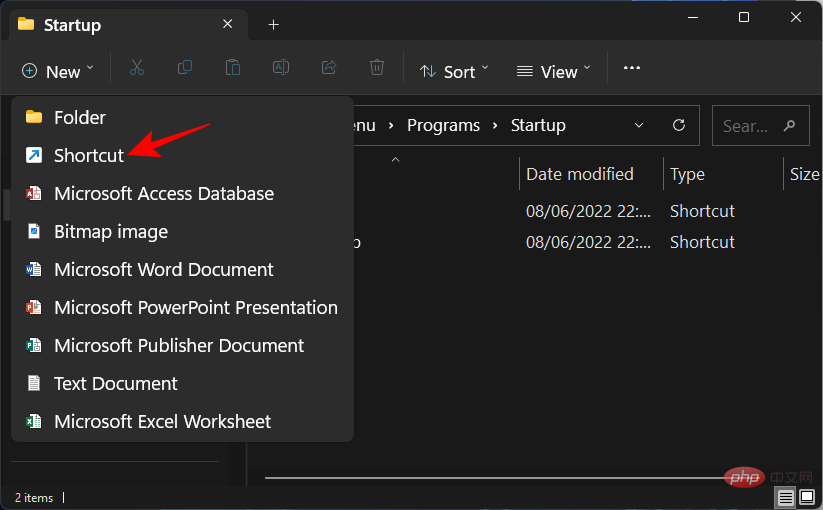
After entering the "Startup" folder, click "New".

Then select Shortcut.
In the Create Shortcut window, click Browse.
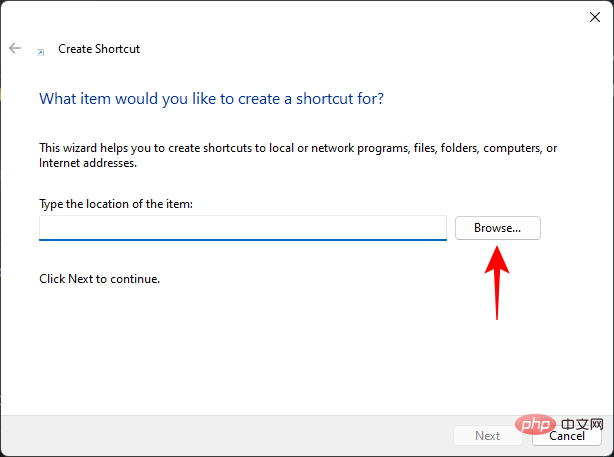
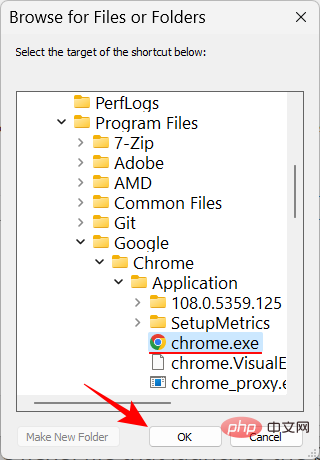
Now navigate to the executable file of the application you want to run on startup and select it.
NOTE: The default drive to install the application is the "C" system drive. In it, classic or legacy 32-bit programs will be installed in the "Program Files (x86)" folder, while most 64-bit programs will be in the "Program Files" folder.
After you find the application’s folder and executable file, select it. Then click "OK".
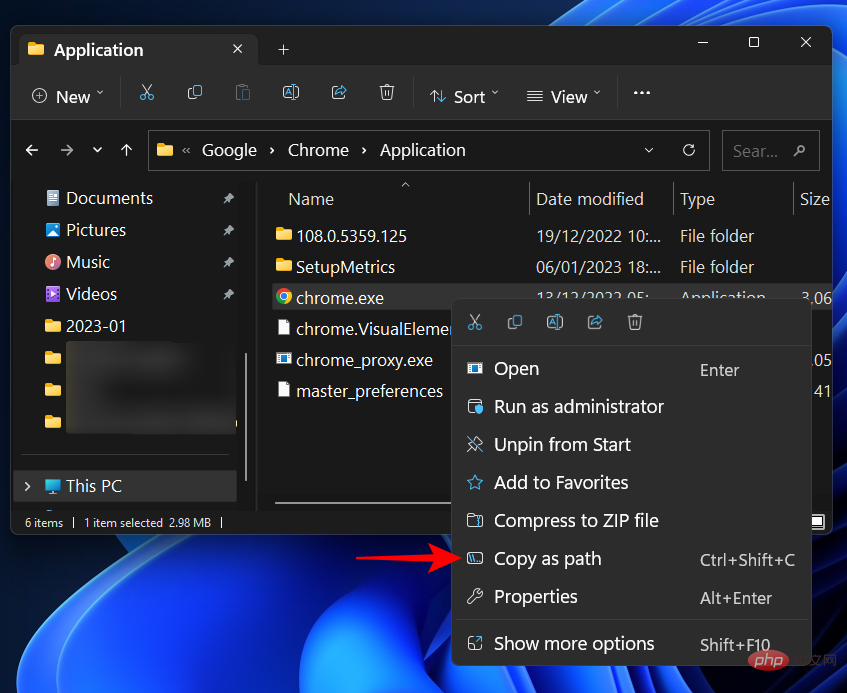
The location of the application will now be in this field. Another way to add a file location is to use File Explorer to navigate to it, right-click on the executable file, and select Copy as Path.
Paste the copied path into the location field.
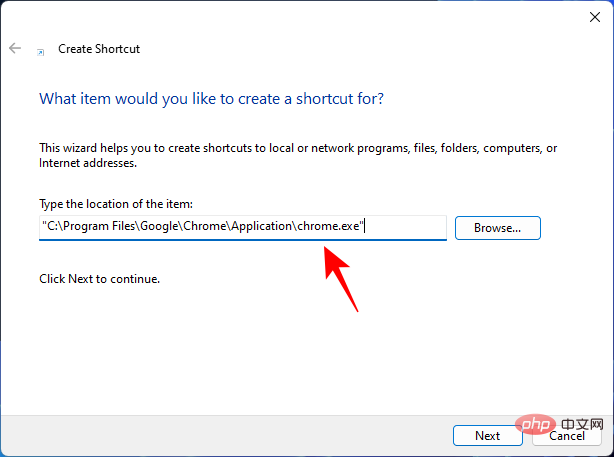
Click Next.
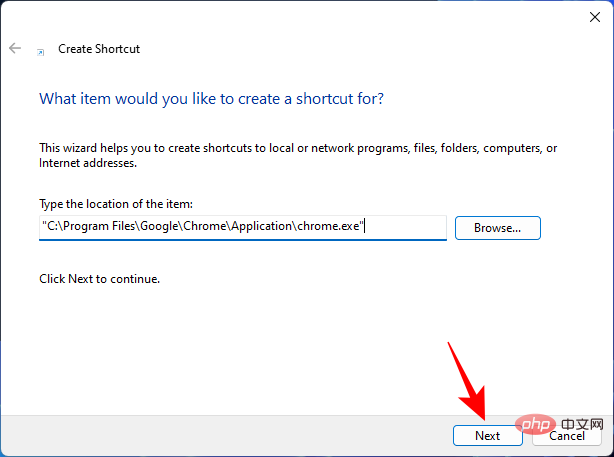
Click Finish.
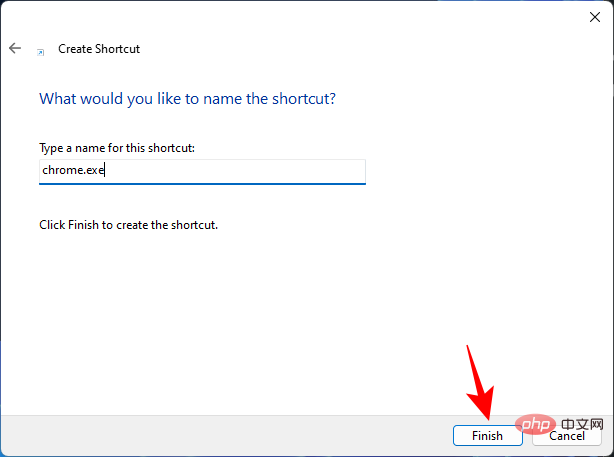
#Your program application will now be located in the Startup folder.
Method 3: Create a program shortcut and move it to the Startup folder
In addition to creating a shortcut in the Startup folder, you can also create a shortcut to the application anywhere else , and then move it to the Startup folder.
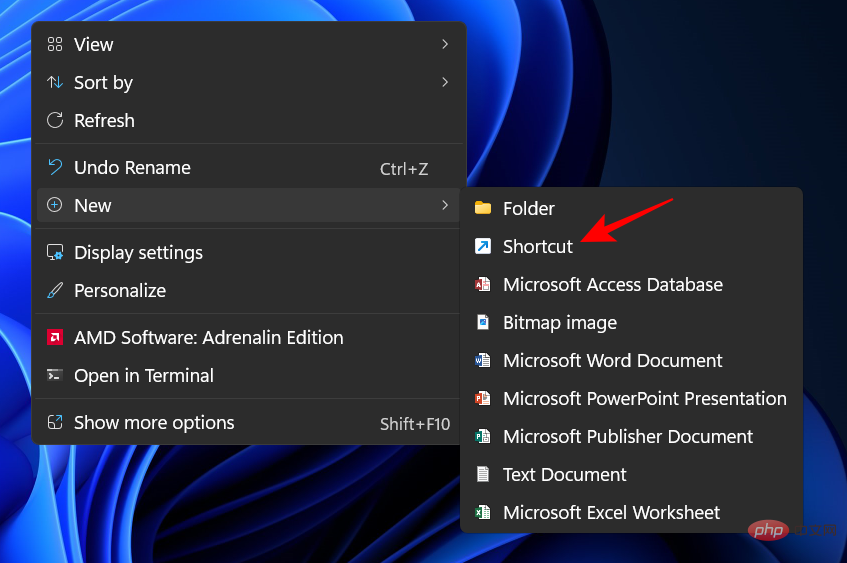
Now, there are several ways to create a shortcut, one of which we have already seen in method 2. If you want to create a shortcut on your desktop, just right-click on your desktop, select "New" and then "Shortcut".
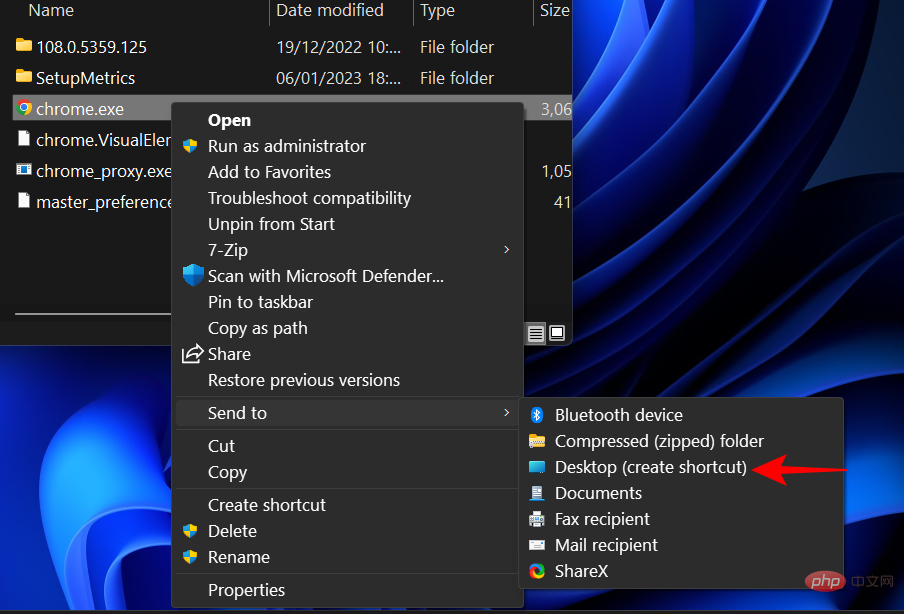
Then use the Create Shortcut window as shown before. Alternatively, you can go directly to the application's executable file and send its shortcut to the desktop. To do this, right-click the application and select Show more options.
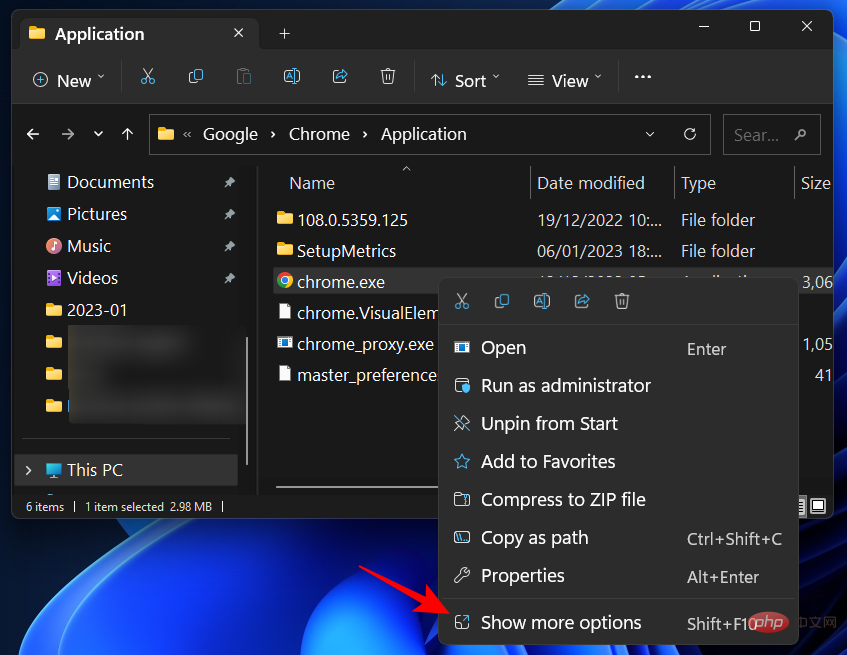
Then select Send to and click Desktop (create shortcut).
The only thing to do now is to copy this shortcut ( Ctrl C) and then paste it ( Ctrl V) into in the "Startup" folder.
Or drag and drop it there.
Method 4: Copy Windows applications to the Startup folder
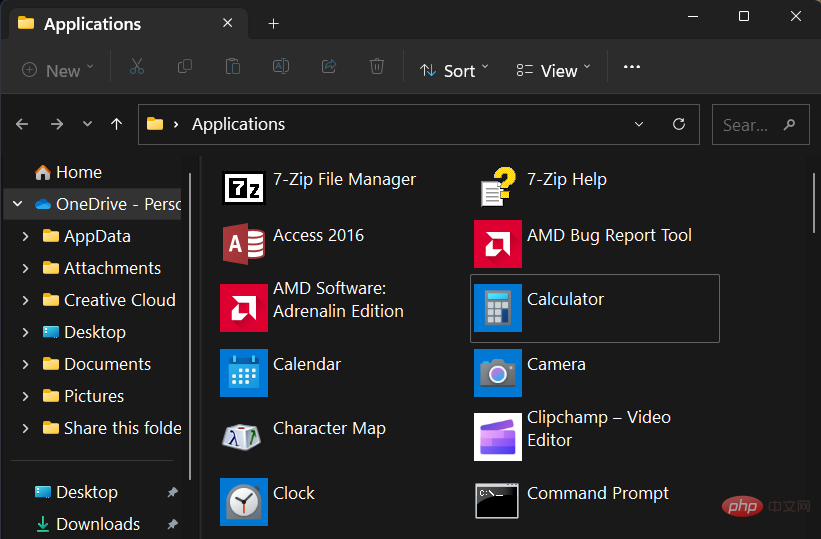
There are some modern native applications such as calendar, camera, calculator, etc. , whose shortcut cannot be created using the above method. But they are located in the Applications folder, which also lists all other applications, so you can easily move the applications from there to the Startup folder. Here's how:
Press Win R to open the Run box, type shell:appsfolder and press Enter.

This will open the Applications folder.
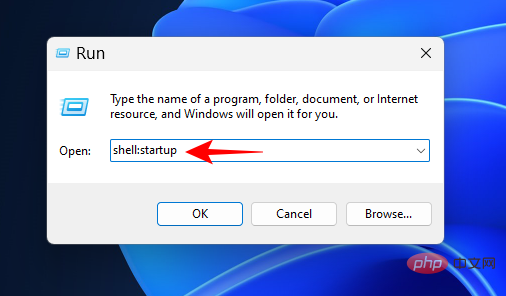
Now open the Startup folder as shown before (type shell:startup in the RUN command box of the current user's Startup folder).
Arrange the two folders side by side. Then drag and drop your application from the application window into the Startup folder.
Your shortcut is now added to the Startup folder.
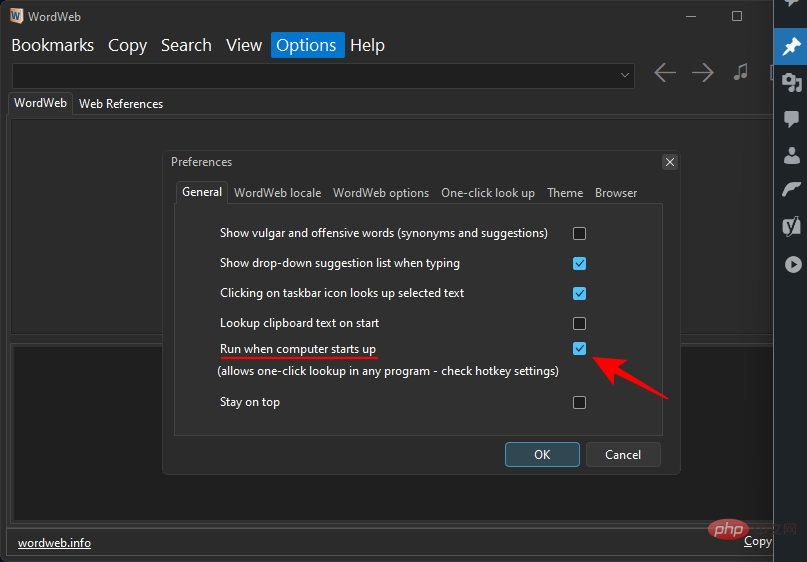
Method 5: From the application’s Settings and Preferences
In addition to creating and moving shortcuts, some third-party applications also offer to enable “Run on startup” or application preferences Options like settings in the section.
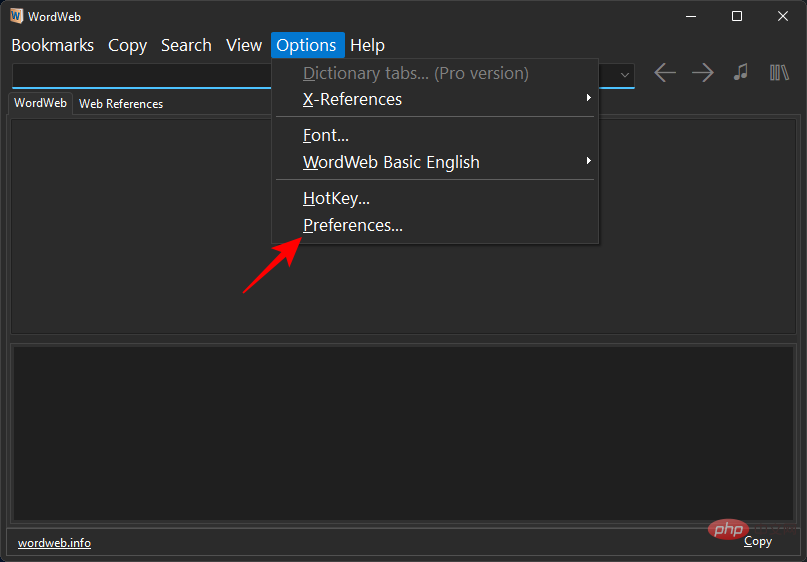
Look for the "General" settings or preferences in the application you want to run on startup. Then look for an option similar to "Run at startup" or "Run when the computer starts." If available, make sure it's enabled and OK or Save your settings.
If your app does not have such an option, please use other methods.
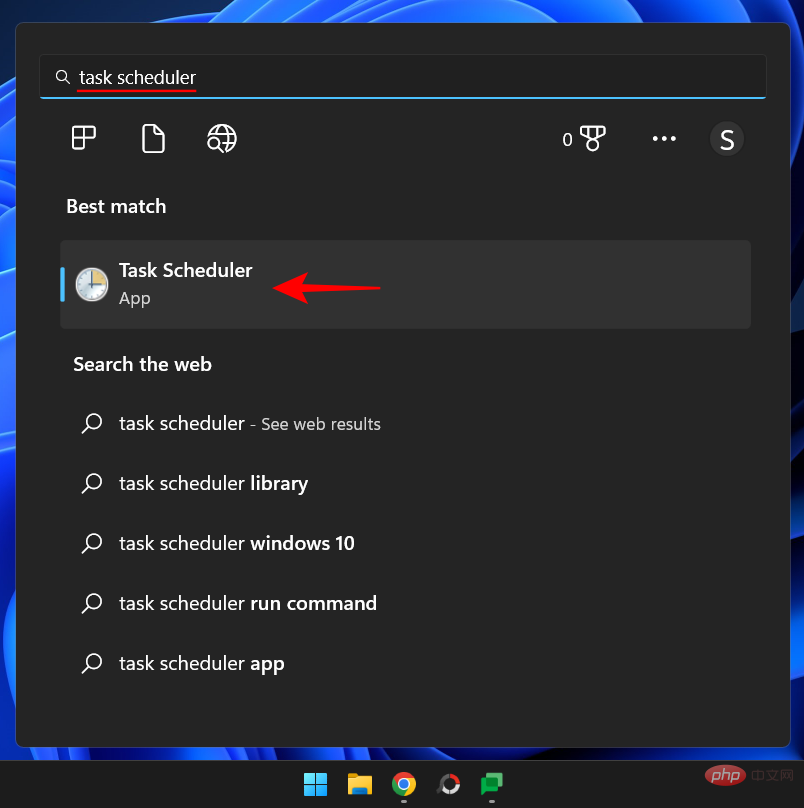
Method 6: Using Task Scheduler
The Task Scheduler application can be used to automate various actions based on a predefined schedule, such as running applications on startup. Here's how:
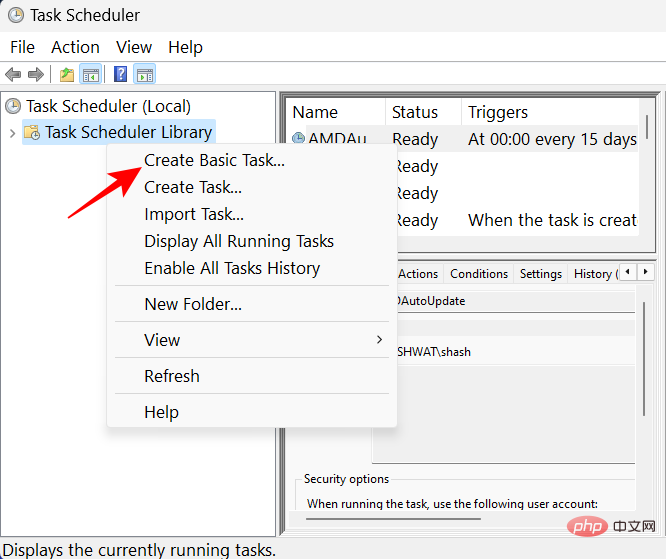
Press Start, type task scheduler, and then press Enter.
Then right-click Task Scheduler Library in the left pane and select Create Basic Task…
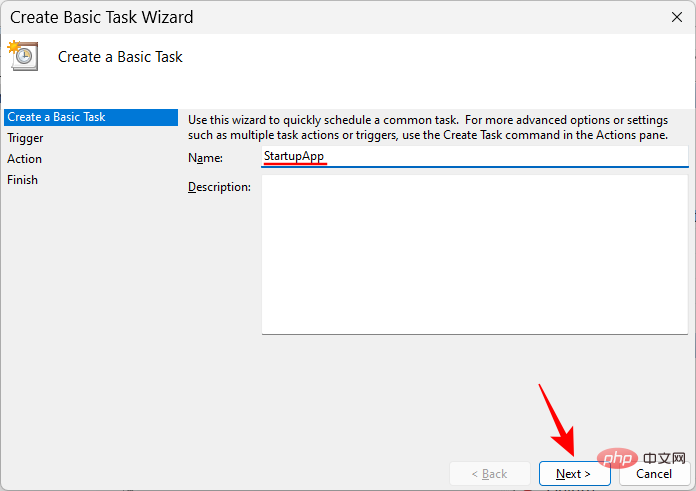
Name the task and click Next.
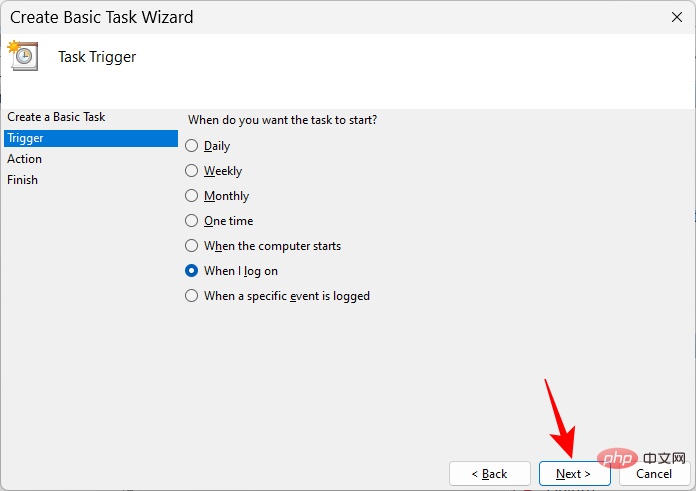
Select When I Sign In.

Then click "Next".
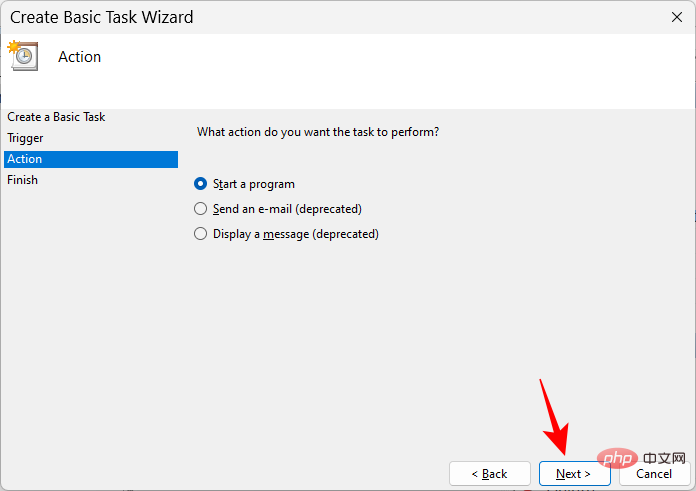
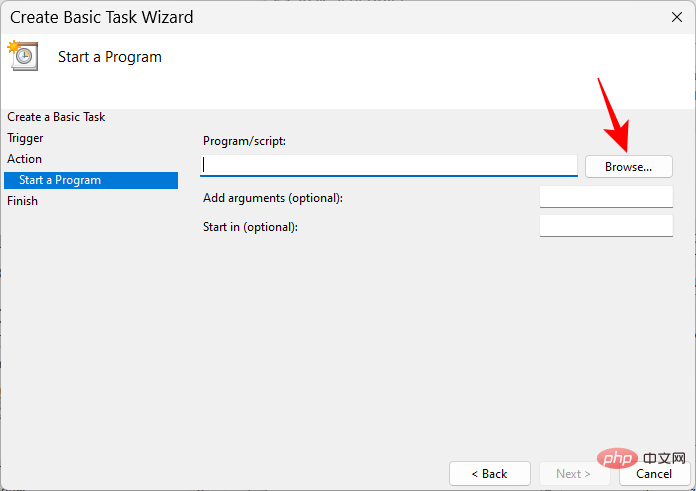
Select "Start the program" and click "Next".
Click Browse.
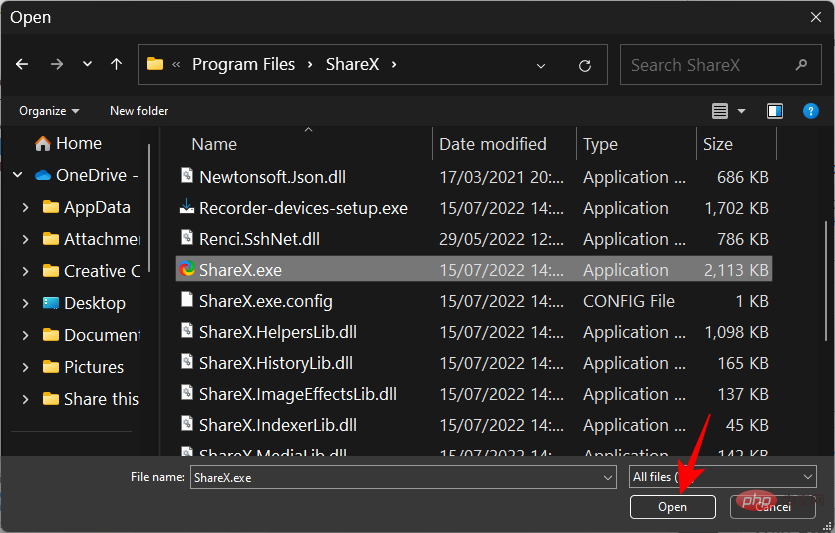
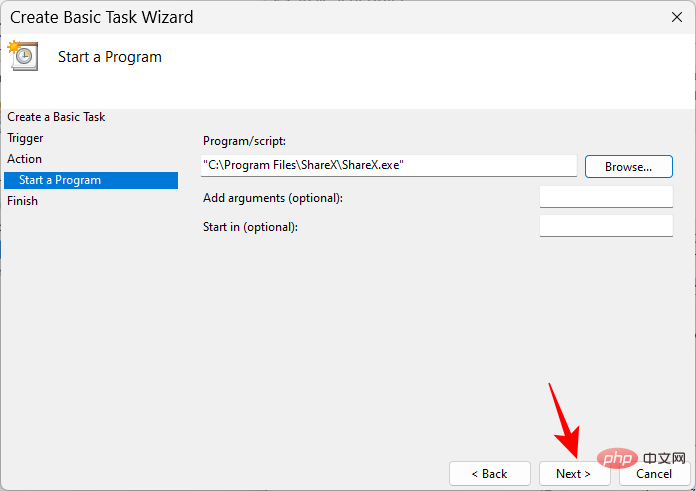
Navigate to the application's executable file, select it, and click Open.
Then click "Next".
Check your configuration and click Finish.
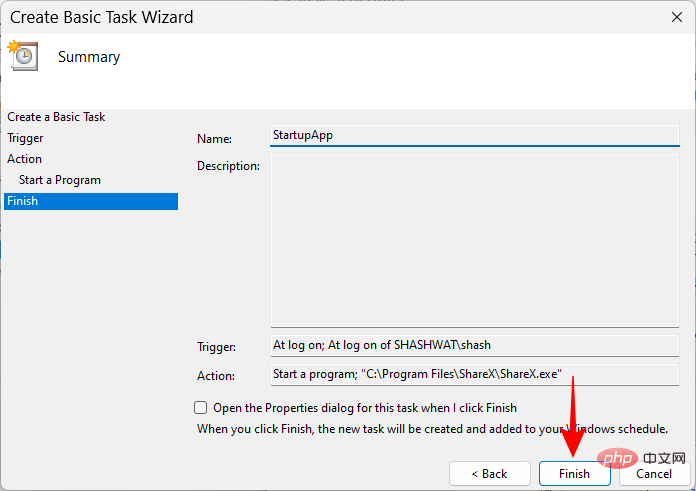
Your application will now be up and running on the next boot.
Method 7: Use the Registry Editor
The Registry Editor provides another way to add a program to startup. These steps vary slightly depending on whether you add them for a single user or for all users.
For the current user
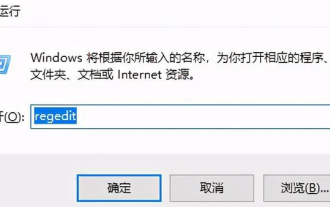
Click the Start button on the taskbar or press the Windows key on the keyboard.
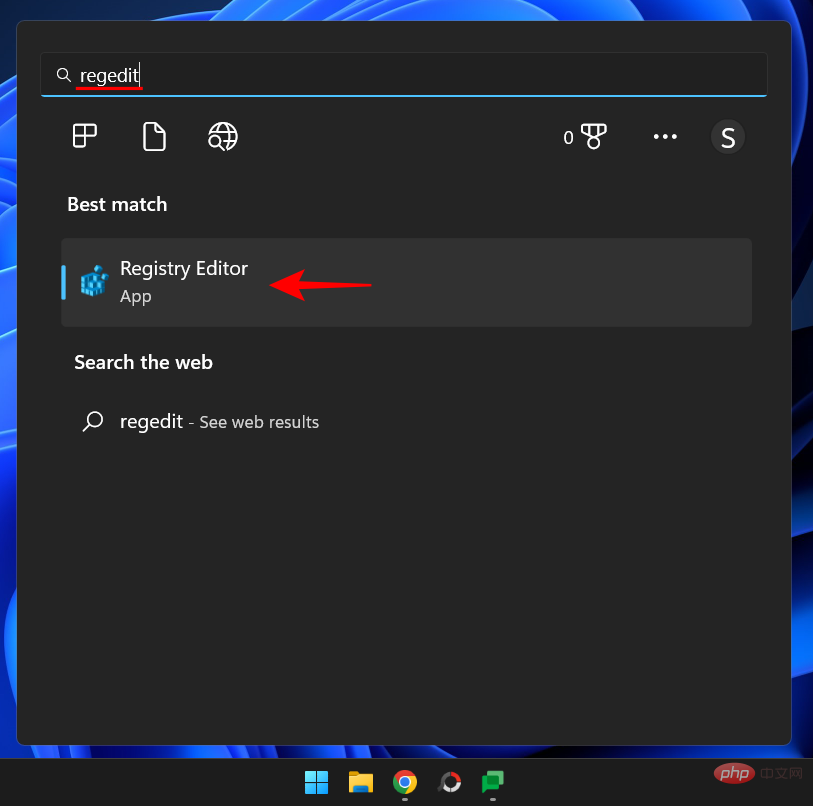
Type regedit and press Enter.
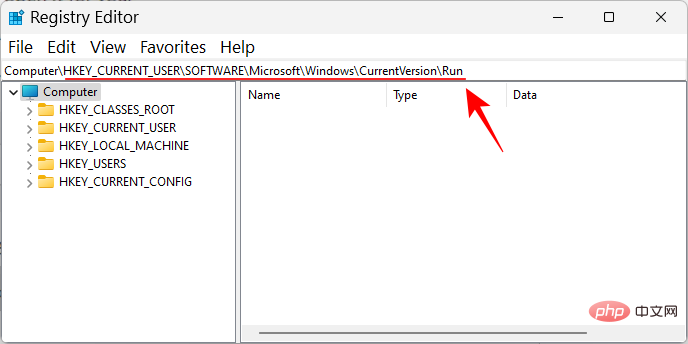
Navigate to the following address:
HKEY_CURRENT_USER\Software\Microsoft\Windows\CurrentVersion\Run
Or , copy the above and paste it into the address bar of Registry Editor.
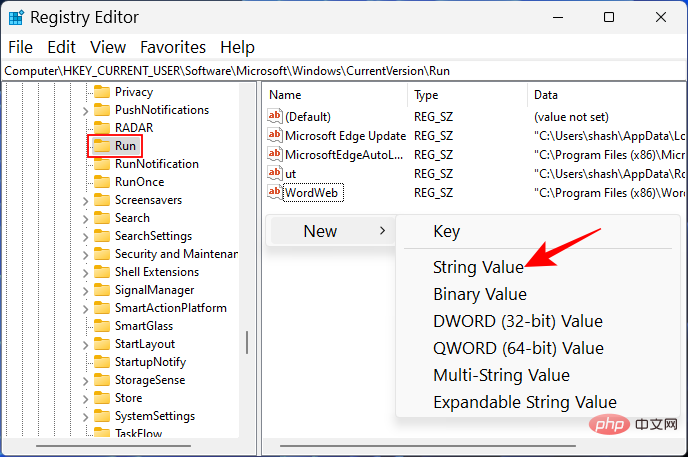
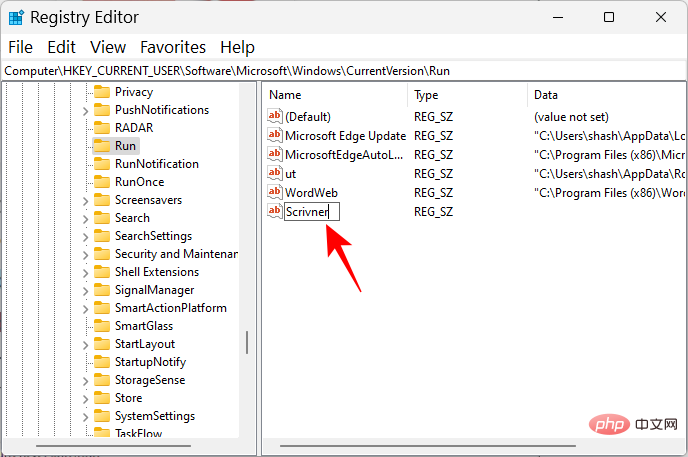
Then click Enter. Select Run in the left pane, right-click the empty space on the right, select New, and then select String Value.
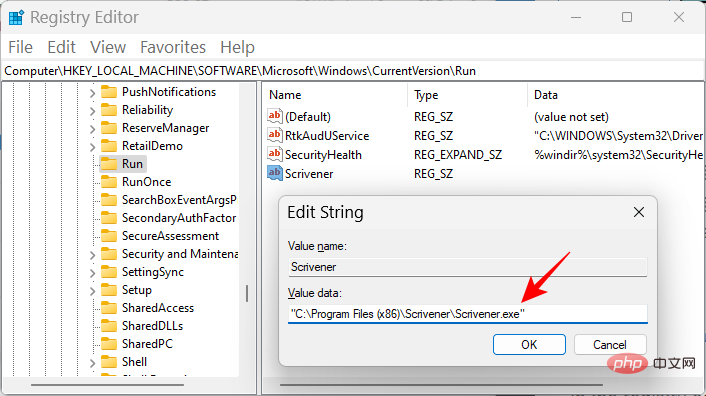
Give this string a name and double-click to modify it.
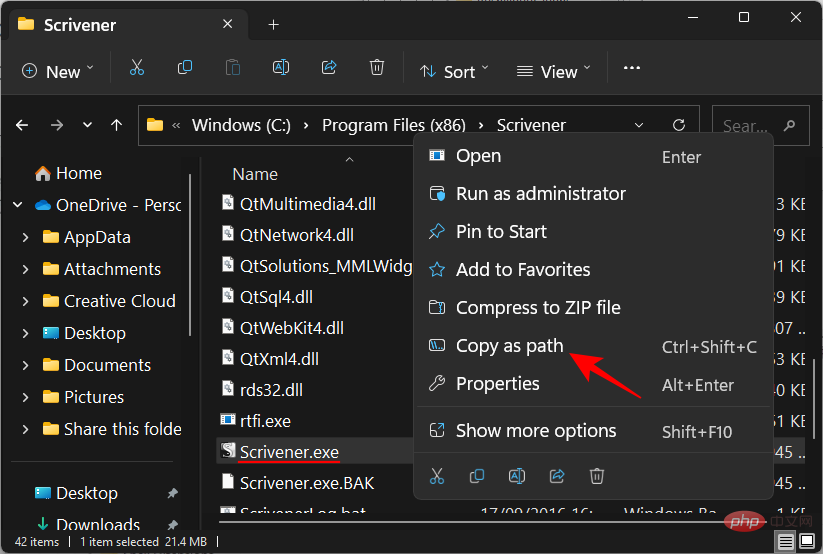
#In the Value Data field we will add the path to the application file. For convenience, navigate to the application file in File Explorer, right-click it and select Copy as path.
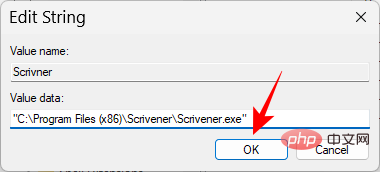
Then paste it into the value field.
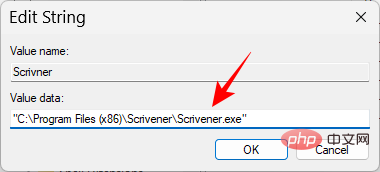
Click OK.
#The next time you reboot and log in, your newly added application will start automatically.
For All Users
If you want an application to start on startup for all users on your system, the location where you need to create the string value is different.
In the Registry Editor, navigate to the following address:
HKEY_LOCAL_MACHINE\SOFTWARE\Microsoft\Windows\CurrentVersion\Run
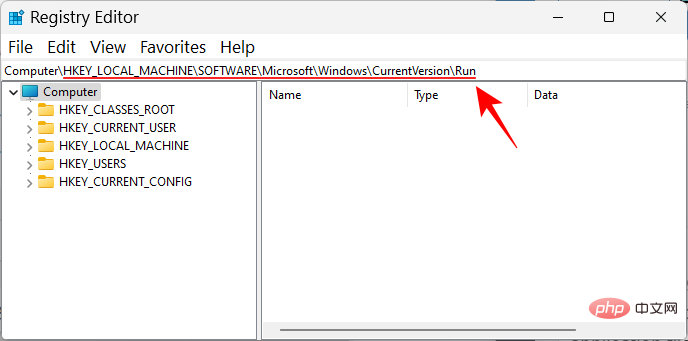
Now, as before, right-click on the right side and select New and String Value.
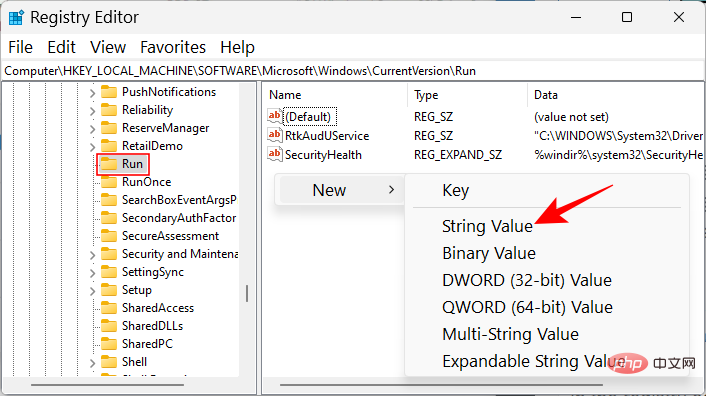
Give the string value a name, enter the application’s file location and save.
Method 8: Enable startup applications in Task Manager
Task Manager also allows you to enable certain applications. Here's how to do it:
Right-click on the taskbar and select Task Manager.
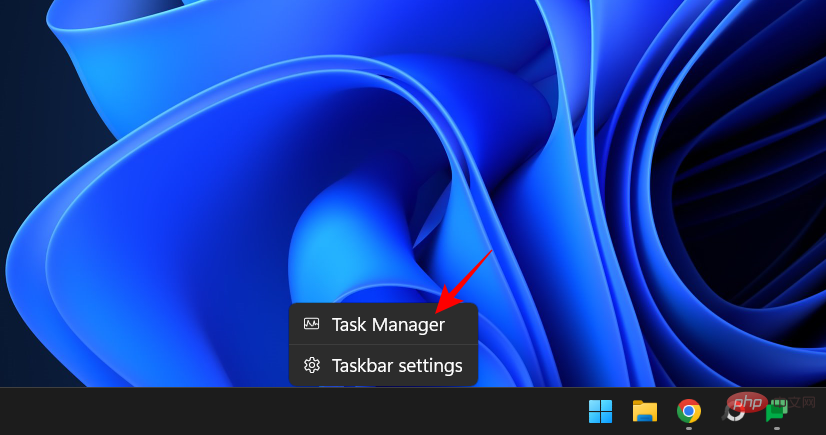
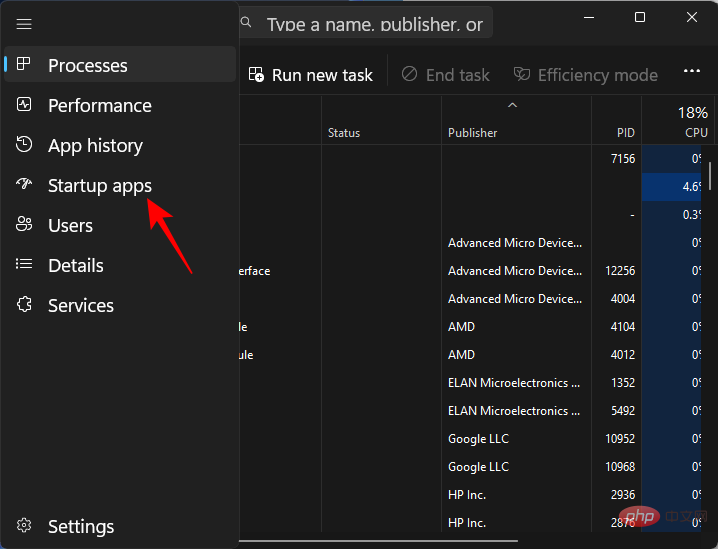
Or press Ctrl Shift Esc and open Task Manager. Click the hamburger icon in the upper left corner.
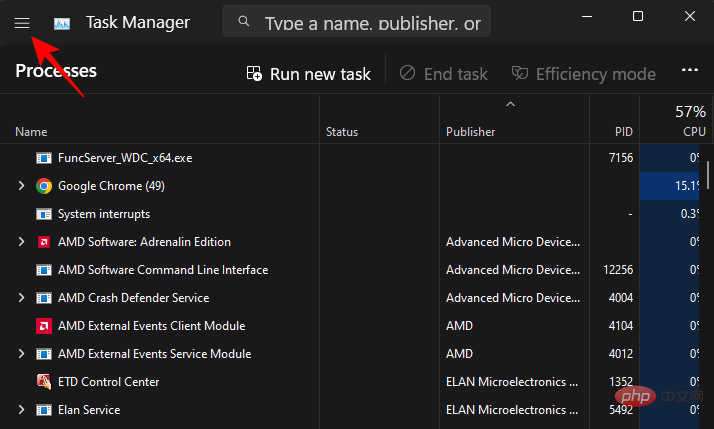
Select Launch Application.
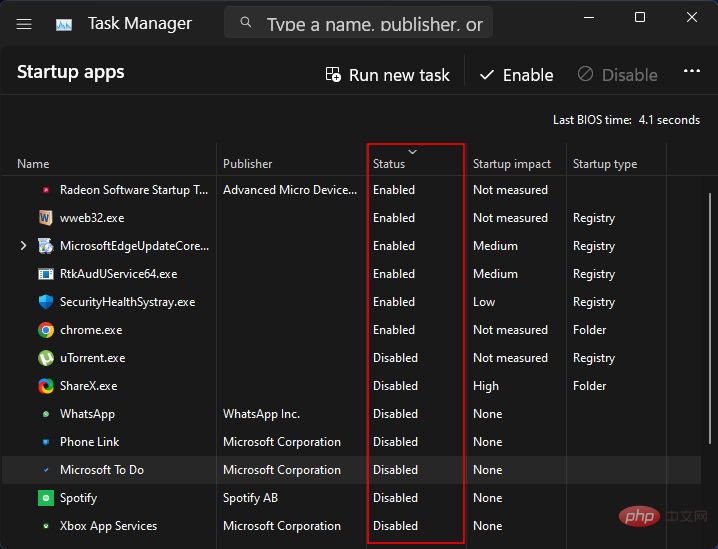
Here you will find a list of apps, the same as in the Settings app (shown in Method 1), which you can enable or disable app. Check their current status under "Status".
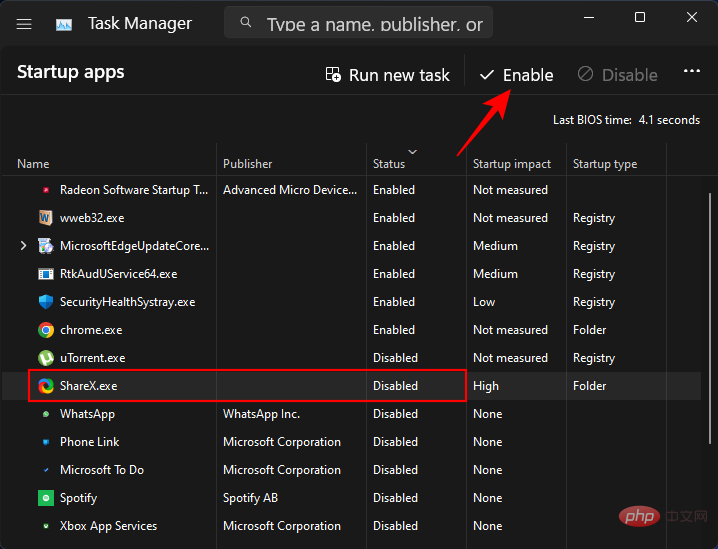
To make the application run on startup, simply select it and click Enable at the top.
Method 9: Use third-party application management to launch the application (Sysinternals Autorun)
In addition to the native solution, you also Check out programs that are built specifically for managing startup applications, especially if you have to manage startup applications and services on a regular basis. Microsoft's Autorun tool is a good choice.
But it only allows you to manage applications that are already set to launch at login, not add any new ones. However, it can help in multiple ways and make managing the program a one or two click affair. Download and run the application using the link given above.
Please note that this application is an advanced tool that will show you information about everything set to run at startup, including important services and registry keys, we have no business intervening . Therefore, if you don't understand the purpose of a particular entry, it's best to leave it alone.
Under the Everything tab you'll find a lot of stuff, from discrete programs to background services and tasks that trigger other tasks.

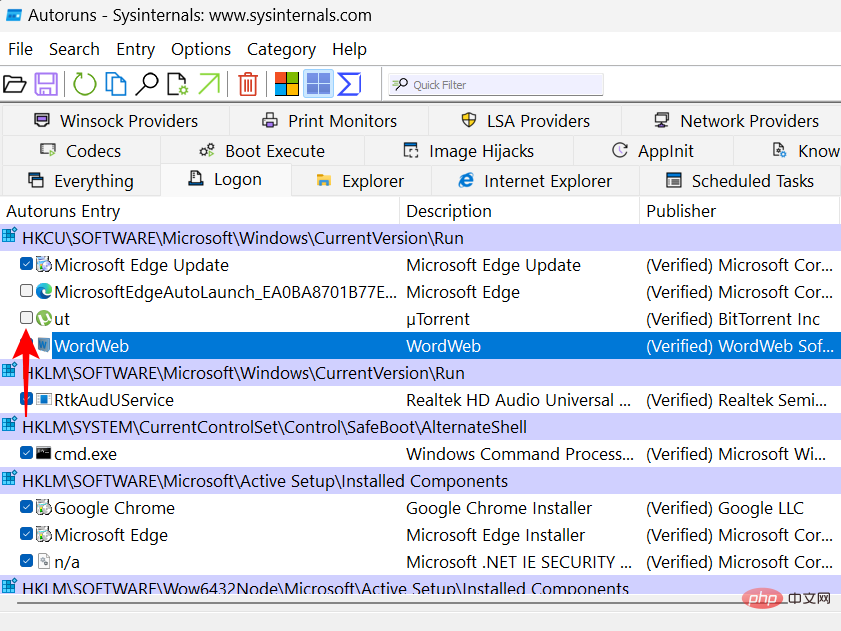
However, we only need to deal with the login part. Click on it to switch to it.
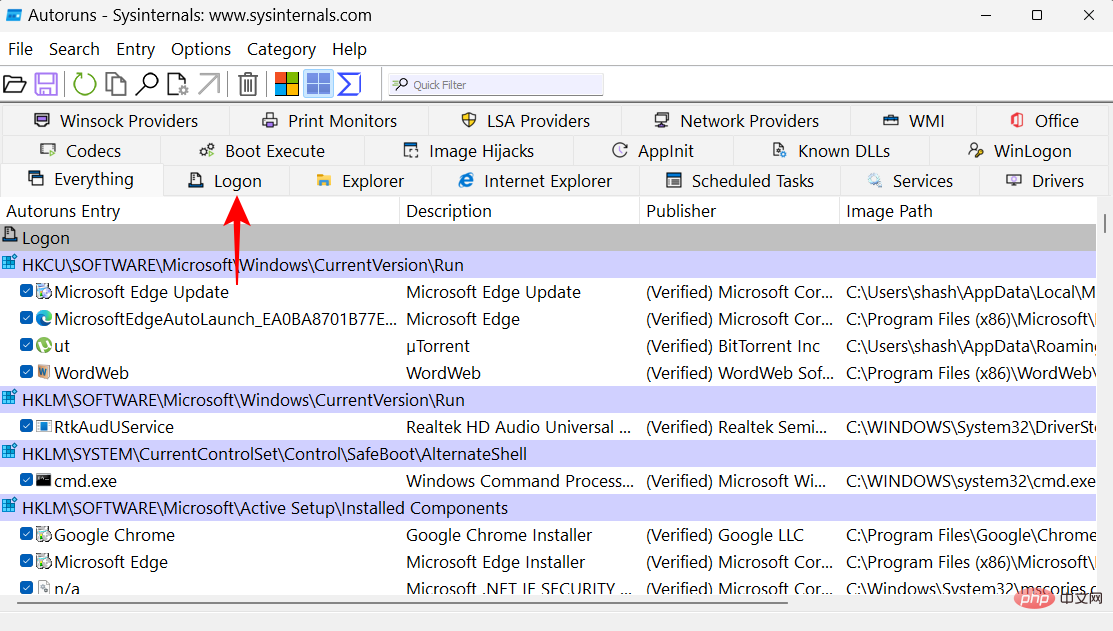
Here, all you have to do is tick Enable or disable startup programs.
How to find and open the Startup folder in Windows 11
Let’s see where the Startup folder is located in Windows 11. There are two separate startup folders - one for the current user (your username) and one common to all users on your system.
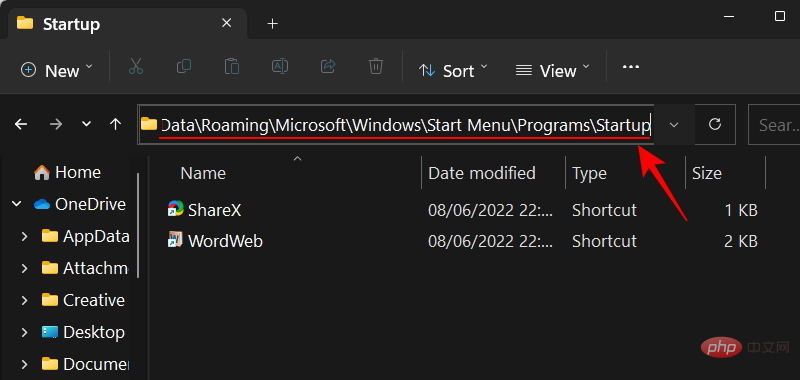
1. For the current user
The current user’s location is as follows:
C:\Users\(username)\AppData\Roaming\Microsoft\Windows\Start Menu\Programs\Startup
To access it, you can simply open File Explorer by pressing Win E and navigate to the folder. Or you can copy the address given above and paste it into the address bar of File Explorer and press Enter.
A faster way is to simply use a direct shell command. To do this, press Win R to open the run box. Then enter:
shell:startup

and click Enter. Look! You have reached the user's startup folder.
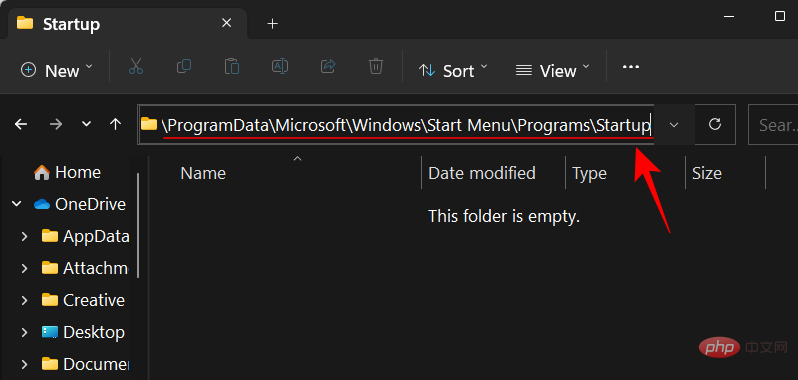
2. For all users
The location of the public startup folder is as follows:
C:\ProgramData\Microsoft\Windows\Start Menu\Programs\Startup
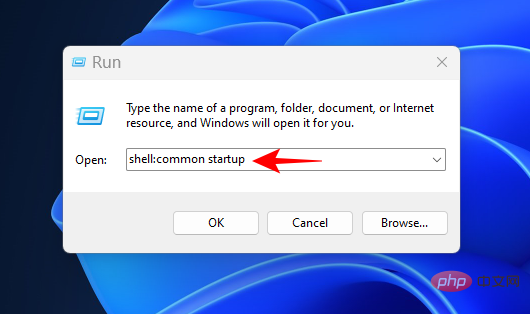
And the same shell command is:
shell:common startup
NOTE: If you use File Explorer to access the startup folder, you must set File Explorer's view options to Show "Hidden Items" in order to access certain hidden items in the file path location folder.
FAQ
Let’s take a look at a few frequently asked questions about adding programs to startup on Windows 11.
Why can’t my installed application be found in the startup list?
The launch list in the Settings app does not show all installed apps on your computer. If you want to add a program to startup that is not in the startup list, you must use another, equally simple method. See our tutorial above for more information.
Where is the Windows 11 startup folder located?
Windows has two startup folders - one for the current user and one for all users. Here are their locations:
User startup folder: C:\Users\(username)\AppData\Roaming\Microsoft\Windows\Start Menu\Programs\Startup
All user startup folders: C:\ProgramData\Microsoft\Windows\Start Menu\Programs\Startup
How to access the startup folder using commands?
The fastest way to access the startup folder is to use the RUN command. Win RUse the shortcut to open the Run box. Then type shell:startup for your startup folder, or type shell:common startup for the common startup folder and press Enter.
The above is the detailed content of Add a launcher on Windows 11: A step-by-step tutorial. For more information, please follow other related articles on the PHP Chinese website!

Hot AI Tools

Undresser.AI Undress
AI-powered app for creating realistic nude photos

AI Clothes Remover
Online AI tool for removing clothes from photos.

Undress AI Tool
Undress images for free

Clothoff.io
AI clothes remover

AI Hentai Generator
Generate AI Hentai for free.

Hot Article
Hot Tools

Notepad++7.3.1
Easy-to-use and free code editor

SublimeText3 Chinese version
Chinese version, very easy to use

Zend Studio 13.0.1
Powerful PHP integrated development environment

Dreamweaver CS6
Visual web development tools

SublimeText3 Mac version
God-level code editing software (SublimeText3)
Hot Topics


 What software is bonjour and can it be uninstalled?
Feb 20, 2024 am 09:33 AM
What software is bonjour and can it be uninstalled?
Feb 20, 2024 am 09:33 AM
Title: Explore the Bonjour software and how to uninstall it Abstract: This article will introduce the functions, scope of use and how to uninstall the Bonjour software. At the same time, it will also be explained how to use other tools to replace Bonjour to meet the needs of users. Introduction: Bonjour is a common software in the field of computer and network technology. Although this may be unfamiliar to some users, it can be very useful in some specific situations. If you happen to have Bonjour software installed but now want to uninstall it, then
 What to do if WPS Office cannot open the PPT file - What to do if WPS Office cannot open the PPT file
Mar 04, 2024 am 11:40 AM
What to do if WPS Office cannot open the PPT file - What to do if WPS Office cannot open the PPT file
Mar 04, 2024 am 11:40 AM
Recently, many friends have asked me what to do if WPSOffice cannot open PPT files. Next, let us learn how to solve the problem of WPSOffice not being able to open PPT files. I hope it can help everyone. 1. First open WPSOffice and enter the homepage, as shown in the figure below. 2. Then enter the keyword "document repair" in the search bar above, and then click to open the document repair tool, as shown in the figure below. 3. Then import the PPT file for repair, as shown in the figure below.
 What software is crystaldiskmark? -How to use crystaldiskmark?
Mar 18, 2024 pm 02:58 PM
What software is crystaldiskmark? -How to use crystaldiskmark?
Mar 18, 2024 pm 02:58 PM
CrystalDiskMark is a small HDD benchmark tool for hard drives that quickly measures sequential and random read/write speeds. Next, let the editor introduce CrystalDiskMark to you and how to use crystaldiskmark~ 1. Introduction to CrystalDiskMark CrystalDiskMark is a widely used disk performance testing tool used to evaluate the read and write speed and performance of mechanical hard drives and solid-state drives (SSD). Random I/O performance. It is a free Windows application and provides a user-friendly interface and various test modes to evaluate different aspects of hard drive performance and is widely used in hardware reviews
![Corsair iCUE software not detecting RAM [Fixed]](https://img.php.cn/upload/article/000/465/014/170831448976874.png?x-oss-process=image/resize,m_fill,h_207,w_330) Corsair iCUE software not detecting RAM [Fixed]
Feb 19, 2024 am 11:48 AM
Corsair iCUE software not detecting RAM [Fixed]
Feb 19, 2024 am 11:48 AM
This article will explore what users can do when the CorsairiCUE software does not recognize the RAM in a Windows system. Although the CorsairiCUE software is designed to let users control their computer's RGB lighting, some users have found that the software does not function properly, resulting in an inability to detect RAM modules. Why doesn't ICUE pick up my memory? The main reason why ICUE cannot correctly identify RAM is usually related to background software conflicts. In addition, incorrect SPD write settings may also cause this problem. Fixed issue with CorsairIcue software not detecting RAM If CorsairIcue software is not detecting RAM on your Windows computer, please use the following suggestions.
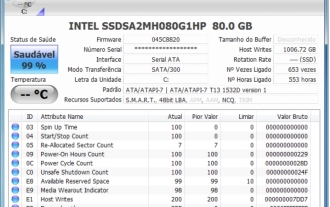 CrystalDiskinfo usage tutorial-What software is CrystalDiskinfo?
Mar 18, 2024 pm 04:50 PM
CrystalDiskinfo usage tutorial-What software is CrystalDiskinfo?
Mar 18, 2024 pm 04:50 PM
CrystalDiskInfo is a software used to check computer hardware devices. In this software, we can check our own computer hardware, such as reading speed, transmission mode, interface, etc.! So in addition to these functions, how to use CrystalDiskInfo and what exactly is CrystalDiskInfo? Let me sort it out for you! 1. The Origin of CrystalDiskInfo As one of the three major components of a computer host, a solid-state drive is the storage medium of a computer and is responsible for computer data storage. A good solid-state drive can speed up file reading and affect consumer experience. When consumers receive new devices, they can use third-party software or other SSDs to
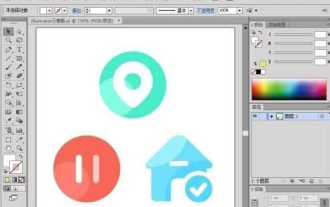 How to set the keyboard increment in Adobe Illustrator CS6 - How to set the keyboard increment in Adobe Illustrator CS6
Mar 04, 2024 pm 06:04 PM
How to set the keyboard increment in Adobe Illustrator CS6 - How to set the keyboard increment in Adobe Illustrator CS6
Mar 04, 2024 pm 06:04 PM
Many users are using the Adobe Illustrator CS6 software in their offices, so do you know how to set the keyboard increment in Adobe Illustrator CS6? Then, the editor will bring you the method of setting the keyboard increment in Adobe Illustrator CS6. Interested users can take a look below. Step 1: Start Adobe Illustrator CS6 software, as shown in the figure below. Step 2: In the menu bar, click the [Edit] → [Preferences] → [General] command in sequence. Step 3: The [Keyboard Increment] dialog box pops up, enter the required number in the [Keyboard Increment] text box, and finally click the [OK] button. Step 4: Use the shortcut key [Ctrl]
 What kind of software is bonjour? Is it useful?
Feb 22, 2024 pm 08:39 PM
What kind of software is bonjour? Is it useful?
Feb 22, 2024 pm 08:39 PM
Bonjour is a network protocol and software launched by Apple for discovering and configuring network services within a local area network. Its main role is to automatically discover and communicate between devices connected in the same network. Bonjour was first introduced in the MacOSX10.2 version in 2002, and is now installed and enabled by default in Apple's operating system. Since then, Apple has opened up Bonjour's technology to other manufacturers, so many other operating systems and devices can also support Bonjour.
 How to resolve an incompatible software attempt to load with Edge?
Mar 15, 2024 pm 01:34 PM
How to resolve an incompatible software attempt to load with Edge?
Mar 15, 2024 pm 01:34 PM
When we use the Edge browser, sometimes incompatible software attempts to be loaded together, so what is going on? Let this site carefully introduce to users how to solve the problem of trying to load incompatible software with Edge. How to solve an incompatible software trying to load with Edge Solution 1: Search IE in the start menu and access it directly with IE. Solution 2: Note: Modifying the registry may cause system failure, so operate with caution. Modify registry parameters. 1. Enter regedit during operation. 2. Find the path\HKEY_LOCAL_MACHINE\SOFTWARE\Policies\Micros