
There are a few things you should be familiar with before enabling Advanced Data Protection on your iPhone. Use the following sections to familiarize yourself with the requirements, then use the following sections to enable Advanced Data Protection on your iPhone.
Note: This feature It is also currently available for iOS 16.2 beta users and will begin rolling out to users worldwide in early 2023.
As long as you meet the above requirements, here’s how you can enable Advanced Data Protection on your iPhone.
Open the “Settings” app on your iPhone.

Tap Apple ID at the top of the screen.
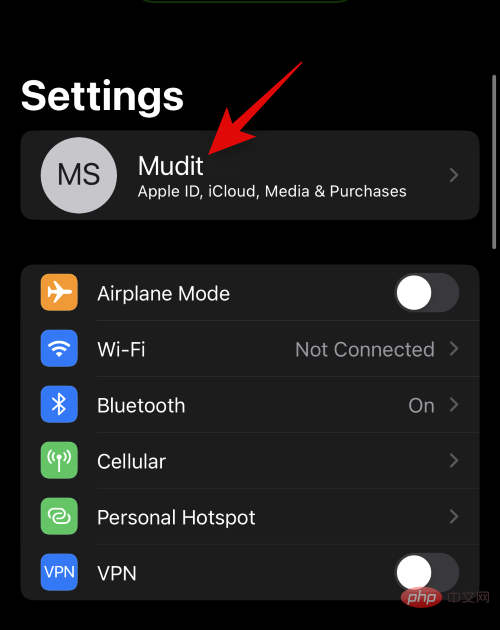
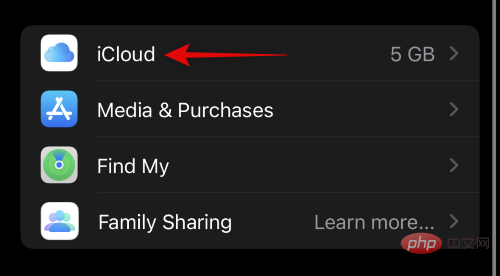
Now click and select iCloud.
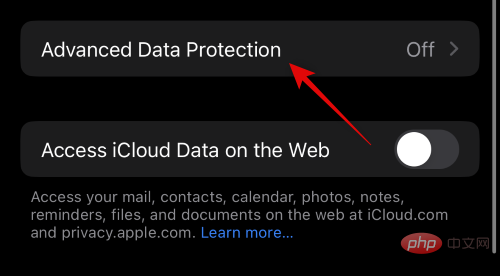
Scroll to the bottom and click Advanced Data Protection.
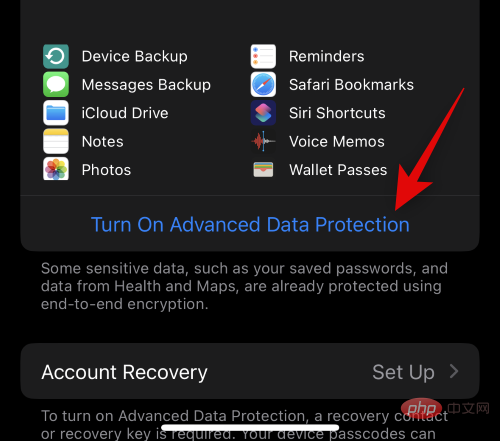
#Now view the data that will be end-to-end encrypted from the list on the screen.
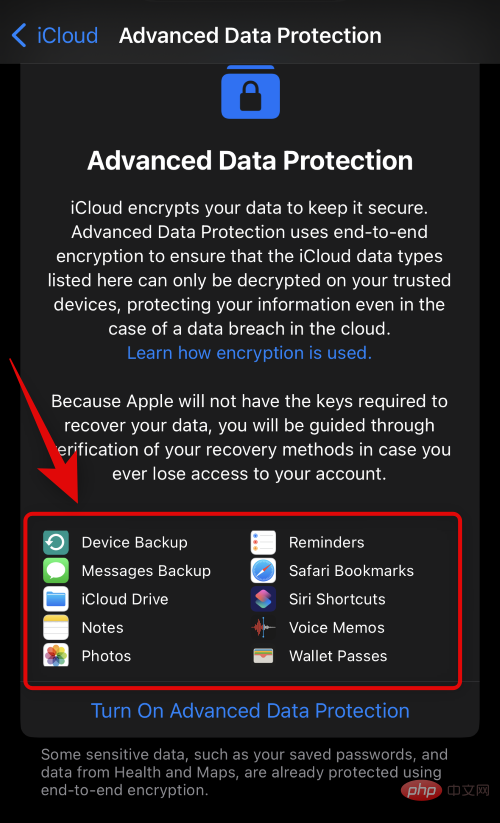
Click and select Turn on Advanced Data Protection.
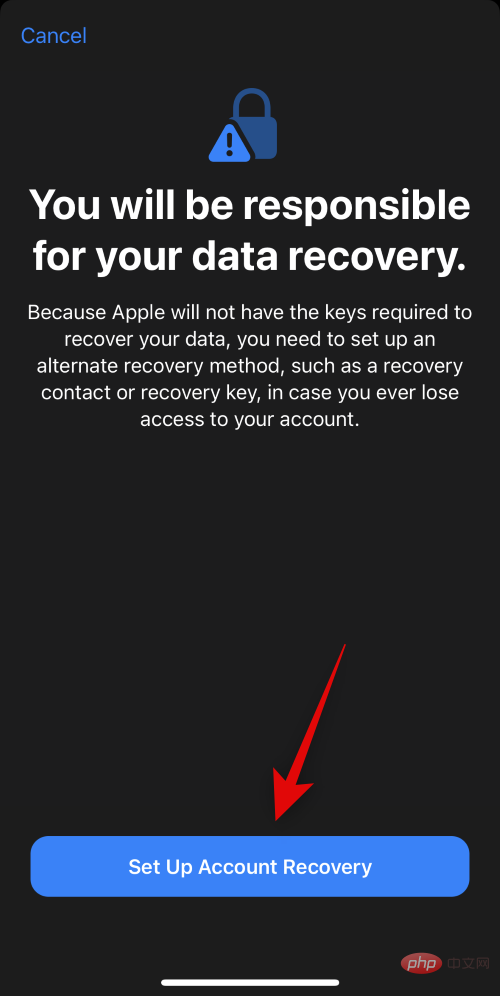
#You will now be notified and you will be responsible for recovering your data as the decryption key will be stored on a trusted device associated with your Apple ID. This means you will have to create a backup recovery method to restore your data in the future. This can be done by setting up a recovery contact or recovery key. Click Set up account recovery to continue the process.
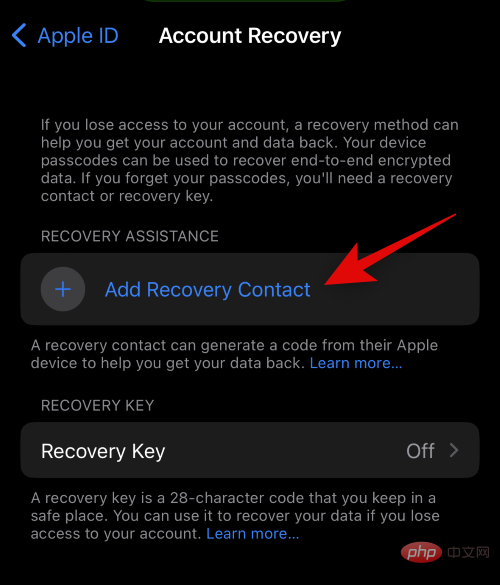
If you want to use recovery contacts, please click to add recovery contacts.
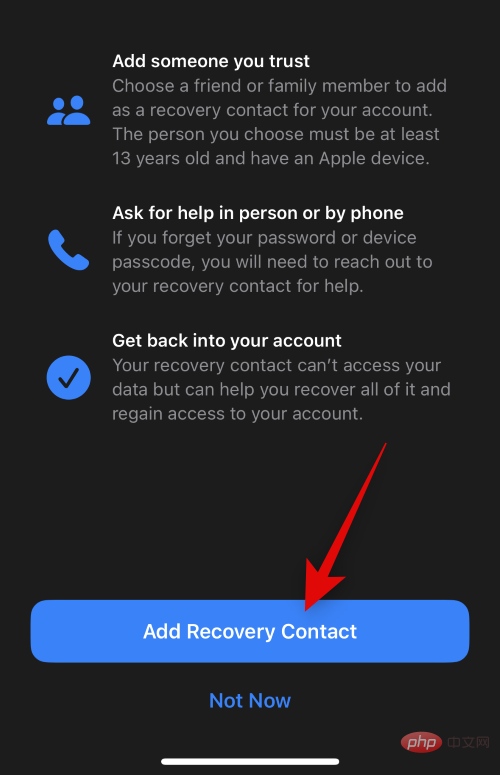
#You will now be informed of how the restoration of contact process will proceed. It is recommended that you add people you trust who can contact you in the future if you lose access to your account. Additionally, the selected people won't be able to access your iCloud data or log in to your account. Once you're familiar with these suggestions, click Add Recovery Contact.
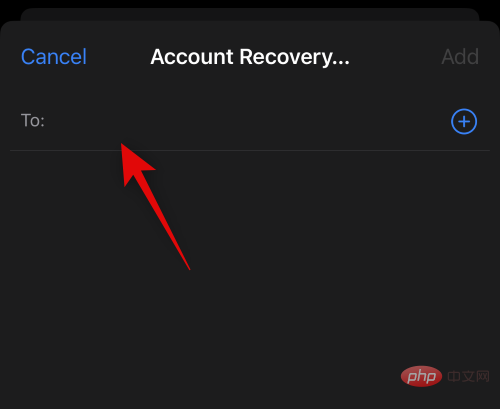
#Enter the person’s contact information at the top.
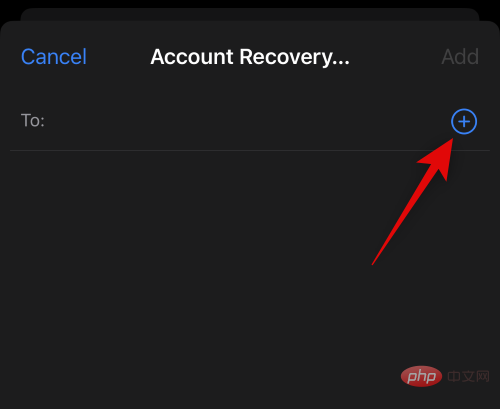
You can also click and select the desired contact from your contact list.
Click Add in the upper right corner.
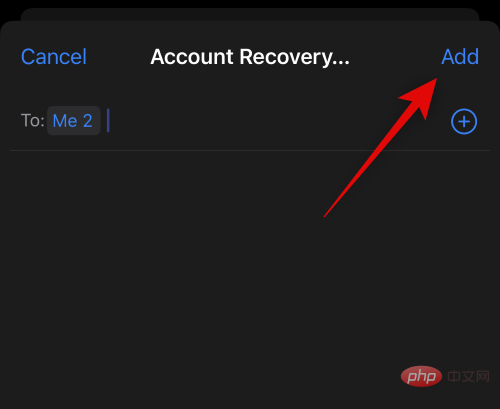
#A request will now be sent to the selected person to be set as your recovery contact. Once they accept your request, they will be added as a recovery contact and you can contact them to regain access to your account if needed in the future.
Another recovery method you can use is a recovery key. Click Recovery Key to get started.
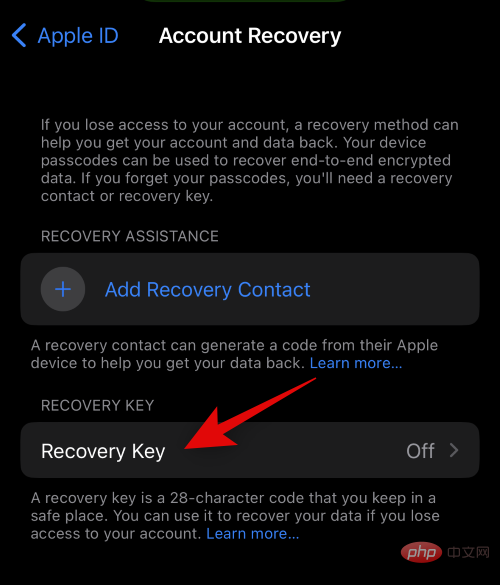
Click and turn on the Recovery Key switch at the top.
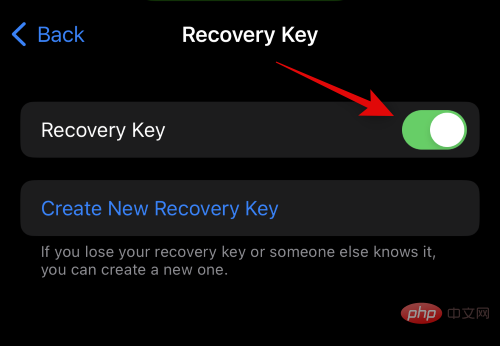
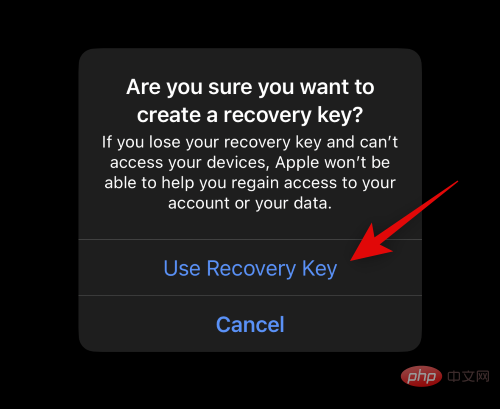
Click Use Recovery Key to confirm your choice.
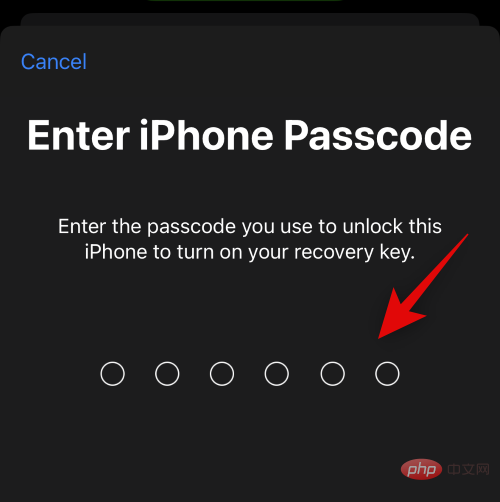
You will now be asked to enter your iPhone’s passcode to confirm your identity. Enter your password when prompted.
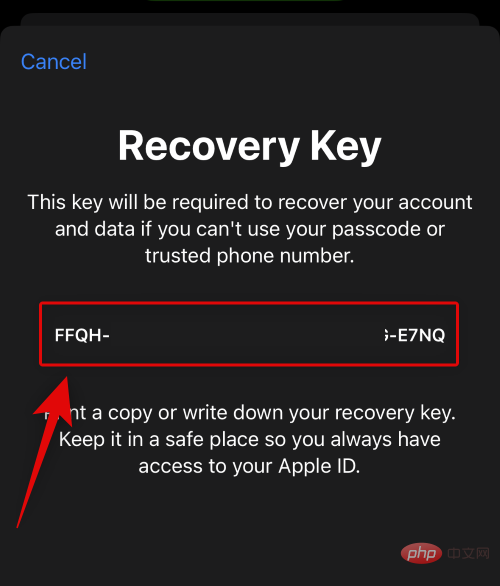
The recovery key will now be generated and displayed on your screen. Print an identical copy or keep it in a safe place so you can use the same copy to restore your account in the future.
After completion, click Continue .

You will now be asked to verify the recovery key. Enter the recovery key you wrote down in a safe location in the previous step.
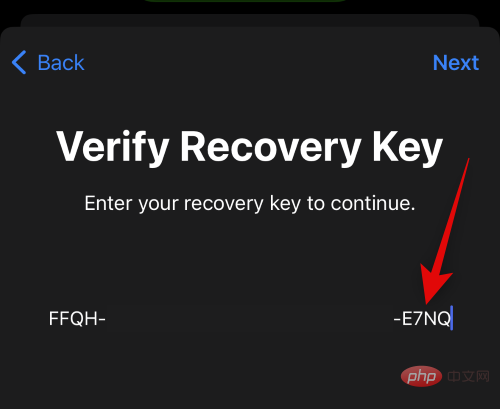
After completion, click Next step .
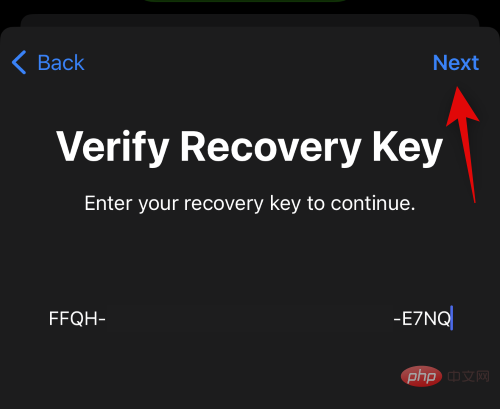
Your recovery key will now be verified and activated for your new account. That's it! You will now enable Advanced Data Protection for your iCloud account and will also set your preferred recovery method.
If you want to disable Advanced Data Protection and delete your recovery methods, then you can do this on iPhone.
Open Settings application.

Tap Apple ID at the top of the screen.

Click and select iCloud.

Now scroll down and click on Advanced Data Protection.

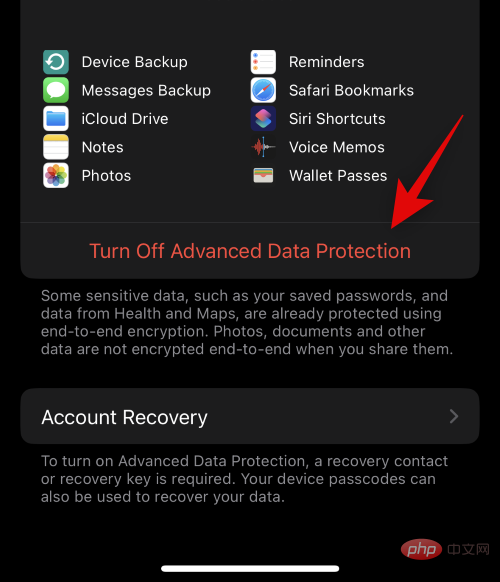
Click Turn off Advanced Data Protection.
Click Close to confirm your choice.
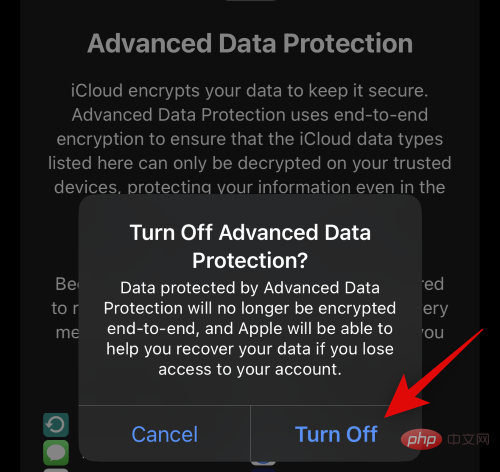
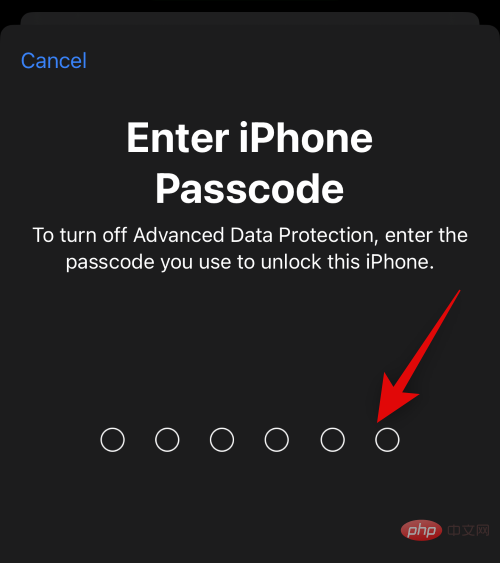
#When prompted, enter your iPhone passcode to confirm your identity.
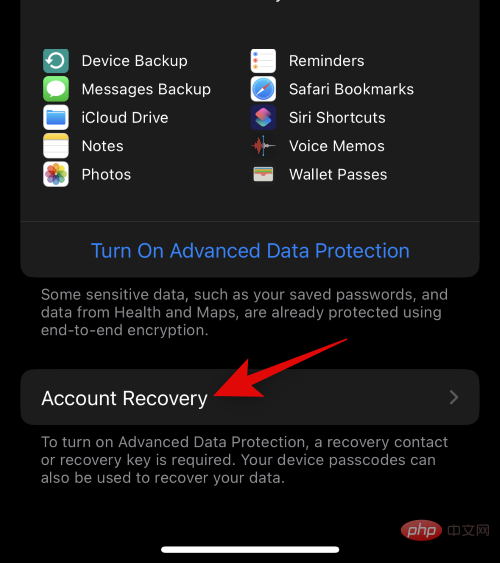
Advanced Data Protection will now be turned off for your iCloud account. Click Account Recovery at the bottom to remove your active recovery method.
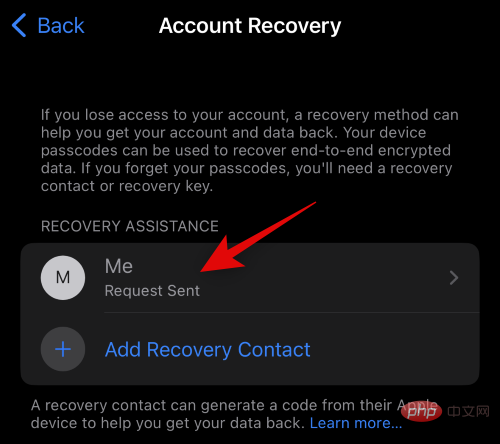
#If you use recovery contacts, click and select your recovery contacts.
Click and select Delete Contact.
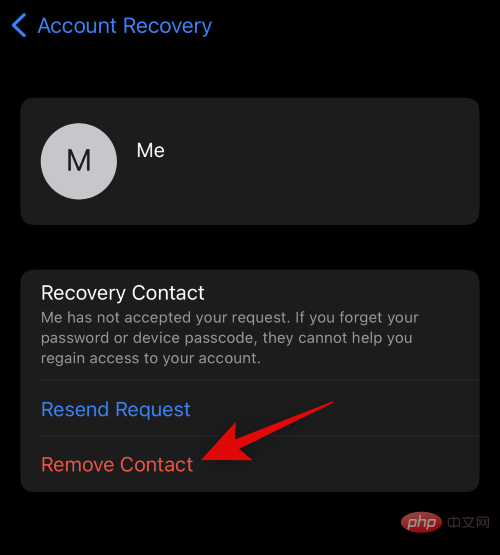
Click Delete Contact to confirm your choice.
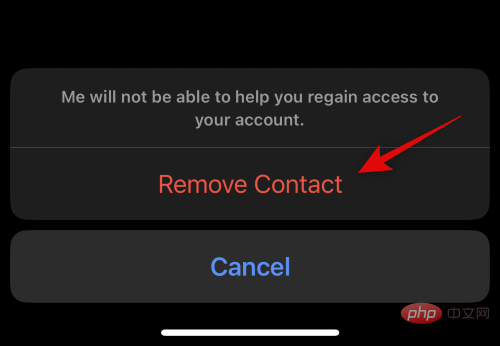
The selected contacts will now be deleted as your recovery contacts. If you have multiple recovery contacts set up for your account, repeat these steps again. If you set up a recovery key for your account, click Recovery Key.

Click and turn off the switch of Recovery Key.

Click Close to confirm your choice.
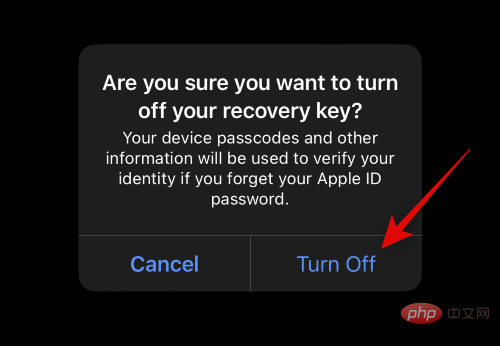
Enter your iPhone passcode to confirm your identity.
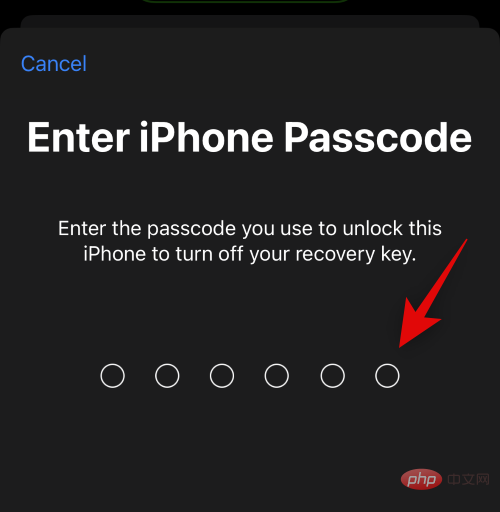
That's it! You will now disable advanced data protection and recovery methods for your iCloud account.
The above is the detailed content of What is iPhone Advanced Data Protection, how to enable it and why. For more information, please follow other related articles on the PHP Chinese website!
 Vue parent component calls the method of child component
 What is digital currency trading
 How to use fusioncharts.js
 length function usage
 Cost-effectiveness analysis of learning python, java and c++
 Representation method of string constant
 mysql transaction isolation level
 How to open .dat files
 how to build a website


