
 Java
javaTutorial
springboot vue front-end and back-end interface test tree node adding function method
Java
javaTutorial
springboot vue front-end and back-end interface test tree node adding function method
springboot vue front-end and back-end interface test tree node adding function method

Test platform development based on springboot vue
1. The append method of the front-end Tree tree control
There is a append method under the elementUI tree control, which can be used To append a child node to a node in the Tree.
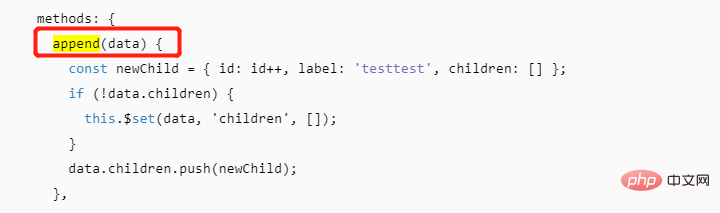
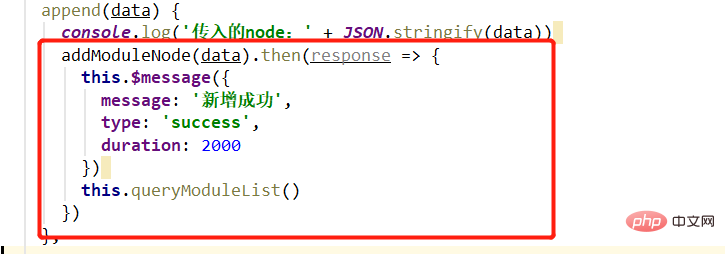
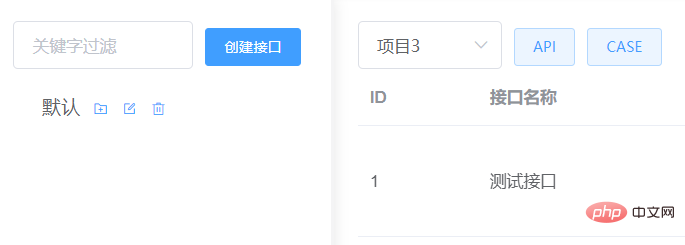
At present, we have completed the interface of the tree list. We can output what is in the incoming data in the append method.
console.log('传入的node:' + JSON.stringify(data))

Click on the top-level default node, F12 to view the console,
You can see:

Formatting it is actually the tree structure of the entire node. Which node is clicked, the data content is all the node data under this node.
But in fact, I only need the data of the currently clicked node. I don’t need to care about the children under this node. However, considering that the amount of data is not large, I just pass it to the backend in its entirety.
2. Back-end implementation of node new interface
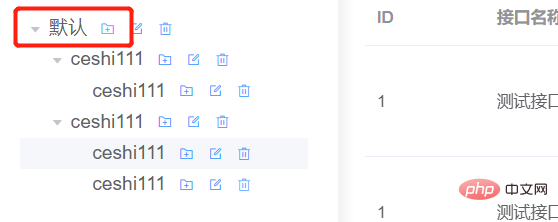
The function I want to implement is to click the add button of which node, which is to add the child node of this node, for example:
Since the front-end can get the data of the current node, the idea of adding a new interface is also there:
Get the data set creation time and creation time of the current node passed by the front-end. The update time set is pos, which is the position order of the newly added child node among the sibling nodes. The level of the child node is set, which is the level of the current node. 1set The parent node of the child node, which is the node of the current incoming interface. idset adds the name of the node, = last insert
1. controller layer
Add the corresponding controller method:
@PostMapping("/add")
  public Result addNode(@RequestBody ApiModule node) {
      try {
          System.out.println(node);
          Long nodeId = apiModuleService.addNode(node);
          return Result.success(nodeId);
      } catch (Exception e) {
          return Result.fail(e.toString());
      }
}2.service layer
Implement addNode method:
public Long addNode(ApiModule node) {
        node.setCreateTime(new Date());
        node.setUpdateTime(new Date());
        double pos = getNextLevelPos(node.getProjectId(), node.getLevel(), node.getId());
        node.setPos(pos);
        node.setLevel(node.getLevel() + 1);
        node.setParentId(node.getId());
        node.setName("ceshi111");
        apiModuleDAO.insert(node);
        return node.getId();
}This is implemented according to the above ideas. SetName is temporarily replaced with a fixed value. First, check whether the new interface can be implemented normally.
Pos processing here is a little more troublesome. This represents the position order of the newly added node, so I extracted it and added a new method to implement getNextLevelPos:
private double getNextLevelPos(Long projectId, int level, Long nodeId) {
      // 查询项目下,同parentId下,所有节点
      QueryWrapper<ApiModule> queryWrapper = new QueryWrapper<>();
      queryWrapper.eq("projectId", projectId)
                  .eq("level", level + 1)
                  .eq("parentId", nodeId)
                  .orderByDesc("pos");
      List<ApiModule> apiModules = apiModuleDAO.selectList(queryWrapper);
      if (!CollectionUtil.isEmpty(apiModules)) {
          // 不为空,获取最新的同级结点 pos 再加 1,作为下一个
          return apiModules.get(0).getPos() + 1;
      } else {
          // 否则就是当前父节点里的第一个子结点,pos 直接为 1
          return 1;
      }
}Under the query item, the same as parentId, all node data, pay attention to the query conditions here.
.eq("level", level 1), the current level 1 is used as the level of the child node.eq("parentId", nodeId), the current node is used as the parent node
Then judge and query it As a result, if the list is not empty, the pos of the latest child node plus 1 is returned as the position of the next child node.
Otherwise, the newly added node is the first child node in the current parent node, and 1 is returned directly as the pos value.
3. Front-end and back-end joint debugging
The front-end writes the interface, and then calls the interface on the page.
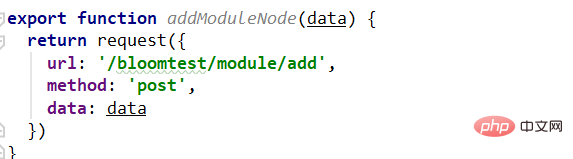
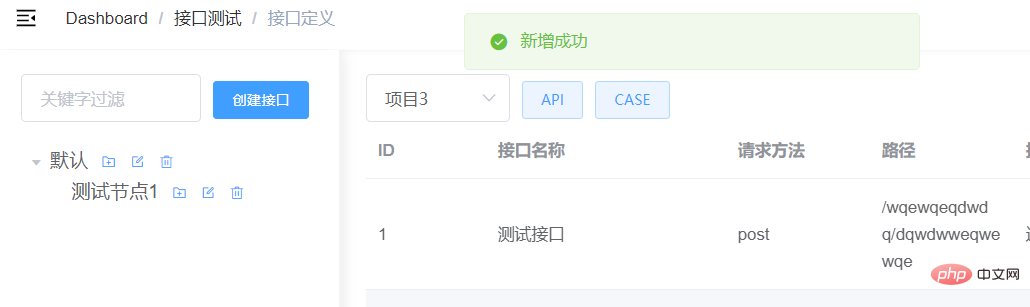
Call the interface, add a success prompt, and then refresh the tree list.
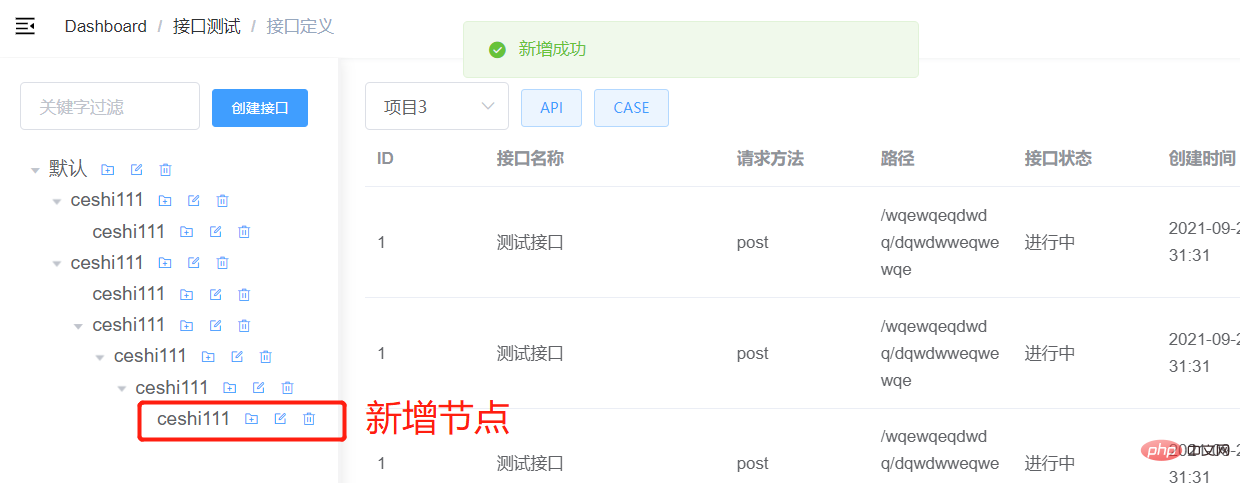
The function is normal. A child node with the fixed name "ceshi111" is added under the corresponding node, and the tree is refreshed to display the latest data.
4. Edit the node name
The above is completed, which proves that there is no big problem with the function. Now we only need to solve the problem of editing the node name. Decided to use dialog box to solve the problem.
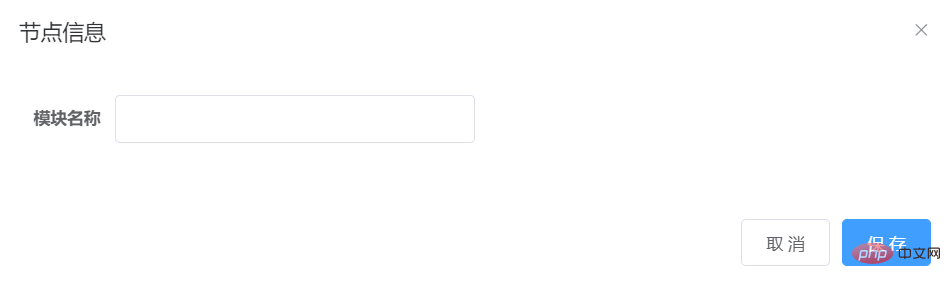
Click the Add button to open the dialog box, where you can enter the node name and save it. This dialog box is also available for editing scenes.
In the project management function, I have already used the dialog box once. I directly copied the relevant code and modified it.
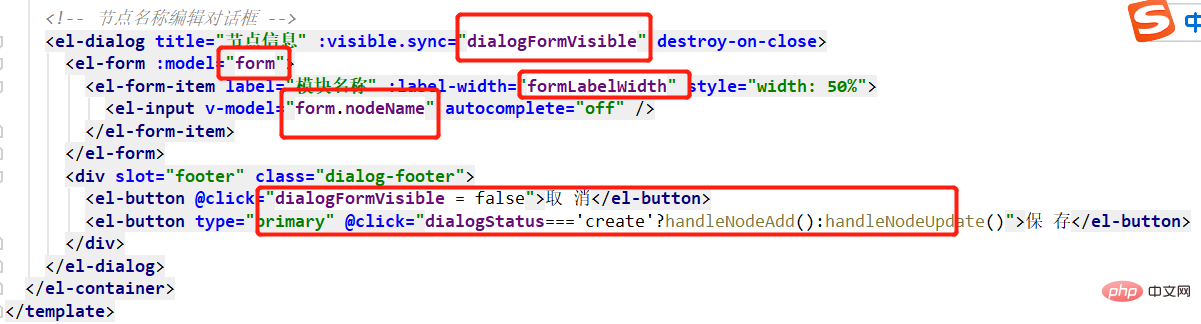
corresponds to return:
There will be 2 buttons in the dialog box: Cancel and Save. When you click the save button, different methods will be called depending on whether it is new or modified.
1. Open the dialog box
Modify the append method, and you need to open the dialog box when you click the new button.
There is another important point, because new nodes need to be passed in data, and now the actual new operation is the handleNodeAdd method. So you need to save the data when opening the dialog box.
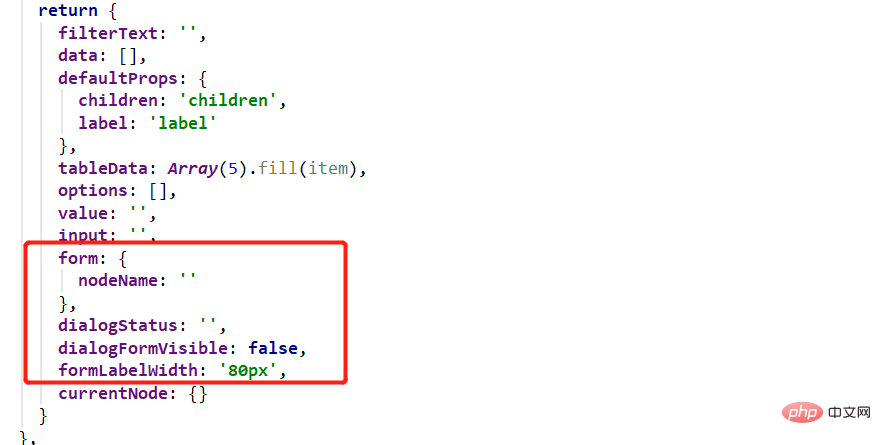
So, create a new field currentNode in return: {}:
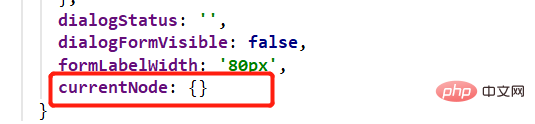
Assign data to currentNode in the append method:
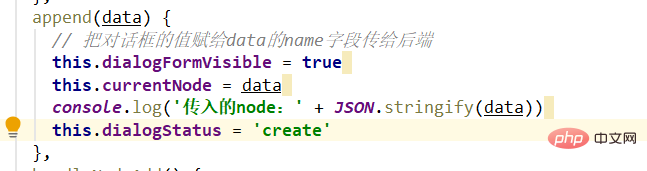
Here this.dialogStatus = 'create' is to display the dialog box.
2. Add a new node
Enter the node name in the dialog box, click Save, and then call the handleNodeAdd method to request the backend interface.
Because the node name passed to the backend is entered by us, so here this.currentNode.name = this.form.nodeName.
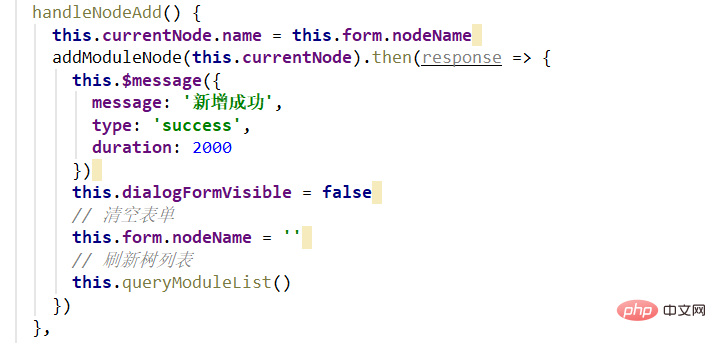
#Give a prompt after the request is successful, and then clear the form to avoid displaying the last content after opening the dialog box.
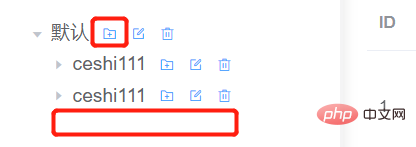
3. Test
To test whether the function is normal, I delete the node under project id=3.
Add a new test node:
Function is normal.
The above is the detailed content of springboot vue front-end and back-end interface test tree node adding function method. For more information, please follow other related articles on the PHP Chinese website!

Hot AI Tools

Undresser.AI Undress
AI-powered app for creating realistic nude photos

AI Clothes Remover
Online AI tool for removing clothes from photos.

Undress AI Tool
Undress images for free

Clothoff.io
AI clothes remover

Video Face Swap
Swap faces in any video effortlessly with our completely free AI face swap tool!

Hot Article
Hot Tools

Notepad++7.3.1
Easy-to-use and free code editor

SublimeText3 Chinese version
Chinese version, very easy to use

Zend Studio 13.0.1
Powerful PHP integrated development environment

Dreamweaver CS6
Visual web development tools

SublimeText3 Mac version
God-level code editing software (SublimeText3)
Hot Topics
 1393
1393
 52
1207
24
52
1207
24

 How to use bootstrap in vue
Apr 07, 2025 pm 11:33 PM
How to use bootstrap in vue
Apr 07, 2025 pm 11:33 PM
Using Bootstrap in Vue.js is divided into five steps: Install Bootstrap. Import Bootstrap in main.js. Use the Bootstrap component directly in the template. Optional: Custom style. Optional: Use plug-ins.
 How to add functions to buttons for vue
Apr 08, 2025 am 08:51 AM
How to add functions to buttons for vue
Apr 08, 2025 am 08:51 AM
You can add a function to the Vue button by binding the button in the HTML template to a method. Define the method and write function logic in the Vue instance.
 How to use watch in vue
Apr 07, 2025 pm 11:36 PM
How to use watch in vue
Apr 07, 2025 pm 11:36 PM
The watch option in Vue.js allows developers to listen for changes in specific data. When the data changes, watch triggers a callback function to perform update views or other tasks. Its configuration options include immediate, which specifies whether to execute a callback immediately, and deep, which specifies whether to recursively listen to changes to objects or arrays.
 How to reference js file with vue.js
Apr 07, 2025 pm 11:27 PM
How to reference js file with vue.js
Apr 07, 2025 pm 11:27 PM
There are three ways to refer to JS files in Vue.js: directly specify the path using the <script> tag;; dynamic import using the mounted() lifecycle hook; and importing through the Vuex state management library.
 What does vue multi-page development mean?
Apr 07, 2025 pm 11:57 PM
What does vue multi-page development mean?
Apr 07, 2025 pm 11:57 PM
Vue multi-page development is a way to build applications using the Vue.js framework, where the application is divided into separate pages: Code Maintenance: Splitting the application into multiple pages can make the code easier to manage and maintain. Modularity: Each page can be used as a separate module for easy reuse and replacement. Simple routing: Navigation between pages can be managed through simple routing configuration. SEO Optimization: Each page has its own URL, which helps SEO.
 How to return to previous page by vue
Apr 07, 2025 pm 11:30 PM
How to return to previous page by vue
Apr 07, 2025 pm 11:30 PM
Vue.js has four methods to return to the previous page: $router.go(-1)$router.back() uses <router-link to="/" component window.history.back(), and the method selection depends on the scene.
 How to use vue traversal
Apr 07, 2025 pm 11:48 PM
How to use vue traversal
Apr 07, 2025 pm 11:48 PM
There are three common methods for Vue.js to traverse arrays and objects: the v-for directive is used to traverse each element and render templates; the v-bind directive can be used with v-for to dynamically set attribute values for each element; and the .map method can convert array elements into new arrays.
 How to jump to the div of vue
Apr 08, 2025 am 09:18 AM
How to jump to the div of vue
Apr 08, 2025 am 09:18 AM
There are two ways to jump div elements in Vue: use Vue Router and add router-link component. Add the @click event listener and call this.$router.push() method to jump.
