

How to use split screen in Windows 11

Split Screen Using Windows Snap
Microsoft introduced the Windows Snap feature in Windows 7, allowing you to snap open windows to the left and right sides of the screen. You can then view the screens side by side.
To use Windows Snap, do the following:
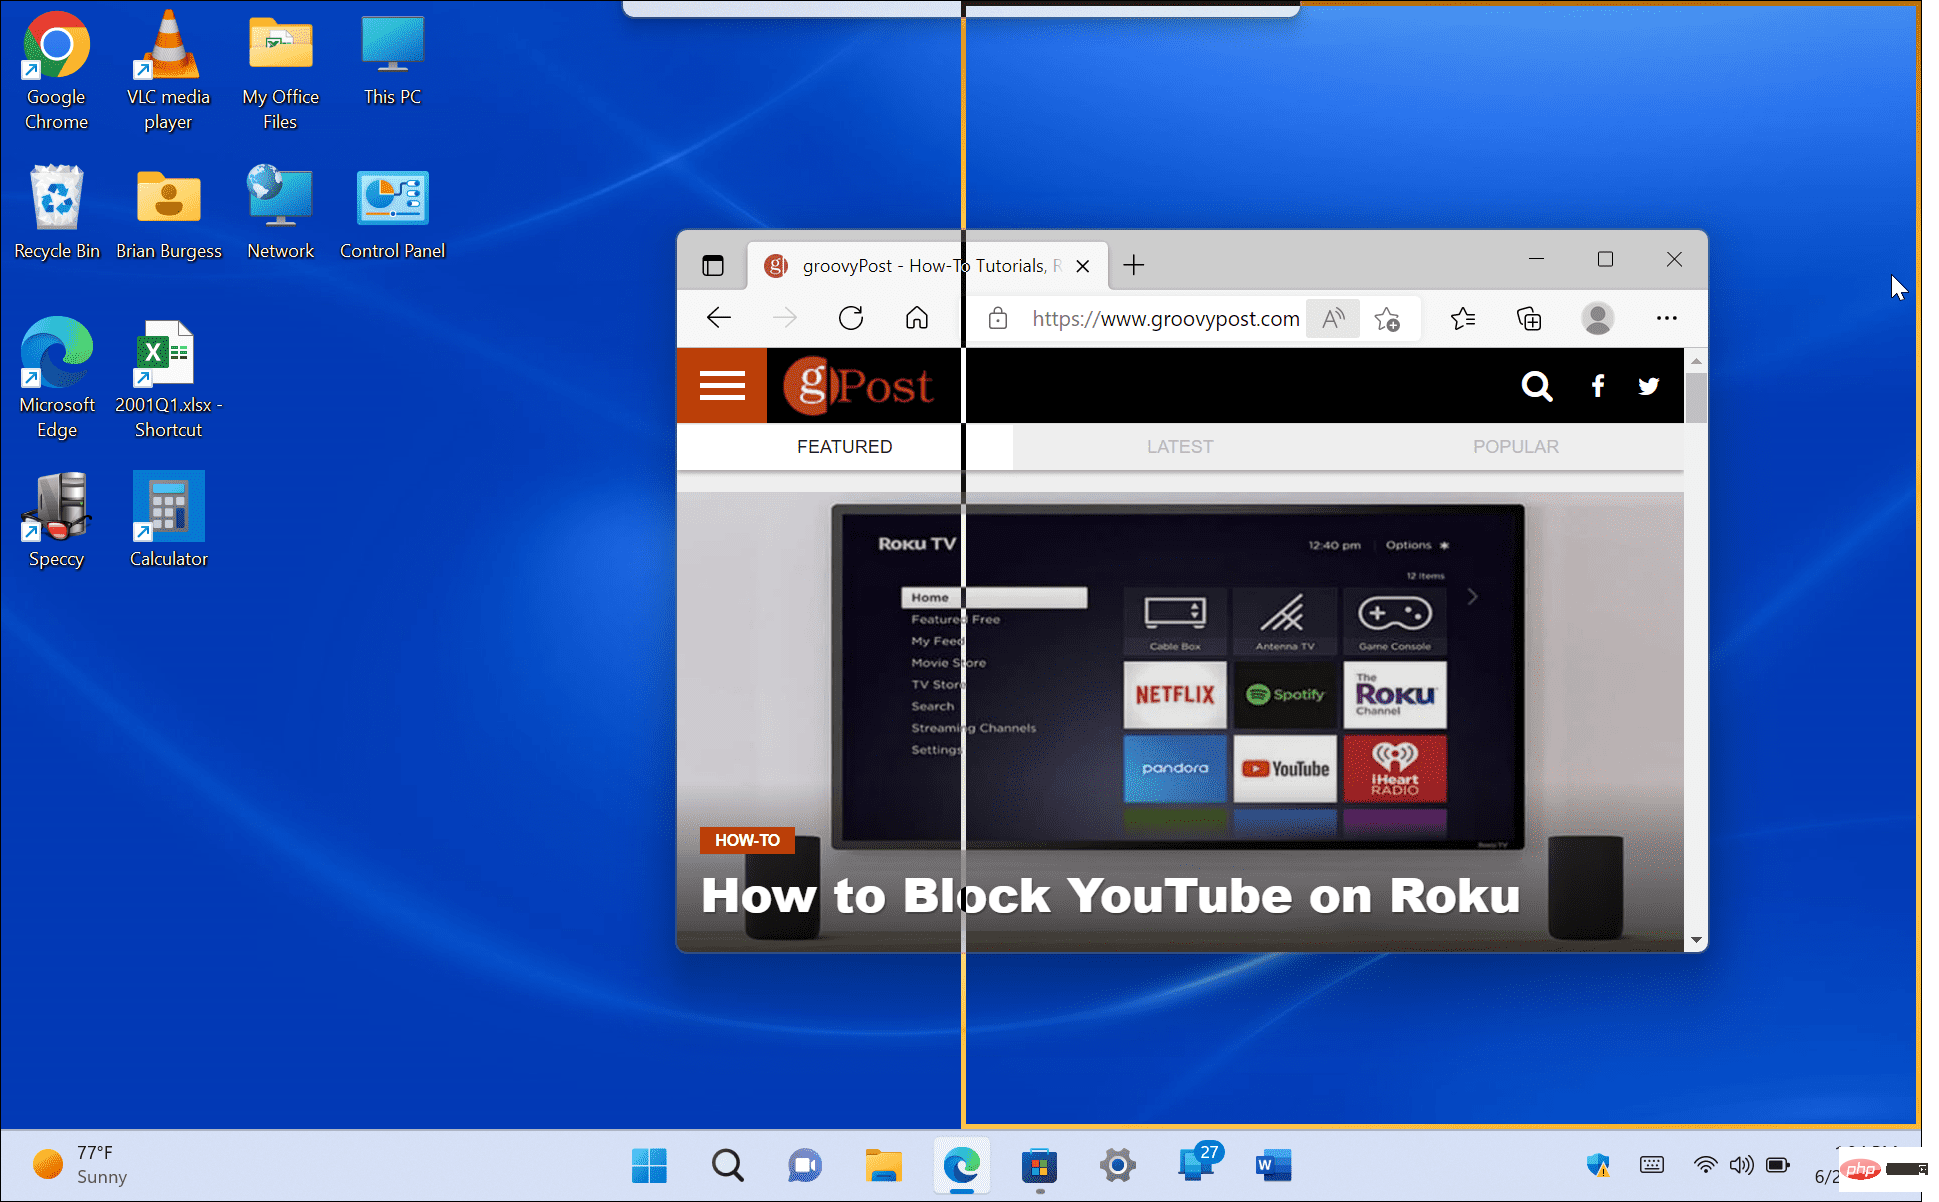
- Drag an open screen (a browser, an open file, or an app) and Drag from the Title Bar to the left or right side of the screen until you see a translucent outline.

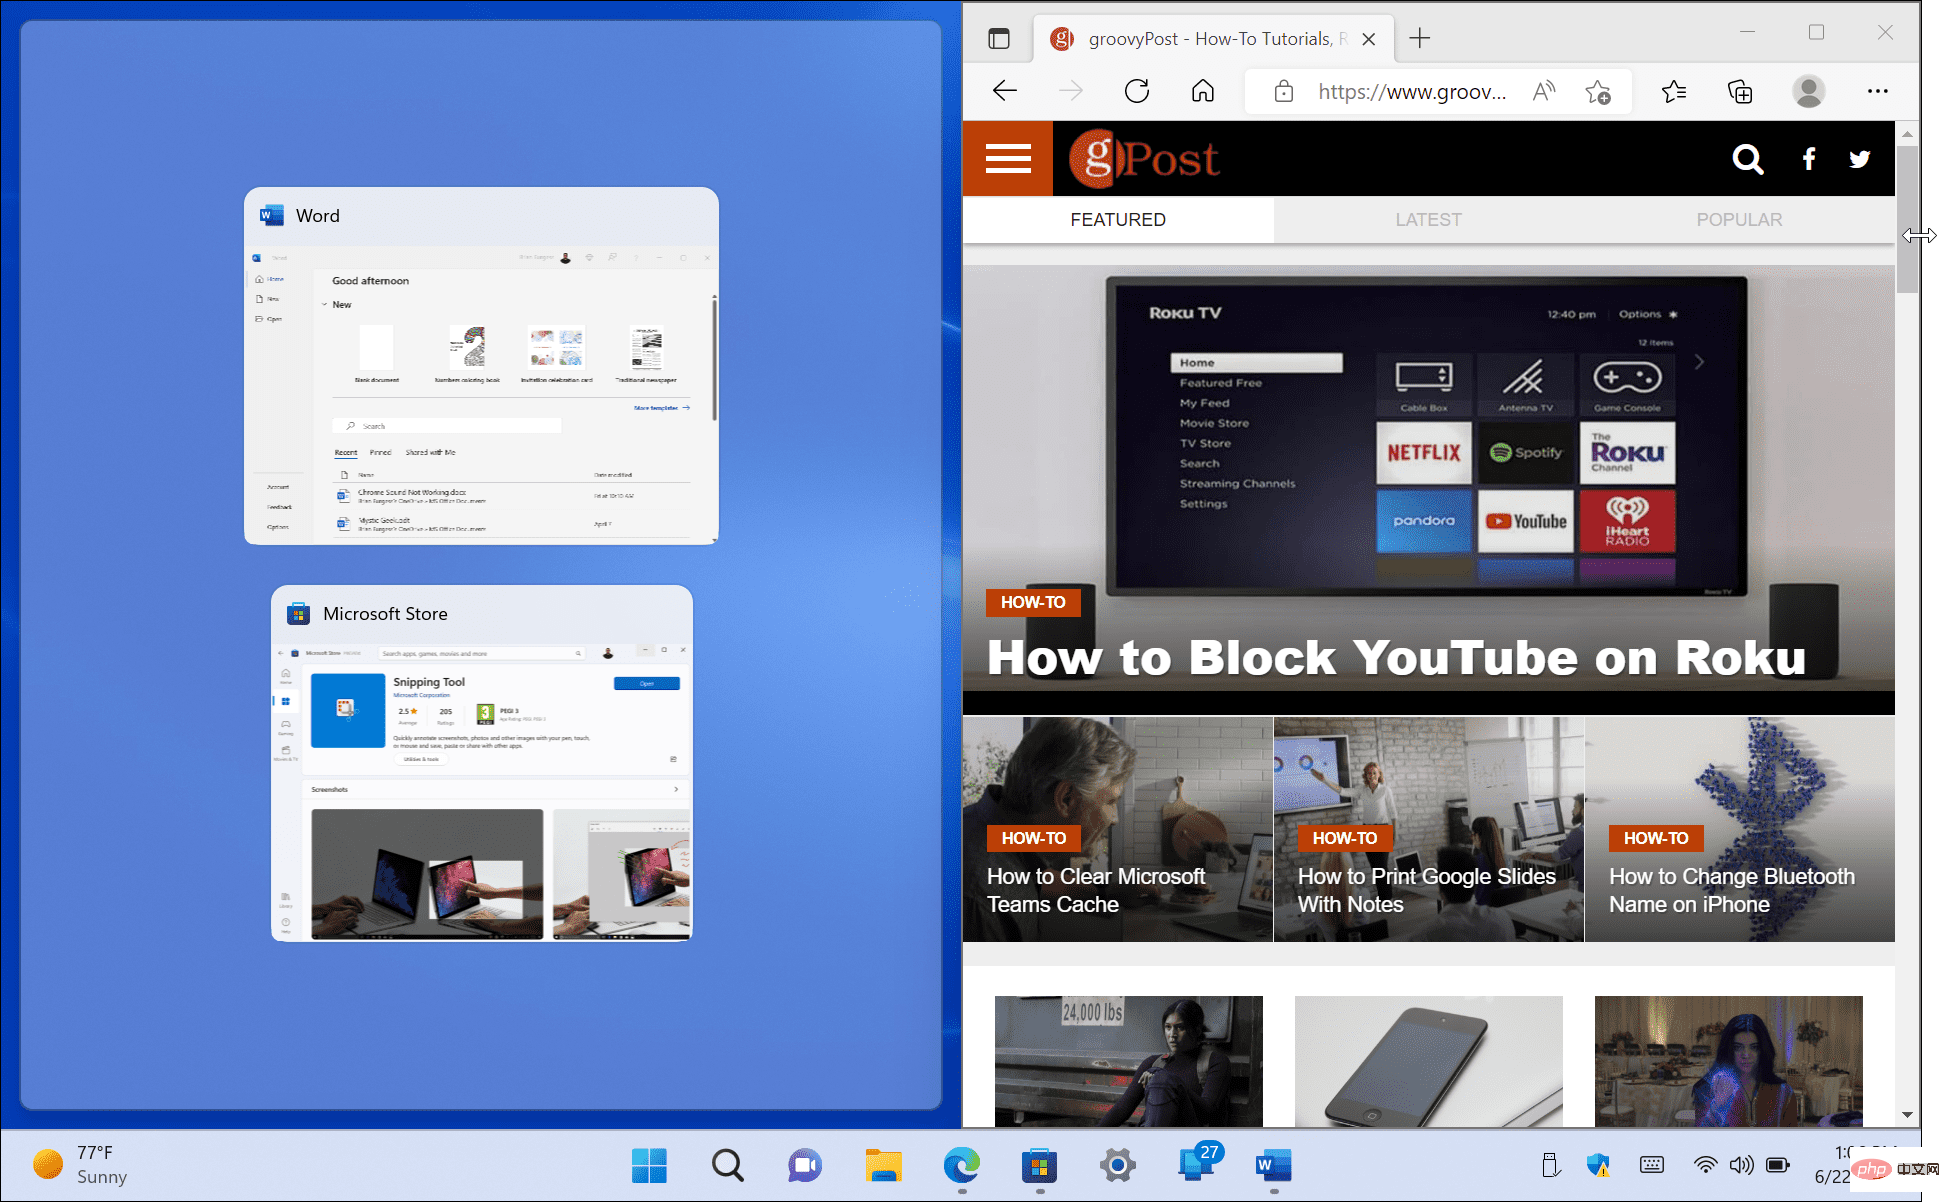
- When you let it go, you'll have a split screen with the item you dragged and the other open apps on the other side.
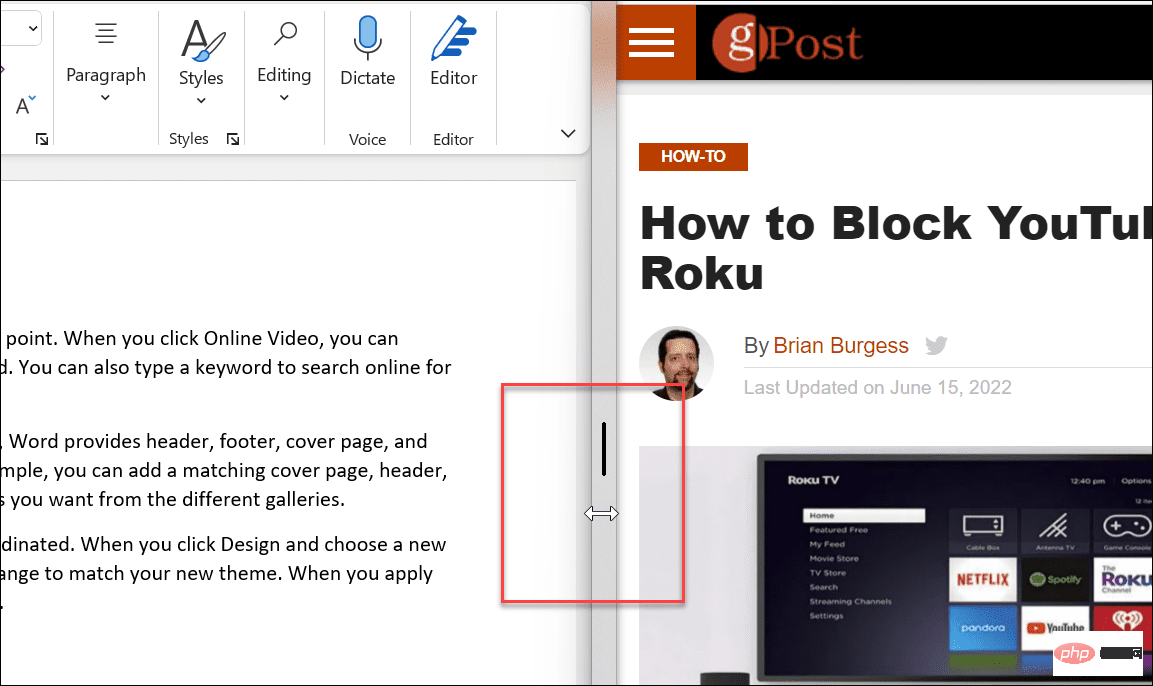
- When two windows are open, you can resize them by hovering your cursor between the screens and dragging and dropping to resize.
- You can also use the keyboard shortcuts Windows key and Arrow keys to select the direction you want.
Split the screen using the standard snap feature to aid multitasking. For example, you can research a topic using your browser on one screen and write a paper in Word on another.
Using Snap Layouts on Windows 11
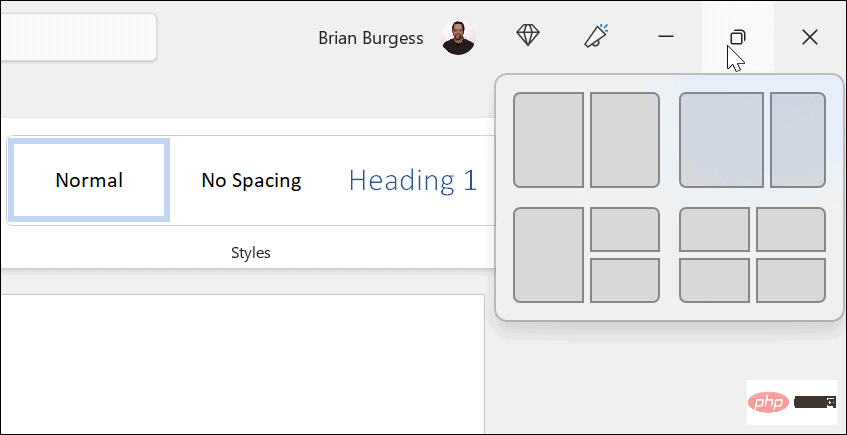
A new feature in Windows 11 is Snap Layouts. They appear when you hover over the Maximize button in an open window. Some people find them annoying and want to disable Snap Layouts immediately. However, if you're into multitasking, it's easier to use split screen in Windows 11.
When the layout appears, click on an available area to snap the window into it. Snap Layouts makes splitting your screen easy. For example, on Windows 10, Snapshot Assist requires dragging each window to the edge of the monitor.
In this example, we placed an application in each area and resized them slightly. Note that the larger the screen, the more area it has.

If you want to change the layout, hover over the area where you want the window to be and click on it.
Using Virtual Desktops
Another way to split your screen into different configurations is to use virtual desktops on Windows 11. For example, if you want one desktop with open Office applications, another with multimedia, and another with chat and social media, a virtual desktop is a good choice.
To use a virtual desktop:
- Hover your mouse over the Task View button on the taskbar , and then click New Desktop.
- Open the desired application on each desktop.
- Hover your mouse over the Task View button and you will have access to the desktop you need to use.
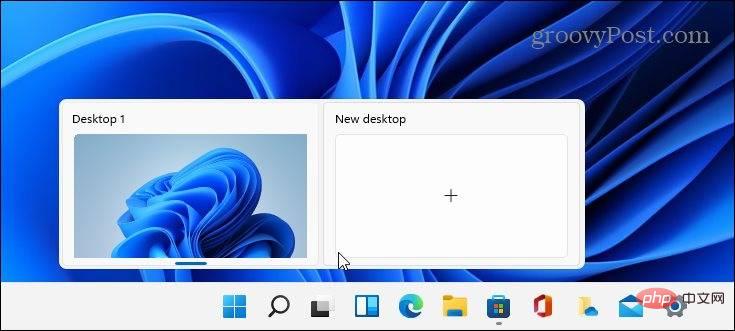
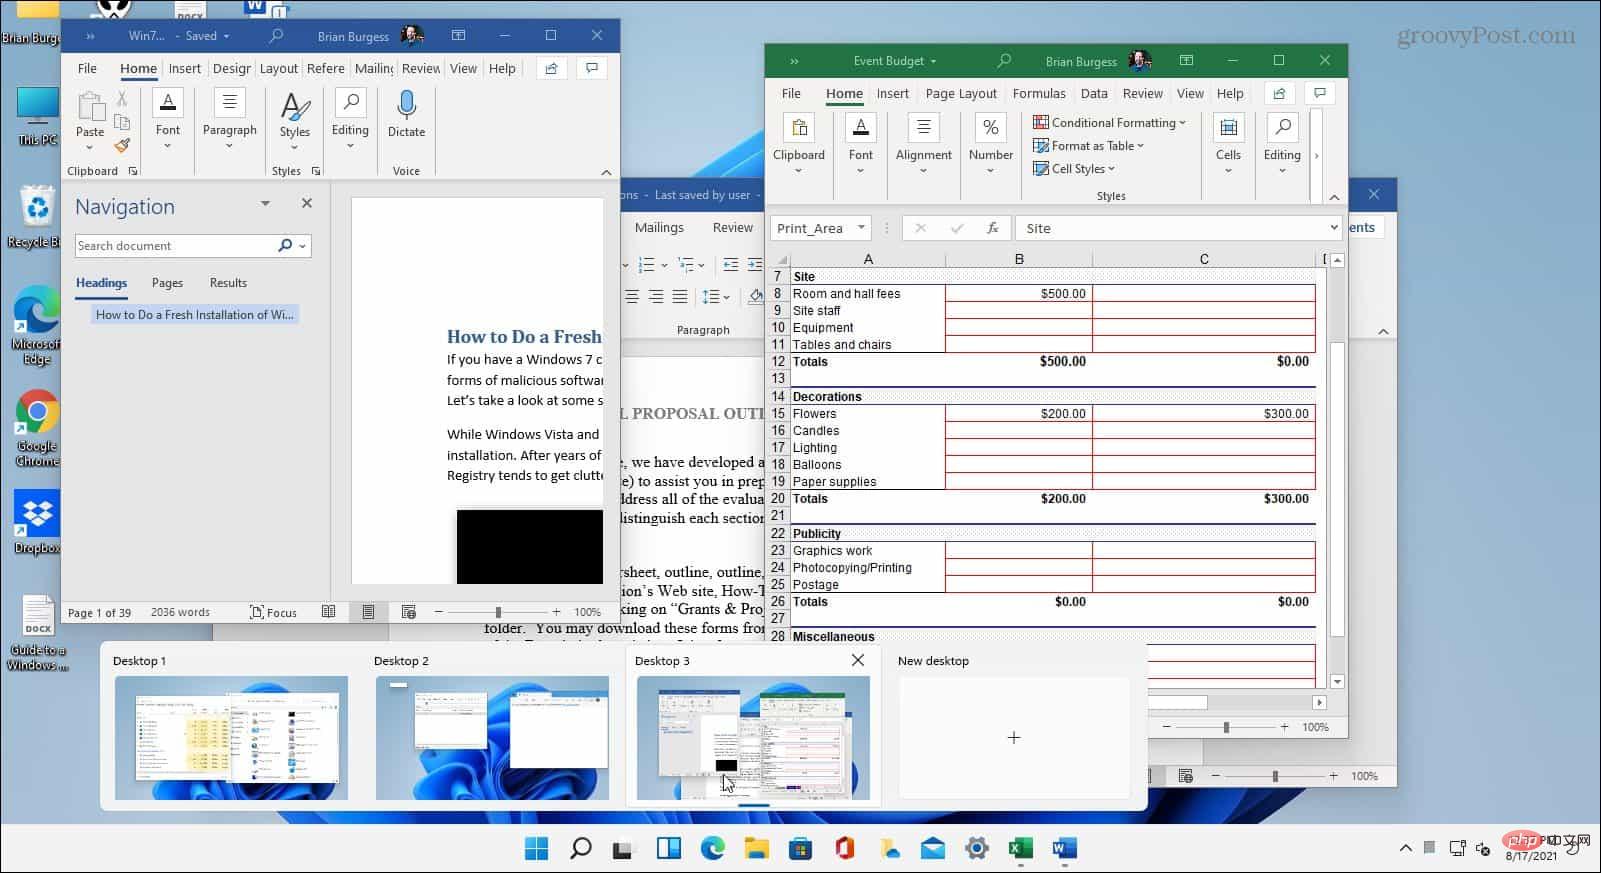
If you have multiple virtual desktops, hover over the Task View button and preview what is happening on each virtual desktop.
Using Split Screen in Windows 11
If you need to have multiple screens open at the same time, Windows 11 offers great solutions to get the job done. Microsoft offers several ways to implement split screen in the new operating system.
Of course, if you don't use a virtual desktop and find that the Task View button gets in the way, you can hide the Task View button from the taskbar.
The above is the detailed content of How to use split screen in Windows 11. For more information, please follow other related articles on the PHP Chinese website!

Hot AI Tools

Undresser.AI Undress
AI-powered app for creating realistic nude photos

AI Clothes Remover
Online AI tool for removing clothes from photos.

Undress AI Tool
Undress images for free

Clothoff.io
AI clothes remover

Video Face Swap
Swap faces in any video effortlessly with our completely free AI face swap tool!

Hot Article
Hot Tools

Notepad++7.3.1
Easy-to-use and free code editor

SublimeText3 Chinese version
Chinese version, very easy to use

Zend Studio 13.0.1
Powerful PHP integrated development environment

Dreamweaver CS6
Visual web development tools

SublimeText3 Mac version
God-level code editing software (SublimeText3)
Hot Topics
 1389
1389
 52
52

 What software is bonjour and can it be uninstalled?
Feb 20, 2024 am 09:33 AM
What software is bonjour and can it be uninstalled?
Feb 20, 2024 am 09:33 AM
Title: Explore the Bonjour software and how to uninstall it Abstract: This article will introduce the functions, scope of use and how to uninstall the Bonjour software. At the same time, it will also be explained how to use other tools to replace Bonjour to meet the needs of users. Introduction: Bonjour is a common software in the field of computer and network technology. Although this may be unfamiliar to some users, it can be very useful in some specific situations. If you happen to have Bonjour software installed but now want to uninstall it, then
 How to install Snap on Debian 12
Mar 20, 2024 pm 08:51 PM
How to install Snap on Debian 12
Mar 20, 2024 pm 08:51 PM
Snap is an external package manager designed for Linux systems that provides you with a convenient way to install containerized applications. Snap allows you to easily download and install packages without worrying about installing additional dependencies. The manager automatically resolves the dependencies required by the package, ensuring that the package runs smoothly on your system. Snap complements the native apt package manager, giving you another option for installing and running applications on your system. In this guide, you will find a complete guide on how to install Snap on Debian12. Outline: How to install Snap on Debian12 How to find package availability on Snap How to find information about packages on Snap
 What software is crystaldiskmark? -How to use crystaldiskmark?
Mar 18, 2024 pm 02:58 PM
What software is crystaldiskmark? -How to use crystaldiskmark?
Mar 18, 2024 pm 02:58 PM
CrystalDiskMark is a small HDD benchmark tool for hard drives that quickly measures sequential and random read/write speeds. Next, let the editor introduce CrystalDiskMark to you and how to use crystaldiskmark~ 1. Introduction to CrystalDiskMark CrystalDiskMark is a widely used disk performance testing tool used to evaluate the read and write speed and performance of mechanical hard drives and solid-state drives (SSD). Random I/O performance. It is a free Windows application and provides a user-friendly interface and various test modes to evaluate different aspects of hard drive performance and is widely used in hardware reviews
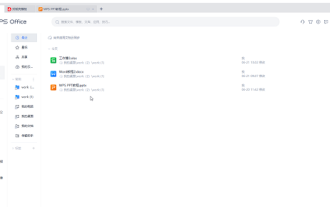 What to do if WPS Office cannot open the PPT file - What to do if WPS Office cannot open the PPT file
Mar 04, 2024 am 11:40 AM
What to do if WPS Office cannot open the PPT file - What to do if WPS Office cannot open the PPT file
Mar 04, 2024 am 11:40 AM
Recently, many friends have asked me what to do if WPSOffice cannot open PPT files. Next, let us learn how to solve the problem of WPSOffice not being able to open PPT files. I hope it can help everyone. 1. First open WPSOffice and enter the homepage, as shown in the figure below. 2. Then enter the keyword "document repair" in the search bar above, and then click to open the document repair tool, as shown in the figure below. 3. Then import the PPT file for repair, as shown in the figure below.
![Corsair iCUE software not detecting RAM [Fixed]](https://img.php.cn/upload/article/000/465/014/170831448976874.png?x-oss-process=image/resize,m_fill,h_207,w_330) Corsair iCUE software not detecting RAM [Fixed]
Feb 19, 2024 am 11:48 AM
Corsair iCUE software not detecting RAM [Fixed]
Feb 19, 2024 am 11:48 AM
This article will explore what users can do when the CorsairiCUE software does not recognize the RAM in a Windows system. Although the CorsairiCUE software is designed to let users control their computer's RGB lighting, some users have found that the software does not function properly, resulting in an inability to detect RAM modules. Why doesn't ICUE pick up my memory? The main reason why ICUE cannot correctly identify RAM is usually related to background software conflicts. In addition, incorrect SPD write settings may also cause this problem. Fixed issue with CorsairIcue software not detecting RAM If CorsairIcue software is not detecting RAM on your Windows computer, please use the following suggestions.
 CrystalDiskinfo usage tutorial-What software is CrystalDiskinfo?
Mar 18, 2024 pm 04:50 PM
CrystalDiskinfo usage tutorial-What software is CrystalDiskinfo?
Mar 18, 2024 pm 04:50 PM
CrystalDiskInfo is a software used to check computer hardware devices. In this software, we can check our own computer hardware, such as reading speed, transmission mode, interface, etc.! So in addition to these functions, how to use CrystalDiskInfo and what exactly is CrystalDiskInfo? Let me sort it out for you! 1. The Origin of CrystalDiskInfo As one of the three major components of a computer host, a solid-state drive is the storage medium of a computer and is responsible for computer data storage. A good solid-state drive can speed up file reading and affect consumer experience. When consumers receive new devices, they can use third-party software or other SSDs to
 How to set the keyboard increment in Adobe Illustrator CS6 - How to set the keyboard increment in Adobe Illustrator CS6
Mar 04, 2024 pm 06:04 PM
How to set the keyboard increment in Adobe Illustrator CS6 - How to set the keyboard increment in Adobe Illustrator CS6
Mar 04, 2024 pm 06:04 PM
Many users are using the Adobe Illustrator CS6 software in their offices, so do you know how to set the keyboard increment in Adobe Illustrator CS6? Then, the editor will bring you the method of setting the keyboard increment in Adobe Illustrator CS6. Interested users can take a look below. Step 1: Start Adobe Illustrator CS6 software, as shown in the figure below. Step 2: In the menu bar, click the [Edit] → [Preferences] → [General] command in sequence. Step 3: The [Keyboard Increment] dialog box pops up, enter the required number in the [Keyboard Increment] text box, and finally click the [OK] button. Step 4: Use the shortcut key [Ctrl]
 How to remove Firefox Snap in Ubuntu Linux?
Feb 21, 2024 pm 07:00 PM
How to remove Firefox Snap in Ubuntu Linux?
Feb 21, 2024 pm 07:00 PM
To remove FirefoxSnap in Ubuntu Linux, you can follow these steps: Open a terminal and log in to your Ubuntu system as administrator. Run the following command to uninstall FirefoxSnap: sudosnapremovefirefox You will be prompted for your administrator password. Enter your password and press Enter to confirm. Wait for command execution to complete. Once completed, FirefoxSnap will be completely removed. Note that this will remove versions of Firefox installed via the Snap package manager. If you installed another version of Firefox through other means (such as the APT package manager), you will not be affected. Go through the above steps