
 Operation and Maintenance
Nginx
How to build a .NET Core2.0+Nginx+Supervisor environment under Centos7 system
Operation and Maintenance
Nginx
How to build a .NET Core2.0+Nginx+Supervisor environment under Centos7 system
How to build a .NET Core2.0+Nginx+Supervisor environment under Centos7 system

1. Introduction to linux .net core
Historically, Microsoft has only provided .net support for its own platform, which makes this "theoretically" cross-platform. Framework support on linux and macos can only be provided by third-party projects (such as mono .net).
Until Microsoft launches completely open source .net core. This open source platform is compatible with .NET standard and provides fully consistent APIs on Windows, Linux and macOS. Although this compact .net framework is only a subset of standard .net, it is already quite powerful.
On the one hand, this small framework allows some functional applications to run on three platforms at the same time (just like some functional python scripts). On the other hand, it also allows the server to run Maintenance personnel deploy the asp.net service program on the Linux server (especially for servers that are difficult to run Windows server).
2. Preparation before deployment of linux .net core2.0 environment
1. Environment description:
Server system: centos 7.2. 1511
2. Preparation before installation (turn off the firewall, turn off selinux)
1) Turn off the firewall:
systemctl stop firewalld.service #停止firewall
systemctl disable firewalld.service #禁止firewall开机启动
firewall-cmd --state #查看默认防火墙状态(关闭后显示notrunning,开启后显示running)
2) Turn off selinux
sed -i "s/selinux=enforcing/selinux=disabled/g" /etc/selinux/config
View changes The final file is as follows:
[root@localhost ~]# cat /etc/selinux/config

# this file controls the state of selinux on the system.
# selinux= can take one of these three values:
#   enforcing - selinux security policy is enforced.
#   permissive - selinux prints warnings instead of enforcing.
#   disabled - no selinux policy is loaded.
selinux=disabled
# selinuxtype= can take one of three two values:
#   targeted - targeted processes are protected,
#   minimum - modification of targeted policy. only selected processes are protected.
#   mls - multi level security protection.
selinuxtype=targeted
3) Restart centos
reboot
3. Centos deployment.net core2.0 environment
1. Add dotnet products
Before installing .net core, you need to register for the Microsoft product feed. This only needs to be done once. First, register your Microsoft signing key, then add your Microsoft product feed.
rpm --import https://packages.microsoft.com/keys/microsoft.asc
sh -c 'echo -e "[packages-microsoft-com-prod]nname=packages-microsoft-com-prod nbaseurl=https://packages.microsoft.com/yumrepos/microsoft-rhel7.3-prodnenabled=1ngpgcheck=1ngpgkey=https://packages.microsoft.com/keys/microsoft.asc" > /etc/yum.repos.d/dotnetdev.repo'
2. Install .net core sdk
Before the next step, please remove any previous preview versions of .net .net from your system.
The following command updates the list of products for installation, installs the components required for .net core, and then installs the .net core sdk.
yum update
yum install libunwind libicu -y
yum install dotnet-sdk-2.0.0 -y
3. Check whether dotnet is installed successfully and check the version
dotnet --info
dotnet --version
4. Test the .net core2.0 environment
1. Initialize a test environment in the home directory and output the "hello world" content (test method 1, can be ignored)
cd /home
dotnet new console -o hwapp
cd hwapp
dotnet run
The output empty content is as follows:
[root@localhost hwapp]# dotnet run
hello world!
2. Upload the instance of .net core Page to test (test method 2, recommended)
.net core 2 environment test case under centos (upload it to the /home directory or a customized directory)
Download address:
http://down.51cto.com/data/2334968
Execute the following command
cd /home/webapplication1
dotnet restore  //如果使过用测试方式一,就需先执行这命令重新加载一下当前新的网站文件
dotnet run
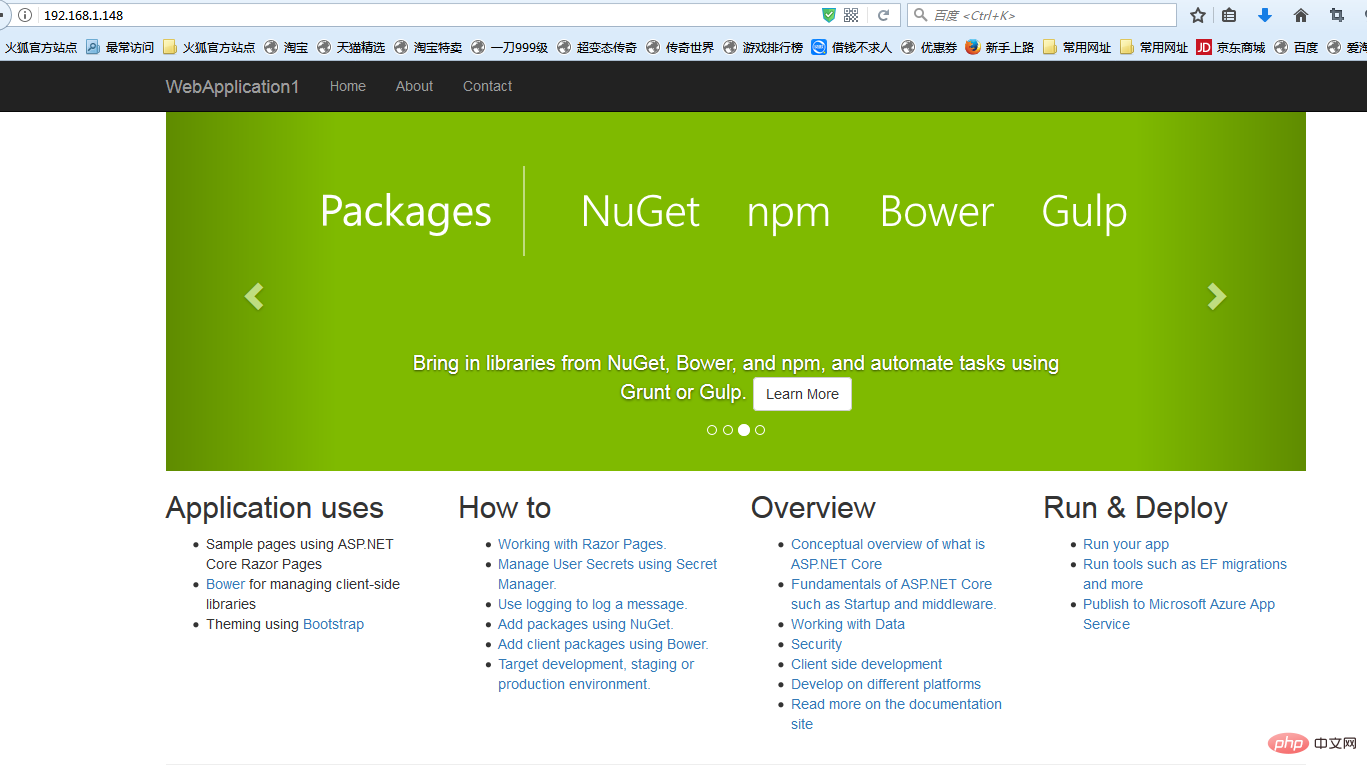
The following figure will appear after running:

Access the test page through ie
5. Install and configure nginx to forward asp.net core applications
1. Install nginx environment
[root@localhost ~]#curl -o nginx.rpm http://nginx.org/packages/centos/7/noarch/rpms/nginx-release-centos-7-0.el7.ngx.noarch.rpm
[root@localhost ~]#rpm -ivh nginx.rpm
[root@localhost ~]#yum install nginx -y
Enter: systemctl start nginx to start nginx.
[root@localhost ~]# systemctl start nginx
Enter: systemctl enable nginx to set up nginx startup (linux will automatically run nginx when it crashes and restarts, no need to connect to enter commands)
[root@localhost ~]#systemctl enable nginx
created symlink from /etc/systemd/system/multi-user.target.wants/nginx.service to /usr/lib/systemd/system/nginx.service.
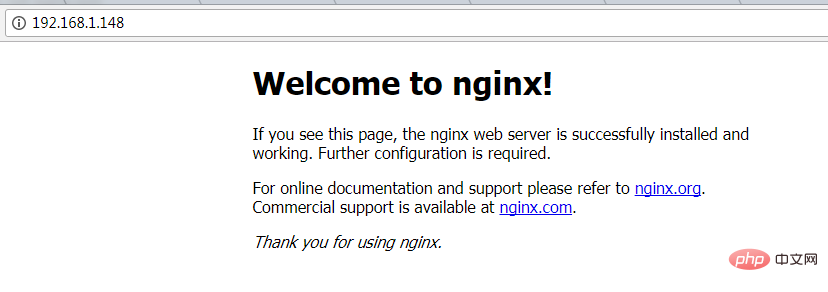
2. Check whether it can be accessed through IE
[root@localhost nginx-1.8.1]# ps -ef|grep nginx
root   14626   1 0 08:47 ?    00:00:00 nginx: master process nginx
nginx   14627 14626 0 08:47 ?    00:00:00 nginx: worker process
root   14636  3269 0 08:49 pts/1  00:00:00 grep --color=auto nginx
Commonly used operating commands for nginx
systemctl start nginx.service #Start nginx service
systemctl enable nginx.service service #Restart the service
systemctl list-units –type=service #View all started services
4. Firewall configuration (if the system has a firewall, you need to write rules)
Command: firewall-cmd –zone=public –add-port=80/tcp –permanent (open port 80)
Command: systemctl restart firewalld (restart the firewall to make the configuration take effect immediately)
5. Configure nginx to forward asp.net core applications
Modify the /etc/nginx/conf.d/default.conf file.
Replace the file content with
server {
  listen 80;
  location / {
    proxy_pass http://localhost:88;
    proxy_http_version 1.1;
    proxy_set_header upgrade $http_upgrade;
    proxy_set_header connection keep-alive;
    proxy_set_header host $host;
    proxy_cache_bypass $http_upgrade;
  }
}Reload nignx
[root@localhost nginx]# nginx -s reload
nginx configuration has been completed
6. Open dotnet run for testing
[root@localhost ~]# cd /home/webapplication1/
[root@localhost webapplication1]# dotnet run
using launch settings from /home/webapplication1/properties/launchsettings.json...
hosting environment: development
content root path: /home/webapplication1
now listening on: http://[::]:88
application started. press ctrl+c to shut down.
Access through ip 80 port
6. Configure the guardian service (supervisor)
Currently there are three problems
问题1:asp.net core应用程序运行在shell之中,如果关闭shell则会发现asp.net core应用被关闭,从而导致应用无法访问,这种情况当然是我们不想遇到的,而且生产环境对这种情况是零容忍的。
问题2:如果asp.net core进程意外终止那么需要人为连进shell进行再次启动,往往这种操作都不够及时。
问题3:如果服务器宕机或需要重启我们则还是需要连入shell进行启动。
为了解决这个问题,我们需要有一个程序来监听asp.net core 应用程序的状况。在应用程序停止运行的时候立即重新启动。这边我们用到了supervisor这个工具,supervisor使用python开发的。
1.安装supervisor
[root@localhost /]# yum install python-setuptools -y
[root@localhost /]#easy_install supervisor
2.配置supervisor
[root@localhost /]#mkdir /etc/supervisor
[root@localhost /]#echo_supervisord_conf > /etc/supervisor/supervisord.conf
修改supervisord.conf文件,将文件尾部的配置
[root@localhost /]# vi /etc/supervisor/supervisord.conf
将里面的最后两行:
;[include]
;files = relative/directory/*.ini
改为
[include]
files = conf.d/*.conf
ps:如果服务已启动,修改配置文件可用“supervisorctl reload”命令来使其生效
3.配置对asp.net core应用的守护
创建一个 webapplication1.conf文件,内容大致如下
[root@localhost /]# vi webapplication1.conf
[program:webapplication1]
command=dotnet webapplication1.dll ; 运行程序的命令
directory=/home/webapplication1/ ; 命令执行的目录
autorestart=true ; 程序意外退出是否自动重启
stderr_logfile=/var/log/webapplication1.err.log ; 错误日志文件
stdout_logfile=/var/log/webapplication1.out.log ; 输出日志文件
environment=aspnetcore_environment=production ; 进程环境变量
user=root ; 进程执行的用户身份
stopsignal=int
将文件拷贝至:“/etc/supervisor/conf.d/webapplication1.conf”下
[root@localhost /]#mkdir /etc/supervisor/conf.d
[root@localhost /]#cp webapplication1.conf /etc/supervisor/conf.d/
运行supervisord,查看是否生效
[root@localhost /]#supervisord -c /etc/supervisor/supervisord.confsupervisord -c /etc/supervisor/supervisord.conf
[root@localhost /]# ps -ef | grep webapplication1
root   29878 29685 0 09:57 ?    00:00:00 dotnet webapplication1.dll
root   29892 29363 0 09:57 pts/3  00:00:00 grep --color=auto webapplication1
如果存在dotnet webapplication1.dll 进程则代表运行成功,这时候在使用浏览器进行访问。
至此关于asp.net core应用程序的守护即配置完成。
supervisor守护进程常用操作
【启动supervisord】
确保配置无误后可以在每台主机上使用下面的命令启动supervisor的服务器端supervisord
supervisord
【停止supervisord】
supervisorctl shutdown
【重新加载配置文件】
supervisorctl reload
七 、配置supervisor开机启动
新建一个“supervisord.service”文件
[root@localhost /]# vi supervisord.service
# dservice for systemd (centos 7.0+)
# by et-cs (https://github.com/et-cs)
[unit]
description=supervisor daemon
[service]
type=forking
execstart=/usr/bin/supervisord -c /etc/supervisor/supervisord.conf
execstop=/usr/bin/supervisorctl shutdown
execreload=/usr/bin/supervisorctl reload
killmode=process
restart=on-failure
restartsec=42s
[install]
wantedby=multi-user.target
将文件拷贝至:“/usr/lib/systemd/system/supervisord.service”
[root@localhost /]# cp supervisord.service /usr/lib/systemd/system/
执行命令:systemctl enable supervisord
[root@localhost /]# systemctl enable supervisord
created symlink from /etc/systemd/system/multi-user.target.wants/supervisord.service to /usr/lib/systemd/system/supervisord.service.
执行命令:systemctl is-enabled supervisord #来验证是否为开机启动
[root@localhost /]# systemctl is-enabled supervisord
重启系统看能否能成功访问
[root@localhost /]# reboot
The above is the detailed content of How to build a .NET Core2.0+Nginx+Supervisor environment under Centos7 system. For more information, please follow other related articles on the PHP Chinese website!

Hot AI Tools

Undresser.AI Undress
AI-powered app for creating realistic nude photos

AI Clothes Remover
Online AI tool for removing clothes from photos.

Undress AI Tool
Undress images for free

Clothoff.io
AI clothes remover

AI Hentai Generator
Generate AI Hentai for free.

Hot Article
Hot Tools

Notepad++7.3.1
Easy-to-use and free code editor

SublimeText3 Chinese version
Chinese version, very easy to use

Zend Studio 13.0.1
Powerful PHP integrated development environment

Dreamweaver CS6
Visual web development tools

SublimeText3 Mac version
God-level code editing software (SublimeText3)
Hot Topics
 1382
1382
 52
52

 How to check whether nginx is started
Apr 14, 2025 pm 01:03 PM
How to check whether nginx is started
Apr 14, 2025 pm 01:03 PM
How to confirm whether Nginx is started: 1. Use the command line: systemctl status nginx (Linux/Unix), netstat -ano | findstr 80 (Windows); 2. Check whether port 80 is open; 3. Check the Nginx startup message in the system log; 4. Use third-party tools, such as Nagios, Zabbix, and Icinga.
 How to configure nginx in Windows
Apr 14, 2025 pm 12:57 PM
How to configure nginx in Windows
Apr 14, 2025 pm 12:57 PM
How to configure Nginx in Windows? Install Nginx and create a virtual host configuration. Modify the main configuration file and include the virtual host configuration. Start or reload Nginx. Test the configuration and view the website. Selectively enable SSL and configure SSL certificates. Selectively set the firewall to allow port 80 and 443 traffic.
 How to start nginx in Linux
Apr 14, 2025 pm 12:51 PM
How to start nginx in Linux
Apr 14, 2025 pm 12:51 PM
Steps to start Nginx in Linux: Check whether Nginx is installed. Use systemctl start nginx to start the Nginx service. Use systemctl enable nginx to enable automatic startup of Nginx at system startup. Use systemctl status nginx to verify that the startup is successful. Visit http://localhost in a web browser to view the default welcome page.
 How to check whether nginx is started?
Apr 14, 2025 pm 12:48 PM
How to check whether nginx is started?
Apr 14, 2025 pm 12:48 PM
In Linux, use the following command to check whether Nginx is started: systemctl status nginx judges based on the command output: If "Active: active (running)" is displayed, Nginx is started. If "Active: inactive (dead)" is displayed, Nginx is stopped.
 How to solve the problem of nginx cross-domain
Apr 14, 2025 am 10:15 AM
How to solve the problem of nginx cross-domain
Apr 14, 2025 am 10:15 AM
There are two ways to solve the Nginx cross-domain problem: modify the cross-domain response header: add directives to allow cross-domain requests, specify allowed methods and headers, and set cache time. Use CORS modules: Enable modules and configure CORS rules that allow cross-domain requests, methods, headers, and cache times.
 How to solve nginx403
Apr 14, 2025 am 10:33 AM
How to solve nginx403
Apr 14, 2025 am 10:33 AM
How to fix Nginx 403 Forbidden error? Check file or directory permissions; 2. Check .htaccess file; 3. Check Nginx configuration file; 4. Restart Nginx. Other possible causes include firewall rules, SELinux settings, or application issues.
 How to check the running status of nginx
Apr 14, 2025 am 11:48 AM
How to check the running status of nginx
Apr 14, 2025 am 11:48 AM
The methods to view the running status of Nginx are: use the ps command to view the process status; view the Nginx configuration file /etc/nginx/nginx.conf; use the Nginx status module to enable the status endpoint; use monitoring tools such as Prometheus, Zabbix, or Nagios.
 How to start nginx server
Apr 14, 2025 pm 12:27 PM
How to start nginx server
Apr 14, 2025 pm 12:27 PM
Starting an Nginx server requires different steps according to different operating systems: Linux/Unix system: Install the Nginx package (for example, using apt-get or yum). Use systemctl to start an Nginx service (for example, sudo systemctl start nginx). Windows system: Download and install Windows binary files. Start Nginx using the nginx.exe executable (for example, nginx.exe -c conf\nginx.conf). No matter which operating system you use, you can access the server IP
