

Swagger is a web service used to generate, describe and call RESTful interfaces. In layman's terms, Swagger is a service that displays all the interfaces in the project (that you want to expose) on the page and allows interface calling and testing.
Swagger has the following three important functions: display all interfaces in the project on the page, so that back-end programmers do not need to write special interface documents for front-end users; when the interface is updated, You only need to modify the Swagger description in the code to generate a new interface document in real time, thus avoiding the problem of the interface document being old and unusable; through the Swagger page, we can directly call the interface to facilitate our development.
1) Depend on
1 2 3 4 5 6 7 8 9 10 11 |
|
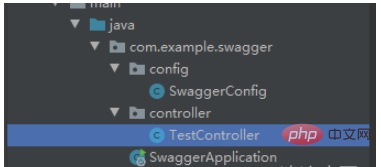
2) Create a controller class
1 2 3 4 5 6 7 8 9 10 11 |
|
3) Create a Swagger Configuration class SwaggerConfig class
1 2 3 4 5 6 7 8 9 10 11 12 13 14 15 16 17 18 19 20 21 22 23 24 25 26 27 28 29 30 31 32 33 34 35 36 37 38 39 40 41 42 43 |
|
Attention!
Notice!
Notice!
Write the
"com.example.swagger.controller" path in apis(RequestHandlerSelectors.basePackage("com.example.swagger.controller")) as the path of your own controller package
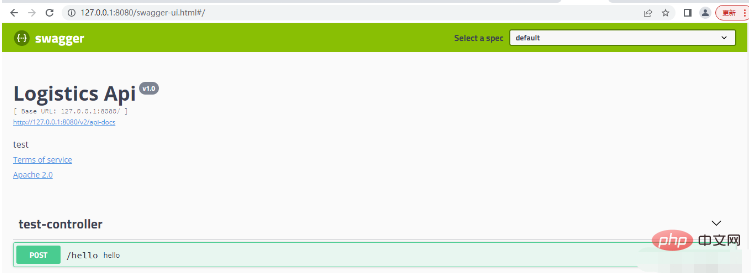
After completing the above steps, click Run and wait until the operation is completed. Then visit the following URL in the browser:
http://127.0.0.1:8080/swagger-ui.html#/
The port here should be changed to your own port.
The effect is as shown in the picture
 ##
##
The above is the detailed content of How to use Swagger in springboot project. For more information, please follow other related articles on the PHP Chinese website!


![[Web front-end] Node.js quick start](https://img.php.cn/upload/course/000/000/067/662b5d34ba7c0227.png)


