

How to package Vue project and deploy nginx server

Usage scenarios:
When we often use front-end and back-end separation projects, we will need to package the front-end vue and then deploy it.
1. Packaging
vue projects can actually be packaged directly through the following statement:
1 |
|
The default packaging situation is as follows:
When we need to modify the packaging name and static resource location, we need to configure it accordingly:
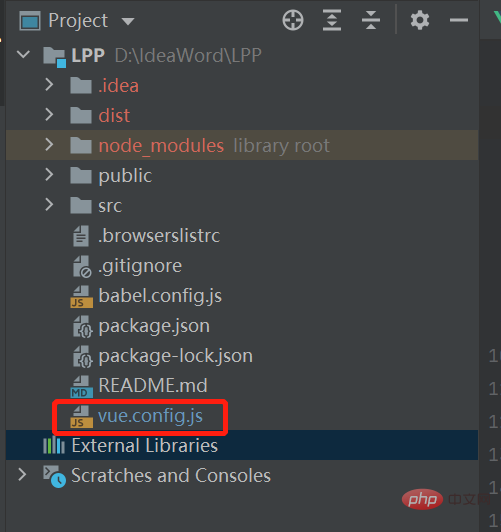
1. First create vue.config in the project root directory .js file
The configuration content is as follows (with cross-domain problem resolution included):
1 2 3 4 5 6 7 8 9 10 11 12 13 14 15 16 17 18 19 20 21 22 23 24 |
|
2. View routing (router/index.js) Whether to use history, if so, change it to hash. Or just uncheck mode because hash is used by default.
1 2 3 4 5 6 7 |
|
Then use npm run build again to package, and the test folder will appear, and the static files will be placed in static.
The packaging has ended.
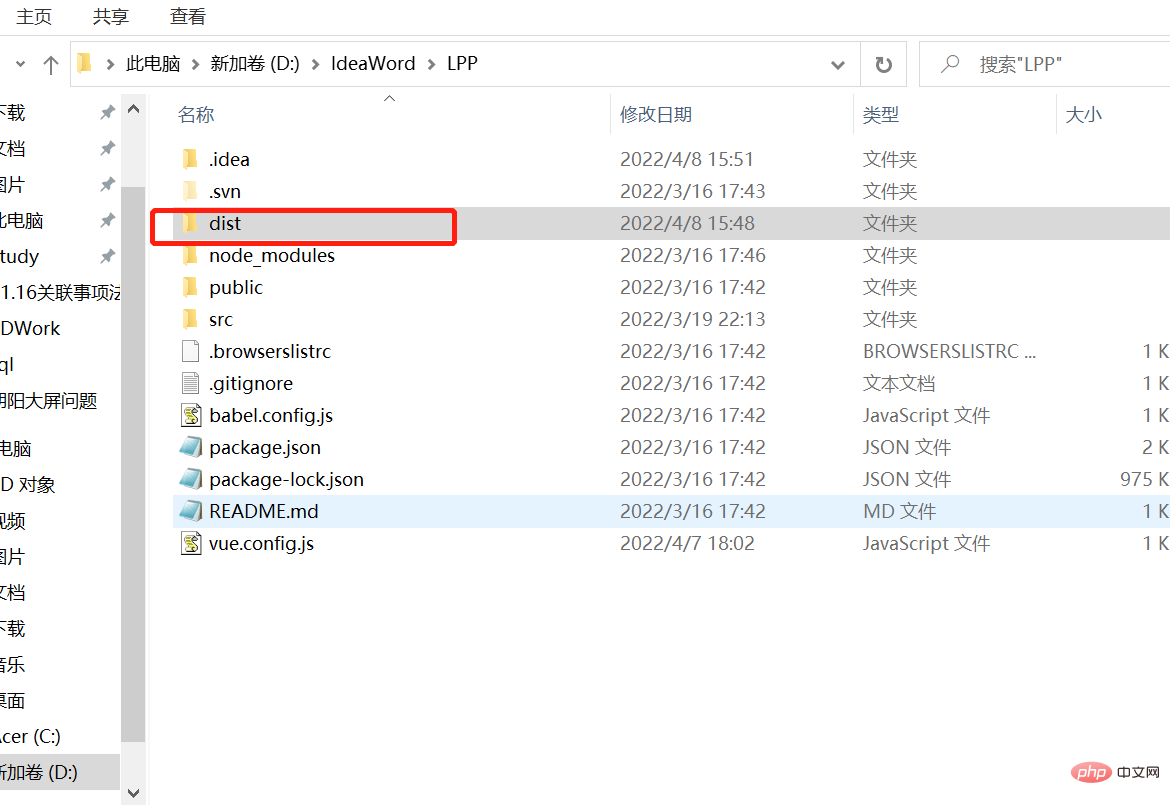
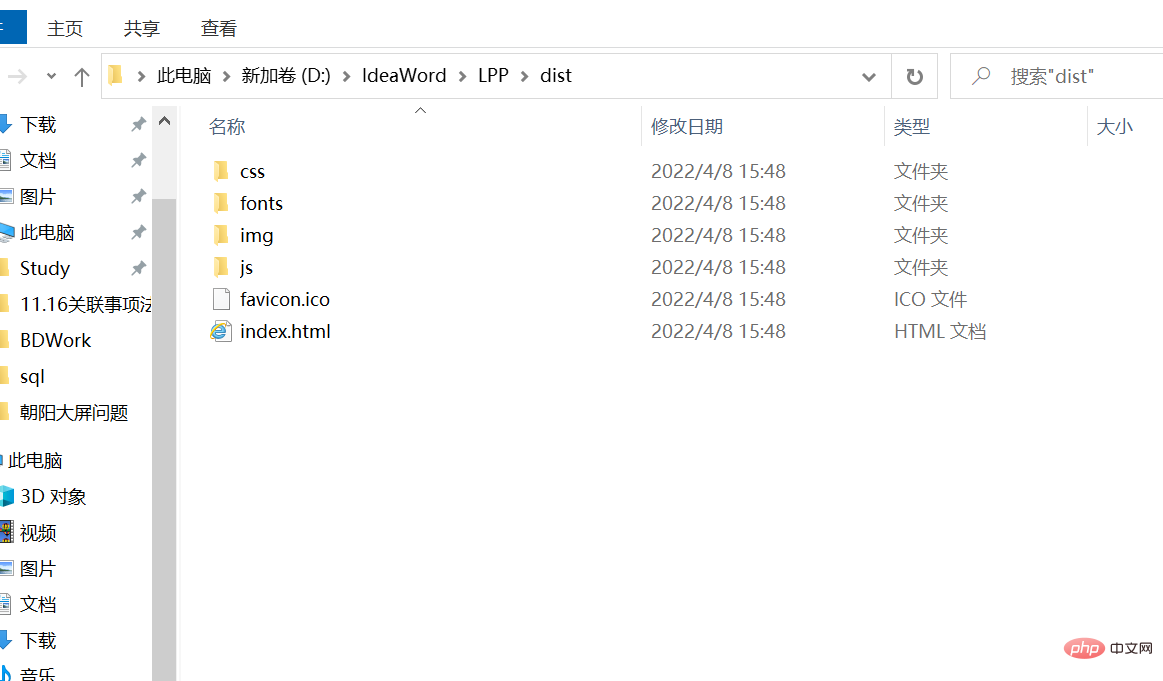
3. Find the path of the packaged file
Double-click the packaged index.html file, and you will see the homepage.
2. Deployment (nginx)
First you need to install nignx, which is undoubtedly not introduced here. (Or specific installation steps will be placed in the nginx section later)
Just configure it directly in nginx.conf:
1 2 3 4 5 6 7 8 |
|
The specific meaning of the configuration:
1 2 3 4 5 6 7 8 9 10 11 12 13 14 15 16 17 18 19 20 21 22 23 24 25 26 27 28 29 30 31 32 33 34 35 36 37 38 39 40 41 42 43 44 45 46 47 48 49 50 51 52 53 54 55 56 57 58 59 60 61 62 63 64 65 66 67 68 69 70 71 72 73 74 75 76 77 78 79 80 81 82 83 84 85 86 87 88 89 90 91 92 93 94 95 96 97 98 99 100 101 102 103 104 105 106 107 108 109 110 111 112 113 114 115 116 117 118 119 120 121 122 123 124 125 126 127 128 129 130 131 132 133 134 135 |
|
Then start or Just restart nginx.
Visit: server address: 8021/test.
The above is the detailed content of How to package Vue project and deploy nginx server. For more information, please follow other related articles on the PHP Chinese website!

Hot AI Tools

Undresser.AI Undress
AI-powered app for creating realistic nude photos

AI Clothes Remover
Online AI tool for removing clothes from photos.

Undress AI Tool
Undress images for free

Clothoff.io
AI clothes remover

AI Hentai Generator
Generate AI Hentai for free.
Hot Article
Hot Tools

Notepad++7.3.1
Easy-to-use and free code editor

SublimeText3 Chinese version
Chinese version, very easy to use

Zend Studio 13.0.1
Powerful PHP integrated development environment

Dreamweaver CS6
Visual web development tools

SublimeText3 Mac version
God-level code editing software (SublimeText3)
Hot Topics
 1377
1377
 52
52

 How to enable pseudostatic in nginx
Apr 14, 2025 am 08:21 AM
How to enable pseudostatic in nginx
Apr 14, 2025 am 08:21 AM
How to enable Nginx pseudostatic? Enable the MultiViews module to allow the server to search for files based on the extension. Add a pseudo-static rule to rewrite the .php URL to the matching PHP file. Ensure that the web server process has permission to access PHP files. Restart Nginx to apply changes to implement the URL map to file paths.
 How to configure load balancing in nginx
Apr 14, 2025 am 08:33 AM
How to configure load balancing in nginx
Apr 14, 2025 am 08:33 AM
How to configure Nginx for load balancing? Defines the upstream server pool and specifies the server IP and port. Define virtual hosts, listen for connections and forward them to the upstream pool. Specify the location, match the request and forward it to the upstream pool.
 How to check the running status of nginx
Apr 14, 2025 am 11:48 AM
How to check the running status of nginx
Apr 14, 2025 am 11:48 AM
The methods to view the running status of Nginx are: use the ps command to view the process status; view the Nginx configuration file /etc/nginx/nginx.conf; use the Nginx status module to enable the status endpoint; use monitoring tools such as Prometheus, Zabbix, or Nagios.
 How to view nginx version information
Apr 14, 2025 am 08:24 AM
How to view nginx version information
Apr 14, 2025 am 08:24 AM
View Nginx version information through the following method: Direct command method: "nginx -v" output version information. View in the configuration file: Find the "version" section at the top of the configuration file. System information command: Linux: Use the "rpm -qa | grep nginx" or "dpkg -l | grep nginx" command. FreeBSD: Use the "pkg info nginx" command. Windows: Open Nginx service properties, version information is located in the General tab.
 How to redirect in nginx
Apr 14, 2025 am 08:42 AM
How to redirect in nginx
Apr 14, 2025 am 08:42 AM
Methods for redirecting through Nginx are 301 permanent redirects (update links or mobile pages) and 302 temporary redirects (handling errors or temporary changes). Configuring redirection involves using location directives in server blocks, advanced features include regular expression matching, proxy redirection, and condition-based redirection. Common uses of redirects include updating URLs, handling errors, redirecting HTTP to HTTPS, and guiding users to a specific country or language version.
 How to build a website in nginx
Apr 14, 2025 am 11:21 AM
How to build a website in nginx
Apr 14, 2025 am 11:21 AM
Using Nginx to build a website is carried out in five steps: 1. Install Nginx; 2. Configure Nginx, mainly configuring the listening port, website root directory, index file and error page; 3. Create website files; 4. Test Nginx; 5. Advanced configuration can be carried out as needed, such as SSL encryption, reverse proxy, load balancing and caching.
 How to set nginx access address to server ip
Apr 14, 2025 am 11:36 AM
How to set nginx access address to server ip
Apr 14, 2025 am 11:36 AM
To set the access address to server IP in Nginx, configure the server block, set the listening address (such as listen 192.168.1.10:80) Set the server name (such as server_name example.com www.example.com), or leave it blank to access the server IP and reload Nginx to apply the changes
 How to enable stream in nginx
Apr 14, 2025 am 09:45 AM
How to enable stream in nginx
Apr 14, 2025 am 09:45 AM
How to enable Nginx's Stream module? Enabling the Stream module requires six steps: Installing the Stream module configuration Nginx Create Stream Server Block Configuration Stream Server Options Restart Nginx Verification Enable
