

How to set up nginx+rtmp live broadcast server on Mac

1. Install homebrow
If you have already installed brow, you can skip this step directly.
Execute the command
ruby -e "$(curl -fssl https://raw.githubusercontent.com/homebrew/install/master/install)"
If you have already installed it and want to uninstall it:
ruby -e "$(curl -fssl https://raw.githubusercontent.com/homebrew/install/master/uninstall)"
2. Install nginx
First glone the nginx project locally:
brew tap homebrew/nginx
Perform the installation:
brew install nginx-full --with-rtmp-module
The installation process is slow, wait patiently
By operating the above steps nginx and The rtmp module is installed. Let’s start configuring the rtmp module of nginx
First let’s see where our nginx is installed
brew info nginx-full
We can see the information after executing the above command

nginx installation location
/usr/local/cellar/nginx-full/1.10.1/bin/nginx
nginx configuration file location
/usr/local/etc/nginx/nginx.conf
3. Run nginx
Execute the command and test whether the nginx service can be successfully started.
nginx
The command line is as shown below

Browsing Enter in the server address bar: http://localhost:8080 (click directly)
If
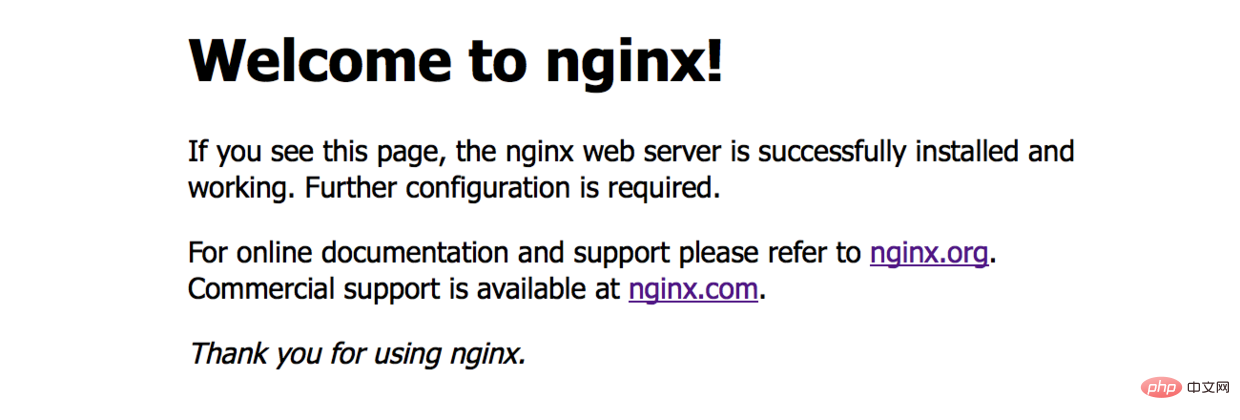
welcome to nginx!.03
## appears
nginx: [emerg] bind() to 0.0.0.0:8080 failed (48: address already in use)
lsof -i tcp:8080
kill 9603(这里替换成占用8080端口的pid)
nginx -s reload
nginx -s reopen
nginx -s stop
nginx -s quit
4. Configure rtmp
/usr/local/etc/nginx/nginx.conf
http {
  ……
}rtmp {
server {
listen 1935;
#直播流配置
application rtmplive {
live on;
#为 rtmp 引擎设置最大连接数。默认为 off
max_connections 1024;
}
application hls{
live on;
hls on;
hls_path /usr/local/var/www/hls;
hls_fragment 1s;
}
}
}5. Install the ffmepg tool
brew install ffmpeg
 vlc.04
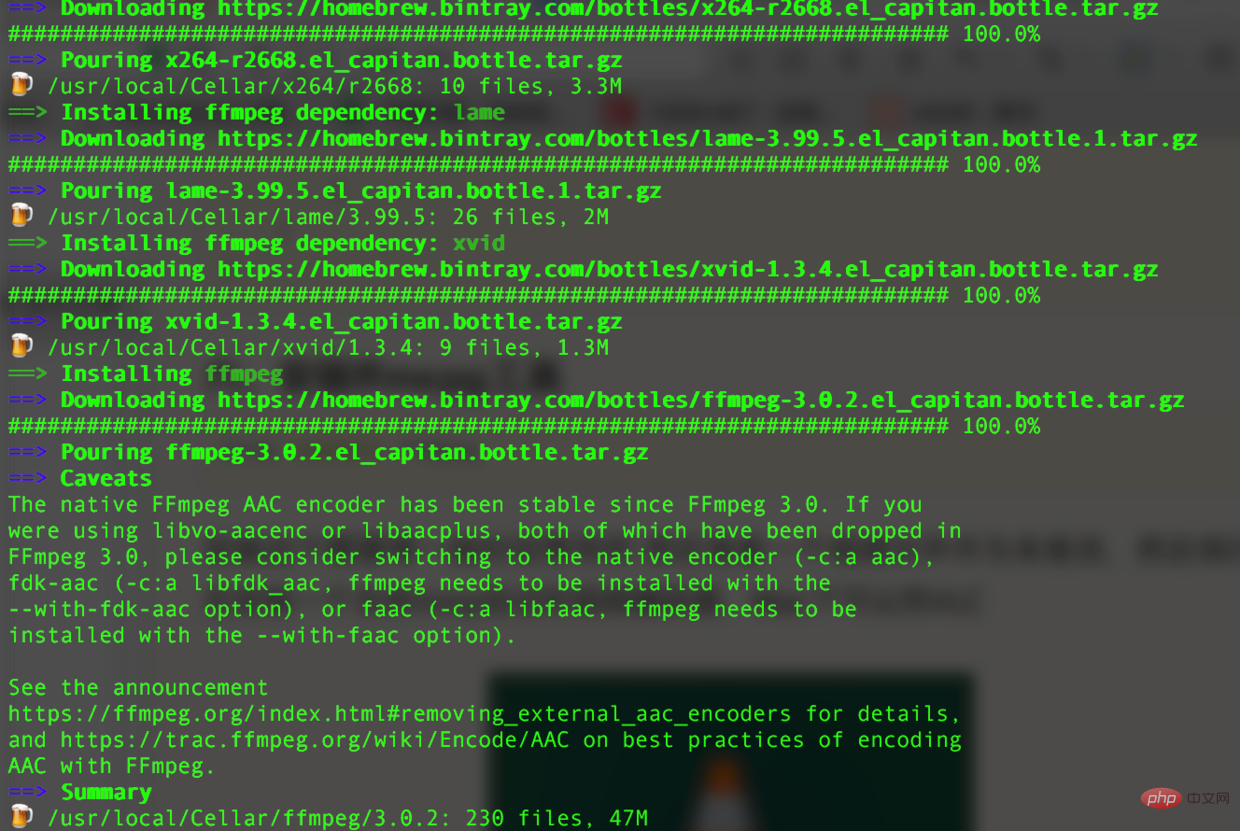 ffmpeg has been installed 0.5
6. After the ffmepg installation is complete, you can start streaming
ffmpeg -re -i 你的视频文件的绝对路径(如/users/lideshan/downloads/demo.mp4) -vcodec copy -f flv rtmp://localhost:1935/zbcs/room
// 如:ffmpeg -re -i /users/jiangys/documents/document/demo.mp4 -vcodec copy -f flv rtmp://localhost:1935/zbcs/room

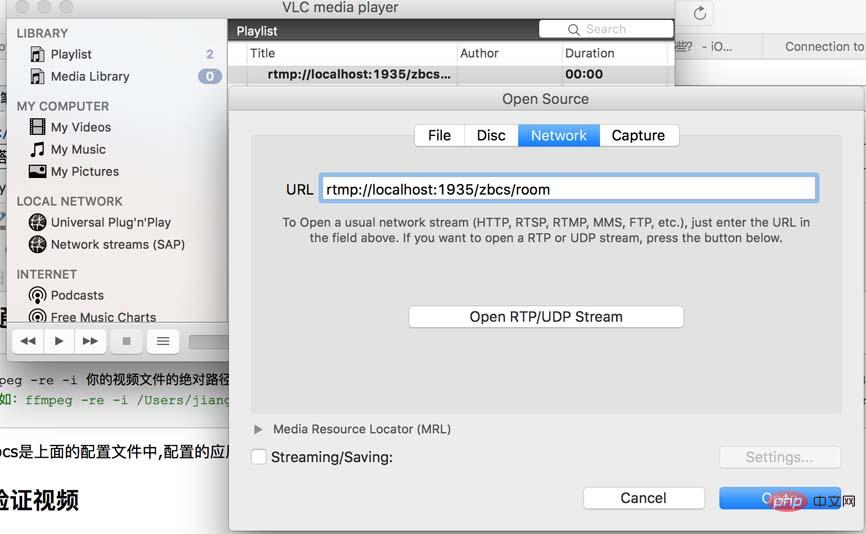
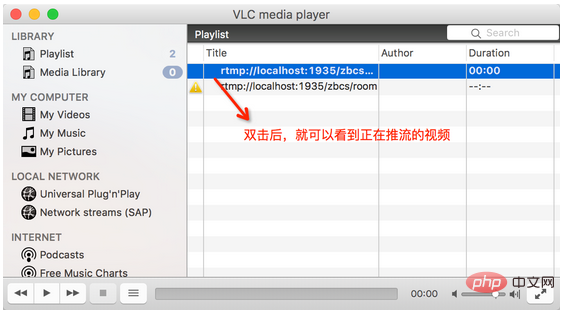
7. Verify the video
Then open the vlc player software on your computer Clickfile---->open network Select network in the pop-up box and enter the url:
rtmp://localhost:1935/zbcs/room

Error handling
[tcp @ 0x7ff162504b60] connection to tcp://localhost:1935 failed (connection refused), trying next address
nginx -s reload
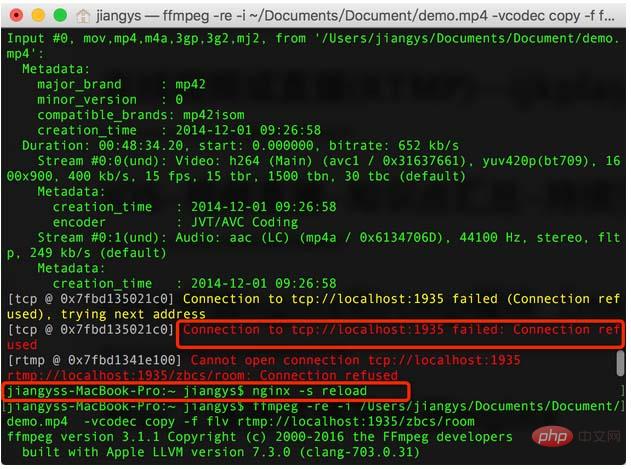
nginx
The above is the detailed content of How to set up nginx+rtmp live broadcast server on Mac. For more information, please follow other related articles on the PHP Chinese website!

Hot AI Tools

Undresser.AI Undress
AI-powered app for creating realistic nude photos

AI Clothes Remover
Online AI tool for removing clothes from photos.

Undress AI Tool
Undress images for free

Clothoff.io
AI clothes remover

AI Hentai Generator
Generate AI Hentai for free.

Hot Article
Hot Tools

Notepad++7.3.1
Easy-to-use and free code editor

SublimeText3 Chinese version
Chinese version, very easy to use

Zend Studio 13.0.1
Powerful PHP integrated development environment

Dreamweaver CS6
Visual web development tools

SublimeText3 Mac version
God-level code editing software (SublimeText3)
Hot Topics
 1378
1378
 52
52

 How to check whether nginx is started
Apr 14, 2025 pm 01:03 PM
How to check whether nginx is started
Apr 14, 2025 pm 01:03 PM
How to confirm whether Nginx is started: 1. Use the command line: systemctl status nginx (Linux/Unix), netstat -ano | findstr 80 (Windows); 2. Check whether port 80 is open; 3. Check the Nginx startup message in the system log; 4. Use third-party tools, such as Nagios, Zabbix, and Icinga.
 How to start nginx in Linux
Apr 14, 2025 pm 12:51 PM
How to start nginx in Linux
Apr 14, 2025 pm 12:51 PM
Steps to start Nginx in Linux: Check whether Nginx is installed. Use systemctl start nginx to start the Nginx service. Use systemctl enable nginx to enable automatic startup of Nginx at system startup. Use systemctl status nginx to verify that the startup is successful. Visit http://localhost in a web browser to view the default welcome page.
 How to configure nginx in Windows
Apr 14, 2025 pm 12:57 PM
How to configure nginx in Windows
Apr 14, 2025 pm 12:57 PM
How to configure Nginx in Windows? Install Nginx and create a virtual host configuration. Modify the main configuration file and include the virtual host configuration. Start or reload Nginx. Test the configuration and view the website. Selectively enable SSL and configure SSL certificates. Selectively set the firewall to allow port 80 and 443 traffic.
 How to start nginx server
Apr 14, 2025 pm 12:27 PM
How to start nginx server
Apr 14, 2025 pm 12:27 PM
Starting an Nginx server requires different steps according to different operating systems: Linux/Unix system: Install the Nginx package (for example, using apt-get or yum). Use systemctl to start an Nginx service (for example, sudo systemctl start nginx). Windows system: Download and install Windows binary files. Start Nginx using the nginx.exe executable (for example, nginx.exe -c conf\nginx.conf). No matter which operating system you use, you can access the server IP
 How to solve nginx403
Apr 14, 2025 am 10:33 AM
How to solve nginx403
Apr 14, 2025 am 10:33 AM
How to fix Nginx 403 Forbidden error? Check file or directory permissions; 2. Check .htaccess file; 3. Check Nginx configuration file; 4. Restart Nginx. Other possible causes include firewall rules, SELinux settings, or application issues.
 How to solve nginx403 error
Apr 14, 2025 pm 12:54 PM
How to solve nginx403 error
Apr 14, 2025 pm 12:54 PM
The server does not have permission to access the requested resource, resulting in a nginx 403 error. Solutions include: Check file permissions. Check the .htaccess configuration. Check nginx configuration. Configure SELinux permissions. Check the firewall rules. Troubleshoot other causes such as browser problems, server failures, or other possible errors.
 How to check whether nginx is started?
Apr 14, 2025 pm 12:48 PM
How to check whether nginx is started?
Apr 14, 2025 pm 12:48 PM
In Linux, use the following command to check whether Nginx is started: systemctl status nginx judges based on the command output: If "Active: active (running)" is displayed, Nginx is started. If "Active: inactive (dead)" is displayed, Nginx is stopped.
 How to solve the problem of nginx cross-domain
Apr 14, 2025 am 10:15 AM
How to solve the problem of nginx cross-domain
Apr 14, 2025 am 10:15 AM
There are two ways to solve the Nginx cross-domain problem: modify the cross-domain response header: add directives to allow cross-domain requests, specify allowed methods and headers, and set cache time. Use CORS modules: Enable modules and configure CORS rules that allow cross-domain requests, methods, headers, and cache times.
