
 Common Problem
Fix Windows 10 Error: Windows cannot start this hardware device because its configuration information (in the registry) is incomplete or corrupted. (Code 19)
Common Problem
Fix Windows 10 Error: Windows cannot start this hardware device because its configuration information (in the registry) is incomplete or corrupted. (Code 19)
Fix Windows 10 Error: Windows cannot start this hardware device because its configuration information (in the registry) is incomplete or corrupted. (Code 19)

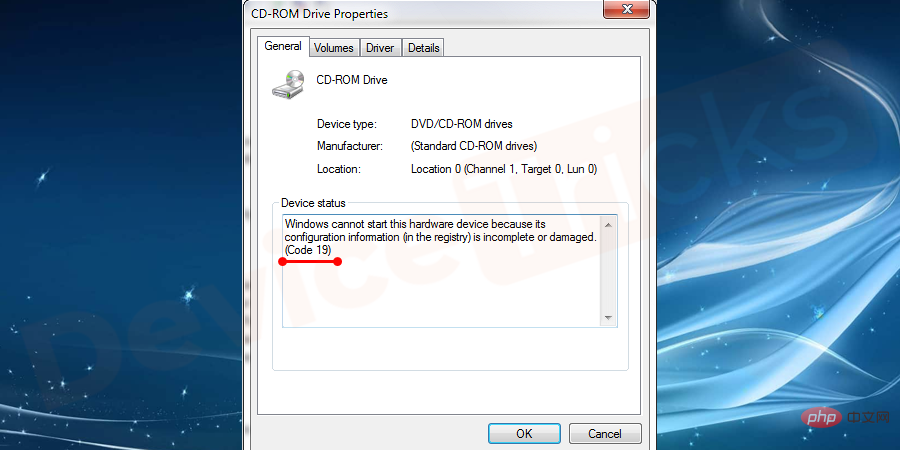
Windows operating system is the most demanding operating system among people due to its excellent features. However, technically no software or hardware is perfect due to bugs and the same thing happens with Windows, this time with error code 19 which means “Windows cannot start this hardware device because its configuration information is incomplete or damaged".
So, if you are wondering about the solution of “How to Fix Code 19 Error”, then you are already on the right path. Here you will get the best and effective solutions to your problems. So, let’s begin the journey.
What is error code 19?
Error code 19 is one of various device manager error codes. This error can cause hardware devices on the operating system to malfunction, specifically CD/DVD drives. As a registry error, it could be similar to your hardware being defective. The prominent reason behind this error is faulty Windows registry, which contains drivers and other information about that particular hardware device.
Why does error code 19 appear on the screen?
The registry is the database that stores operating system settings, and the code 19 error is a problem where the hardware device cannot properly access the system's registry. If not repaired, this may cause serious damage to the hardware device. So, go through the solutions listed below and resolve the issue before time runs out. There are some other errors that are also related to the Windows Registry, such as Broken Registry Items.
Code 19 What does the error look like?
Code 19 errors will always occur in one of the following ways:
Windows cannot start this hardware device because its configuration information (in the registry) is incomplete or corrupted. To resolve this issue, you should uninstall or reinstall the hardware device. (Code 19) Windows cannot start this hardware device because its configuration information (in the registry) is incomplete or corrupted. To resolve this issue, you can first try running the troubleshooting wizard. If this doesn't work, then you should uninstall or reinstall the hardware device. (Code 19)How to fix Code 19 error in Windows?
If you cannot access a hardware device on your computer and encounter "Windows cannot start this hardware device" problem, don't be angry. Please be patient and follow the steps below carefully.
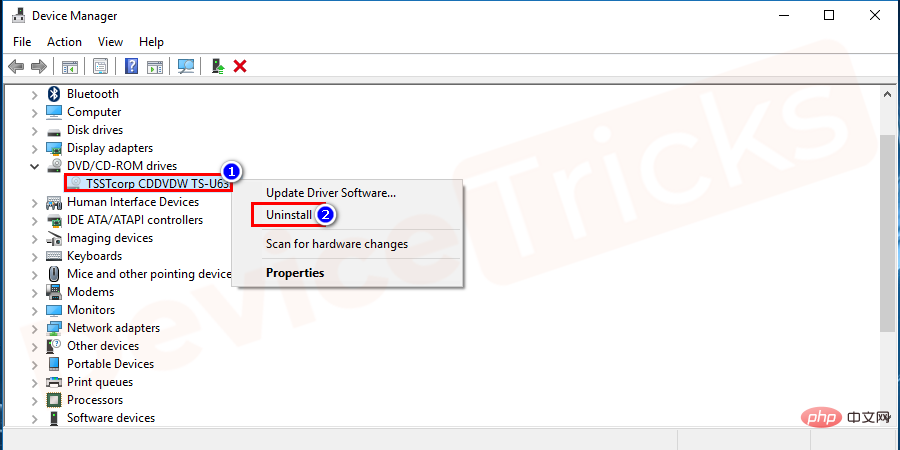
Reinstall CD/DVD Driver
This is a simple task that will also help you solve the problem immediately. Your job is to find the driver, then uninstall and reinstall it. Well, that’s the whole thing, now it’s time to look for the short solution.
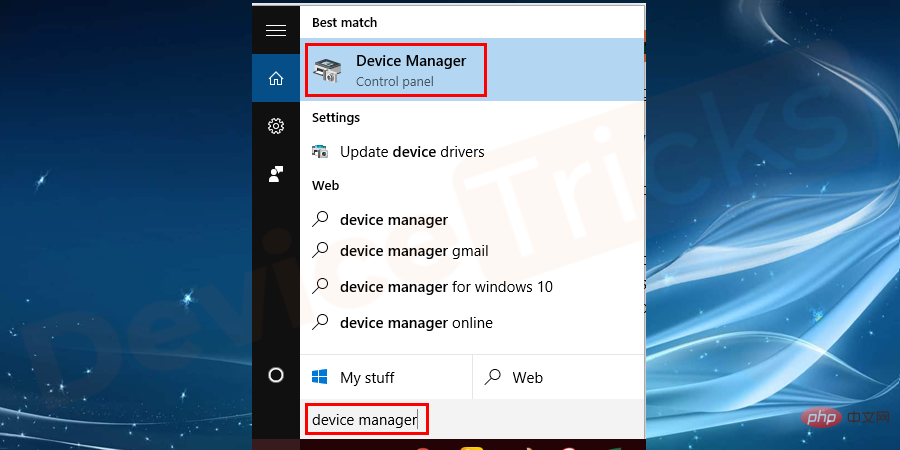
- Click the "Start" menu, enter "Device Manager" in the search bar, and press "Enter".

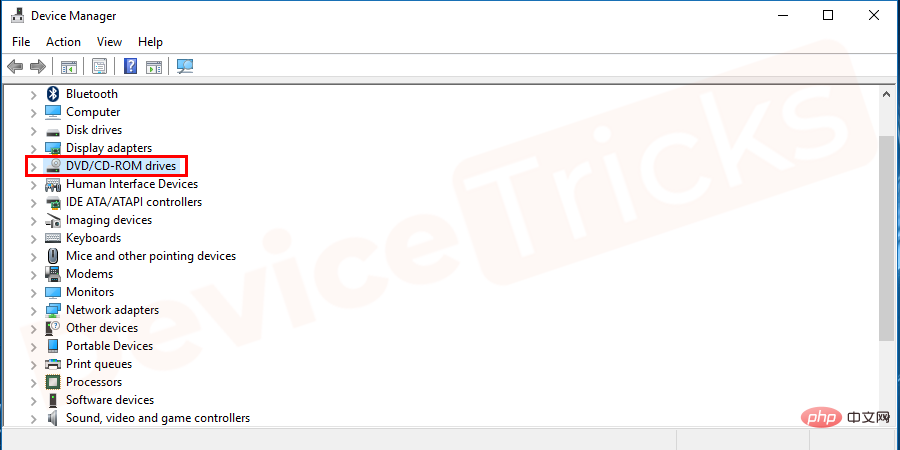
- Now, move to the " DVD/CD-ROM Driver" section, click on the arrow button and Expand it.

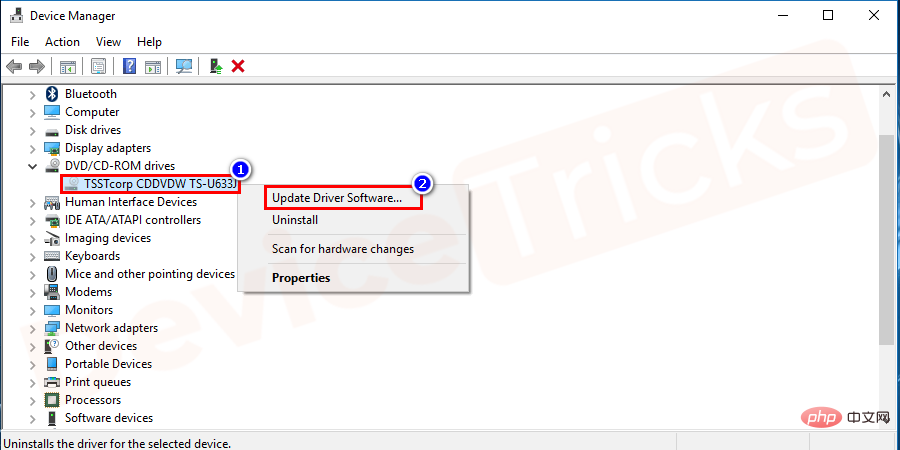
- After this you will get a list of drivers, select one, right click on it and select an option Uninstall Device.
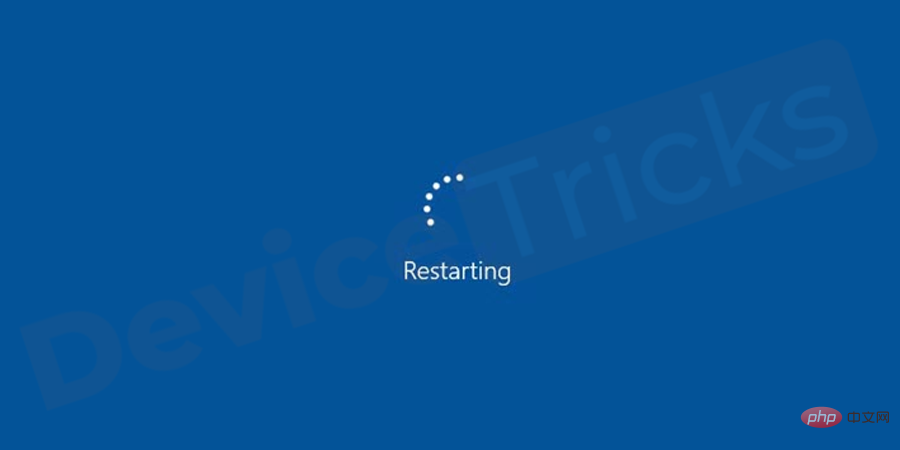
- Now, wait for some time to let Windows complete its task.
- After uninstalling the driver, restart the computer.
- After restarting your computer, hover your mouse cursor over the "Start" menu, right-click it, and select "Device Manager" from the Features menu.

- Soon, the Device Manager window will open and it will provide you with ample options, click on "Actions " tab and select "Scan for hardware changes" from the drop-down menu.
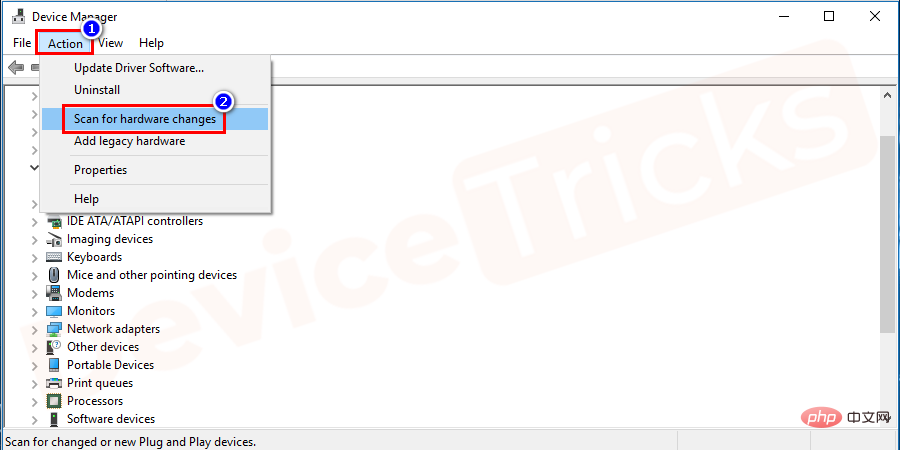
- Now, if there are any changes, you will be prompted to follow the instructions to install the DVD/CD-ROM driver. to complete the process.
Delete Registry File
This is the main solution, before going to the registry file make sure you are logged in as administrator on your computer. Modifying registry files is a technical task, so follow the steps below carefully or you may experience major problems with your computer.
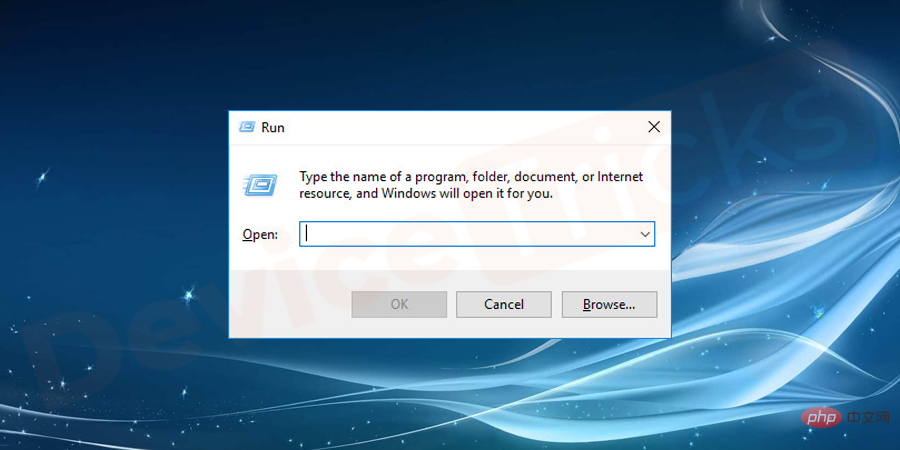
- First you have to open the "Run" box and then press the "Window" key and the "R" key simultaneously .
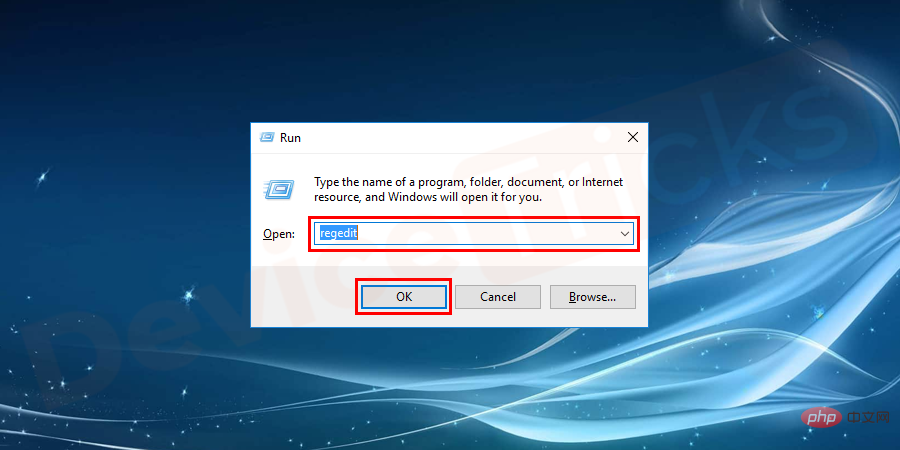
- Now type "regedit" in the space provided in the box and click OK button.
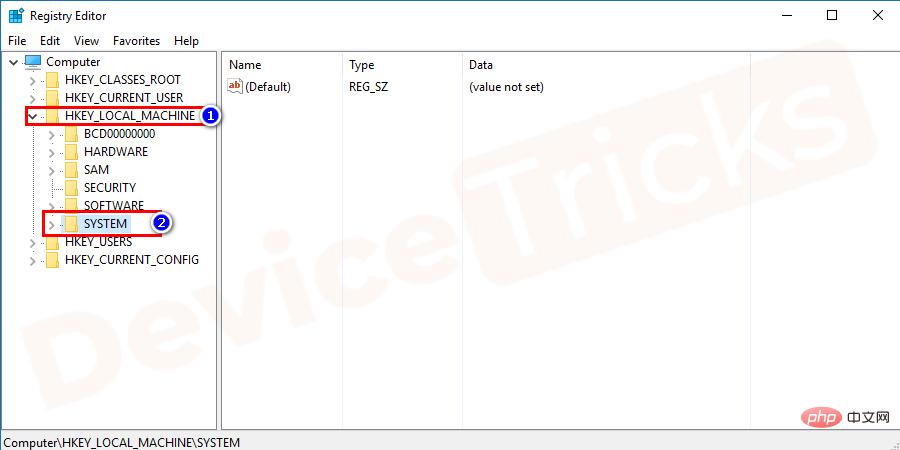
- Well, get ready to play hide and seek because you are going to have to explore some important files in the registry. So, first of all, please pay attention to " HKEY_LOCAL_MACHINE ".
- Now, expand its folders by clicking on the arrow button and navigate to the " SYSTEM " folder.
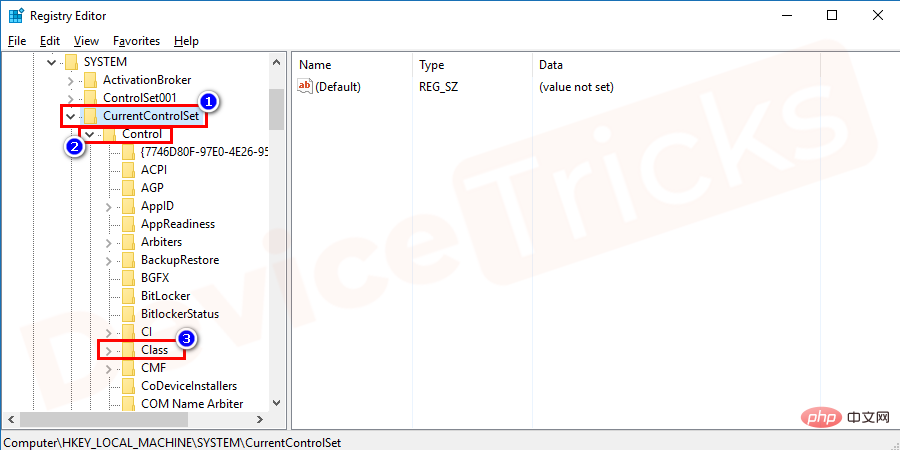
- In the " SYSTEM " folder you will get several folders, your job is to find " CurrentControlSet" folder. Once you find the same content, click the "Control" button and select "Category" from the featured options available in the "Control" folder.
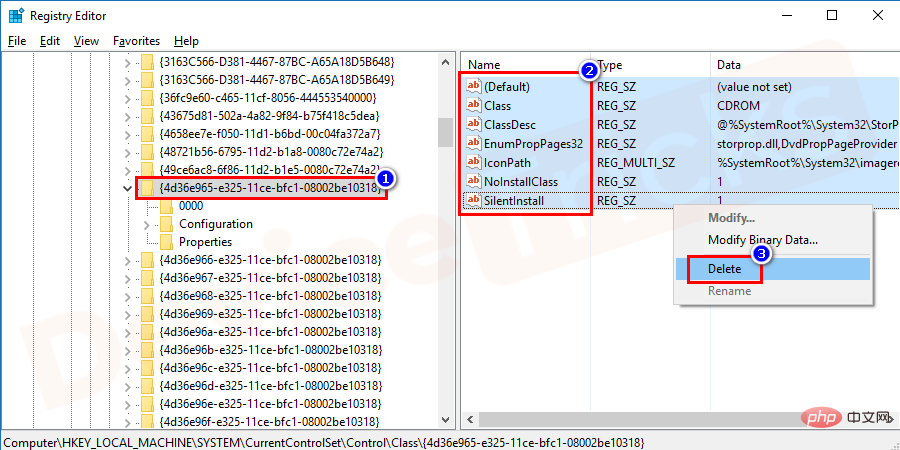
- From here it will be difficult because you will be in the "Class" folder There are many sub-folders found in and from these folders you will have to select {4D36E965-E325-11CE-BFC1-08002BE10318}.
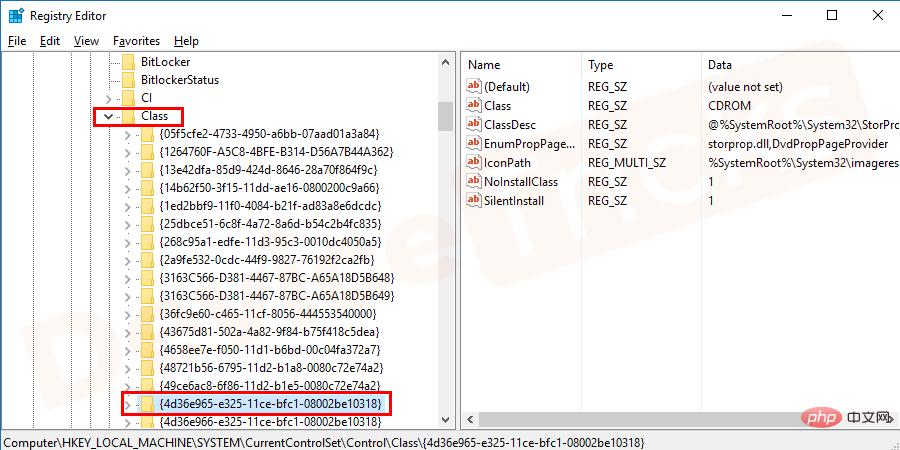
- Now click on the folder and you will find some files on the right panel. If you see "Upper Filter" on the panel, then right-click on it and select the "Remove" option. However, if you find " lower filter " in the right panel, delete it.
- If just in case you don't find any of these options, delete the entire file from the folder.
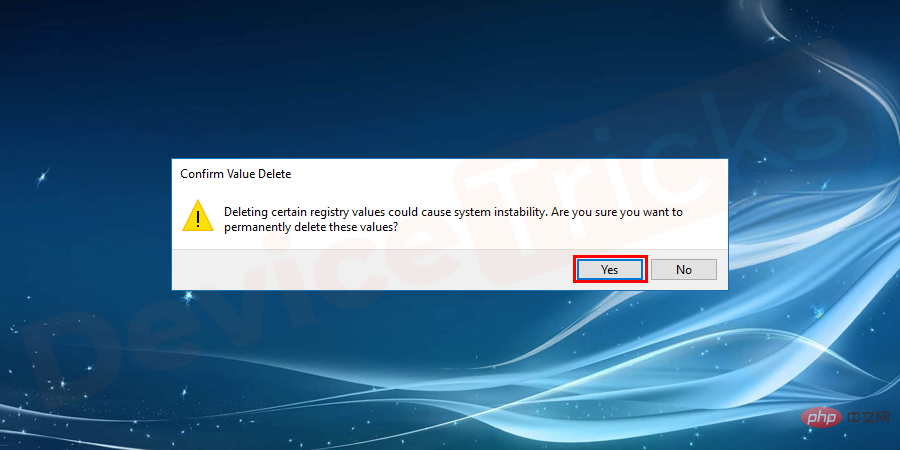
- During the deletion process, you will be asked to confirm, click the "Yes" button and proceed.
- After completing the above tasks, close "Registry Editor" and restart the computer.
- This will solve your problem.
Update Drivers
Sometimes, lack of updates can also be the reason for “Window hardware device error-Code 19” issue. Therefore, make sure your device drivers are updated. If not, then follow the steps listed below.
- If you are a Window 10 user, right-click on the Start icon and select Device Manager from the application list.
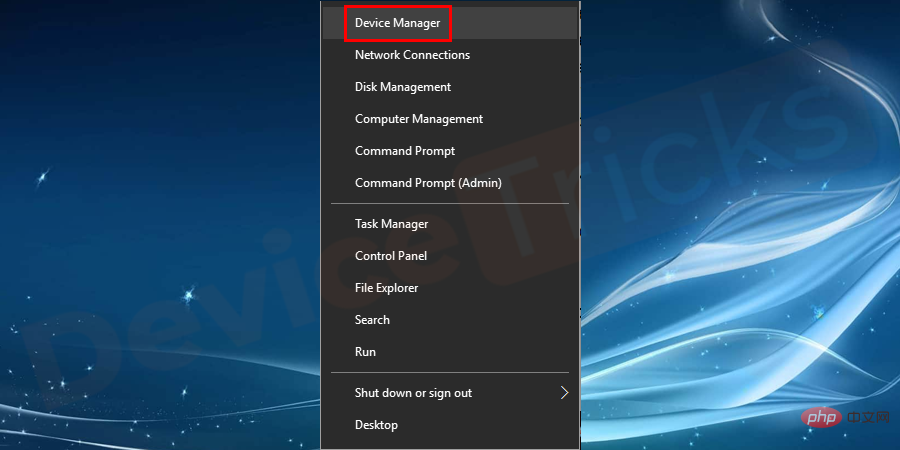
- However, if you are not using Windows 10, then just click on the "Start" menu, in the search bar Type "Device Manager" into "Device Manager" and press " Enter
- In the "Device Manager" window you will get several options and your task is to find out " DVD/CD-ROM
- Once you find the drive, select it and right-click on it. After this, a drop-down menu will appear which will provide you with some options, select " Update Driver
Repair iTunes
- iTunes is undoubtedly a great application, but sometimes it can mess up the registry files and cause "Windows cannot start this hardware equipment" issue. So, if you are using iTunes and getting such errors on your Windows screen, fix iTunes.
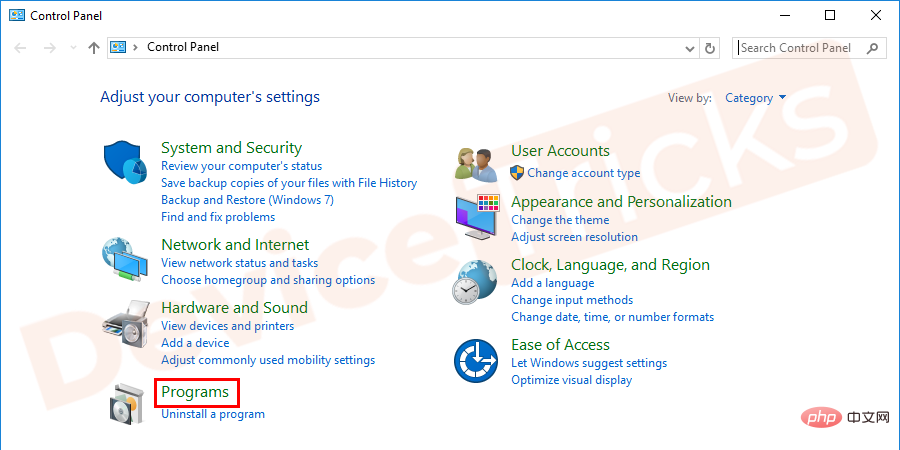
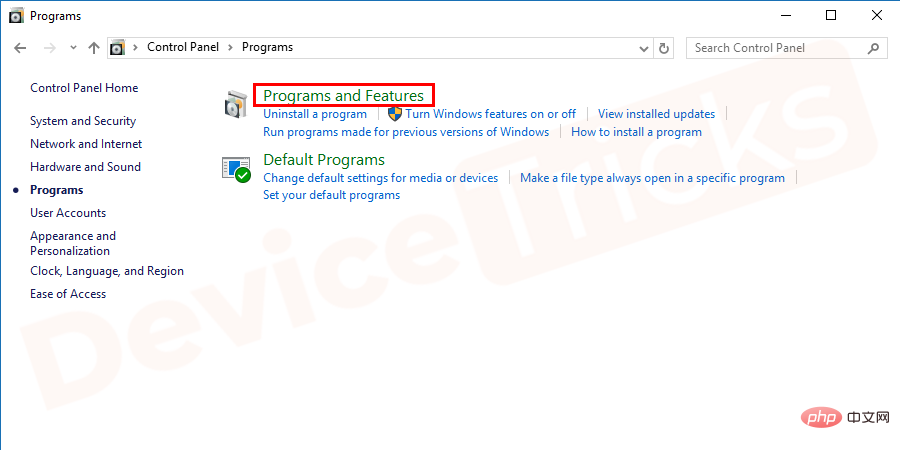
- Click the "Start" menu, type "Control Panel" in the search bar, and then press " Enter

- After this, a new window will open with many options, select Programs
- Additionally, you need to enter Programs and features
- In the list of programs, you need to find iTunes, then right-click on it and select " Repair
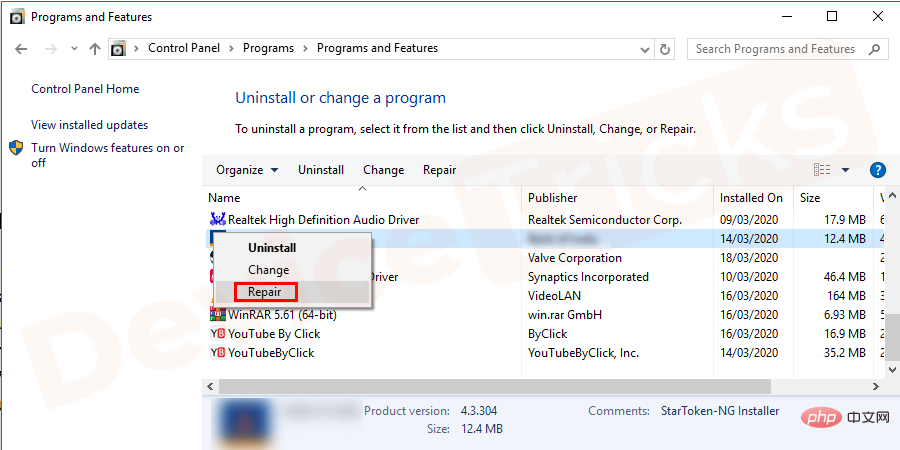
- After completing the task, restart the computer.
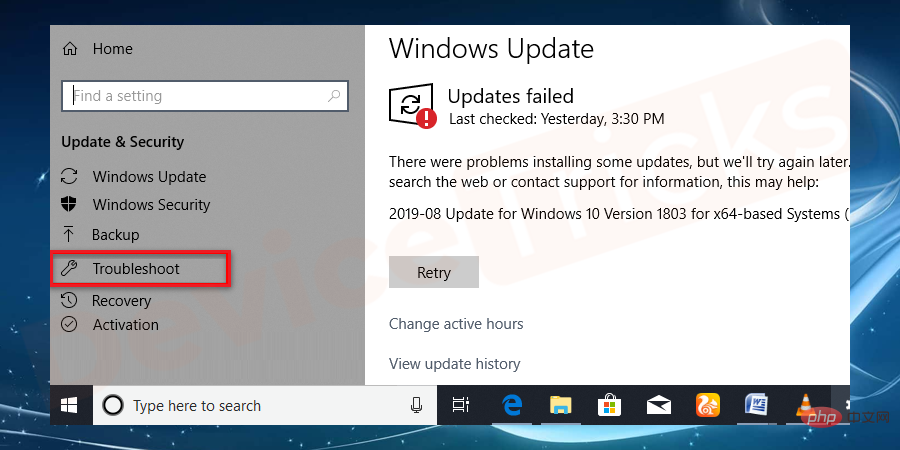
Use the Windows Troubleshooter to Fix Code 19 Error
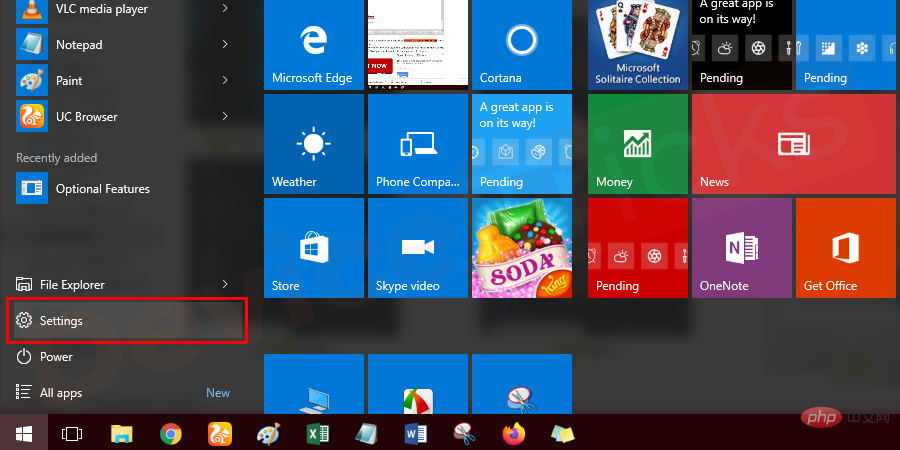
- Click on the Start menu and then click on the Power button with the gear icon ""Settings" icon above the menu.
- Soon, the "Settings" window will open and you need to click "Update and Safety".
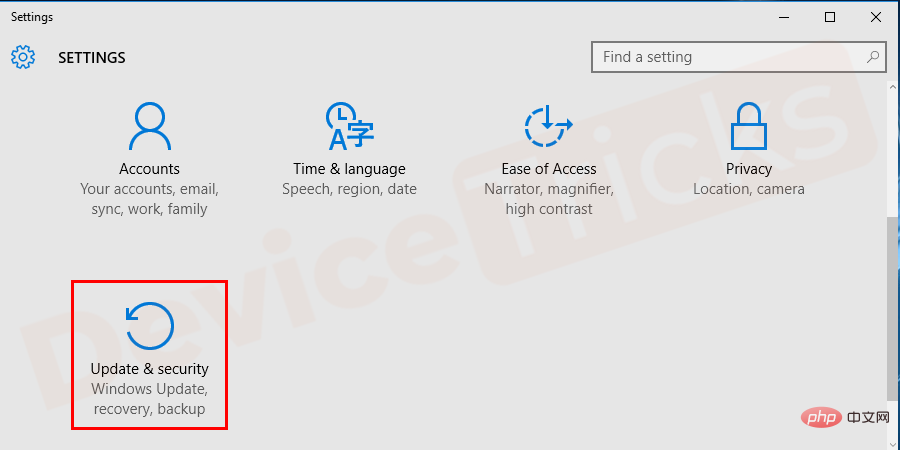
- In the left panel of the Update & Security page you will get the Troubleshooter" option, click it.
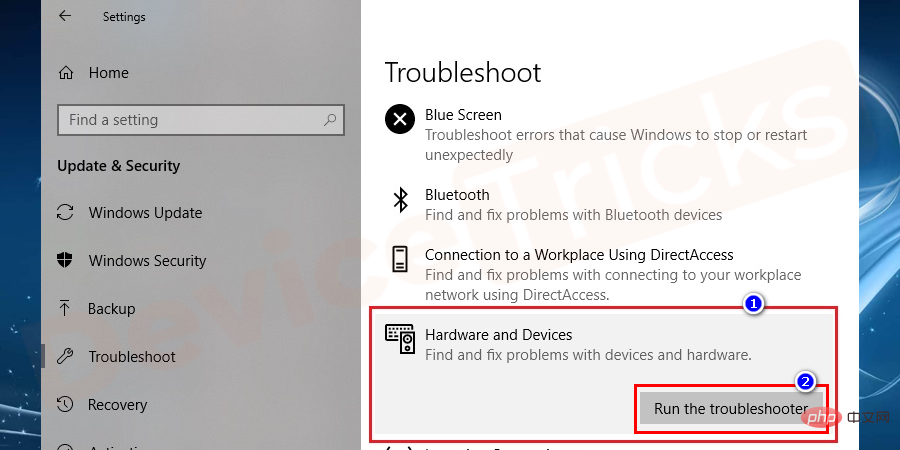
- Now navigate to “Hardware and Devices” and once you find the same, click on it.
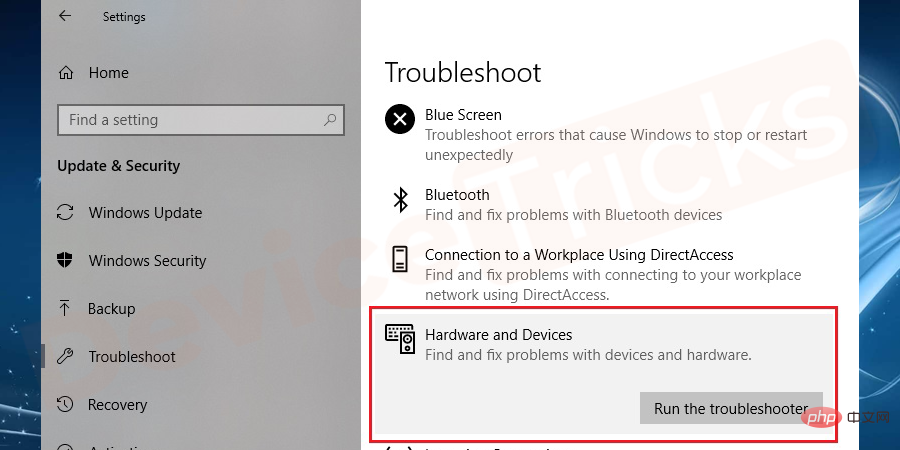
- After this, you will get an option “Run the troubleshooter”, click on it.
- That's it; your work is done and give Windows some time to fix the problem.
- After completing the troubleshooting process, you will get an option "Apply this fix" and you need to click on it.
- Now, restart your computer.
Increase system memory
If the system memory is insufficient, it may cause the "Windows cannot start this hardware device" problem. To solve this problem, you need to add RAM to the computer. However, before that, you have to analyze your system memory and the process for the same is provided below.
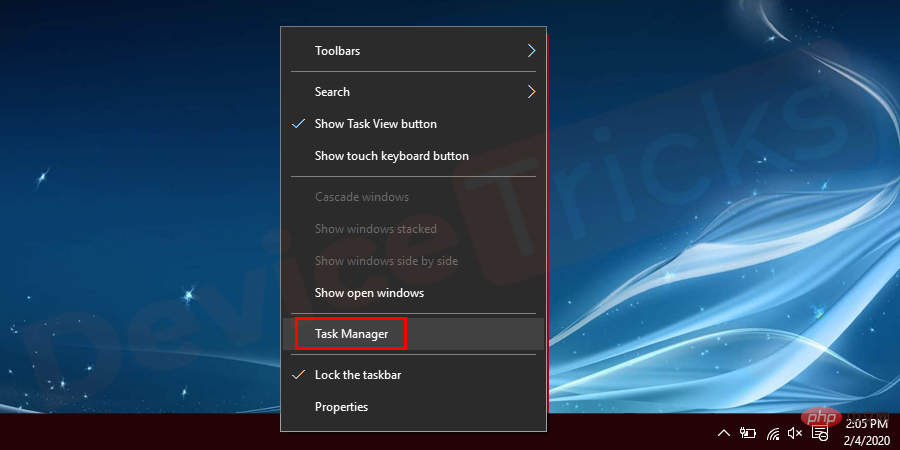
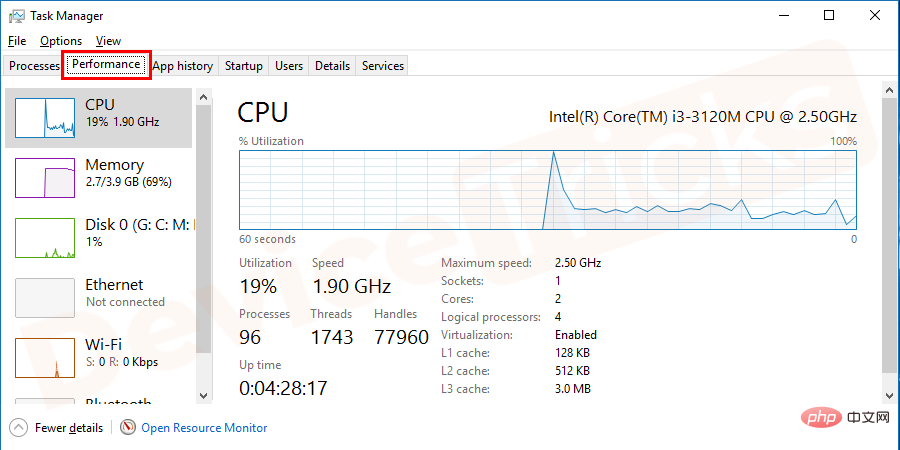
- Hover your mouse cursor over "Taskbar", right-click it and select "Task Manager".
- Soon, a Task Manager window will open and you need to click on the Performance tab located at the top of the menu bar.
- On the left end of the window you will find some options, click on "Memory".
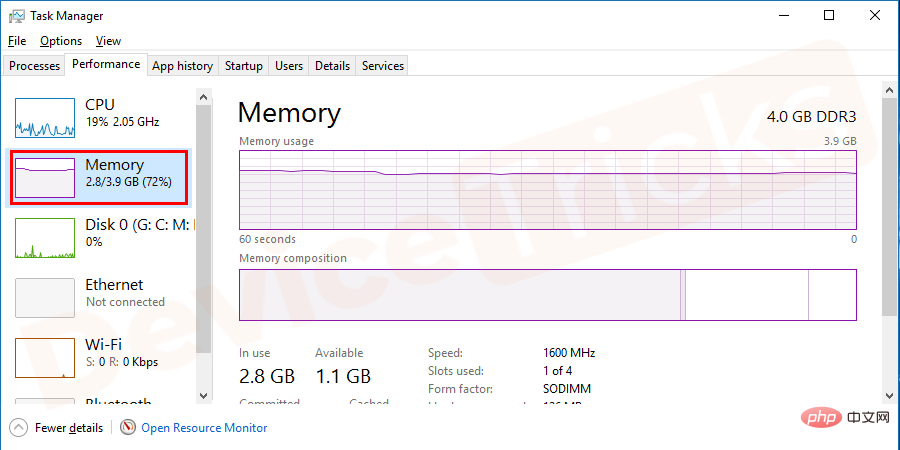
- After this, you will get the system memory details. If it shows too high, it means you need to add more RAM to your PC.
- Hover your mouse cursor over the
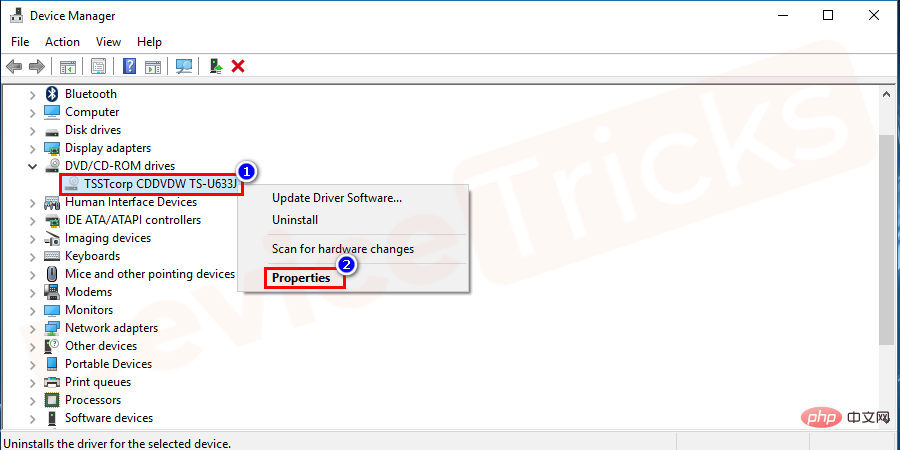
- Start menu, right-click it, and then click Device Manager.

- Soon, you will get the Device Manager window and you need to select "DVD/CD-ROM". Now, click on DVD/CD-ROM to expand it and select the drive.

- After selecting the drive, right-click on it and select the Properties option from the drop-down menu.
- After this, a new pop-up window will open and you need to click on "Driver" located at the top of the menu bar Tab.
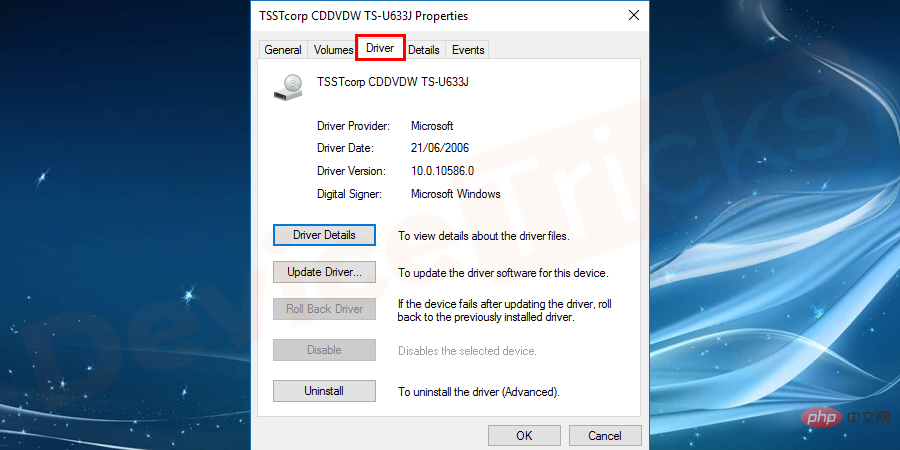
- Now, click on the “Rollback Driver” option. However, if the option is grayed out, it means that the Windows operating system does not have the driver for the previous version and you will not be able to perform this task.
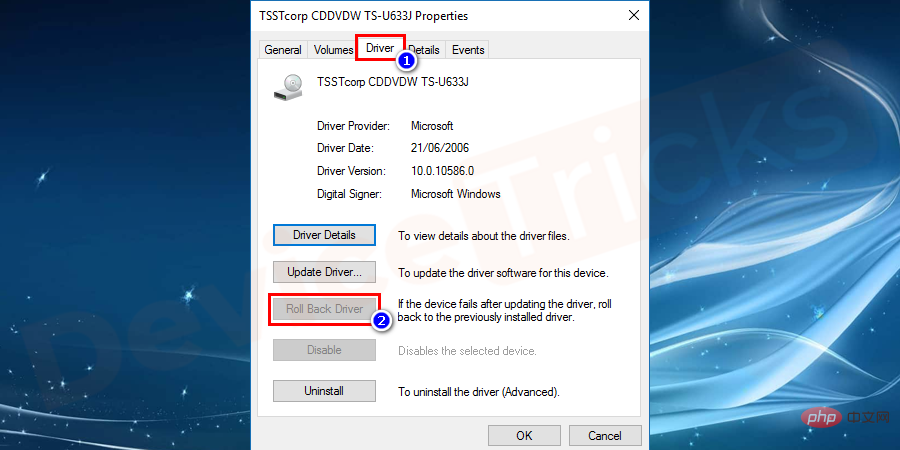
- If you successfully click on the "Roll Back Driver" option, then shortly after, you will get confirmation of the operation, in this case, You need to click on the "is" button.
- The process will take some time, once completed, the "System Settings Change" pop-up will appear on the screen and you need to click the "Yes" button.
- After this, your computer will automatically restart.
Performing System Restore Tasks
System Restore is like a time machine that can restore your PC to a working state. However, if you have created such a point before, you can access this functionality. System Restore is the best option to fix Windows Error Code 19 and the detailed steps for this method are provided below.
- Click the Start menu, type Control Panel in the search bar, and then press the "Enter" key.
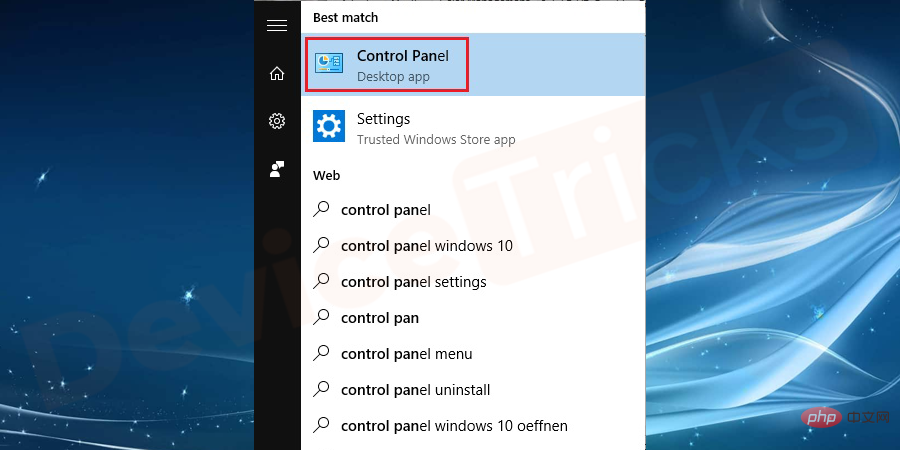
- Soon, you will get the control panel window, click on "System and Security".
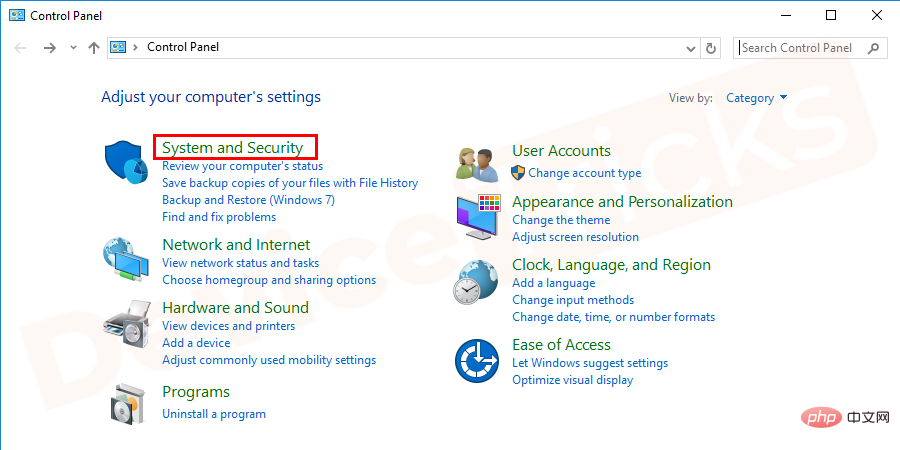
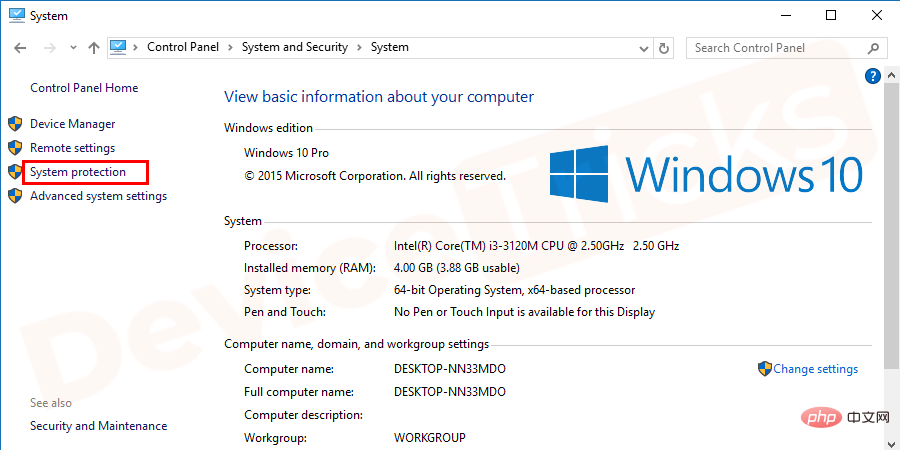
- In the “System and Security” section you will get ample options, click on the “System” option.
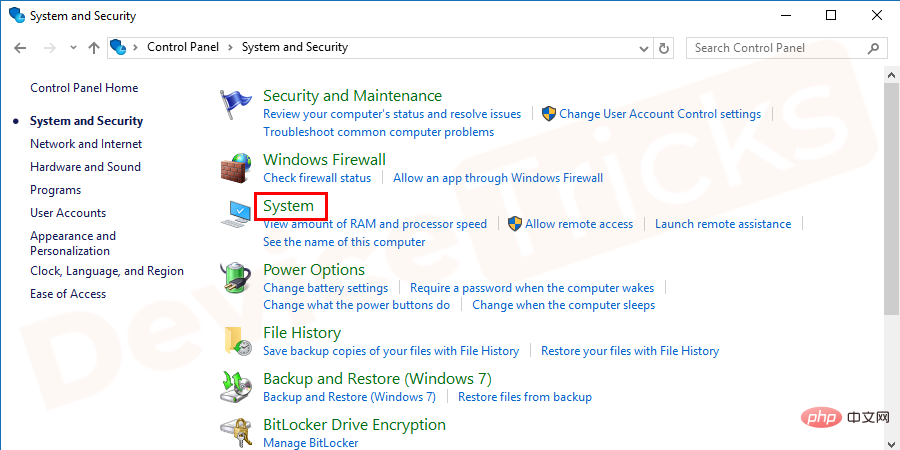
- In the left panel of the System window you will get additional options, click on "System Protection" Link.
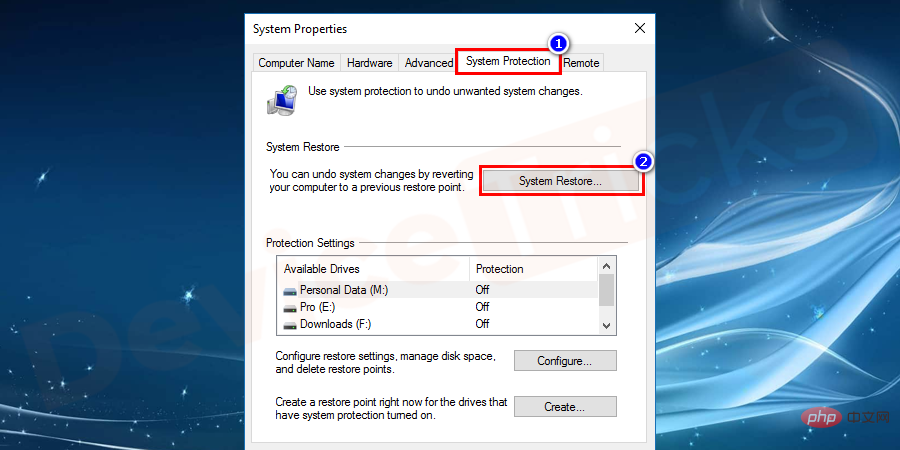
- After this, the "System Properties" window will open, where you will get the "System Restore" button, click it.
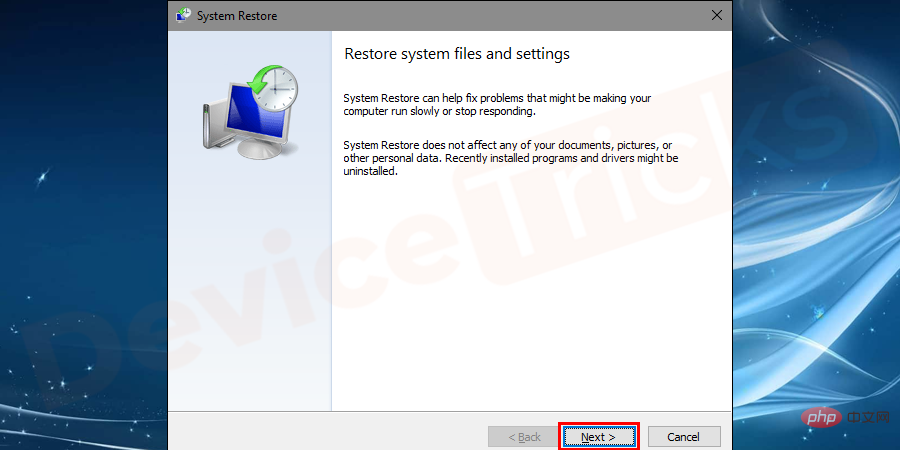
- A new pop-up window will open and you need to click on the "Next" button to continue.
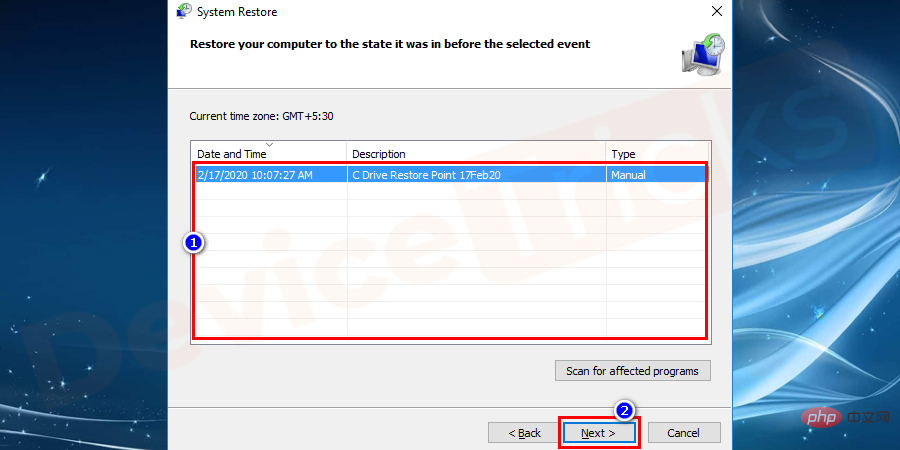
- After that, you will get a list of restore points (if you created them before). Select a restore point and click the "Next" button.
- Soon, a warning message will appear and you must click on the "is" button.
- Now, give Windows time to perform the system restore task and once completed, your computer will restart.
- That's it; your work is completed and the problem is solved.
The above is the detailed content of Fix Windows 10 Error: Windows cannot start this hardware device because its configuration information (in the registry) is incomplete or corrupted. (Code 19). For more information, please follow other related articles on the PHP Chinese website!

Hot AI Tools

Undresser.AI Undress
AI-powered app for creating realistic nude photos

AI Clothes Remover
Online AI tool for removing clothes from photos.

Undress AI Tool
Undress images for free

Clothoff.io
AI clothes remover

Video Face Swap
Swap faces in any video effortlessly with our completely free AI face swap tool!

Hot Article
Hot Tools

Notepad++7.3.1
Easy-to-use and free code editor

SublimeText3 Chinese version
Chinese version, very easy to use

Zend Studio 13.0.1
Powerful PHP integrated development environment

Dreamweaver CS6
Visual web development tools

SublimeText3 Mac version
God-level code editing software (SublimeText3)
Hot Topics
 1387
1387
 52
52

 What is idp generic malware? Is it a virus or a false positive?
May 14, 2023 pm 01:04 PM
What is idp generic malware? Is it a virus or a false positive?
May 14, 2023 pm 01:04 PM
It's Sunday afternoon and you're enjoying your favorite game on your PC. Your game is almost over but is suddenly interrupted by a pop-up window. When you see the warning message “IDP.Generic threat detected” from your antivirus program, you feel annoyed and worried at the same time. Is it a virus or just a warning? So confused that you somehow managed to get to this page on the internet. Don’t worry, we will resolve your concerns immediately. What does IDP mean? IDP is the identity detection protection mechanism of antivirus programs, which prevents computers from being stolen by Trojans or viruses from personal data related to your identity, such as your bank credentials, important documents, and ID cards. When an antivirus program fails to detect a file type and therefore raises a warning, it usually
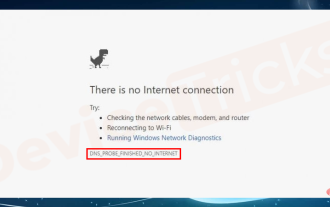 'DNS Probe Finished No Internet' Error in Google Chrome - How to Fix?
Apr 18, 2023 pm 09:31 PM
'DNS Probe Finished No Internet' Error in Google Chrome - How to Fix?
Apr 18, 2023 pm 09:31 PM
Imagine you're working on a presentation that's due tomorrow, and you find the perfect web page that contains all the statistics you've been searching for hours. Once you open it, instead of a web page, you see a small T-Rex with a small DNS_PROBE_FINISHED_NO_INTERNET error written underneath it. How frustrating can it be when DNS probing starts with no internet? Like a fireman, I will try to quickly address all of your pressing questions related to this error. What is DNS_Probe_Finished_No_Internet error? DNS_PROBE error is very common for Google Chrome users, it is mainly
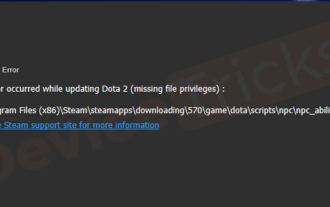 How to fix Steam missing file permissions error?
May 19, 2023 pm 04:03 PM
How to fix Steam missing file permissions error?
May 19, 2023 pm 04:03 PM
Steam is a gaming platform that offers action-packed games, adventure games, and more. In short, it is an ideal hub for gamers where they can find all types of games. There is no doubt that Steam is a great application but some users fail to access the platform efficiently and the reason behind it is an issue namely “Steam Missing File Permissions”. So don’t worry if you are in the same list as the problem is very common and with some quick solutions you can resolve it in no time. But before going further into the solution section, let’s figure out what is the reason behind “Steam update missing file permissions” issue. Once we figure out the cause, then it's easy to fix
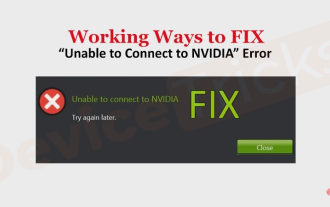 How to fix Unable to connect to NVIDIA error in Windows?
May 04, 2023 am 08:40 AM
How to fix Unable to connect to NVIDIA error in Windows?
May 04, 2023 am 08:40 AM
"Unable to connect to NVIDIA, try again later" error displayed on the screen means that the GeForceExperience application cannot connect to NVIDIA, thus causing such issues. Most of the time the error notification looks like Unable to connect to NVIDIA Please try again later or Unable to connect to NVIDIA Check your Internet connection Many users are facing this issue and you are not the only one reporting GeForceExperience cannot open error. So, to solve the same problem, there are some fruitful solutions that can help you overcome this problem. Before moving on to the solution section, let us discuss why this error occurs. continue
 What should I do if it prompts 80070035 that the network path cannot be found in win10?
May 12, 2023 pm 05:17 PM
What should I do if it prompts 80070035 that the network path cannot be found in win10?
May 12, 2023 pm 05:17 PM
Solution to the prompt 80070035 Network path not found in win10: 1. Click "Network", "Open Network and Internet Settings", select "Network and Sharing Center" and then select "Change advanced sharing settings", and then check " Enable sharing so that users with network access can read files in public folders"; 2. Return to "Network and Sharing Center", click "Broadband Connection" and select "Properties", click "Network", check "Microsoft Network Client" Just click "end".
 How to fix print screen not working on Windows 10?
Apr 14, 2023 am 08:37 AM
How to fix print screen not working on Windows 10?
Apr 14, 2023 am 08:37 AM
Are you encountering “ Print Screen not working ” while trying to capture screenshots on Windows 10 via Print Screen (PrtSc) key? Well, don’t worry because you are not alone, many Windows 10 users have experienced the Print Screen feature suddenly stopped working and complained about the error on forum threads. Well, this is indeed very disturbing but a common problem and if you are still dealing with Windows 10 screen capture not working issue or Print Screen key no longer working, then luckily you are at the right place. In this article, you will learn how to fix
 How to fix 502 Bad Gateway error?
Apr 14, 2023 am 09:07 AM
How to fix 502 Bad Gateway error?
Apr 14, 2023 am 09:07 AM
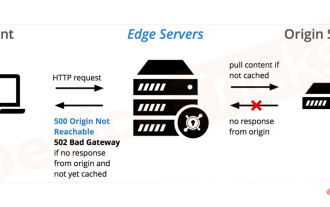
We have to be grateful to technology for making our lives easier, but that same technology often falls victim to technical glitches. 502 Bad Gateway is one such technical glitch you may encounter. It indicates that one server is unable to get some valid response from another server. If you're wondering what exactly a 502 Bad Gateway error is, keep reading. What does 502 Bad Gateway mean? It's just an HTTP status code, similar to a specific server being unable to receive a response from another server. The 502 Bad Gateway error depends entirely on your specific setup. You may end up experiencing it in any browser at any given time across any operating system
 How to fix ShadowPlay not recording/not working properly?
Apr 14, 2023 pm 05:10 PM
How to fix ShadowPlay not recording/not working properly?
Apr 14, 2023 pm 05:10 PM
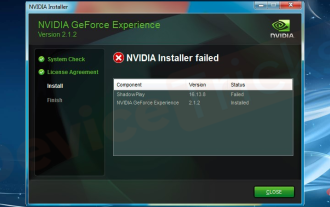
NVIDIA Shadowplay is an integral part of GeForceExperience and allows you to record your gameplay. The same Twitch feature will help you stream live streams of games. The features of Shadowplay are amazing, but sometimes the issue of NVIDIA Shadowplay not working properly annoys users so that they cannot record their gameplay. For some reason, shadowplay installation and shadowplay download failed in the Nvidia Geforce experience. In this tutorial I will show you how to install shadowplay and solve shadowplay download/