

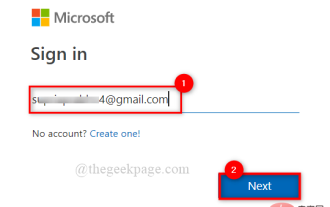
How to map a drive in Windows 11

- Click to enter:ChatGPT tool plug-in navigation
If you often need to connect to remote folders or drives shared on the network, mapped drives or Windows 11 Folder location on your PC will save you a lot of time. Otherwise, using a mapped network drive feels the same as plugging any other drive into your PC.
If all of this sounds perfect to you, let’s take a quick look at how to map a network drive on Windows 11.
First, configure Windows for the network drive
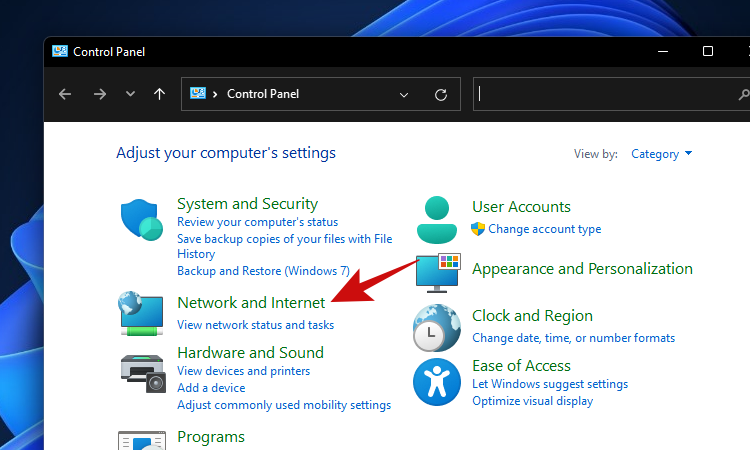
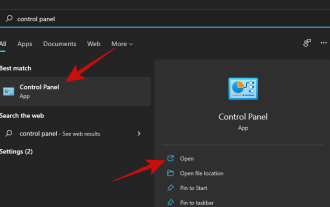
Click the Start button and enter Control Panel. Click the search result or Open button.

After entering the control panel, click "Network and Internet".
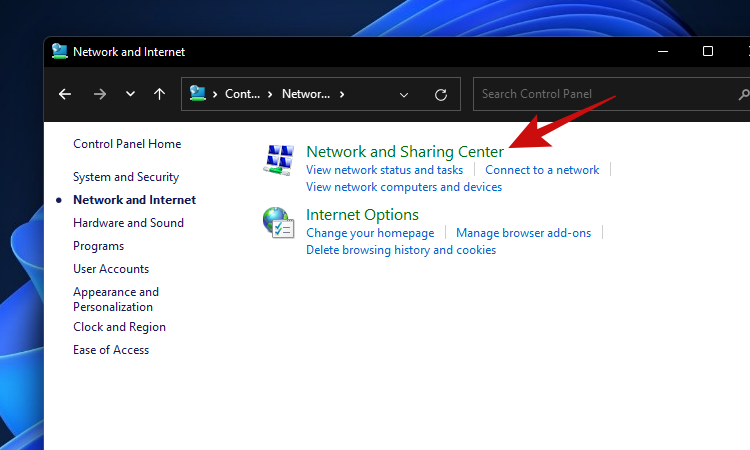
Click "Network and Sharing Center".
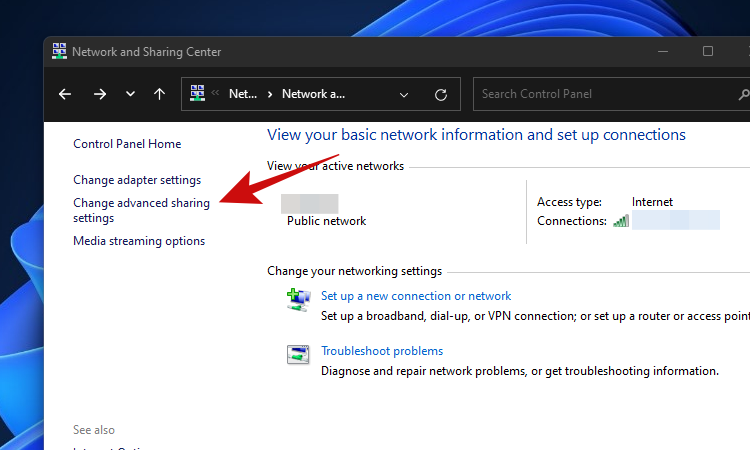
Click "Change advanced sharing settings."
Click "Turn on network discovery" and then click the "Save Changes" button. Accept any prompts that may arise.
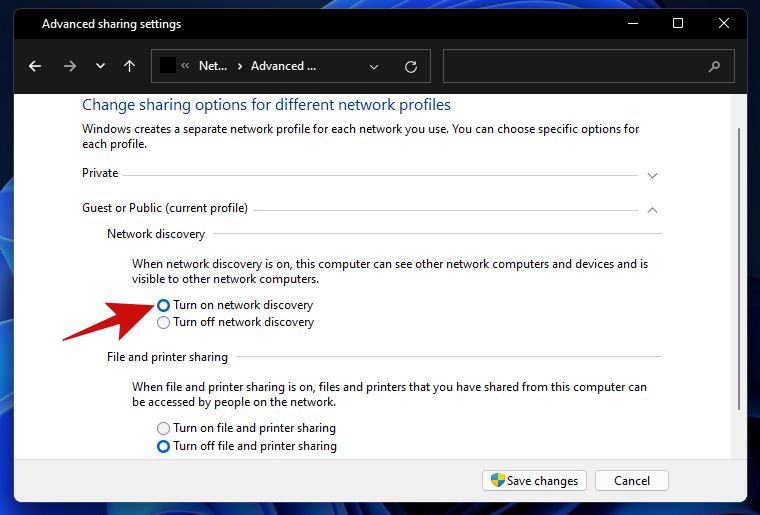
After making this change, your PC should be able to find your network folder or drive and be discoverable by other PCs and devices on your network.
It’s time to map the drive to your Windows 11 PC.
5 Ways to Map a Drive on Windows 11
After configuring your Windows 11 PC for mapping as mentioned above, you can now proceed to map the drive on your PC. Here are the various ways to map a drive on Windows 11 operating system.
Method 1: Use File Explorer
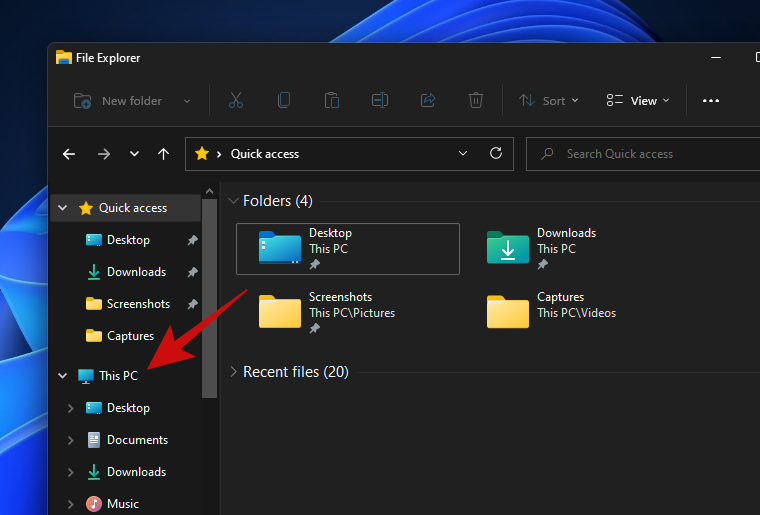
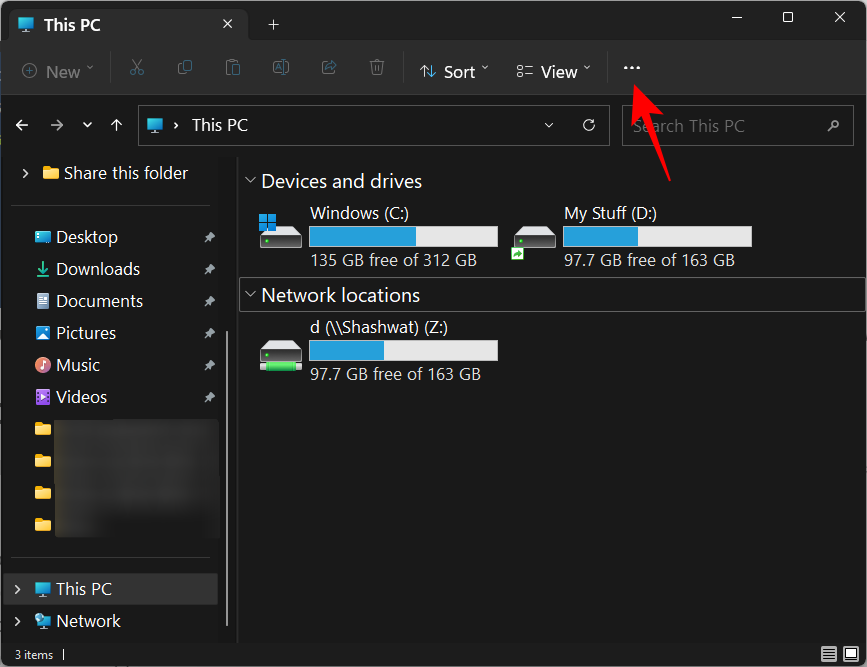
Press the button to go to "This PC" Win key e. In the Quick Access window, click the This PC shortcut.
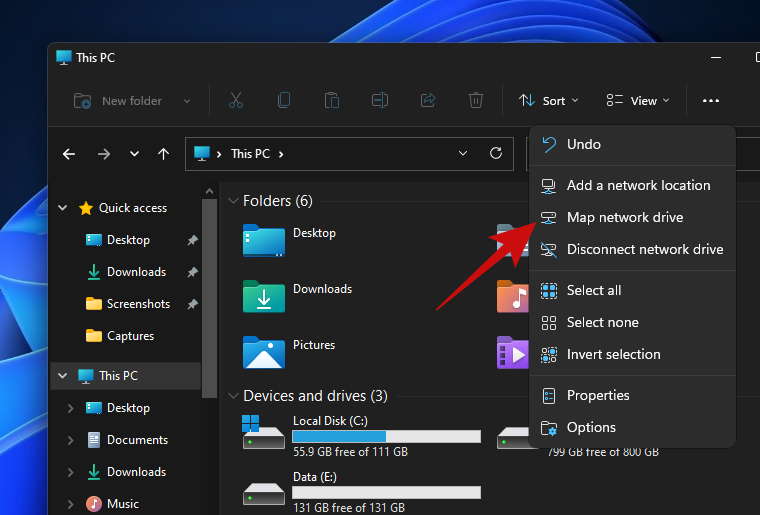
The next step is to click on the three-dot menu and select "Map Network Drive" from this list of options.
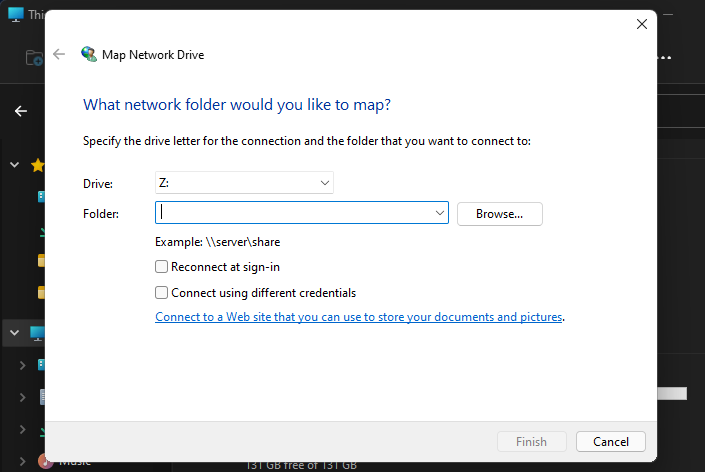
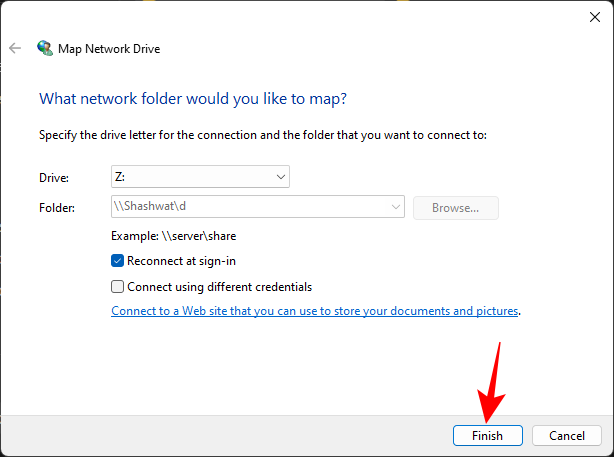
#You should see a pop-up titled "Map Network Drive." Complete the following to select a preferred drive letter for the remote location: Enter the URL of the network folder in the pop-up window, and then click Finish. You can also click the Browse button and select a shared folder.
Tip
- If you want Windows to automatically reconnect to network folders after startup, check " Reconnect at login" option.
- If you use a different set of login credentials than your PC to access your shared folders or drives, check the "Connect using different credentials" option. Windows should ask for a username and password when trying to connect to a remote location. Check "Remember my credentials" to save your credentials instead of entering them every time you connect.
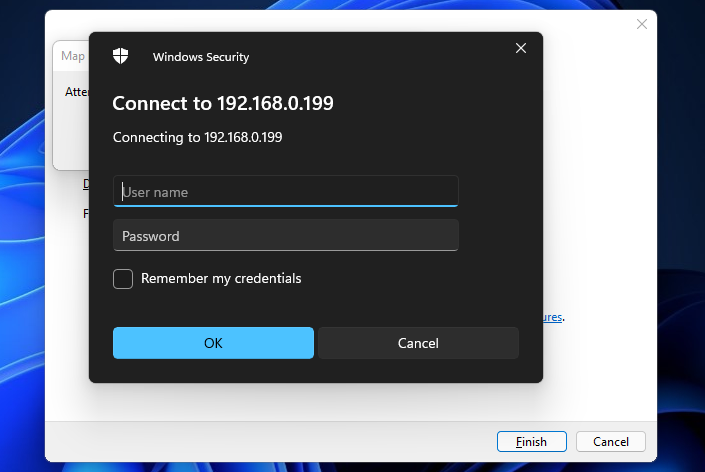
# After verifying the credentials, Windows should open the remote folder immediately.
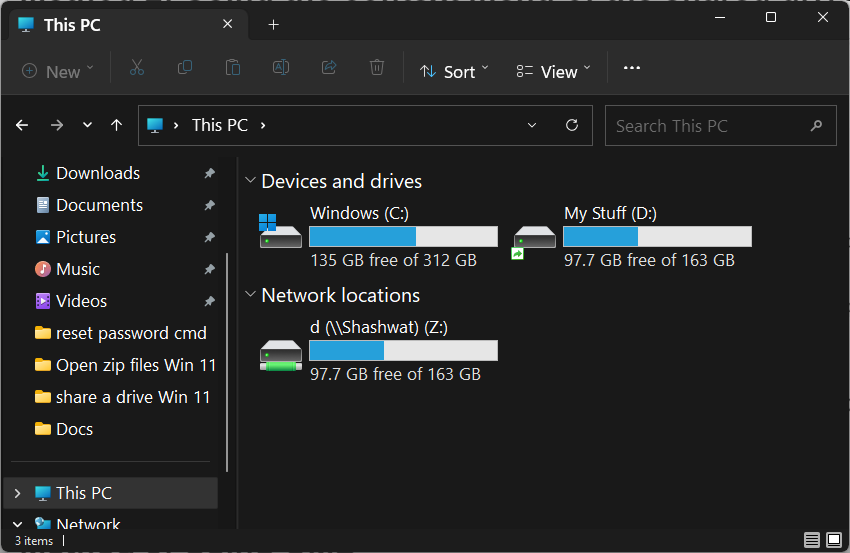
You should be able to find the newly added network location in the This PC window.
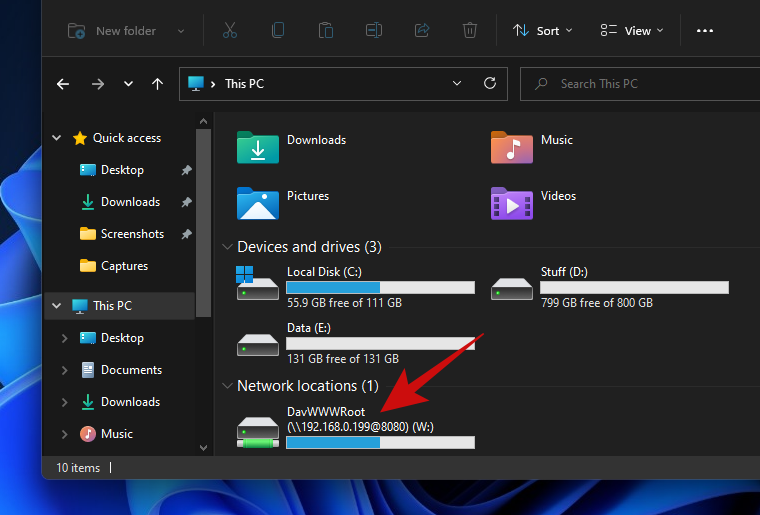
That’s it! You have successfully mapped a network location to your Windows PC.
Method 2: Using the shared drive’s context menu
Another, easier way to connect to a shared drive is to navigate to the shared network drive or folder in File Explorer and then Use the context menu to map it as a drive on your PC.
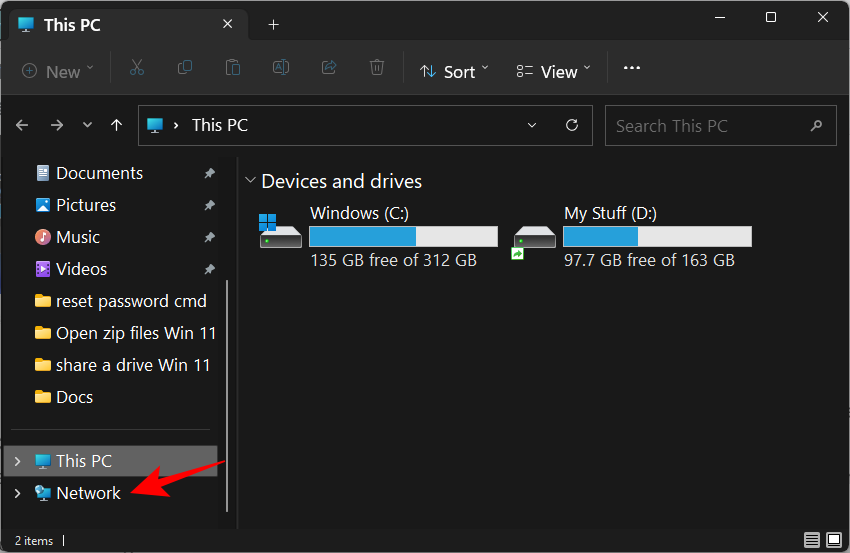
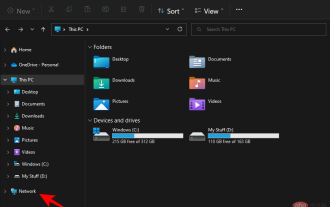
You can access shared drives through File Explorer in several ways. First, press Win E to open File Explorer. Now click on Network in the left pane.
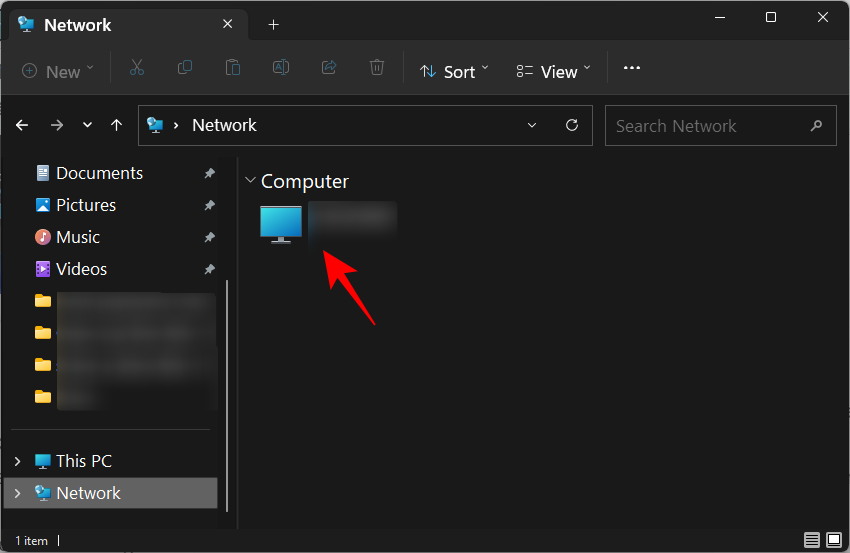
# Select the system sharing the drive by double-clicking it.
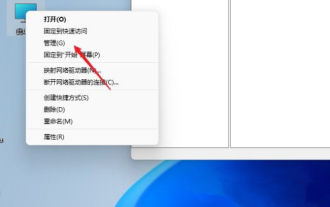
Then right-click on the folder or drive you want to map and select Map Network Drive...
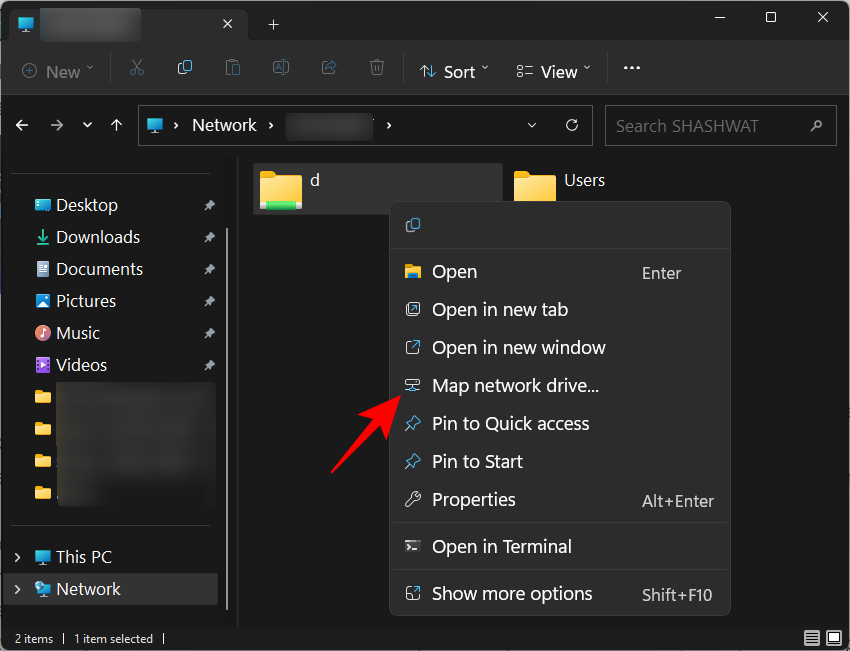
The familiar "Map Network Drive" ” window will open. Select the drive letter for the mapped drive and click Finish to map the drive.
Your drive/folder will now be mapped and available on the This PC page.
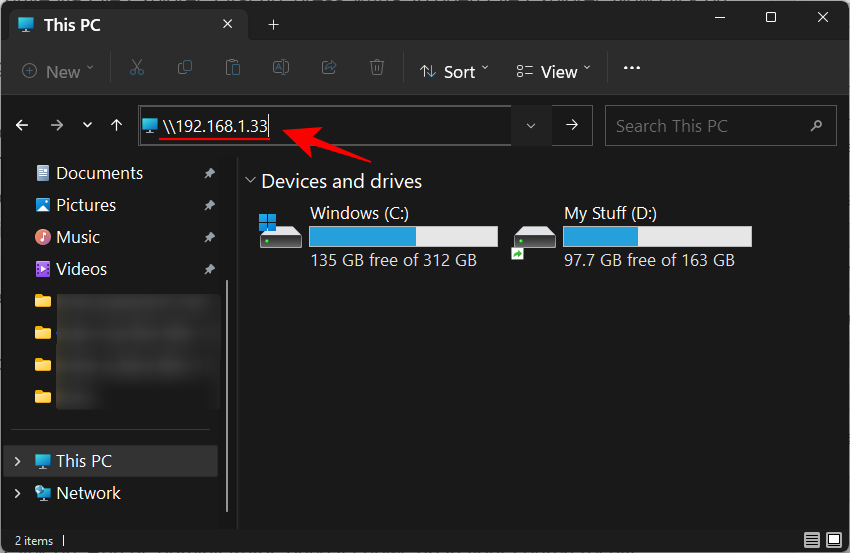
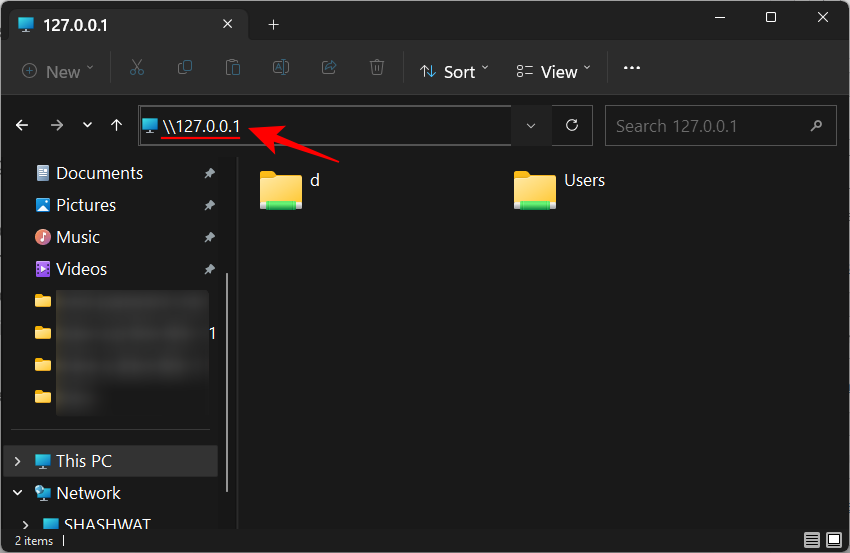
If you know the IP address of the system sharing the drive, simply click in the address bar and type the IP address in the following format:
\\IP_address
Make sure to change IP_Address to the IP address of the shared network.
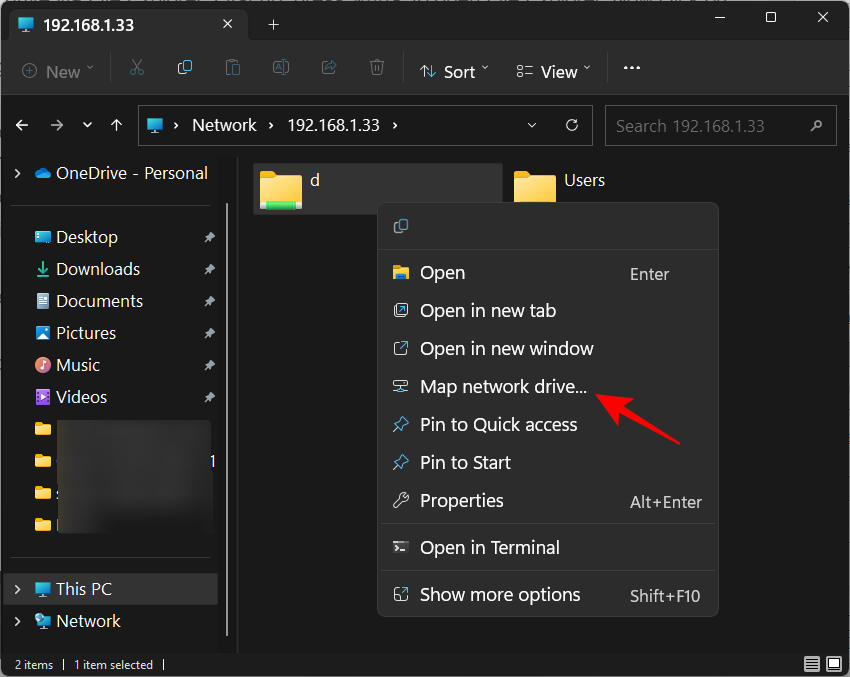
Then right click on the drive/folder you want to map and select Map Network Drive as shown above.
You can enter your own IP address or type 127.0.0.1 to check your shared folders.
Method 3: Using CMD
You can also map the drive in Windows 11 via CMD. Use the tutorial below to help you get started.
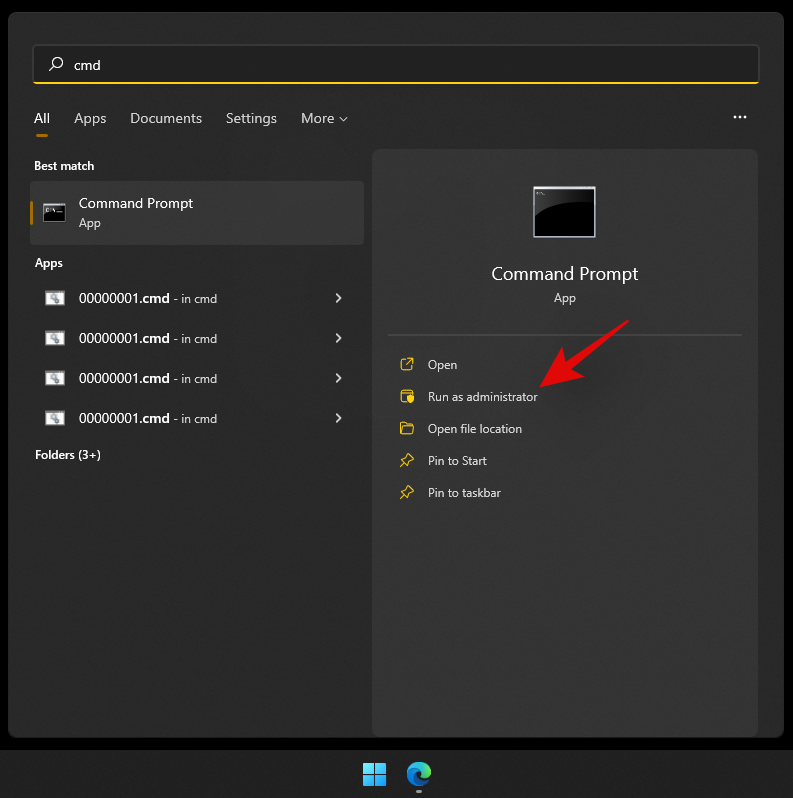
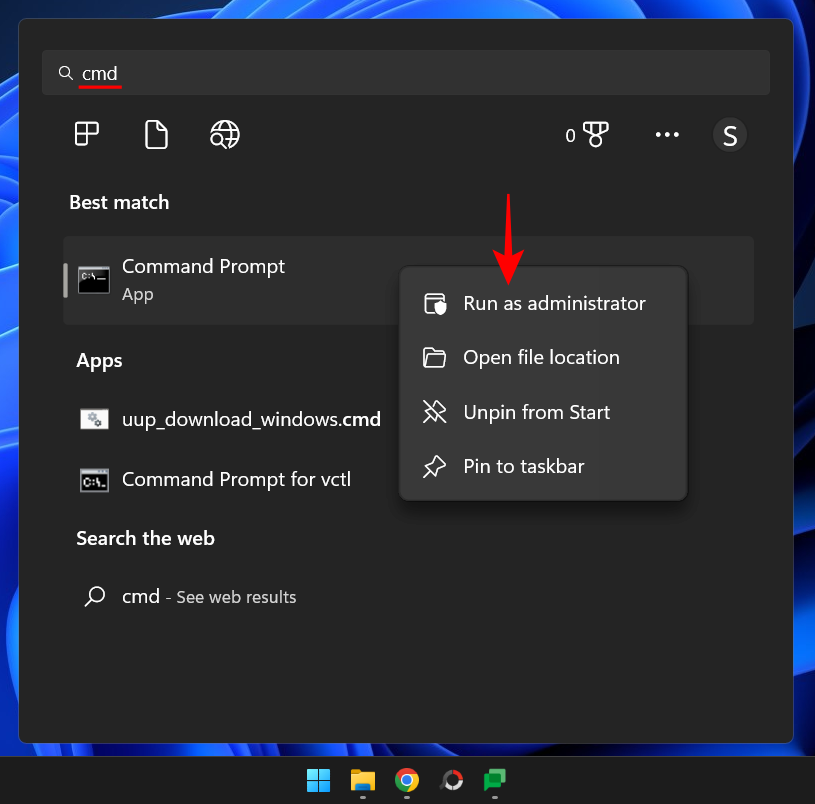
Press Windows S keyboard and search for CMD. Once it appears in your search results, click "Run as administrator."
Enter the following command and press the Enter key on your keyboard. Please replace "DLetter" with the drive letter of your choice and "PATH" with the path to the specific folder you want to map.
net use DLetter: \\PATH /PERSISTENT: YES
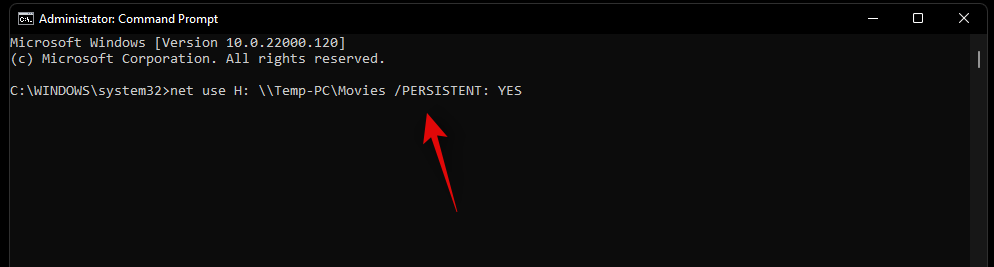
The selected drive will now be mapped into Windows 11, and It should now show up in File Explorer.
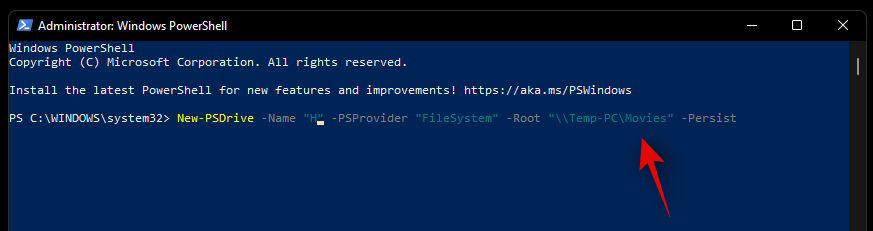
Method 4: Using PowerShell
Use the tutorial below to easily map a drive in PowerShell.
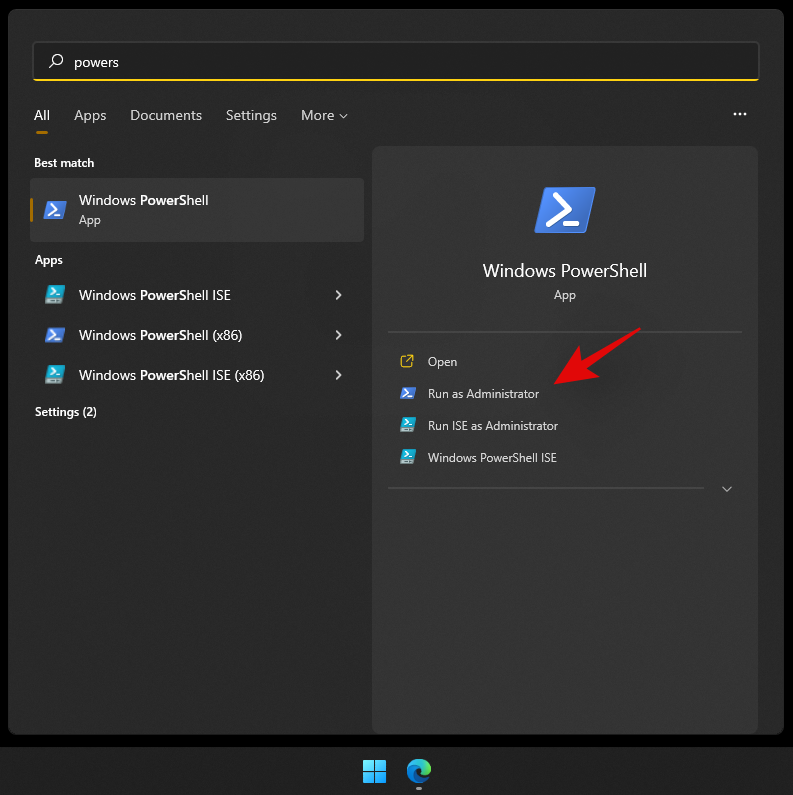
Press Windows Skeyboard and search for PowerShell. Once it appears in your search results, click "Run as administrator."
Now enter the following command and press Enter key on your keyboard to execute it. Replace DLetter with the assigned letter of the relevant drive and PATH with the path to the folder you want to map.
New-PSDrive -Name "DLetter" -PSProvider "FileSystem" -Root "\\PATH" -Persist
The selected drive and location should now be mapped in Windows 11. Open File Explorer and the drive should now appear in This PC.
Method 5: Map one drive for all users at once
Shared drives provide access to multiple users, so it is convenient to map the same drive for all users. To do this, we first have to create a batch (.bat) file. Here's how to do it:
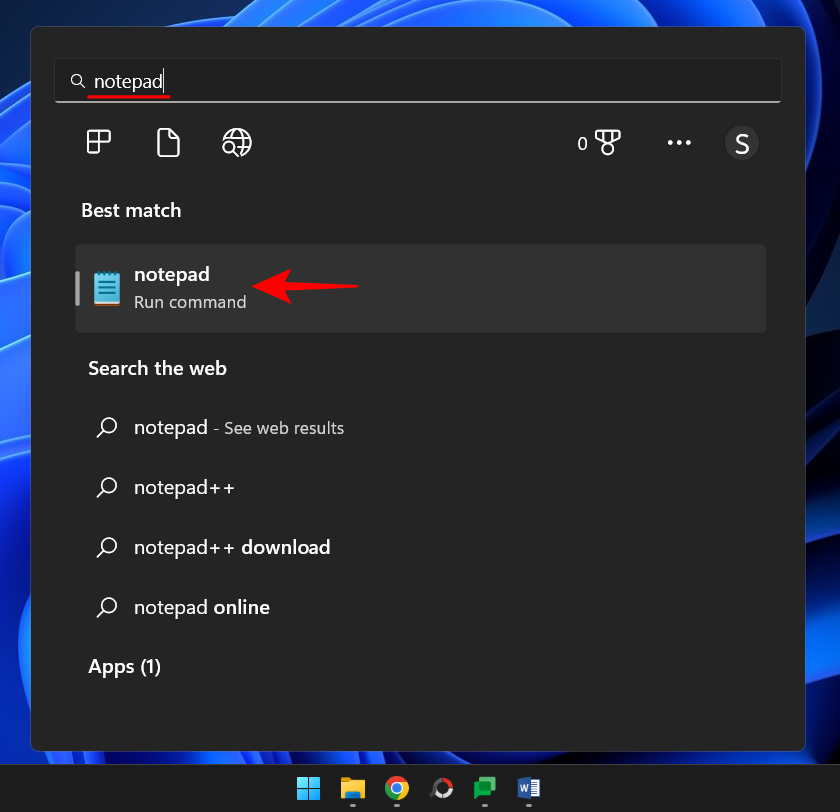
Press "Start", type Notepad, and then open it.
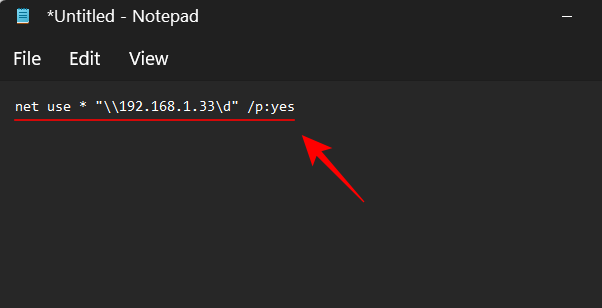
Then type the following command:
net use * "\\server\files" /p:yes
Be sure to replace "server" with the network name or IP address of the user making the share, and replace "file" with the folder, drive, or file you want to map.
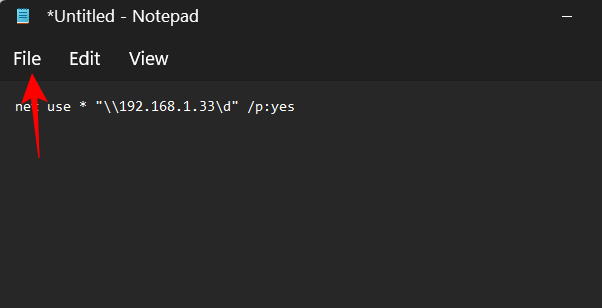
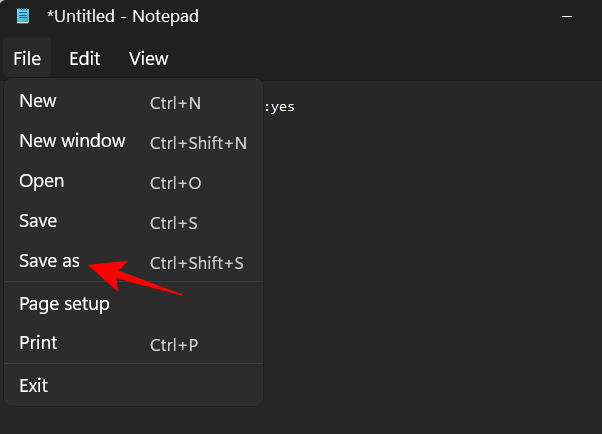
Then click on the file in the upper left corner.
Select to save as .
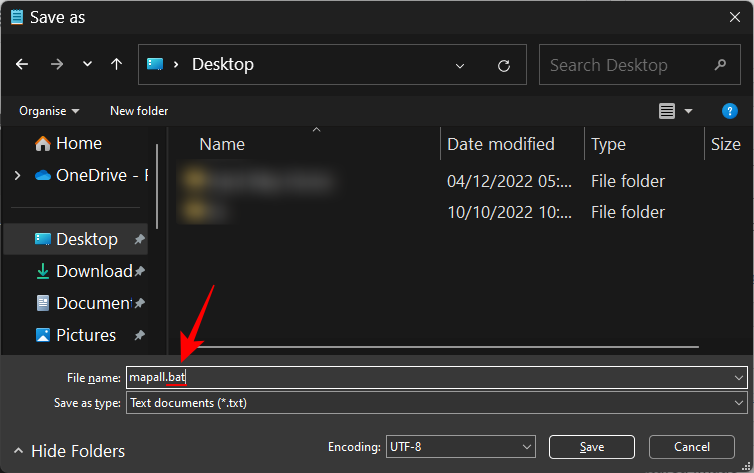
Select a location to save and name the file. Then change the file extension from .txt to .bat.
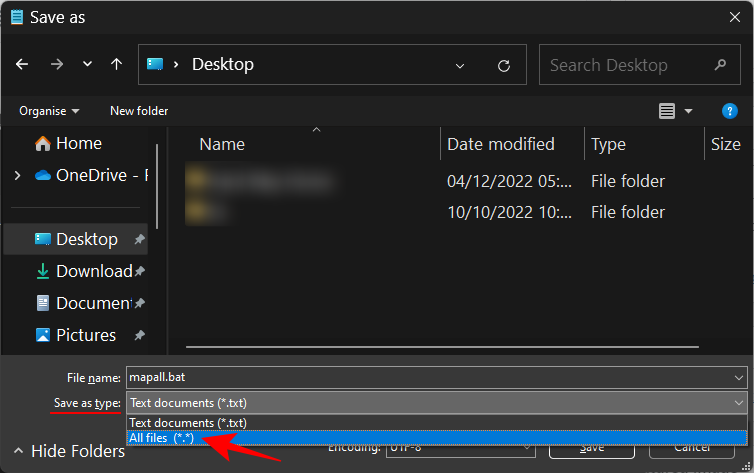
Then select All files from the Save as type drop-down menu.
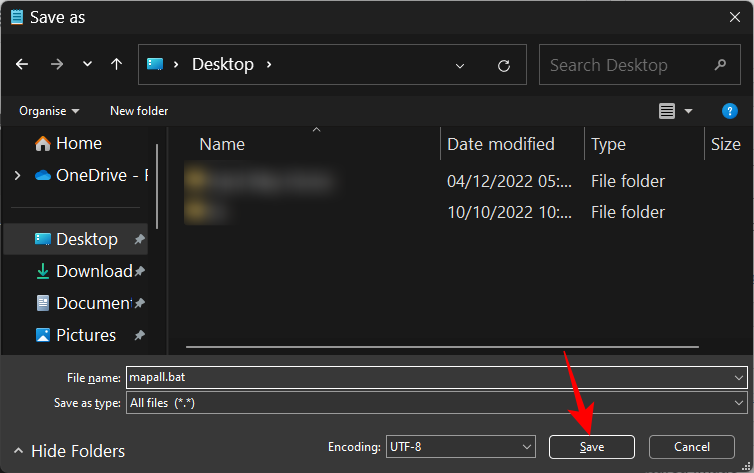
Then click Save.
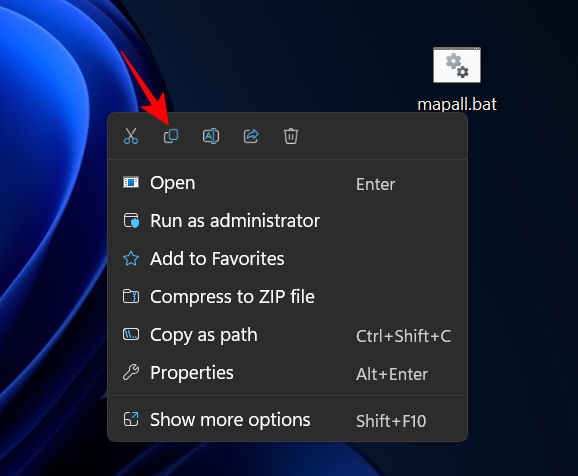
After saving, go to the location and copy this .bat file.
Now, press Win R to open the RUN box. Now type the following:
shell:common startup
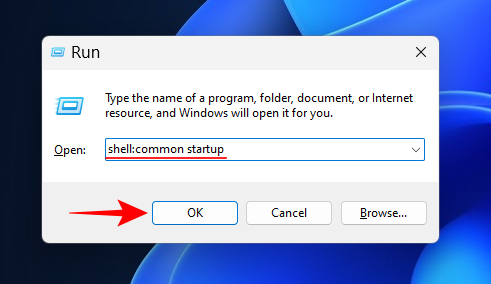
And click OK.
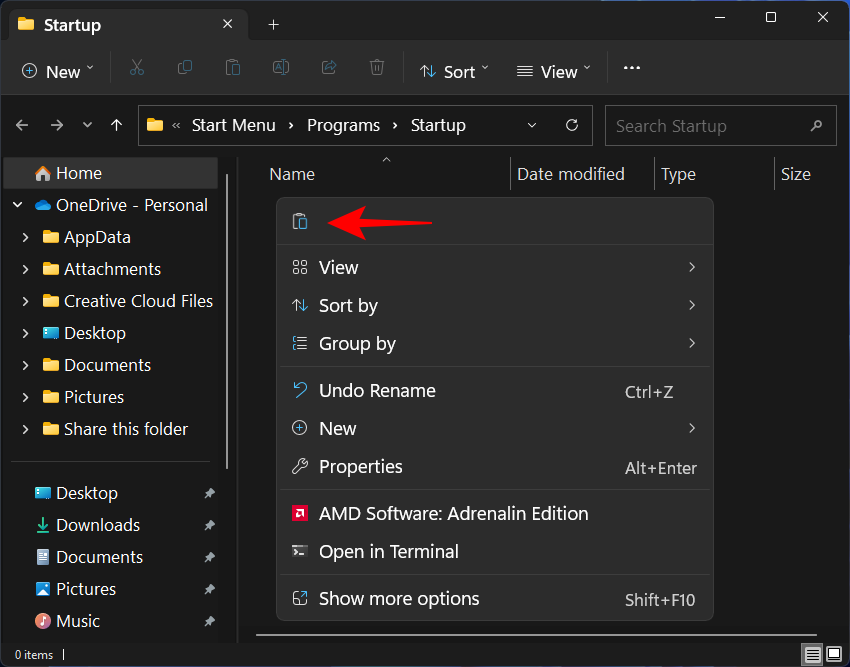
This will open the startup application folder. Ctrl VPaste the .bat file here by pressing or right-clicking and selecting the Paste button.
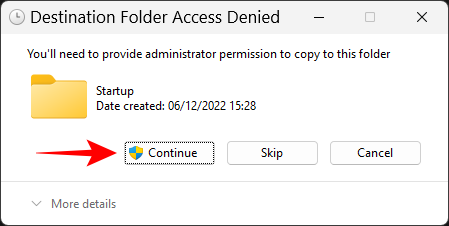
When prompted, click Continue.
From now on, whichever user logs into your system will automatically connect to the network drive mentioned in the script.
How to find the path to a mapped network drive
You can easily get the full UNC path to a mapped network drive using one of the following tutorials. Get started with whichever method best suits your current needs.
Method 1: Use CMD
Press Windows S keyboard and search for CMD. Once it appears in your search results, click Run as administrator.
Enter the following command and press the Enter key on your keyboard.
net use
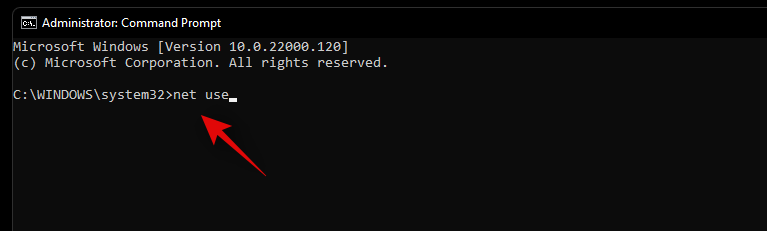
You will get a list of all network devices connected to the current user account on your PC. In this list, you will see the network drive you mapped, with its full UNC path displayed for you to view on the screen.
Method 2: Using PowerShell
Press Windows Skeyboard and search for PowerShell. Click "Run as administrator."
Now enter the following command and press Enter key on your keyboard to execute it.
Get-WmiObject Win32_NetworkConnection | ft "RemoteName","LocalName" -A
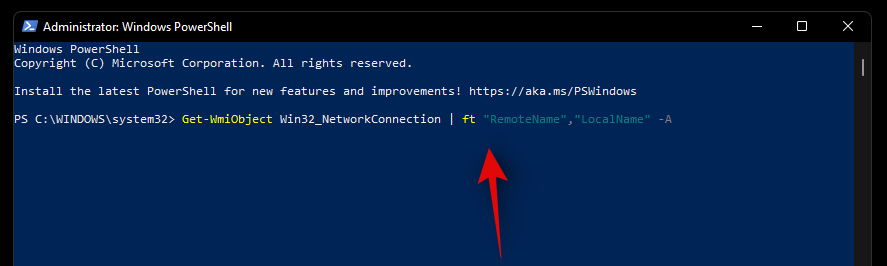
Currently available All network drives and their UNC paths accessed by your PC and user account should now be available on your screen.
How to disconnect a mapped network drive
After you complete the tasks related to using a shared network drive, disconnect and unmap the network drive. Doing this is a piece of cake. Here's how to do it:
Method 1: Using File Explorer
Press to open File ExplorerWin E. Right-click on the mapped drive and select Disconnect.

Alternatively, click the three-dot icon in the toolbar above.
Then select Disconnect the network drive.
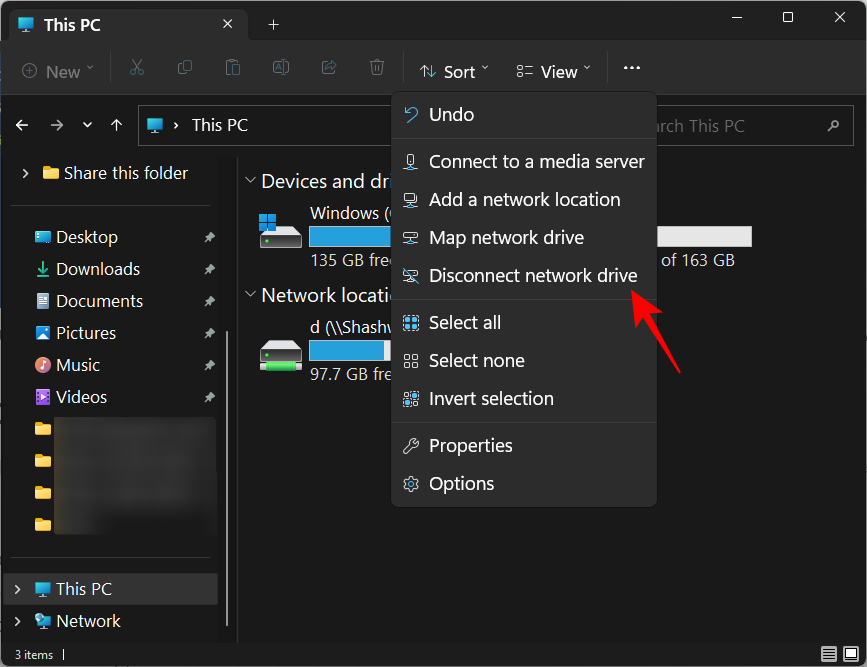
Then select the mapped drive and click OK.
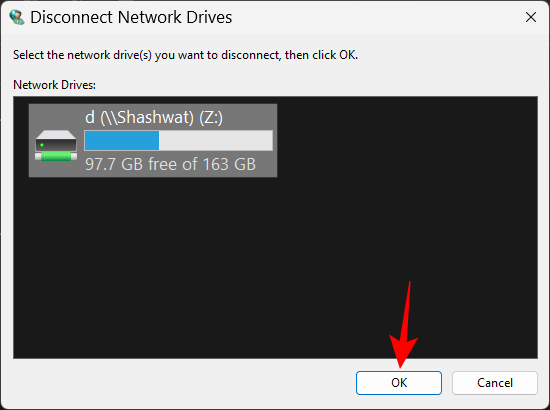
The network drive will now be unmapped.
Method 2: Use CMD
to open an elevated instance of the command prompt.
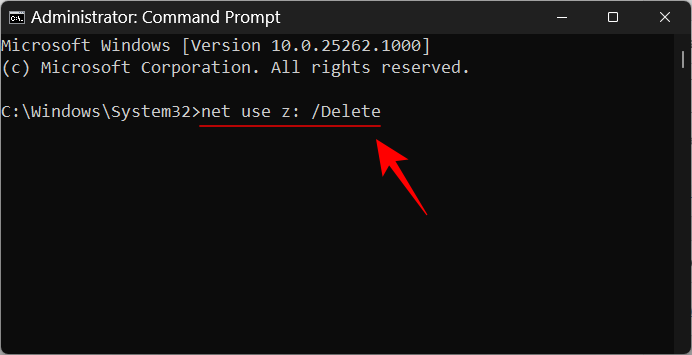
Then type the following command:
net use z: /Delete
Replace "z" with the network drive's Drive letter.
Then press enter
If multiple drives are mapped, type the following to disconnect all drives :
net use * /Delete
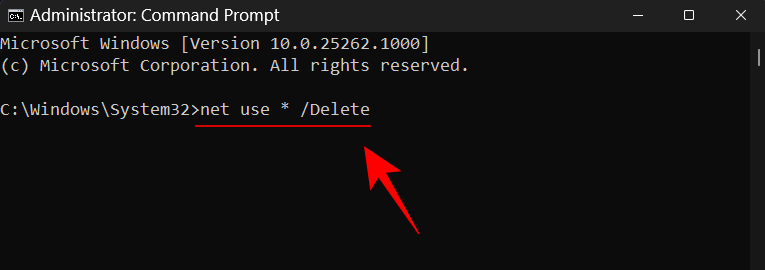
and press Enter.
Quick Tip: If you receive an error message saying "There are no entries in the list," try running Command Prompt without administrator privileges.
When prompted, type Y.
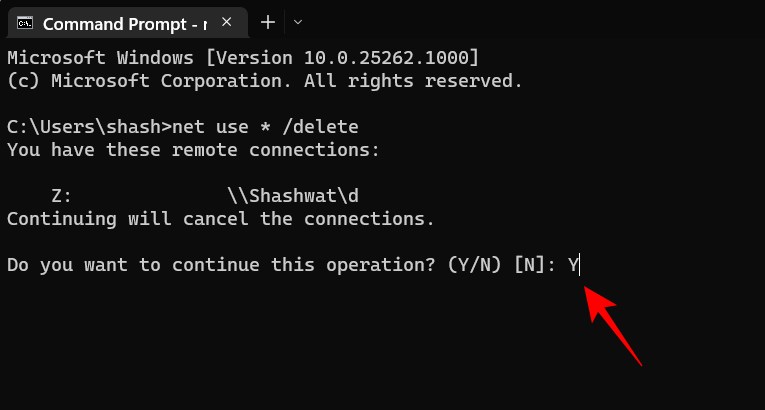
Then press Enter.
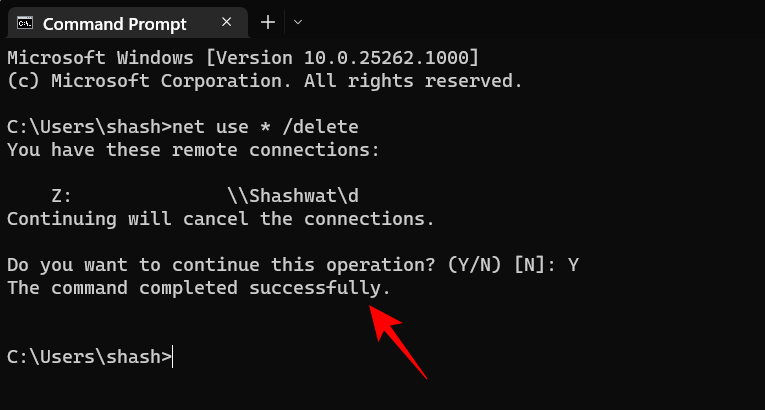
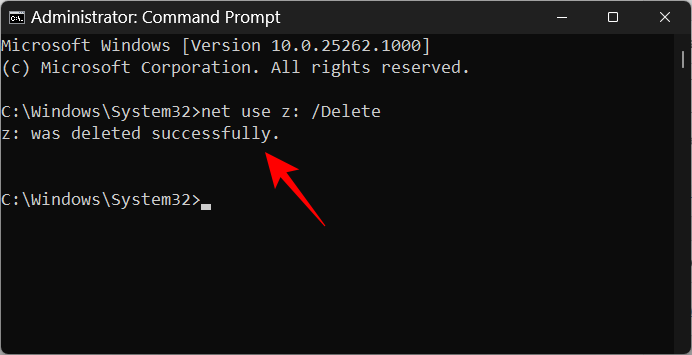
Your mapped network drive will now be deleted. You can also use these commands in the PowerShell terminal. Additionally, if you do not receive any entries with elevated PowerShell, try running PowerShell without administrator privileges.
I can't map a network drive in Windows 11
There is a common registry fix that seems to make network drives work on almost every system, no matter what issue you are experiencing.
Start by mapping a drive using any of the methods given above. If this doesn't work, use the Registry Editor fix given below.
In the tutorial below, we have discussed creating a new registry value on your PC that should help you easily map a network drive without any issues.
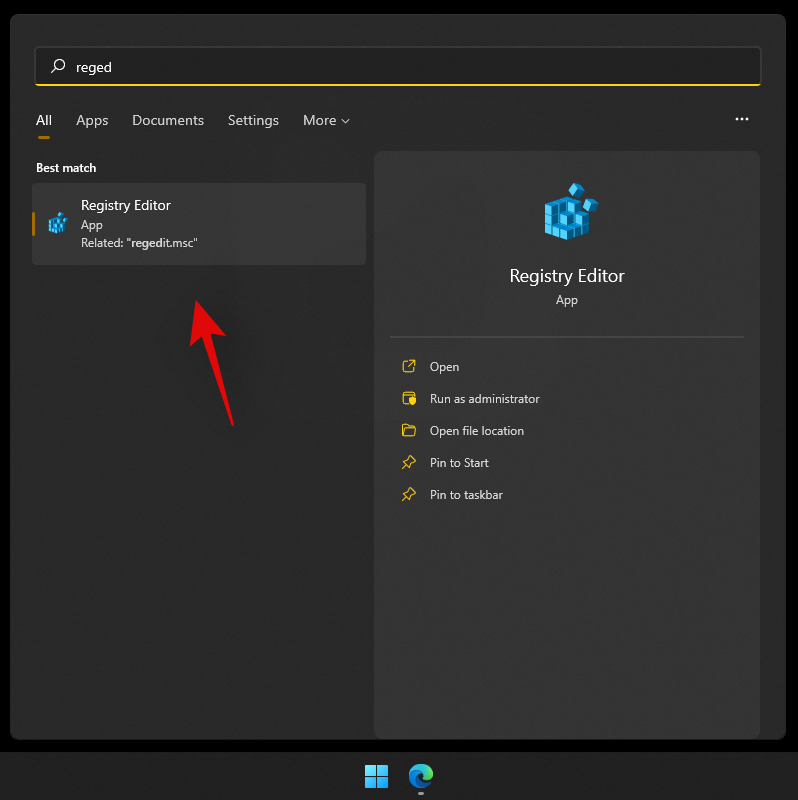
Press Windows S keyboard and search for Regedit. Once it appears in your results, click and launch the app.
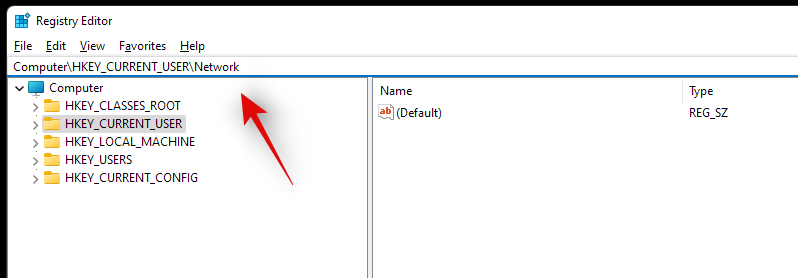
Navigate to the following path given below. You can also copy-paste the same content in the address bar at the top.
Computer\HKEY_CURRENT_USER\Network
Your drive should be listed under Network represented by its drive letter. Click and select the drive letter folder and press the Delete key on your keyboard.
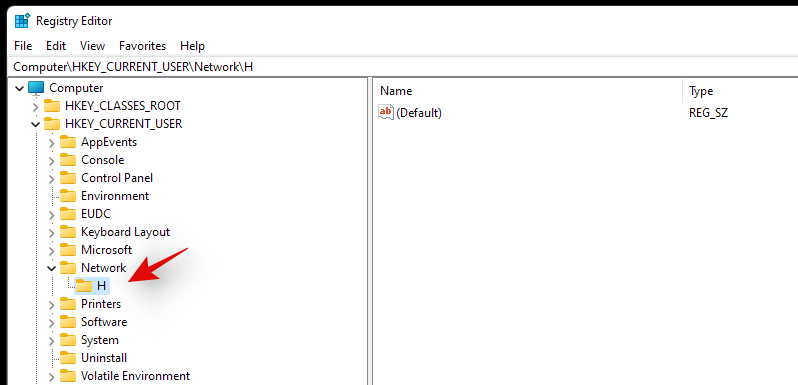
Click OK to confirm your choice.

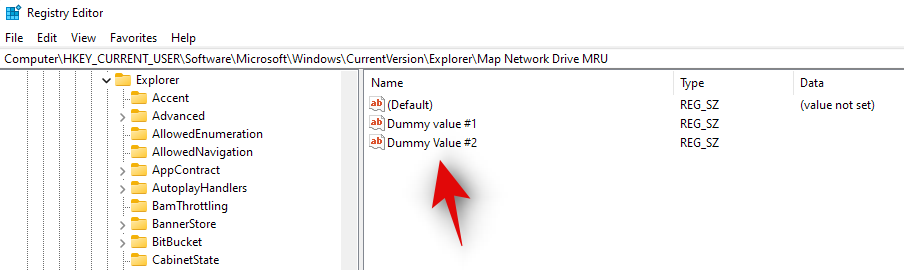
Navigate to the following path given below. HKEY_CURRENT_USER\SOFTWARE\Microsoft\Windows\CurrentVersion\Explorer\Map Network Drive MRU
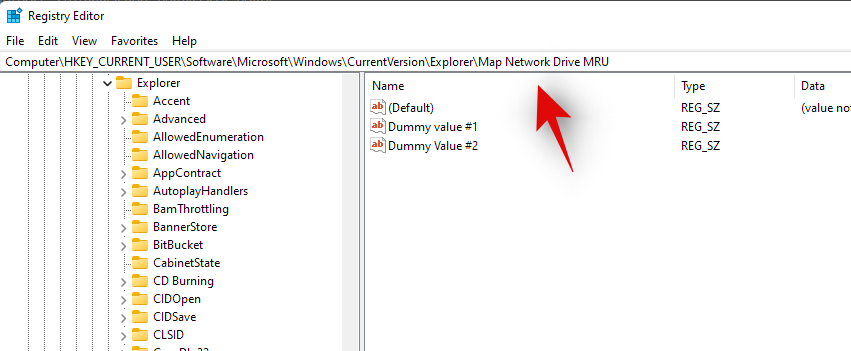
The registry value of the mapped network drive will vary depending on the system , configuration, and mapped drives, so the values you find here may be different. Please look for any string values on your system that are associated with previously mapped drives and delete them using the Delete key on your keyboard. Click OK to confirm your selection and delete the values.
You should now delete any previous registry values that may conflict with the current settings. Just follow one of the methods in the tutorial above to remap the network drive to your system and then reboot the system.
Once completed, launch the Registry Editor again and navigate to the path given below. Replace DLetter with the drive letter of the drive you recently mapped to your PC. HKEY_CURRENT_USER\Network\DLetter
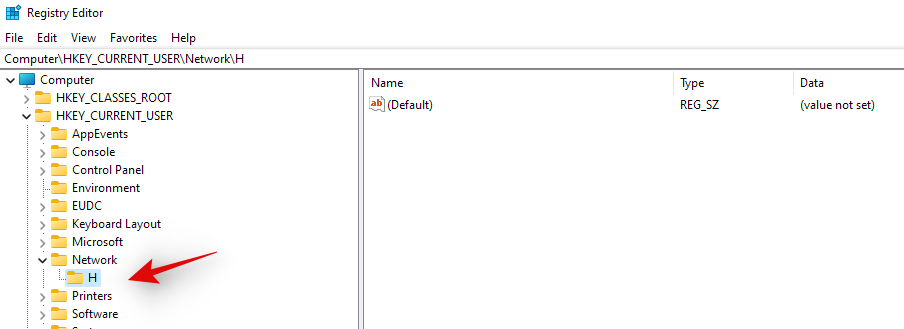
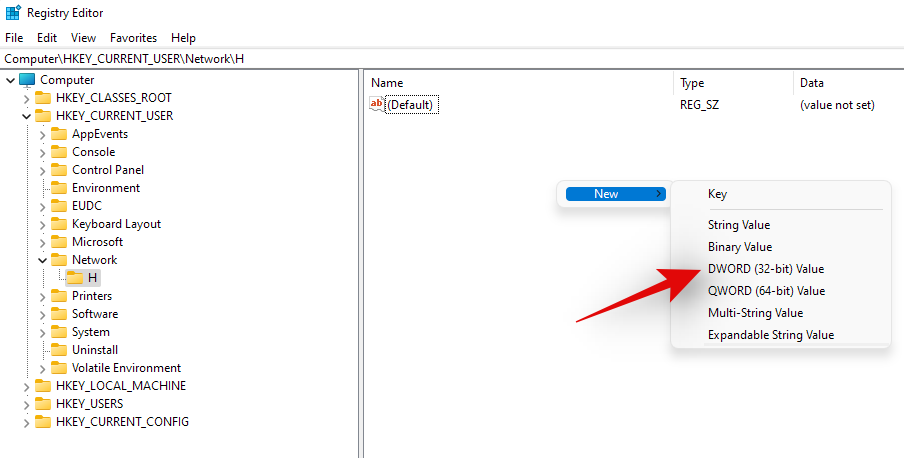
Click and select the drive letter on the left, then right-click on the empty space on the right and select "New".

Now select "DWORD (32-bit) Value".
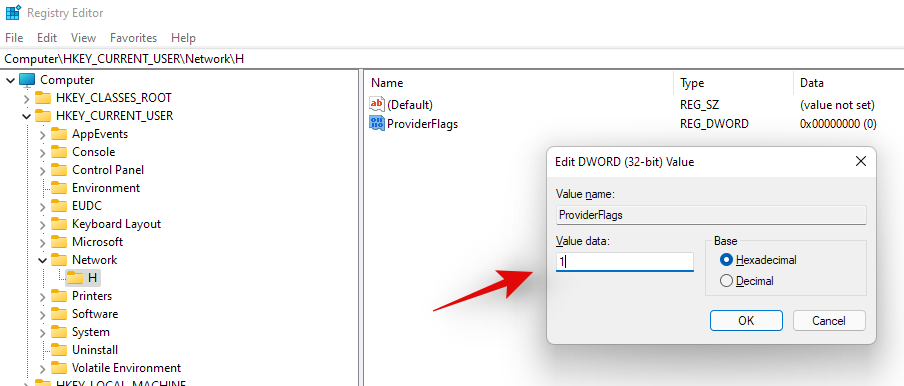
Enter "ProviderFlags" as the "Value Name" and set the "Value Data" to "1".
Now click OK.
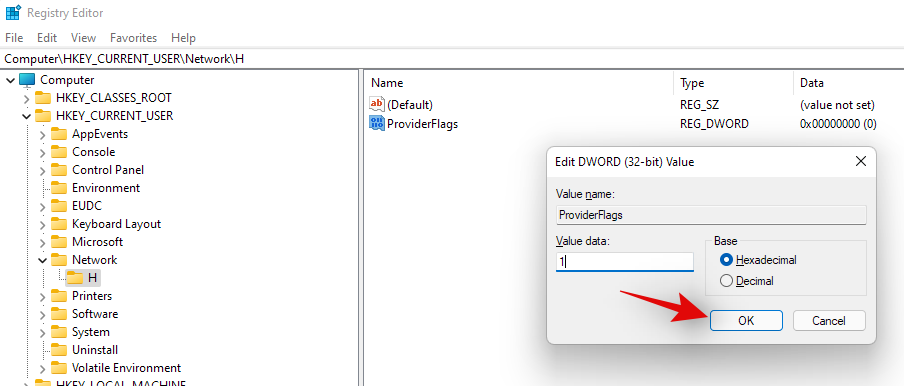
Restart the system for good results.
That's it! The selected drive should now map to your system without any issues.
The above is the detailed content of How to map a drive in Windows 11. For more information, please follow other related articles on the PHP Chinese website!

Hot AI Tools

Undresser.AI Undress
AI-powered app for creating realistic nude photos

AI Clothes Remover
Online AI tool for removing clothes from photos.

Undress AI Tool
Undress images for free

Clothoff.io
AI clothes remover

AI Hentai Generator
Generate AI Hentai for free.

Hot Article
Hot Tools

Notepad++7.3.1
Easy-to-use and free code editor

SublimeText3 Chinese version
Chinese version, very easy to use

Zend Studio 13.0.1
Powerful PHP integrated development environment

Dreamweaver CS6
Visual web development tools

SublimeText3 Mac version
God-level code editing software (SublimeText3)
Hot Topics
 1376
1376
 52
52

 How do I share a OneDrive file or folder with others?
May 08, 2023 pm 06:42 PM
How do I share a OneDrive file or folder with others?
May 08, 2023 pm 06:42 PM
Microsoft OneDrive allows users to store files and folders on the cloud and access them from anywhere. If you allow them to use the OneDrive app, you can also give them permission to access your files. This allows people to easily exchange files or folders. You can also change the file's access rights, such as whether they can edit it or just view it, and add a password as well as an expiration date. So even if you forget to stop accessing some files, the access rights will automatically expire after the specified date. In this article, we will teach you how to share files or folders with others in OneDrive using two different methods. How to share files or folders with people in OneDrive
 7 Ways to Access Shared Folders on Windows 11 (And 6 Fixes if You Can't)
May 15, 2023 pm 06:28 PM
7 Ways to Access Shared Folders on Windows 11 (And 6 Fixes if You Can't)
May 15, 2023 pm 06:28 PM
Sharing folders and accessing folders are two parts of the process. If the folder has been shared over a network, the recipient still needs to access it from his/her system. There are many ways to do this, and there are many built-in traps to maintain security. 6 Ways to Access Shared Folders on Windows 11 Here are seven ways to access shared folders on Windows 11, listed in ascending order of difficulty. Method 1: Accessing the shared folder through File Explorer (Network side pane) is the easiest way. All you need to do is: Press Win+E to open File Explorer. Click Network in the side panel. Double-click the computer name of the shared folder. If prompted, use the account that shared the folder
 How to set Ubuntu 20.04 to automatically mount shared folders at startup in VirtualBox?
Dec 29, 2023 pm 11:47 PM
How to set Ubuntu 20.04 to automatically mount shared folders at startup in VirtualBox?
Dec 29, 2023 pm 11:47 PM
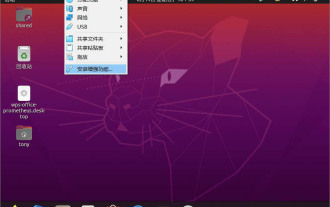
Today we will take a look at how to automatically mount the VirtualBox shared folder on startup after installing Ubuntu 20.04 on the VirtualBox virtual machine? Please see the introduction below for details. Install Ubuntu20.04LTS, install the built-in enhancements of VirtualBox, and shut down the virtual machine. In the main interface of VirtualBox, Ubuntu20.04 corresponds to the virtual machine. Select "Settings", locate "Shared Folder" in the settings, and click the Add button on the right, as shown in the figure: In the pop-up dialog box, set what needs to be shared in Windows. File location, other options will be "Fixed Mount"
 Set password for shared folder in win10 home version
Jan 31, 2024 am 09:03 AM
Set password for shared folder in win10 home version
Jan 31, 2024 am 09:03 AM
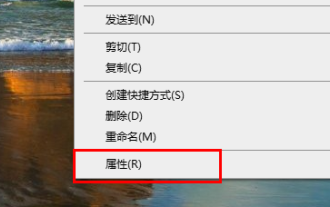
To protect the security of our shared folders, we can set a password. For those who are not familiar with the operation method, you only need to right-click on the folder, select Properties, and then set the password. The operation is very convenient. Set a password for a shared folder in Win10 Home Edition: 1. First, right-click on the folder that needs to be encrypted, and then click "Properties". 2. Then, select the "Share" option on the upper interface. 3. Then you can find the password protection option below and click "Network and Sharing Center". 4. Select "All Networks". 5. Finally, check the password protected option and click "Apply" to take effect.
 Steps to solve the problem that WIN10 shared folder cannot be opened and prompts that the network path cannot be found
Mar 27, 2024 pm 03:31 PM
Steps to solve the problem that WIN10 shared folder cannot be opened and prompts that the network path cannot be found
Mar 27, 2024 pm 03:31 PM
1. Open the start menu, write [firewall] in the search bar, and select the legend option to enter. 2. Open the [Turn Windows Firewall on or off] option in the left menu. 3. Turn off all firewalls on home and public networks. 4. Expand the start menu and open Run, write [services.msc] in the run window and press Enter. 5. Finally, find the [TCP/iPnetBiosHelper] option in the service list and double-click it. Change the startup type to [Automatic] and start this service.
 How to set up shared folders on windows 11?
Jan 30, 2024 pm 04:09 PM
How to set up shared folders on windows 11?
Jan 30, 2024 pm 04:09 PM
After upgrading their computers to Win11, many users found that the previously set shared folders were closed, and they did not know how to reset and start them in the new system. In order to help users solve this problem, the editor of this website has specially compiled the latest shared folder setting steps and shared the operation methods with you in today's Win11 tutorial. If you need to reset a shared folder, follow the steps below. How to set up a shared folder in win11 For security reasons, it is recommended to set up a special sharing account. Right-click the computer icon to open settings. 3. Open the Create New User window, set a username and password yourself, and cancel the need to change the password the next time the user logs in. Select Advanced Sharing Options and check Share this folder
 How to fix OneDrive shortcuts can't be moved error in Windows 11 or 10?
Apr 24, 2023 pm 05:22 PM
How to fix OneDrive shortcuts can't be moved error in Windows 11 or 10?
Apr 24, 2023 pm 05:22 PM
Sometimes you may want to share a OneDrive folder with other people, and for this you have to add a shortcut to the file, using the "Add shortcut to my files" option in the OneDrive app. The app will then create a shortcut in the root of the OneDrive of the person you want to share with. While moving folders from one directory to another is a fairly common and normal process, sometimes you may encounter the error message - "We are currently unable to move shortcuts and move shortcuts back to their original location." Per Error messages appear as pop-ups whenever you try to move files or folders to or within the OneDrive app. In fact, you
 How to map a drive in Windows 11
May 18, 2023 pm 12:54 PM
How to map a drive in Windows 11
May 18, 2023 pm 12:54 PM
Click to enter: ChatGPT tool plug-in navigation guide If you often need to connect to remote folders or drives shared on the network, mapping the drive or folder location on your Windows 11 PC will save you a lot of time. Additionally, the entire experience of using a mapped network drive feels the same as using any other drive plugged into your PC. If all this sounds perfect to you, let’s take a quick look at how to map a network drive on Windows 11. First, configure Windows for network drives by clicking the Start button and entering Control Panel. Click the search result or Open button. Once in the Control Panel, click on "Network and Internet." Click "Network and Sharing Center." click