 Operation and Maintenance
 Linux Operation and Maintenance
 How to deploy nodejs to linux and run hello world
How to deploy nodejs to linux and run hello world
May 21, 2023 am 11:13 AMFirst install VMware
1. Download VMware
Because we don’t have the need to program on linux (unless you are a big deal | | Pretentious master), so we chose to install Linux on the virtual machine. The current mainstream virtual machine platforms are VMware and virtualbox. The former is paid, and the latter is a free version. You can install it at will, we use VMware
here2. Install VMware
Double-click the downloaded installation package file to start the installation...
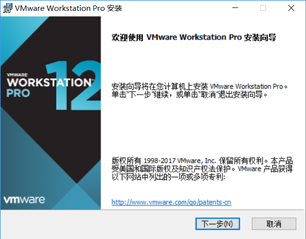
a. For me who have obsessive-compulsive disorder, just download this interface One step at a time, there’s nothing wrong with me^-^
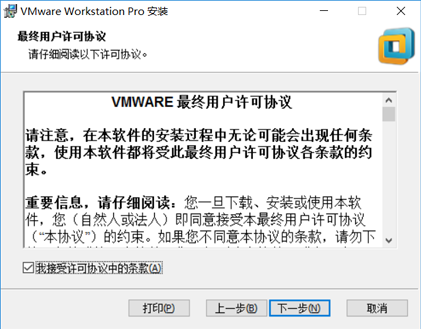
b. If you don’t agree with this, then it’s over. v_v
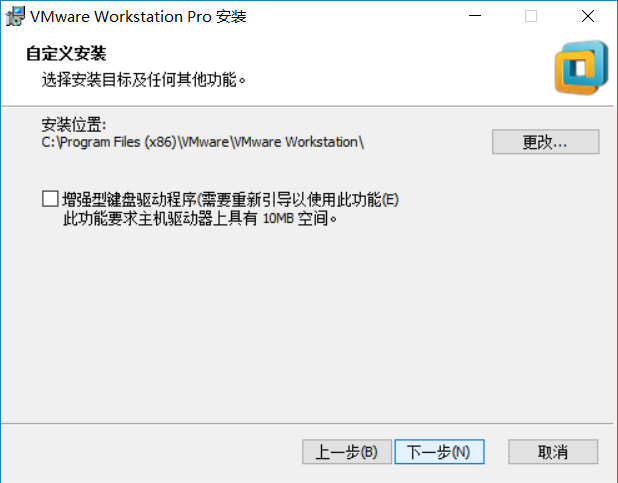
c. Here comes the key point. For some programmers with mysophobia who are unwilling to install application software to their own c drive, they need to click the change button on this interface
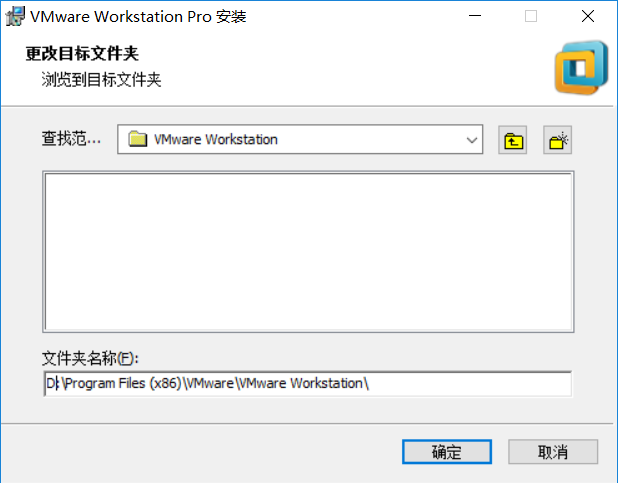
d. I don’t know if you have any magic operation. As a lazy person, I just replaced C with D
e. Then comes the crazy next step--> Finally click install, and the computer will start working
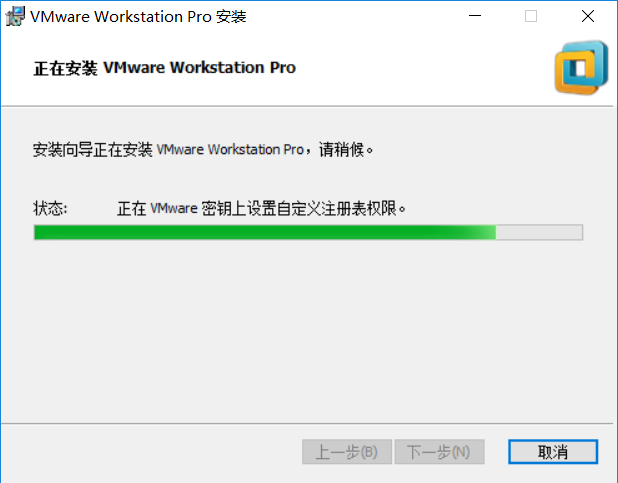
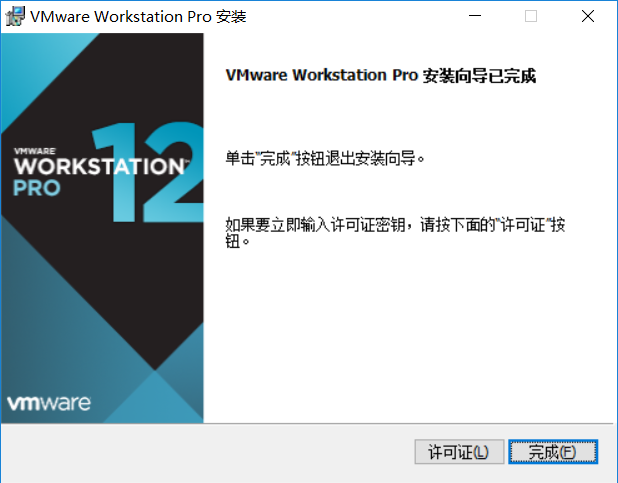
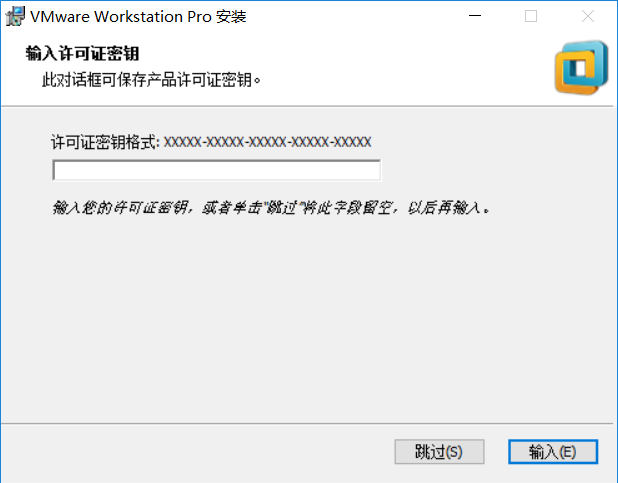
##h. Click Finish on the final completion page. At this point, the VMware installation is complete
1. Download linux
About I won’t go into details about the myth of the birth of Linux here. Let’s just take the screenshots and walk through the steps.
Download address: http://www.jb51.net/softs/188482.html
2. Install linuxa. Double-click the VMware button on the desktop to open it, and click the huge "New Virtual Machine" button
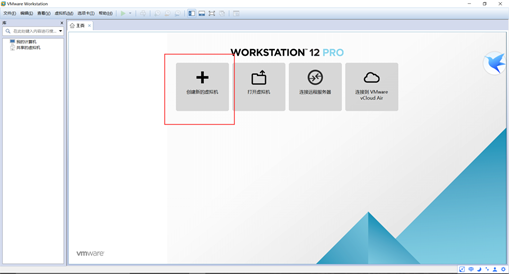
b. Select Typical and click Next. If the system does not match the Linux installation package you downloaded on this page, you need to manually select it
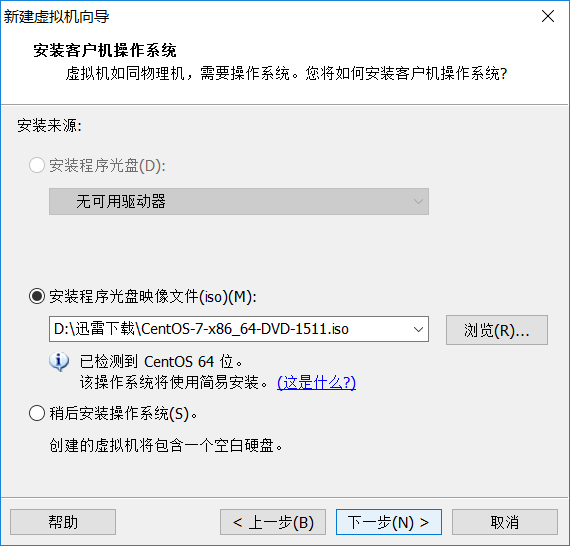
c. Here you need to give your virtual machine a name
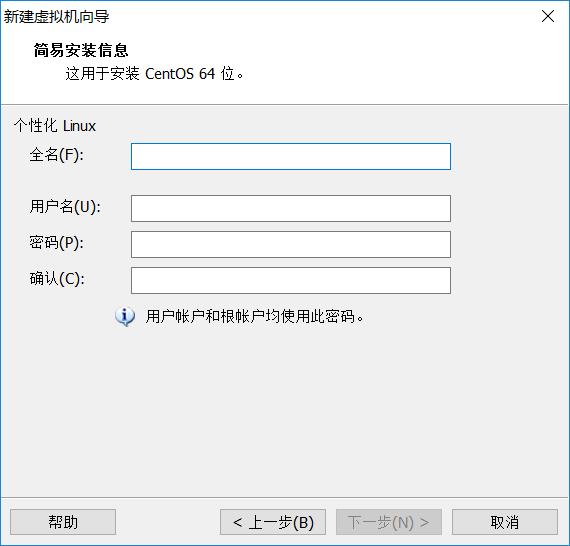
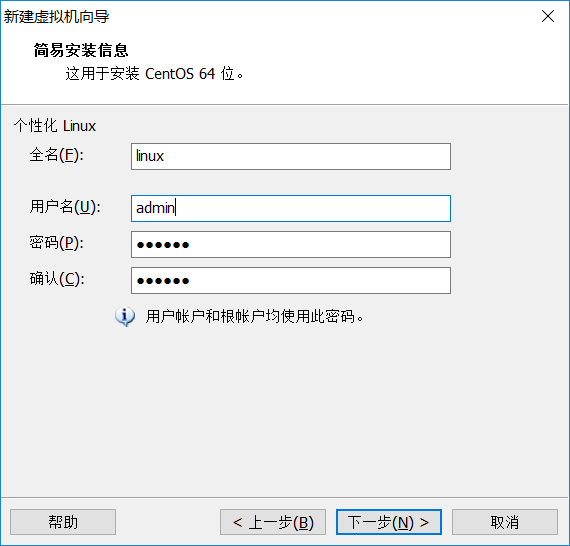
d. Old rules C->D
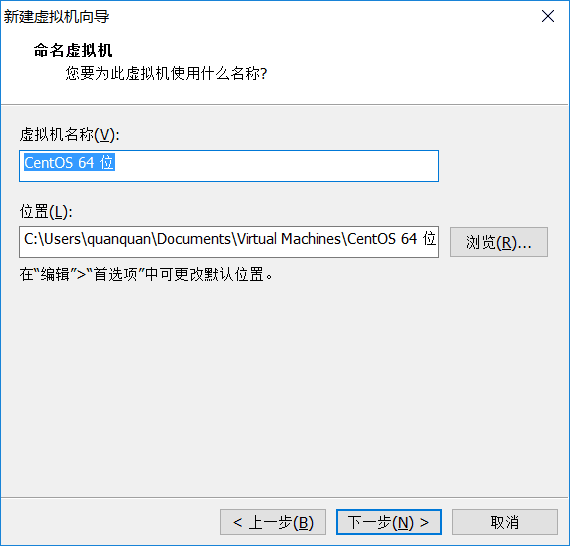
e. If you don’t know much about these things, just go to the next step and complete the virtual machine configuration.
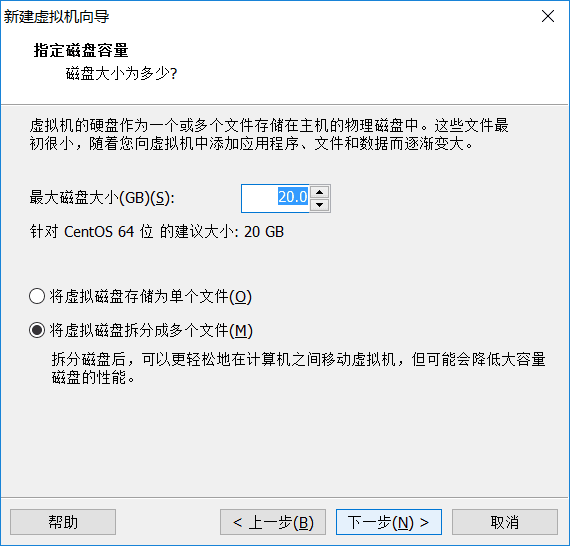
f. The good thing about VMware is that so far, we don’t have to do anything. You can flirt with girls and play LOL. Because VMware has done the rest of the work for us.
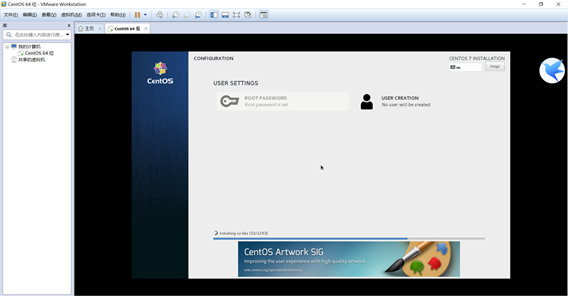
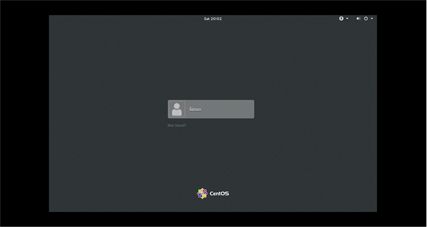
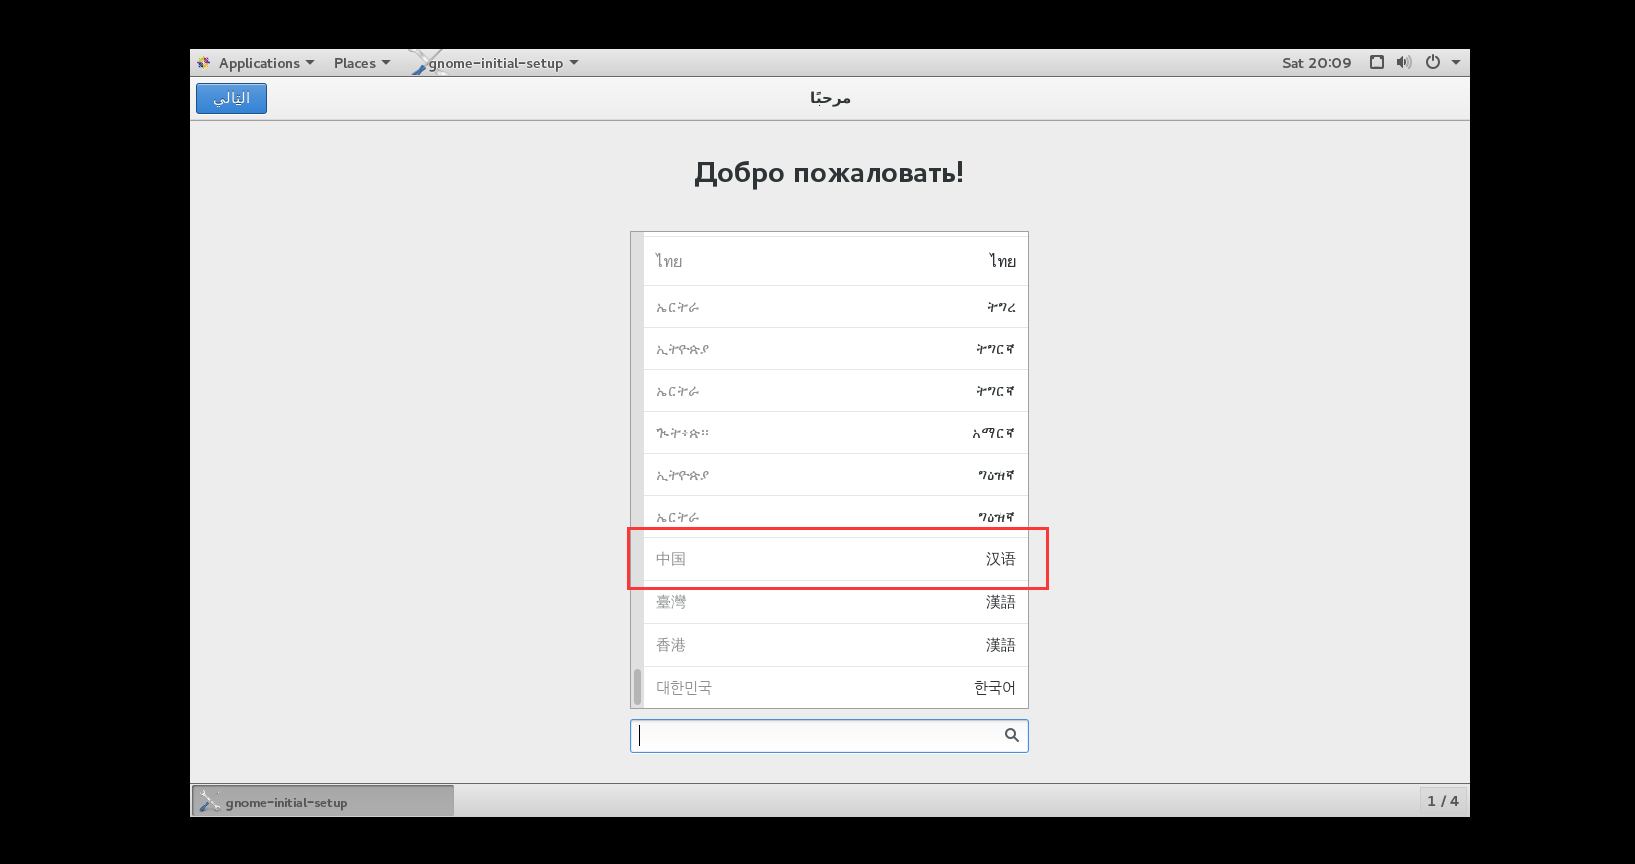
#g. After the installation was completed, we entered the Linux interface we had longed for. It was not as bad as imagined^-^
h. Use xshell to link to linux
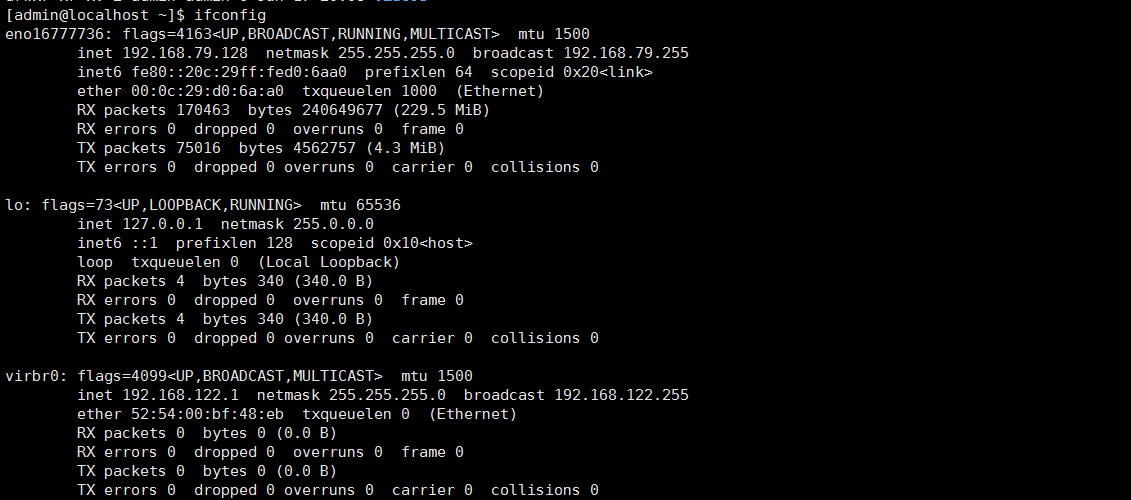
a) Installing xshell is really not difficult and I won’t go into it here. First we get the virtual The ip of the machine
Click the linux button-> In the password box, enter the password we set when installing the virtual machine-> After completing the basic settings-> you can enter
liunx Desktop-> Right-click-> open in terminal to open the liunx console and enter the ifconfig command and press Enter
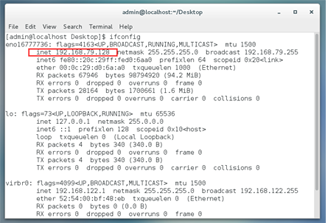
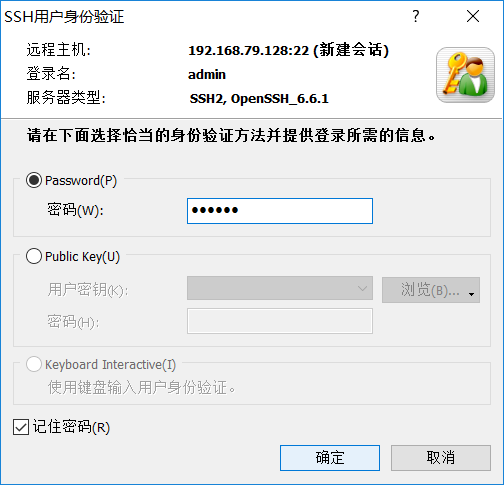
#b) Open xshell and use the alt n shortcut key
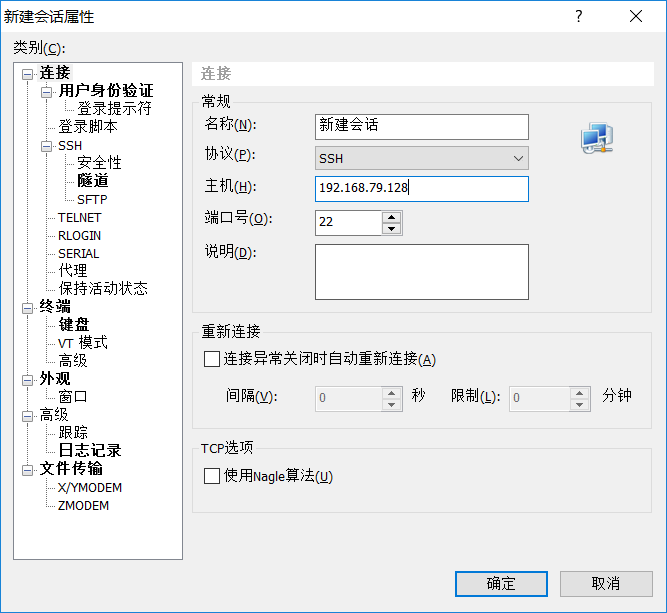
before entering the host name Obtain the ip in one step
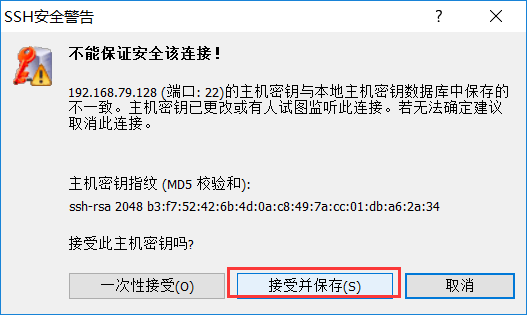
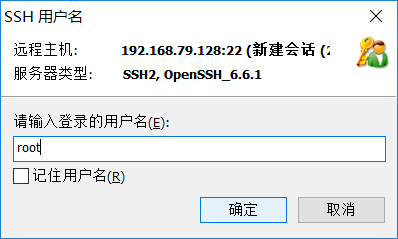
cd /usr/local/
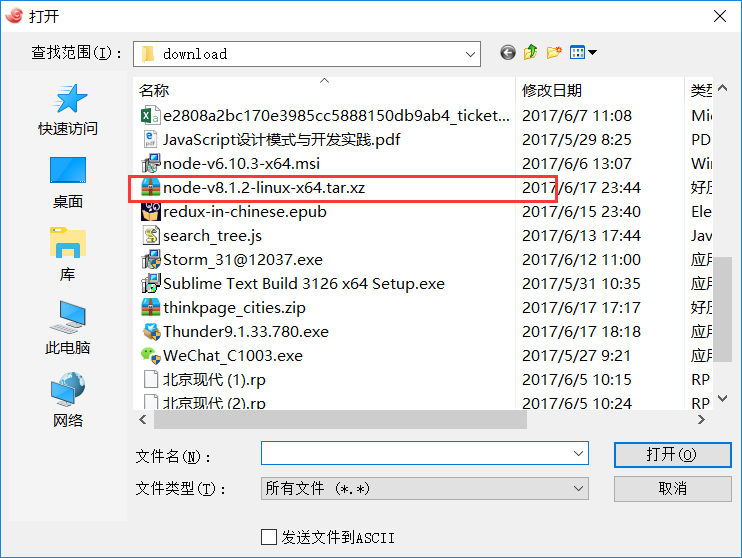
 xz -d node-v8.1.2-linux-x64.tar.xz
 tar -xvf node-v8.1.2-linux-x64.tar
mv node-v8.1.2-linux-x64 node
 vim /etc/profile  -> 并在文件的末尾添加三行 (vim 操作请自行百度)
 export NODE_HOME=/usr/local/node
 export PATH=$PATH:$NODE_HOME/bin
 export NODE_PATH=$NODE_HOME/lib/node_modules
 配置完成后执行
 source /etc/profile
 在命令行中输入 node -v 是不是好使了 ^-^
 为了保证每个账户下该配置均可用需要
 vim /root/.bashrc
 并在这个文件的末尾加上
 source etc/profile
 万事大吉 撒花.....
mkdir -p /usr/local/demo/
vim /usr/local/demo/helloworld.js
var http = require('http');
http.createServer(function(req, res) {
res.end('hello world...')
}).listen(8080);
console.log('服务已启动, 监听端口8080......')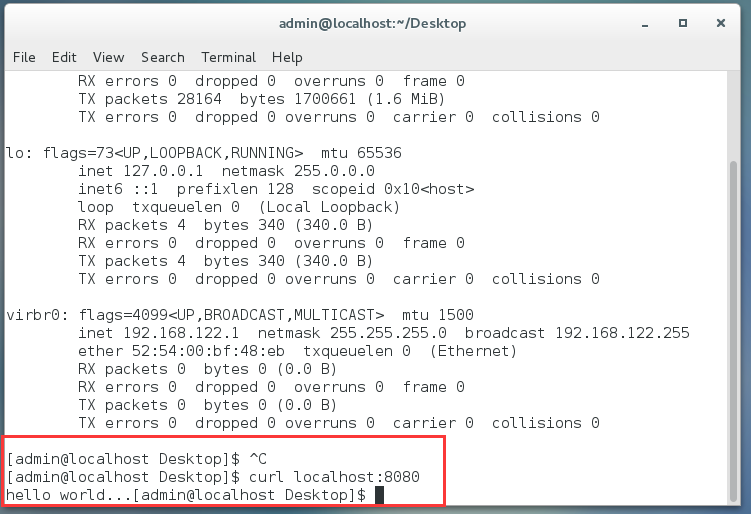 Access the node service through the virtual machine
systemctl stop firewalld.service #停止firewall
systemctl disable firewalld.service #禁止firewall开机启动
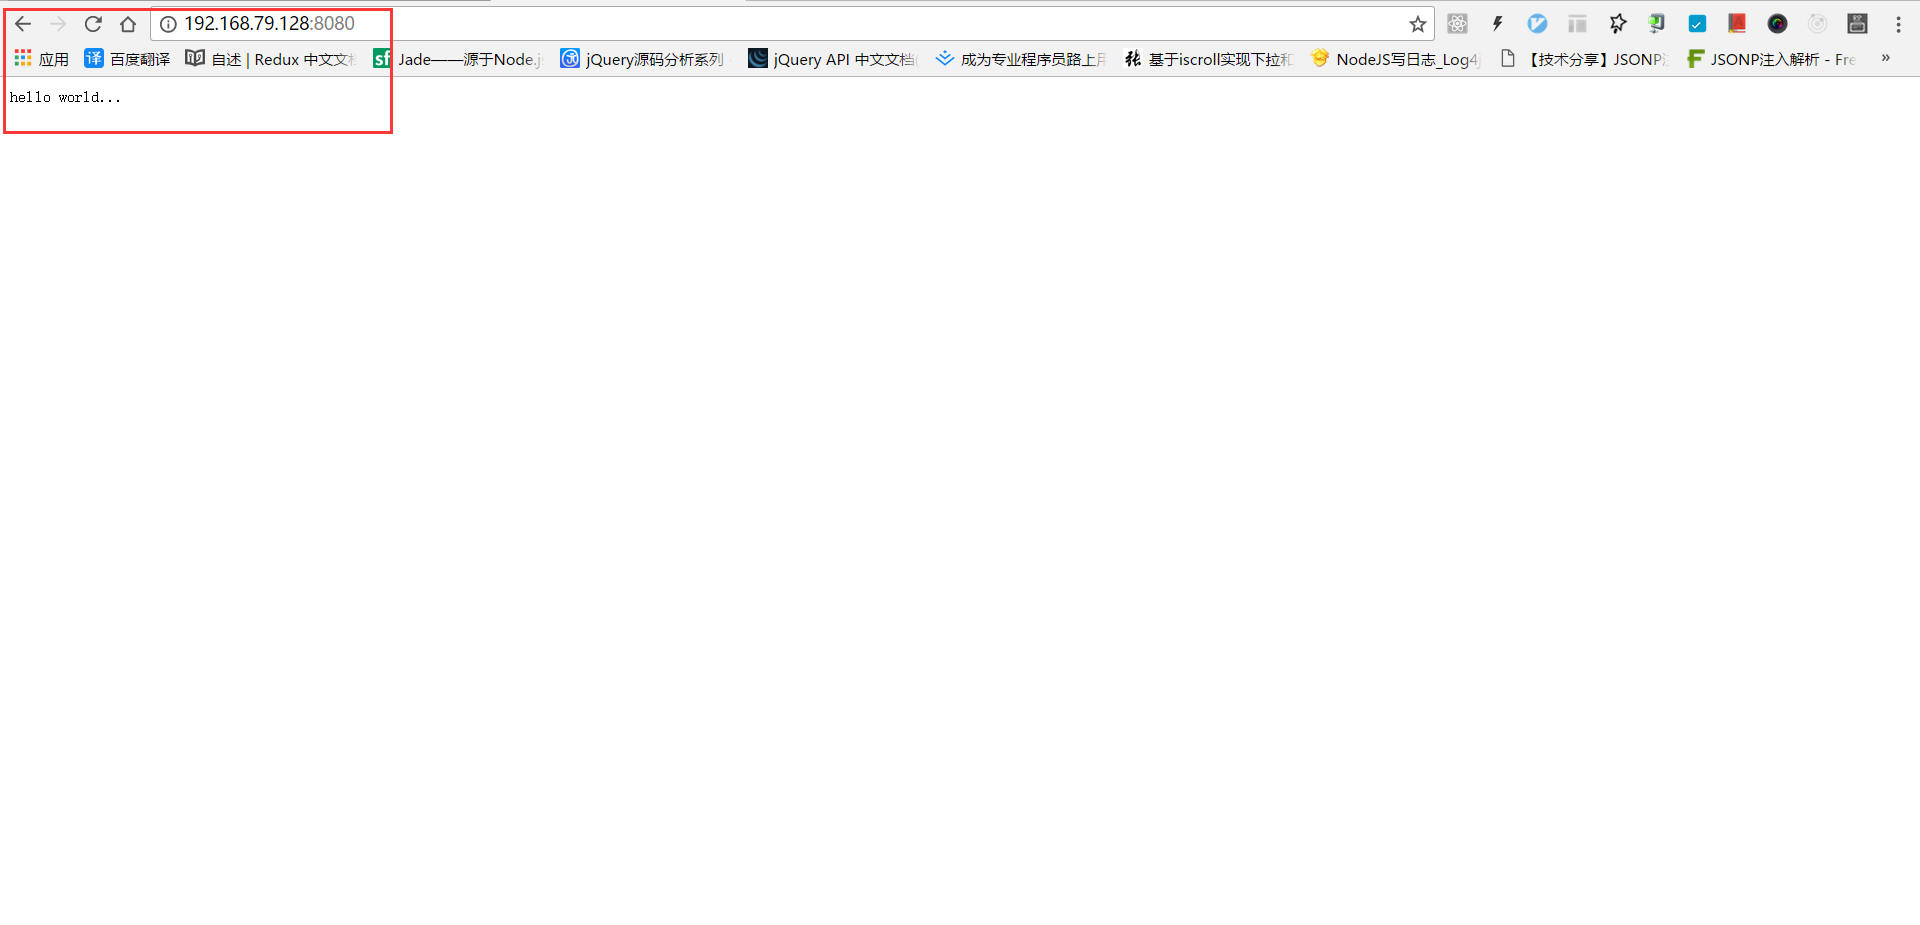
The above is the detailed content of How to deploy nodejs to linux and run hello world. For more information, please follow other related articles on the PHP Chinese website!

Hot Article

Hot tools Tags

Hot Article

Hot Article Tags

Notepad++7.3.1
Easy-to-use and free code editor

SublimeText3 Chinese version
Chinese version, very easy to use

Zend Studio 13.0.1
Powerful PHP integrated development environment

Dreamweaver CS6
Visual web development tools

SublimeText3 Mac version
God-level code editing software (SublimeText3)

Hot Topics
 deepseek web version entrance deepseek official website entrance
Feb 19, 2025 pm 04:54 PM
deepseek web version entrance deepseek official website entrance
 Android TV Box gets unofficial Ubuntu 24.04 upgrade
Sep 05, 2024 am 06:33 AM
Android TV Box gets unofficial Ubuntu 24.04 upgrade
 BitPie Bitpie wallet app download address
Sep 10, 2024 pm 12:10 PM
BitPie Bitpie wallet app download address
 BITGet official website installation (2025 beginner's guide)
Feb 21, 2025 pm 08:42 PM
BITGet official website installation (2025 beginner's guide)
 Zabbix 3.4 Source code compilation installation
Sep 04, 2024 am 07:32 AM
Zabbix 3.4 Source code compilation installation
 Detailed explanation: Shell script variable judgment parameter command
Sep 02, 2024 pm 03:25 PM
Detailed explanation: Shell script variable judgment parameter command
 Ouyi okx installation package is directly included
Feb 21, 2025 pm 08:00 PM
Ouyi okx installation package is directly included


