

How to build NFS server with nginx

Introduction
What is nfs server?
NFS (Network File System) is a network file system. Its biggest function is that it can Through the network, different machines and different operating systems can share each other's files, and users can access files elsewhere on the network just like using their own computers.
Why nfs server is needed
Get data from the same place to ensure the consistency of website data. No matter which back-end server the load balancer distributes the request to, the content seen by the client are consistent.
Is nfs server the best solution
No, nfs is a relatively cheap solution 1. Generally, companies will not use it. The performance is not particularly high. It is recommended to use a dedicated storage server. .
Advantages and disadvantages of nfs
Advantages: Any Linux server can be built, the cost is very low, and it is very easy to build
Disadvantages: Reading speed is limited, related to network quality, disk IO, CPU, memory and other factors, and traditional tcp/ip network transmission.
Storage server
Advantages: good read and write performance, disaster recovery
Disadvantages: high cost
RPC
NFS supports quite a lot of functions, and different functions will use different programs to start. Each time a function is started, some ports will be enabled to transmit data. Therefore, the ports corresponding to the NFS functions are not fixed. At this time, you need to RPC binding
The main function of RPC is to specify the port corresponding to each NFS function.
Build NFS server
Prepare a centos7.9 server (192.168 .2.58)
A client (192.168.2.218)
Install nfs
Server machine
yum install nfs-utils -y
service nfs-server start #启动nfs服务
ps aux |grep nfs #查看nfs进程
ss -anplut|grep rpc
vim /etc/exports
/web 192.168.2.0/24(rw,all_squash,sync)
rw: read and write
sync: Synchronously refresh to disk when writing to memory
all_squash: UID and GID of shared files map anonymous users (ordinary users).
aysnc: No real-time synchronization, high response rate, but dangerous.
mkdir /web
vim /web/index.html
#添加一些内容,退出并保存
>wyt #我就添加了wyt,退出并保存
exportfs -rv #刷新输出(类似刷新服务)
Pay attention to turning off the firewall and selinux
Client
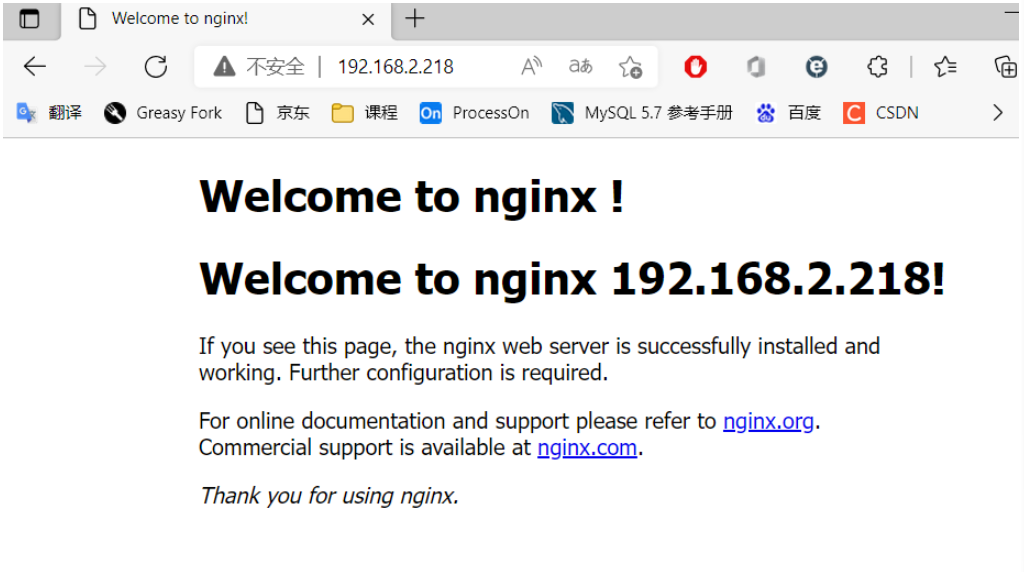
yum install nfs-utils -y
showmount -e 192.168.2.58 #查询nfs服务器共享的文件夹
mkdir /web #客户机新建文件夹
mount 192.168.2.58:/web /web 将nfs服务器上的/web目录挂载到本地的/web目录
ls /web #可以查看到nfs服务器的index.html,挂载后没有写的权限所以需要客户机给文件的权限
df -Th

Permissions are restricted by two permissions
File system permissions
Sharing permissions
chmod a+w /web #/web所有人写的权限
mount 192.168.2.58:/web /usr/local/scwangyutao99/html/

Mount (mount): In fact, it is equivalent to plugging in an external U disk or mobile hard disk. umount is equivalent to ejecting a USB flash drive.
umount /usr/local/scwangyutao99/html/
#umount.nfs4: /web: device is busy 是因为当前在目录之下
Set automatic mounting at boot
/etc/rc.localsed -i '$a mount 192.168.2.58:/web /usr/local/scwangyutao99/html/' /etc/rc.local chmod +x /etc/rc.d/rc.local #赋予可执行权限
/etc/fstab is the Linux system that automatically mounts the disk partition based on the contents of this file after booting
The first column is DeviceSecond column Mount point, the mount point of the device.
The third column filesystem, the format of the disk file system, including ext2, ext3, reiserfs, nfs, vfat, etc.
The fourth column: file system parameters, defaults
The fifth column: whether it can be dumped Backup command function. 0 means not to do dump backup
1 means to perform dump operation every day, 2 means to perform dump operation on an irregular date
The sixth column: whether to check the sector, 0 does not check, 1 checks at the earliest (generally the root directory will Select)
2, conduct inspection after completion of level 1 inspectionsed -i '$a 192.168.2.58:/web /usr/local/scwangyutao99/html/ nfs defaults 0 0' /etc/fstabCopy after loginThe above is the detailed content of How to build NFS server with nginx. For more information, please follow other related articles on the PHP Chinese website!

Hot AI Tools

Undresser.AI Undress
AI-powered app for creating realistic nude photos

AI Clothes Remover
Online AI tool for removing clothes from photos.

Undress AI Tool
Undress images for free

Clothoff.io
AI clothes remover

AI Hentai Generator
Generate AI Hentai for free.

Hot Article
Hot Tools

Notepad++7.3.1
Easy-to-use and free code editor

SublimeText3 Chinese version
Chinese version, very easy to use

Zend Studio 13.0.1
Powerful PHP integrated development environment

Dreamweaver CS6
Visual web development tools

SublimeText3 Mac version
God-level code editing software (SublimeText3)
Hot Topics
 1378
1378
 52
52

 How to solve nginx403
Apr 14, 2025 am 10:33 AM
How to solve nginx403
Apr 14, 2025 am 10:33 AM
How to fix Nginx 403 Forbidden error? Check file or directory permissions; 2. Check .htaccess file; 3. Check Nginx configuration file; 4. Restart Nginx. Other possible causes include firewall rules, SELinux settings, or application issues.
 How to check whether nginx is started
Apr 14, 2025 pm 01:03 PM
How to check whether nginx is started
Apr 14, 2025 pm 01:03 PM
How to confirm whether Nginx is started: 1. Use the command line: systemctl status nginx (Linux/Unix), netstat -ano | findstr 80 (Windows); 2. Check whether port 80 is open; 3. Check the Nginx startup message in the system log; 4. Use third-party tools, such as Nagios, Zabbix, and Icinga.
 How to solve nginx403 error
Apr 14, 2025 pm 12:54 PM
How to solve nginx403 error
Apr 14, 2025 pm 12:54 PM
The server does not have permission to access the requested resource, resulting in a nginx 403 error. Solutions include: Check file permissions. Check the .htaccess configuration. Check nginx configuration. Configure SELinux permissions. Check the firewall rules. Troubleshoot other causes such as browser problems, server failures, or other possible errors.
 How to solve nginx304 error
Apr 14, 2025 pm 12:45 PM
How to solve nginx304 error
Apr 14, 2025 pm 12:45 PM
Answer to the question: 304 Not Modified error indicates that the browser has cached the latest resource version of the client request. Solution: 1. Clear the browser cache; 2. Disable the browser cache; 3. Configure Nginx to allow client cache; 4. Check file permissions; 5. Check file hash; 6. Disable CDN or reverse proxy cache; 7. Restart Nginx.
 How to start nginx in Linux
Apr 14, 2025 pm 12:51 PM
How to start nginx in Linux
Apr 14, 2025 pm 12:51 PM
Steps to start Nginx in Linux: Check whether Nginx is installed. Use systemctl start nginx to start the Nginx service. Use systemctl enable nginx to enable automatic startup of Nginx at system startup. Use systemctl status nginx to verify that the startup is successful. Visit http://localhost in a web browser to view the default welcome page.
 How to configure nginx in Windows
Apr 14, 2025 pm 12:57 PM
How to configure nginx in Windows
Apr 14, 2025 pm 12:57 PM
How to configure Nginx in Windows? Install Nginx and create a virtual host configuration. Modify the main configuration file and include the virtual host configuration. Start or reload Nginx. Test the configuration and view the website. Selectively enable SSL and configure SSL certificates. Selectively set the firewall to allow port 80 and 443 traffic.
 How to solve the problem of nginx cross-domain
Apr 14, 2025 am 10:15 AM
How to solve the problem of nginx cross-domain
Apr 14, 2025 am 10:15 AM
There are two ways to solve the Nginx cross-domain problem: modify the cross-domain response header: add directives to allow cross-domain requests, specify allowed methods and headers, and set cache time. Use CORS modules: Enable modules and configure CORS rules that allow cross-domain requests, methods, headers, and cache times.
 How to check the running status of nginx
Apr 14, 2025 am 11:48 AM
How to check the running status of nginx
Apr 14, 2025 am 11:48 AM
The methods to view the running status of Nginx are: use the ps command to view the process status; view the Nginx configuration file /etc/nginx/nginx.conf; use the Nginx status module to enable the status endpoint; use monitoring tools such as Prometheus, Zabbix, or Nagios.
