How to choose the best Mac Studio?
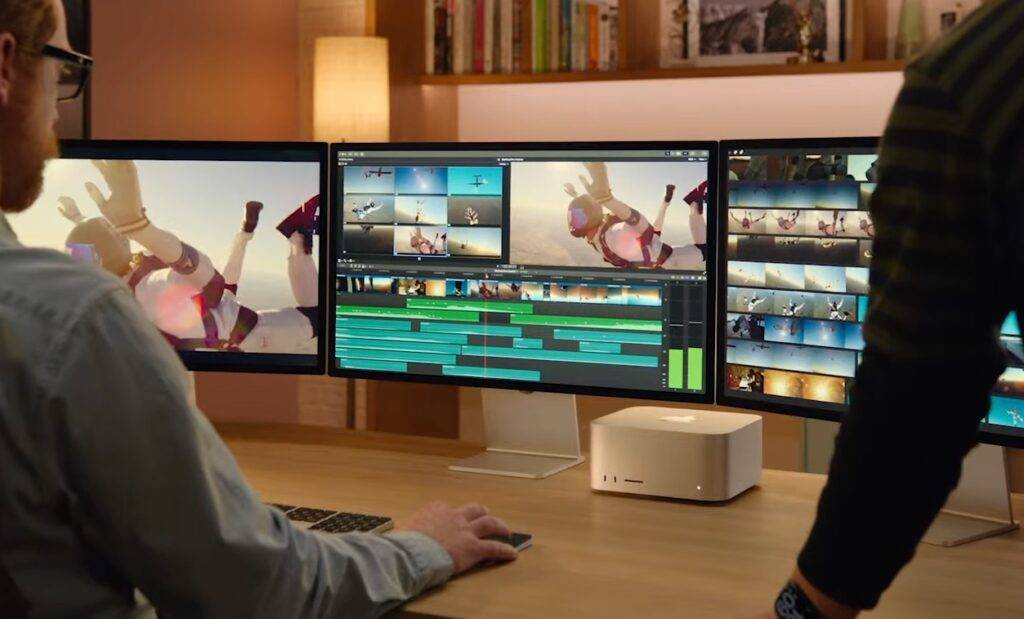
Apple has launched a brand new product called Mac Studio. In terms of performance, it is definitely the fastest Mac product at present (excluding Mac Pro with Intel processor, of course). But is it necessary to directly purchase the highest hardware specifications? How to choose Mac Studio to get a higher cost performance? Now I will explain to you the mistakes you should not make when buying Mac Studio.

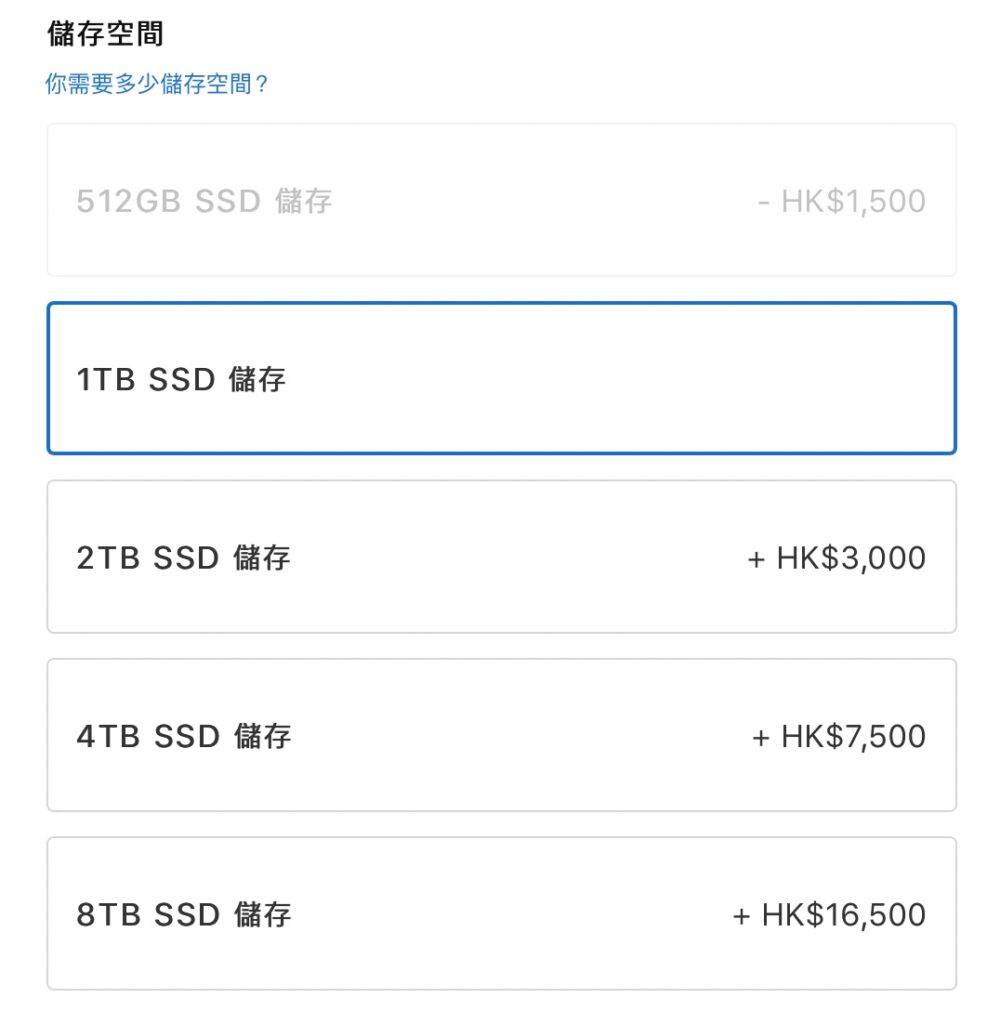
1: No need to buy more than 4 TB SSD

Apple's products are integrated on the motherboard, so many users will directly purchase the highest specification hardware when purchasing. However, in terms of SSD capacity, the price/performance ratio is extremely low. Desktop computers, Mac Studio has strong connectivity, and at the same time there is not much need for portability. Therefore, there is no need to spend tens of thousands of dollars to buy an SSD of more than 4TB and transfer the funds to purchase an external hard drive. disc is better.
2: Is 128 GB RAM required?

Since Apple switched to the "unified memory" design (that is, the design of built-in RAM on the chip, it has greatly The problem of latency is reduced and the speed is significantly improved.) Even the MacBook Air with only 8GB RAM has a faster and more stable experience in terms of usage efficiency than the Intel version of MacBook Pro with 16 GB RAM.
Therefore, I think that unless you are using it at the level of a Hollywood movie, with more than 200 mixes, or hundreds of film layers that need to be processed at the same time, you will indeed need 128 GB RAM, otherwise, I think 64 GB of RAM is enough for many years of use.
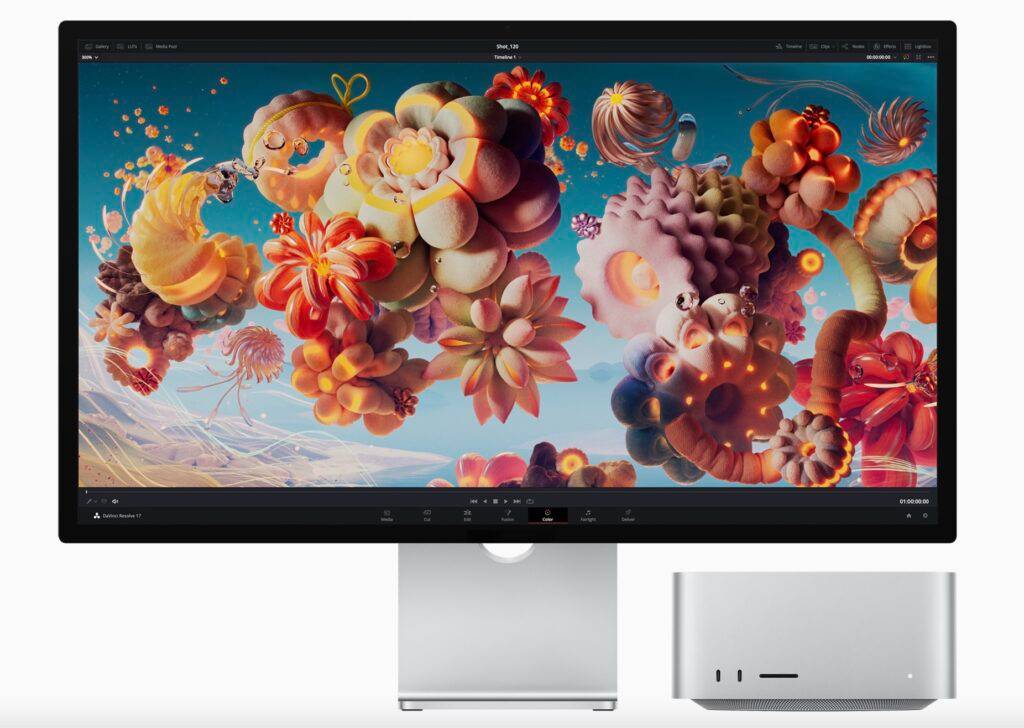
3: The display requires the purchase of products with Thunderbolt 4 input

The above is the detailed content of How to choose the best Mac Studio?. For more information, please follow other related articles on the PHP Chinese website!

Hot AI Tools

Undresser.AI Undress
AI-powered app for creating realistic nude photos

AI Clothes Remover
Online AI tool for removing clothes from photos.

Undress AI Tool
Undress images for free

Clothoff.io
AI clothes remover

AI Hentai Generator
Generate AI Hentai for free.

Hot Article

Hot Tools

Notepad++7.3.1
Easy-to-use and free code editor

SublimeText3 Chinese version
Chinese version, very easy to use

Zend Studio 13.0.1
Powerful PHP integrated development environment

Dreamweaver CS6
Visual web development tools

SublimeText3 Mac version
God-level code editing software (SublimeText3)

Hot Topics
 3 tips to easily customize your Mac computer name, host name and Bonjour name
Mar 06, 2024 pm 12:20 PM
Many Mac users tend to keep the default name of their device and may never consider changing it. Many people choose to stick with the name from the initial setup, such as "Johnny's MacBook Air" or simply "iMac." Learning how to change the name of your Mac is a very useful skill, especially when you have multiple devices, as it can help you quickly distinguish and manage them. Next, we will teach you step by step how to change the computer name, host name and Bonjour name (local host name) in macOS system. Why should you change your Mac name? Changing the name of your Mac can not only show your personality, but also help improve the user experience: Personalize your Mac: The default name may not be to your taste, change it to a name you like.
 pkg file to install on mac?
Feb 20, 2024 pm 03:21 PM
Preface: Today, this site will share with you the relevant content about installing pkg files on Mac. If it can solve the problem you are facing now, don’t forget to follow this site and start now! The previous version of macos pkg cannot be installed to upgrade the operating system: If your laptop is using an older operating system version, it is recommended to upgrade to the latest operating system version. Because older versions may not support installation of the latest macOS system. Select "Erase" in Disk Utility, then select the Macos extension in the format, do not check the encryption option, and do not select the apfs format, and finally click the "Erase" button to solve the problem of being unable to complete the macOS installation. Drag the application's icon to the file starting with App
 How to set up WeChat Mac to automatically convert voice messages into text - How to set up voice to text conversion
Mar 19, 2024 am 08:28 AM
Recently, some friends have consulted the editor about how to set up WeChat Mac to automatically convert voice messages into text. The following is a method for setting up WeChat Mac to automatically convert voice messages into text. Friends in need can come and learn more. Step 1: First, open the Mac version of WeChat. As shown in the picture: Step 2: Next, click "Settings". As shown in the picture: Step 3: Then, click "General". As shown in the picture: Step 4: Then check the option "Automatically convert voice messages in chat to text". As shown in the picture: Step 5: Finally, close the window. As shown in the picture:
 3 Ways to Convert HEIC Photos to JPG on Mac
Mar 15, 2024 pm 08:43 PM
By default, iPhone takes photos from the camera in HEIC format. HEIC stands for High Efficiency Image Container and can hold more pixel data than PNG or JPG files, taking up significantly less space on iPhone storage compared to other formats. These files work best on iPhones but are not widely accepted on the internet because they often result in blurry/grainy pictures when you share them with non-Apple devices. To ensure that HEIC images are compatible on other devices, you may need to convert them to JPG format. This article will introduce how to convert HEIC images to JPG on Mac. How to Convert HEIC Photos to JPG on Mac [3 Methods] Method
 CAMM2 for desktop PCs: MSI explains the benefits of the new RAM standard for gaming towers
Aug 17, 2024 pm 06:47 PM
The first LPCAMM2 modules for laptops are already being delivered, and desktop mainboards are also expected to be equipped with CAMM2 in future. CAMM2 and LPCAMM2 are not compatible with each other, and even on desktop PCs, customers need to be caref
 Mac configuration file does not take effect?
Feb 20, 2024 pm 02:00 PM
Introduction: This article will introduce to you the relevant content about the mac configuration file not taking effect. I hope it will be helpful to you, let's take a look. The solution to the problem that environment variables cannot take effect under Mac. After configuring environment variables in the Mac system, it is found that they are only effective in the current terminal and will become invalid once the terminal is switched. After inquiry, it was found that the Mac system is pre-installed with a tool called ultimate shell-zsh, and the reading of environment variables needs to be set in the .zshrc file. 2. In order for our configuration file to take effect, we can only add the above configuration in .zshrc. If you don’t make the above settings, you will find that it will only take effect every time you source ~/.bash_profile. Re-open z next time.
 Can't open compressed files on mac?
Feb 20, 2024 pm 02:18 PM
Introduction: This article is here to introduce you to the related content about Mac compressed files that cannot be opened. I hope it will be helpful to you, let’s take a look. Why can't I open the decompressed rar file on Mac? Since you don't have Mac decompression software, I would like to recommend a Mac version of decompression software to everyone. It is similar to commonly used compression software on Windows such as 360 Compression. Simply open the file and unzip it easily. The operation steps for Apple Mac computers that cannot open RAR files are as follows: First, install the RAR file decompression application, and you need to enter your Apple ID account and password to complete the installation. In the second step, after the installation is complete, return to the Mac desktop and double-click the RAR file to open and decompress the file contents. 3. Turn on the power
 Installed memory not showing up on Windows 11
Mar 10, 2024 am 09:31 AM
If you have installed new RAM but it is not showing up on your Windows computer, this article will help you resolve the issue. Usually, we improve the performance of the system by upgrading RAM. However, system performance also depends on other hardware such as CPU, SSD, etc. Upgrading RAM can also improve your gaming experience. Some users have noticed that installed memory is not showing up in Windows 11/10. If this happens to you, you can use the advice provided here. Installed RAM not showing up on Windows 11 If the installed RAM is not showing up on your Windows 11/10 PC, the following suggestions will help you. Is the installed memory compatible with your computer's motherboard? in BIO


