

How to integrate Redmine and SVN into Nginx in Linux system

redmine: It is a web-based project management software developed in ruby. It is a cross-platform project management system developed based on the ror framework. It is a rising star in project management systems. It is said to be derived from the ror version of basecamp. It supports a variety of databases. In addition to roughly the same functions as dotproject, there are many more It has its own unique functions, such as providing wiki, news station, time tracking, feed aggregation, exporting pdf, etc. It can also integrate other version management systems and bug tracking systems, such as svn, cvs, td, etc. The configuration function is powerful and convenient, and custom properties and update notifications are also very practical. We need to follow the official installation documentation and strictly install the corresponding ruby package to deploy the redmine svn project management system
Environment: centos-5.5 redmine-1.2.0 subversion-1.6.17
1. Download the required software packages
  wget ftp://ftp.ruby-lang.org//pub/ruby/1.8/ruby-1.8.7.tar.gz
  wget http://production.cf.rubygems.org/rubygems/rubygems-1.6.2.tgz
  wget http://rubyforge.org/frs/download.php/74944/redmine-1.2.0.tar.gz
  wget http://subversion.tigris.org/downloads/subversion-1.6.17.tar.gz
  wget http://subversion.tigris.org/downloads/subversion-deps-1.6.17.tar.gz
2. Configure the lnmp environment first
Reference: Install mysql5.1.57 php5.2.17 (fastcgi under centos 5.5 ) nginx1.0.1 high-performance web server
3. Redmine installation(The version requirements for each software package are very strict and must correspond to the corresponding version, otherwise unpredictable errors will occur)
1. Ruby installation:
  tar zxvf ruby-1.8.7.tar.gz
  cd ruby-1.8.7
  ./configure --prefix=/usr/local/ruby
  make && make install
  cd ..
Modify ~/.bash_profile and add the ruby directory to the root environment variable
Or
echo "export path=$path:/usr/local/ruby/bin/" >> /etc/profile
2. rubygems installation
Install rubygems, please note that it must be a version below 1.7.0, otherwise redmine cannot be started normally. Just because I read a Chinese document written by someone else and installed version 1.7.0, redmine has been unable to work properly, and I have taken a big detour. Finally, I found the problem in the official documentation. Below are some descriptions of version requirements from the official website.
Copy code The code is as follows:
ruby 1.9 is not supported yet. you have to use ruby 1.8.x as stated above.
rubygems 1.3.7 or higher is required with following limitations:
rails 2.3.5 will fail with rubygems 1.5.0 or later, stick to previous versions of rubygems !
rails 2.3.11 will fail with rubygems 1.7.0 or later, stick to previous versions of rubygems !
rake 0.8.7 is required (rake 0.9.x is not supported by rails yet)
rack 1.1.x is required, 1.1.0 has a bug with quotes (#8416). database migration would fail with other version.
mongrel 1.1.5 needs a patch attached to #7688 to work fine with rails 2.3.11. in case of upgrade, another issue may appear for some time after migration (#7857).
i18n 0.4.2 is required for redmine >= 1.0.5
  tar zxvf rubygems-1.6.2.tgz
  cd rubygems-1.6.2
  ruby setup.rb
  cd ..
3. Install rails rack i18n mysql passenger
  gem install rails -v=2.3.11
  gem install rack -v=1.1.1
  gem install i18n -v=0.4.2
  gem install mysql --no-rdoc --no-ri -- --with-mysql-dir=/data/soft/mysql  #我的mysql是编译安装在/data/soft/mysql目录下的
  gem install passenger
  gem install mongrel mongrel_cluster
4. Install and configure redmine
1. Unzip redmine
  tar zxvf redmine-1.2.0.tar.gz
  mv redmine-1.2.0 /data/www/redmine
  chown -r www. /data/www/redmine
2. Create database
  /data/soft/mysql/bin/mysql -uroot -p
  mysql> createdatabase redmine characterset utf8;
  mysql> grantallon redmine.* to 'redmine'@'localhost' identified by 'redmine';
  mysql> flush privileges;
3. Modify redmine mysql Database configuration.
  cd /data/www/redmine/config
  cp database.yml.example database.yml
  vi database.yml
  production:
  adapter: mysql
  database: redmine
  host: localhost
  username: redmine
  password: redmine
  encoding: utf8
Note: There is a space after the colon. . .
4. Create a running database:
Generate session storage key:
  cd /data/www/redmine
  rake generate_session_store
Then start creating the database table structure in the root directory of redmine Run:
rails_env=production rake db:migrate
Read the default configuration data. When encountering the select language, select zh:
rails_env=production rake redmine:load_default_data
5, configure mongrel_cluster
  cd /data/www/redmine
  mongrel_rails cluster::configure -e production -p 8000 -a 127.0.0.1 -n 3
6. Enable mongrel_cluster
  cd /data/www/redmine
  mongrel_rails cluster::start
If the startup error is as follows:
Copy the code The code is as follows:
starting port 8000
!! ! path to pid file not valid: tmp/pids/mongrel.8000.pid
mongrel::start reported an error. use mongrel_rails mongrel::start -h to get help.
starting port 8001
! !! path to pid file not valid: tmp/pids/mongrel.8001.pid
mongrel::start reported an error. use mongrel_rails mongrel::start -h to get help.
starting port 8002
!!! path to pid file not valid: tmp/pids/mongrel.8002.pid
mongrel::start reported an error. use mongrel_rails mongrel::start -h to get help.
create/ data/www/redmine/tmp/pids directory
mkdir -p /data/www/redmine/tmp/pids
Start successfully as follows:
  [root@centos5 redmine]# mongrel_rails cluster::start
  starting port 8000
  starting port 8001
  starting port 8002
7. Configure nginx
Copy code The code is as follows :
vi /data/soft/nginx/conf/nginx.conf
upstream mongrel
{
server 127.0.0.1:8000;
server 127.0.0.1:8001;
server 127.0.0.1:8002;
}
server
{
listen 80;
server_name 192.168.8.32;
root /data/www/redmine;
index index.html index.htm;
location /
{
proxy_pass http://mongrel;
proxy_redirect off;
proxy_set_header host $host;
proxy_set_header x-real-ip $remote_addr;
proxy_set_header x-forwarded-for $proxy_add_x_forwarded_for;
}
}
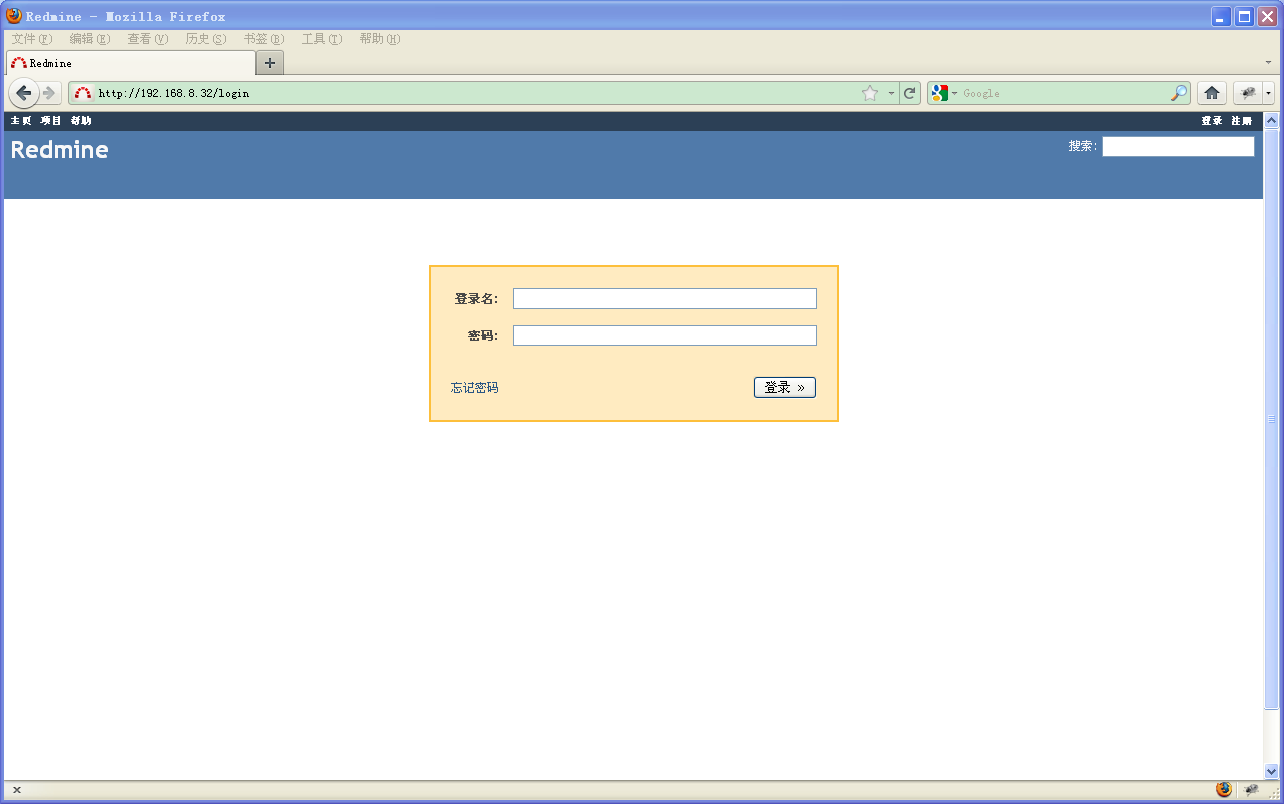
五: 访问redmine测试:
直接用ruby内置webrick也可启动redmine
/usr/local/ruby/bin/ruby /data/www/redmine/script/server webrick -e production &
启动成功如下:
  [root@centos5 redmine]# /usr/local/ruby/bin/ruby /data/www/redmine/script/server webrick -e production &
  [1] 3526
  [root@centos5 redmine]# => booting webrick
  => rails 2.3.11 application starting on http://0.0.0.0:3000
  => call with -d to detach
  => ctrl-c to shutdown server
  [2011-06-2409:30:47] info webrick 1.3.1
  [2011-06-2409:30:47] info ruby 1.8.7 (2008-05-31) [i686-linux]
  [2011-06-2409:30:47] info webrick::httpserver#start: pid=3526 port=3000
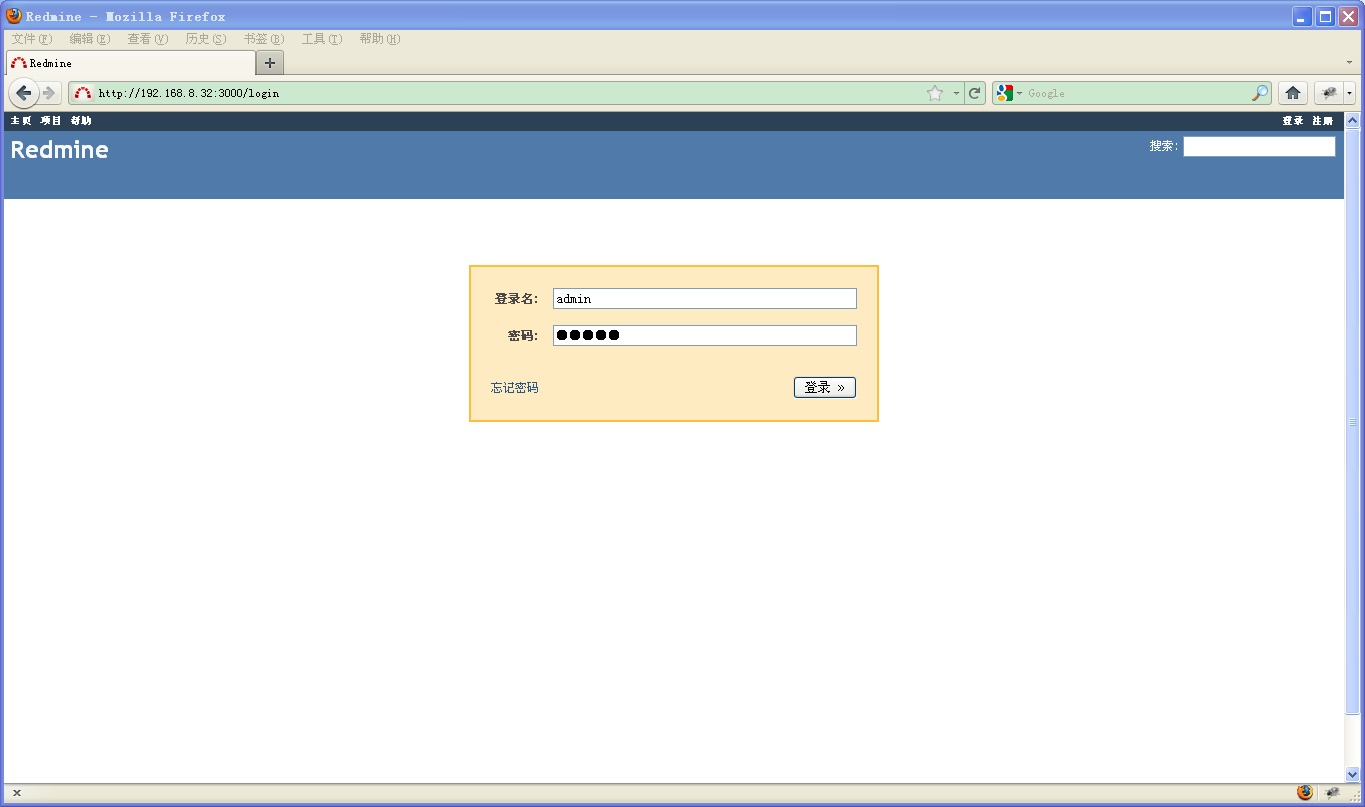
访问redmine测试: http://192.168.8.32:3000
六、配置svn服务器
七、在redmine中配置svn
进入redmine目录下config,有文件“configuration.yml.example”,复制该文件重命名“configuration.yml”,修改其中的svn配置
复制代码 代码如下:
scm_subversion_command: svn
注意:这里需要在环境变量path中添加svn所在的目录
再重启服务器,配置scm
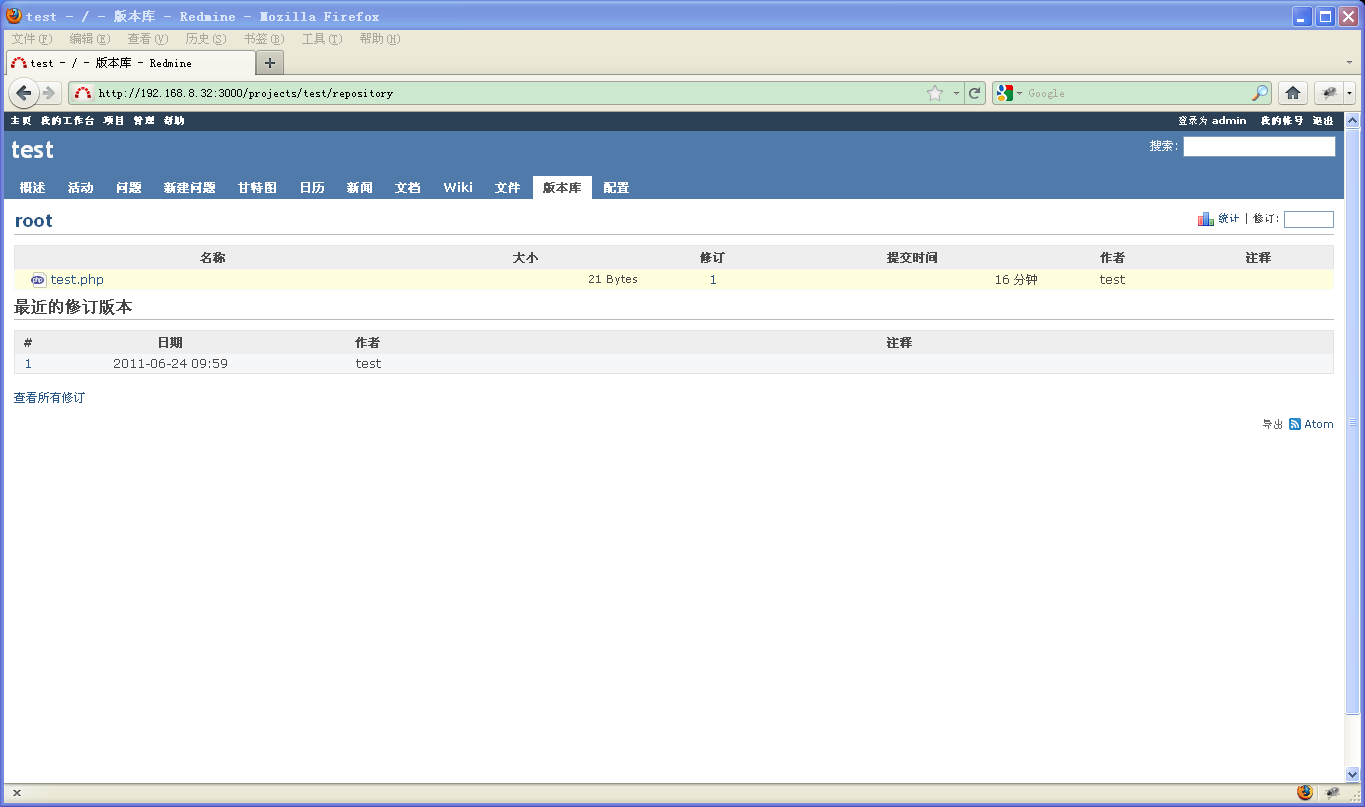
新建项目test,配置版本库 scm-->选择subversion
url-->填写svn://192.168.8.32/test(根据自己svn配置自行修改)
登录名-->test(根据自己svn配置自行修改)
密码-->test(根据自己svn配置自行修改)
保存即可
The above is the detailed content of How to integrate Redmine and SVN into Nginx in Linux system. For more information, please follow other related articles on the PHP Chinese website!

Hot AI Tools

Undresser.AI Undress
AI-powered app for creating realistic nude photos

AI Clothes Remover
Online AI tool for removing clothes from photos.

Undress AI Tool
Undress images for free

Clothoff.io
AI clothes remover

AI Hentai Generator
Generate AI Hentai for free.

Hot Article
Hot Tools

Notepad++7.3.1
Easy-to-use and free code editor

SublimeText3 Chinese version
Chinese version, very easy to use

Zend Studio 13.0.1
Powerful PHP integrated development environment

Dreamweaver CS6
Visual web development tools

SublimeText3 Mac version
God-level code editing software (SublimeText3)
Hot Topics
 1377
1377
 52
52

 How to enable pseudostatic in nginx
Apr 14, 2025 am 08:21 AM
How to enable pseudostatic in nginx
Apr 14, 2025 am 08:21 AM
How to enable Nginx pseudostatic? Enable the MultiViews module to allow the server to search for files based on the extension. Add a pseudo-static rule to rewrite the .php URL to the matching PHP file. Ensure that the web server process has permission to access PHP files. Restart Nginx to apply changes to implement the URL map to file paths.
 How to configure load balancing in nginx
Apr 14, 2025 am 08:33 AM
How to configure load balancing in nginx
Apr 14, 2025 am 08:33 AM
How to configure Nginx for load balancing? Defines the upstream server pool and specifies the server IP and port. Define virtual hosts, listen for connections and forward them to the upstream pool. Specify the location, match the request and forward it to the upstream pool.
 How to view nginx version information
Apr 14, 2025 am 08:24 AM
How to view nginx version information
Apr 14, 2025 am 08:24 AM
View Nginx version information through the following method: Direct command method: "nginx -v" output version information. View in the configuration file: Find the "version" section at the top of the configuration file. System information command: Linux: Use the "rpm -qa | grep nginx" or "dpkg -l | grep nginx" command. FreeBSD: Use the "pkg info nginx" command. Windows: Open Nginx service properties, version information is located in the General tab.
 How to redirect in nginx
Apr 14, 2025 am 08:42 AM
How to redirect in nginx
Apr 14, 2025 am 08:42 AM
Methods for redirecting through Nginx are 301 permanent redirects (update links or mobile pages) and 302 temporary redirects (handling errors or temporary changes). Configuring redirection involves using location directives in server blocks, advanced features include regular expression matching, proxy redirection, and condition-based redirection. Common uses of redirects include updating URLs, handling errors, redirecting HTTP to HTTPS, and guiding users to a specific country or language version.
 How to check the running status of nginx
Apr 14, 2025 am 11:48 AM
How to check the running status of nginx
Apr 14, 2025 am 11:48 AM
The methods to view the running status of Nginx are: use the ps command to view the process status; view the Nginx configuration file /etc/nginx/nginx.conf; use the Nginx status module to enable the status endpoint; use monitoring tools such as Prometheus, Zabbix, or Nagios.
 How to restart nginx service
Apr 14, 2025 am 08:27 AM
How to restart nginx service
Apr 14, 2025 am 08:27 AM
To restart nginx service, perform the following steps: 1. Stop nginx using sudo systemctl stop nginx. 2. Use sudo systemctl start nginx to start the service. 3. Reload the configuration using sudo systemctl reload nginx.
 How to set nginx access address to server ip
Apr 14, 2025 am 11:36 AM
How to set nginx access address to server ip
Apr 14, 2025 am 11:36 AM
To set the access address to server IP in Nginx, configure the server block, set the listening address (such as listen 192.168.1.10:80) Set the server name (such as server_name example.com www.example.com), or leave it blank to access the server IP and reload Nginx to apply the changes
 How to solve the problem of nginx cross-domain
Apr 14, 2025 am 10:15 AM
How to solve the problem of nginx cross-domain
Apr 14, 2025 am 10:15 AM
There are two ways to solve the Nginx cross-domain problem: modify the cross-domain response header: add directives to allow cross-domain requests, specify allowed methods and headers, and set cache time. Use CORS modules: Enable modules and configure CORS rules that allow cross-domain requests, methods, headers, and cache times.
