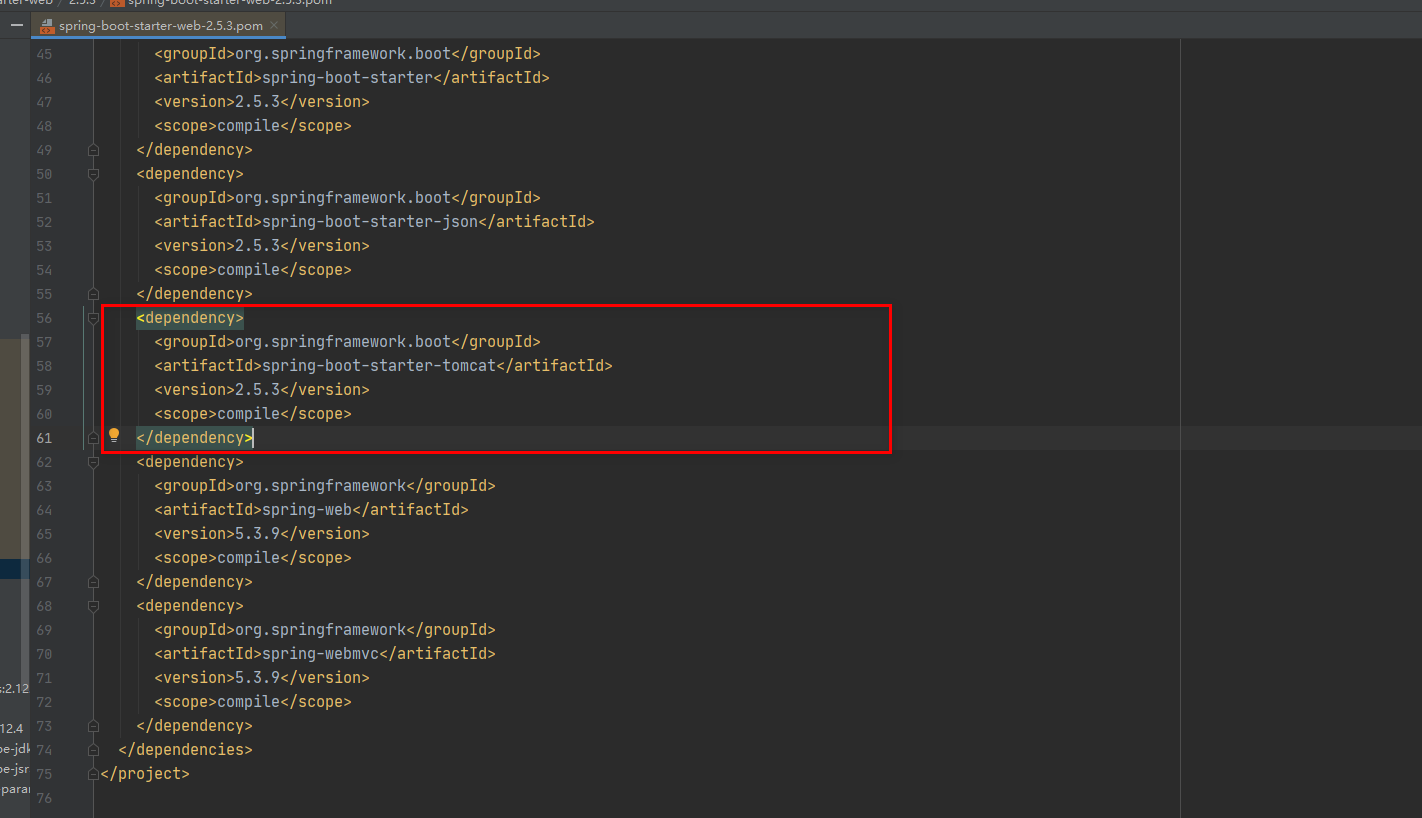
How to configure and switch Tomcat with SpringBoot
1. Basic introduction
WebServer supported by SpringBoot: Tomcat, Jetty, or Undertow


server:2. Configure Tomcat through classesConfigure through classes Tomcat (Note: The configuration file can be configured more fully.)Log out application.yml to configure tomcat and complete the test#Configure port
port: 9999
#Configure tomcat
tomcat:
threads:
#Indicates the maximum of worker threads (the bank has 10 counters, each counter handles 200 requests 10*200=maximum number of connections), the default is 200
max: 10
#The default minimum worker thread is 10
min- spare: 5
#The thread started by tomcat reaches the maximum value, and the number of queued requests is accepted, the default is 100
accept-count: 200
#Maximum number of connections, number of concurrency
max-connections: 2000
#The timeout for establishing a connection, the default is 20 seconds, in milliseconds
connection-timeout: 10000
/**
 * 通过类来配置Tomcat
 */
@Component
public class CustomizationBean implements WebServerFactoryCustomizer<ConfigurableServletWebServerFactory> {
    @Override
    public void customize(ConfigurableServletWebServerFactory server) {
        server.setPort(10000); //我们设置了server的端口为10000
    }
}<dependency>
<groupId>org.springframework.boot</groupId>
<artifactId>spring-boot-starter-web</artifactId>
<exclusions>
<exclusion>
<groupId>org.springframework.boot</groupId>
<artifactId>spring-boot-starter-tomcat</artifactId>
</exclusion>
</exclusions>
</dependency><!-- 引入 undertow --> <dependency> <groupId>org.springframework.boot</groupId> <artifactId>spring-boot-starter-undertow</artifactId> </dependency>
The above is the detailed content of How to configure and switch Tomcat with SpringBoot. For more information, please follow other related articles on the PHP Chinese website!

Hot AI Tools

Undresser.AI Undress
AI-powered app for creating realistic nude photos

AI Clothes Remover
Online AI tool for removing clothes from photos.

Undress AI Tool
Undress images for free

Clothoff.io
AI clothes remover

Video Face Swap
Swap faces in any video effortlessly with our completely free AI face swap tool!

Hot Article

Hot Tools

Notepad++7.3.1
Easy-to-use and free code editor

SublimeText3 Chinese version
Chinese version, very easy to use

Zend Studio 13.0.1
Powerful PHP integrated development environment

Dreamweaver CS6
Visual web development tools

SublimeText3 Mac version
God-level code editing software (SublimeText3)

Hot Topics
 How to deploy jar project in tomcat
Apr 21, 2024 am 07:27 AM
To deploy a JAR project to Tomcat, follow these steps: Download and unzip Tomcat. Configure the server.xml file, set the port and project deployment path. Copies the JAR file to the specified deployment path. Start Tomcat. Access the deployed project using the provided URL.
 How to allow external network access to tomcat server
Apr 21, 2024 am 07:22 AM
To allow the Tomcat server to access the external network, you need to: modify the Tomcat configuration file to allow external connections. Add a firewall rule to allow access to the Tomcat server port. Create a DNS record pointing the domain name to the Tomcat server public IP. Optional: Use a reverse proxy to improve security and performance. Optional: Set up HTTPS for increased security.
 Where is the tomcat installation directory?
Apr 21, 2024 am 07:48 AM
Tomcat installation directory: Default path: Windows: C:\Program Files\Apache Software Foundation\Tomcat 9.0macOS:/Library/Tomcat/Tomcat 9.0Linux:/opt/tomcat/tomcat9 Custom path: You can specify it during installation. Find the installation directory: use whereis or locate command.
 How to deploy multiple projects in tomcat
Apr 21, 2024 am 09:33 AM
To deploy multiple projects through Tomcat, you need to create a webapp directory for each project and then: Automatic deployment: Place the webapp directory in Tomcat's webapps directory. Manual deployment: Manually deploy the project in Tomcat's manager application. Once the project is deployed, it can be accessed by its deployment name, for example: http://localhost:8080/project1.
 How to check the number of concurrent connections in tomcat
Apr 21, 2024 am 08:12 AM
How to check the number of concurrent Tomcat connections: Visit the Tomcat Manager page (http://localhost:8080/manager/html) and enter your user name and password. Click Status->Sessions in the left navigation bar to see the number of concurrent connections at the top of the page.
 Where is the root directory of the tomcat website?
Apr 21, 2024 am 09:27 AM
The Tomcat website root directory is located in Tomcat's webapps subdirectory and is used to store web application files, static resources, and the WEB-INF directory; it can be found by looking for the docBase attribute in the Tomcat configuration file.
 How to check the port number of tomcat
Apr 21, 2024 am 08:00 AM
The Tomcat port number can be viewed by checking the port attribute of the <Connector> element in the server.xml file. Visit the Tomcat management interface (http://localhost:8080/manager/html) and view the "Status" tab. Run "catalina.sh version" from the command line and look at the "Port:" line.
 How to run html and jsp on tomcat
Apr 21, 2024 am 09:04 AM
Tomcat can run HTML and JSP. The method is as follows: copy the HTML file to the corresponding subdirectory of the Tomcat directory and access it in the browser. Copy the JSP file to the corresponding subdirectory of the Tomcat directory, and use the <%@ page %> directive to specify the Java code and access it in the browser.


