

How to make an image look transparent in Microsoft Word

Changing the transparency of an image or fading an image into the background can also be done using Microsoft Word. It lets you adjust color and transparency, apply background effects, and more. In this article, we’ll learn about an easy way to make transparent images in Word.
How to make an image look transparent
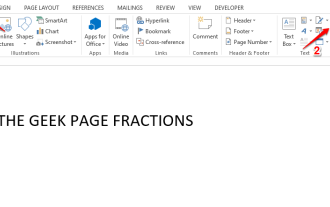
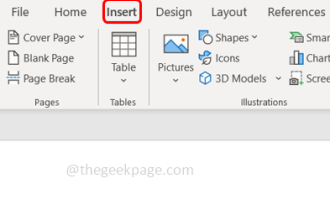
Step 1: OpenMicrosoft Word, Then at the top click Insert Options
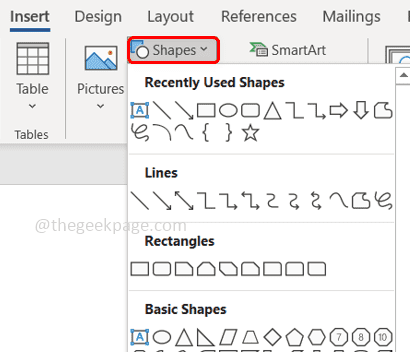
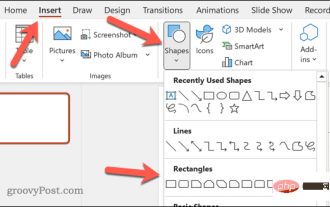
Step 2: Click on the "Shape" drop-down menu and select your choice shape. Here I'm going to select the rectangle.
Step 3: Draw a rectangle to select an area on the word page, then right-click it.
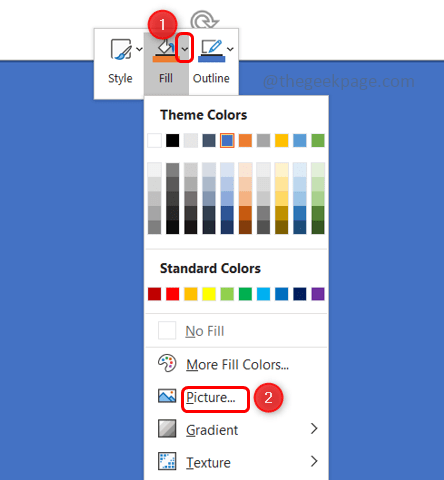
Step 4: From the options that appear, click the "Fill" drop-down menu and select "Image" to add the image.
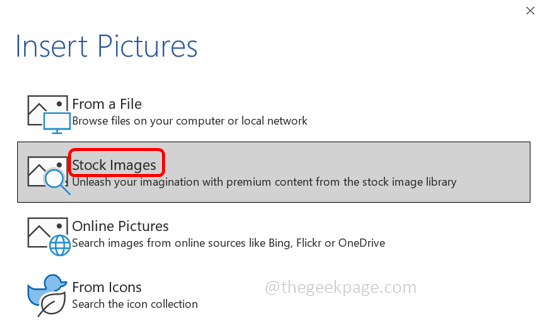
Step 5: Click on Stock Images and select the desired image. Then click INSERT
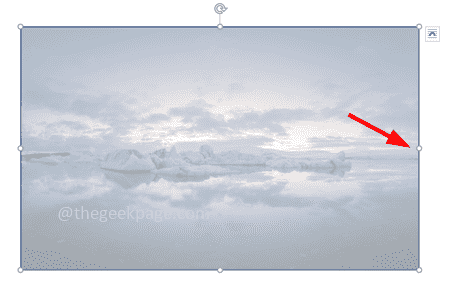
Step 6: The picture/image will appear in the selected area of the word page.
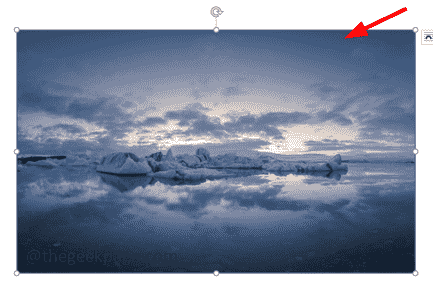
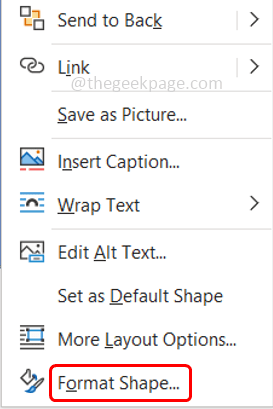
Right click on the image and select Format Shape.
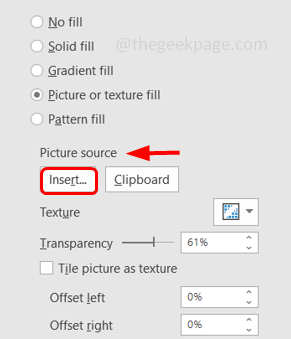
Fill and Lines symbol and expand the Fill option.
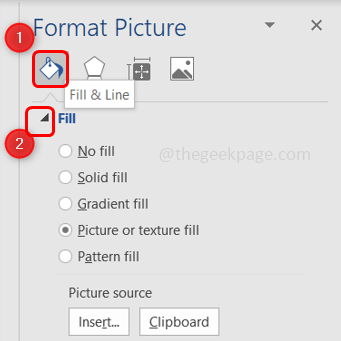
Pictures and Textures Fill.
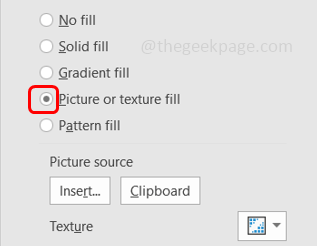
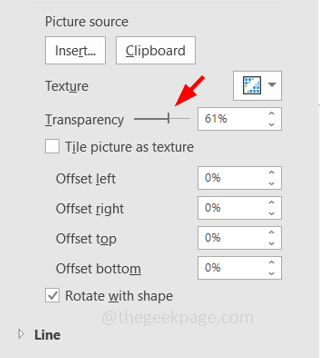
dragging the slider on the right side next to the Transparency option transparency. If you drag the slider on the right, the image will become more transparent. If you drag the slider on the left, the image will look brighter.
on the right side below PictureSource ##Change image.
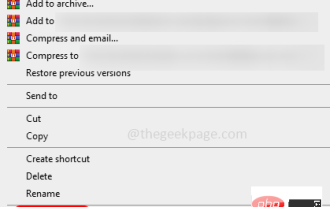
 Step 13: Click on
images and select the desired image. Then click to insert . Now the picture has changed.
The above is the detailed content of How to make an image look transparent in Microsoft Word. For more information, please follow other related articles on the PHP Chinese website!

Hot AI Tools

Undresser.AI Undress
AI-powered app for creating realistic nude photos

AI Clothes Remover
Online AI tool for removing clothes from photos.

Undress AI Tool
Undress images for free

Clothoff.io
AI clothes remover

Video Face Swap
Swap faces in any video effortlessly with our completely free AI face swap tool!

Hot Article
Hot Tools

Notepad++7.3.1
Easy-to-use and free code editor

SublimeText3 Chinese version
Chinese version, very easy to use

Zend Studio 13.0.1
Powerful PHP integrated development environment

Dreamweaver CS6
Visual web development tools

SublimeText3 Mac version
God-level code editing software (SublimeText3)
Hot Topics
 1393
1393
 52
1207
24
52
1207
24

 How to remove author and last modified information in Microsoft Word
Apr 15, 2023 am 11:43 AM
How to remove author and last modified information in Microsoft Word
Apr 15, 2023 am 11:43 AM
Microsoft Word documents contain some metadata when saved. These details are used for identification on the document, such as when it was created, who the author was, date modified, etc. It also has other information such as number of characters, number of words, number of paragraphs, and more. If you might want to remove the author or last modified information or any other information so that other people don't know the values, then there is a way. In this article, let’s see how to remove a document’s author and last modified information. Remove author and last modified information from Microsoft Word document Step 1 – Go to
 How to write fractions in Microsoft Word
Apr 13, 2023 pm 02:04 PM
How to write fractions in Microsoft Word
Apr 13, 2023 pm 02:04 PM
We all know that Microsoft Word is very flexible and has many features. The most important thing is that we know how to make the most of what Microsoft Word has to offer. One of the amazing features is to insert a fractional value into your Word document. Fractions are used in many places. But when we insert a fraction into a Word document, it doesn't always format like a fraction. In this article, we explain how to easily insert well-formatted fractional numbers into a Microsoft Word document in some very simple steps. Read on to learn how to easily master this super handy Word trick. In Microsoft W
 How to make an image look transparent in Microsoft Word
May 29, 2023 pm 02:01 PM
How to make an image look transparent in Microsoft Word
May 29, 2023 pm 02:01 PM
Changing the transparency of an image or fading an image into the background can also be done using Microsoft Word. It lets you adjust color and transparency, apply background effects, and more. In this article, we will see how easy and simple it is to make an image transparent in Word. How to make an image look transparent Step 1: Open Microsoft Word and click on the Insert option at the top Step 2: Click on the Shape drop-down menu and select the shape of your choice. Here I'm going to select the rectangle. Step 3: Draw a rectangle to select an area on the word page, then right-click on it. Step 4: Click the "Fill" drop-down menu from the options that appear and select "Picture" to add an image. Step 5: Click Stock
 Cannot use PS shortcut keys to fill
Feb 19, 2024 am 09:18 AM
Cannot use PS shortcut keys to fill
Feb 19, 2024 am 09:18 AM
With the development of the digital age, image processing software has become an indispensable part of our life and work. Among them, Photoshop (PS for short) developed by Adobe is one of the most famous image processing software. It has powerful functions and flexible operation, and is deeply loved by users. However, when using PS, some users reported that the shortcut key "Fill" cannot be used normally, which brings troubles to the user experience. Shortcut keys are a quick operation method provided in the software to avoid tedious mouse click operations.
 How to create user input prompts in Microsoft Word
Apr 14, 2023 pm 04:40 PM
How to create user input prompts in Microsoft Word
Apr 14, 2023 pm 04:40 PM
Let's say you have a requirement where you have to collect data from 50 people. You can send them a Word file and they can fill it out easily. But you need the formatting and alignment and everything else to be the same in all 50 documents. Well, if you gave the original Word file to these 50 people, instead of 50 identical documents, you would get 50 completely different documents, needless to say. So, is there a solution? Of course, you know we have a solution for you! Let’s talk templates! Word templates are the perfect solution for your tasks. By using a Word template, you can prompt users to enter some data when they open the template document. They can be provided by the user
 How to insert an image into a shape in PowerPoint
Apr 17, 2023 pm 02:28 PM
How to insert an image into a shape in PowerPoint
Apr 17, 2023 pm 02:28 PM
How to Insert an Image into a Shape in PowerPoint Inserting an image into a shape is useful for creating visual elements that stand out in your presentation. It could be an arrow, a heart, or a cross, but each of these shapes provides a purpose or emotion that can help your image pack a punch. If you're not sure how to insert an image into a shape in PowerPoint, follow these steps: Open your PowerPoint presentation. Click the Insert tab in the ribbon. Click the shape. Select the desired shape and draw it on the slide. Next, select the shape you drew and select the Format Shape tab on the ribbon bar. Click the shape fill. Fill dropdown menu from shape
 Users can now select 'Verify when using Autofill' in Microsoft Edge Canary for Android
Nov 24, 2023 pm 11:05 PM
Users can now select 'Verify when using Autofill' in Microsoft Edge Canary for Android
Nov 24, 2023 pm 11:05 PM
Is Copilot the best AI companion out there? Help us find out by answering a few quick questions! Microsoft Edge Canary for Android adds a new security option called "Always verify when using Autofill." This option will require users to authenticate themselves before automatically filling in payment information. In my opinion, this seems to be a valuable addition to the browser, as it will help protect users from unauthorized access to their stored payment credentials. When the "Always verify when using autofill" option is enabled, users will be prompted to enter their fingerprint, PIN, or password before autofilling payment information. This will help ensure that only authorized users have access to their payment credentials. this function
 How to color alternating rows or columns in MS Excel
May 22, 2023 pm 05:56 PM
How to color alternating rows or columns in MS Excel
May 22, 2023 pm 05:56 PM
To make your Excel documents stand out, it's a good idea to paint them with some color. It's very easy to select all the cells you want to add color to and then choose the color you like. But wouldn't it be fun if you could color the odd rows/columns with one color and the even rows/columns with another color? Of course, it will make your Excel document stand out. So, what is the fastest solution to automatically color alternating rows or columns in MSExcel? Well, that’s exactly why we’re here to help you today. Read on to master this cool Excel trick in the easiest steps possible. Hope you enjoyed reading this article. Part 1: How to use MSExcel