
systemctl start redis.service
systemctl stop redis.service
systemctl restart redis.service
systemctl status redis.service
systemctl enable redis.service
 Database
Redis
How to install redis in CentOS7 and configure it to be accessible from the external network
Database
Redis
How to install redis in CentOS7 and configure it to be accessible from the external network
How to install redis in CentOS7 and configure it to be accessible from the external network

1. Install gcc editor
Installing redis needs to rely on the gcc environment. Execute the following command to install:
yum install -y gcc
If the machine does not have a network, you can refer to this article:
CentOS offline installation gcc environment (with installation package pictures and texts)
2. Download the redis installation package
redis official website: https://redis.io/download
Download Then upload it to CentOS, for example, upload it to /usr/local/
3, decompress and compile and install redis
command is as follows:
1, Enter the installation package directory
cd /usr/local/
2. Unzip the installation package
tar -zxvf redis-6.2.1.tar.gz
3. Enter the decompressed redis directory and compile
cd redis-6.2.1

make

/usr/local/redis as an example:
make install prefix=/usr/local/redis

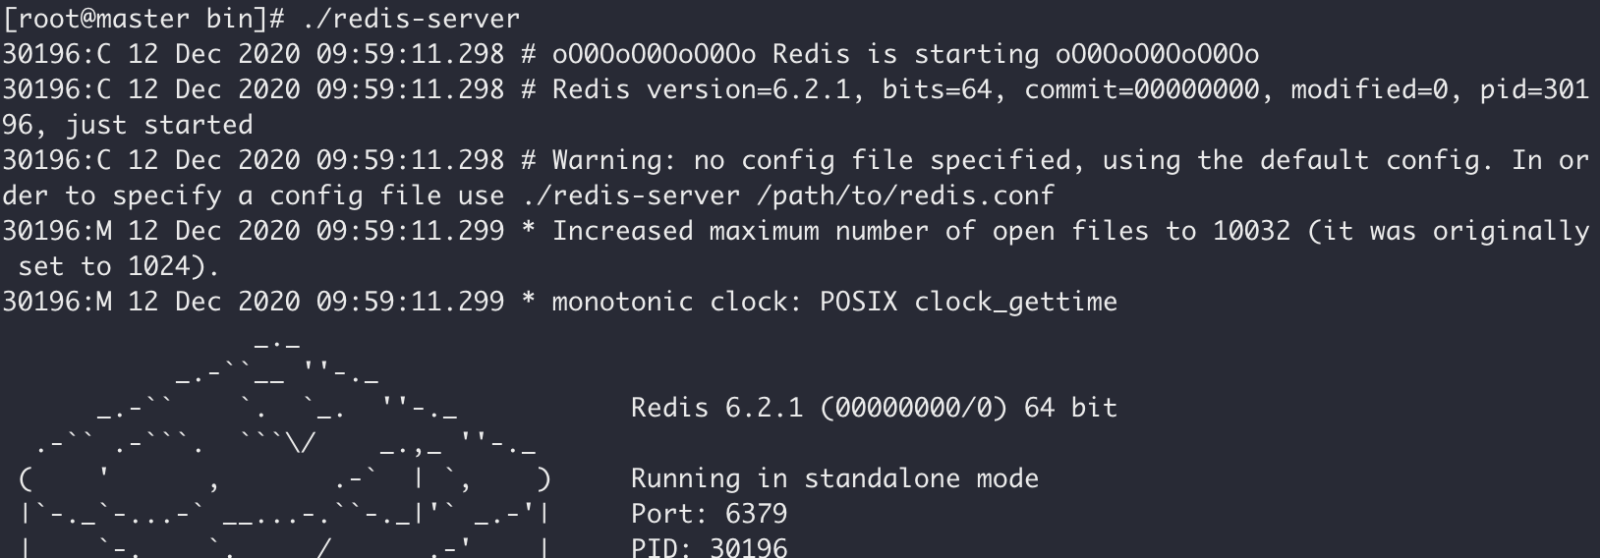
cd /usr/local/redis/bin
./redis-server
find / -name 'redis.conf'

cp /usr/local/redis-6.2.1/redis.conf /usr/local/redis/bin/
vi /usr/local/redis/bin/redis.conf
/, and then enter [keyword] Query parameters.
daemonizeThe corresponding value is yes
1、修改之前
daemonize no
2、修改之后
daemonize yes
- yes: redis The single-process multi-thread mode is adopted. Turning on daemon mode means when the daemonize option in the redis.conf file is set to "yes". In this mode, redis will run in the background and write the process pid number to the file set by the redis.conf option pidfile. At this time, redis will always run unless the process is manually killed.
- no: When the daemonize option is set to no, the current interface will enter the redis command line interface. Exit force exit or closing the connection tool (putty, xshell, etc.) will cause the redis process to exit. .
./redis-server redis.conf
vi /usr/local/redis/bin/redis.conf
- ##bind 127.0.0.1 (bind the IP that allows access)
- protected-mode yes (protected mode on)
- #requirepass yourpassword (request access password)
- The first and second items are combination items, which are particularly important. The third item is to set a password, which protects the service area to a certain extent.
is modified as follows:
- bind 127.0.0.1
- ##protected-mode no
- requirepass Your password
- After modification, save and exit.
vi /etc/systemd/system/redis.service
[Unit]
Description=redis-server
After=network.target

[Service]
Type=forking
ExecStart=/usr/local/redis/bin/redis-server /usr/local/redis/bin/redis.conf
PrivateTmp=true

[Install]
WantedBy=multi-user.target
systemctl daemon-reload
systemctl start redis.service
systemctl enable redis.service
systemctl start redis.service
Copy after login
Stop redis servicesystemctl start redis.service
systemctl stop redis.service
Copy after login
Restart Start the servicesystemctl stop redis.service
systemctl restart redis.service
Copy after login
View the current status of the servicesystemctl restart redis.service
systemctl status redis.service
Copy after login
Set auto-start at bootsystemctl status redis.service
systemctl enable redis.service
Copy after login
Stop auto-start at bootsystemctl enable redis.service
systemctl disable redis.service
Copy after login
systemctl disable redis.service
The above is the detailed content of How to install redis in CentOS7 and configure it to be accessible from the external network. For more information, please follow other related articles on the PHP Chinese website!

Hot AI Tools

Undresser.AI Undress
AI-powered app for creating realistic nude photos

AI Clothes Remover
Online AI tool for removing clothes from photos.

Undress AI Tool
Undress images for free

Clothoff.io
AI clothes remover

AI Hentai Generator
Generate AI Hentai for free.

Hot Article
Hot Tools

Notepad++7.3.1
Easy-to-use and free code editor

SublimeText3 Chinese version
Chinese version, very easy to use

Zend Studio 13.0.1
Powerful PHP integrated development environment

Dreamweaver CS6
Visual web development tools

SublimeText3 Mac version
God-level code editing software (SublimeText3)
Hot Topics
 1375
1375
 52
52

 How to build the redis cluster mode
Apr 10, 2025 pm 10:15 PM
How to build the redis cluster mode
Apr 10, 2025 pm 10:15 PM
Redis cluster mode deploys Redis instances to multiple servers through sharding, improving scalability and availability. The construction steps are as follows: Create odd Redis instances with different ports; Create 3 sentinel instances, monitor Redis instances and failover; configure sentinel configuration files, add monitoring Redis instance information and failover settings; configure Redis instance configuration files, enable cluster mode and specify the cluster information file path; create nodes.conf file, containing information of each Redis instance; start the cluster, execute the create command to create a cluster and specify the number of replicas; log in to the cluster to execute the CLUSTER INFO command to verify the cluster status; make
 How is the key unique for redis query
Apr 10, 2025 pm 07:03 PM
How is the key unique for redis query
Apr 10, 2025 pm 07:03 PM
Redis uses five strategies to ensure the uniqueness of keys: 1. Namespace separation; 2. HASH data structure; 3. SET data structure; 4. Special characters of string keys; 5. Lua script verification. The choice of specific strategies depends on data organization, performance, and scalability requirements.
 How to implement the underlying redis
Apr 10, 2025 pm 07:21 PM
How to implement the underlying redis
Apr 10, 2025 pm 07:21 PM
Redis uses hash tables to store data and supports data structures such as strings, lists, hash tables, collections and ordered collections. Redis persists data through snapshots (RDB) and append write-only (AOF) mechanisms. Redis uses master-slave replication to improve data availability. Redis uses a single-threaded event loop to handle connections and commands to ensure data atomicity and consistency. Redis sets the expiration time for the key and uses the lazy delete mechanism to delete the expiration key.
 How to view the version number of redis
Apr 10, 2025 pm 05:57 PM
How to view the version number of redis
Apr 10, 2025 pm 05:57 PM
To view the Redis version number, you can use the following three methods: (1) enter the INFO command, (2) start the server with the --version option, and (3) view the configuration file.
 How to view all keys in redis
Apr 10, 2025 pm 07:15 PM
How to view all keys in redis
Apr 10, 2025 pm 07:15 PM
To view all keys in Redis, there are three ways: use the KEYS command to return all keys that match the specified pattern; use the SCAN command to iterate over the keys and return a set of keys; use the INFO command to get the total number of keys.
 How to use redis zset
Apr 10, 2025 pm 07:27 PM
How to use redis zset
Apr 10, 2025 pm 07:27 PM
Redis Ordered Sets (ZSets) are used to store ordered elements and sort by associated scores. The steps to use ZSet include: 1. Create a ZSet; 2. Add a member; 3. Get a member score; 4. Get a ranking; 5. Get a member in the ranking range; 6. Delete a member; 7. Get the number of elements; 8. Get the number of members in the score range.
 How to use the redis command line
Apr 10, 2025 pm 10:18 PM
How to use the redis command line
Apr 10, 2025 pm 10:18 PM
Use the Redis command line tool (redis-cli) to manage and operate Redis through the following steps: Connect to the server, specify the address and port. Send commands to the server using the command name and parameters. Use the HELP command to view help information for a specific command. Use the QUIT command to exit the command line tool.
 How to optimize memory with redis
Apr 10, 2025 pm 06:24 PM
How to optimize memory with redis
Apr 10, 2025 pm 06:24 PM
To optimize Redis memory usage, you can take the following steps: Use appropriate data structures such as hash tables, lists, compressed lists, or hash tables. Enable compression to compress duplicate data. Use object sharing to store similar objects. Limit the number of keys and group the relative keys using hash tags. Delete expired keys and use persistence to prevent data loss. Use RDB or AOF as a persistence method to monitor memory usage and use a Redis memory server. Use space-efficient data structures, disable lazy expiration, and control the number of compressed list entries in zset.
