


FreeIPA is a powerful open source identity management system that provides centralized authentication, authorization and accounting services.
In our previous post, we have discussed the installation steps of FreeIPA server on RHEL8/Rokcy Linux 8/AlmaLinux 8.
Log in to your FreeIPA server and create a user named sysadm and run the following command:
$ sudo kinit adminPassword for admin@LINUXTECHI.LAN:$$ sudo ipa config-mod --defaultshell=/bin/bash$ sudo ipa user-add sysadm --first=System --last=Admin --passwordPassword:Enter Password again to verify:-------------------Added user "sysadm"-------------------User login: sysadmFirst name: SystemLast name: AdminFull name: System AdminDisplay name: System AdminInitials: SAHome directory: /home/sysadmGECOS: System AdminLogin shell: /bin/bashPrincipal name: sysadm@LINUXTECHI.LANPrincipal alias: sysadm@LINUXTECHI.LANUser password expiration: 20230415073041ZEmail address: sysadm@linuxtechi.lanUID: 464600003GID: 464600003Password: TrueMember of groups: ipausersKerberos keys available: True$
The first command is to obtain Kerberos credentials, the second command sets the default login shell for all users to /bin/bash, and the third command is used to create a file named sysadm User.
Perform the following steps to configure FreeIPA client for centralized authentication.
Log in to your FreeIPA server and run the following command to add a DNS record for the FreeIPA client (i.e. Ubuntu 22.04/20.04):
$ sudo ipa dnsrecord-add linuxtechi.lan app01.linuxtechi.lan --a-rec 192.168.1.106Record name: app01.linuxtechi.lanA record: 192.168.1.106$
In the above command, app01.linuxtechi.lan is my Ubuntu system, and the IP address is 192.168.1.106.
Note: Make sure your FreeIPA server and client are in the same time zone and get the time from an NTP server.
Run the following command from your Ubuntu system to install freeipa-client and dependencies:
$ sudo apt install freeipa-client oddjob-mkhomedir -y
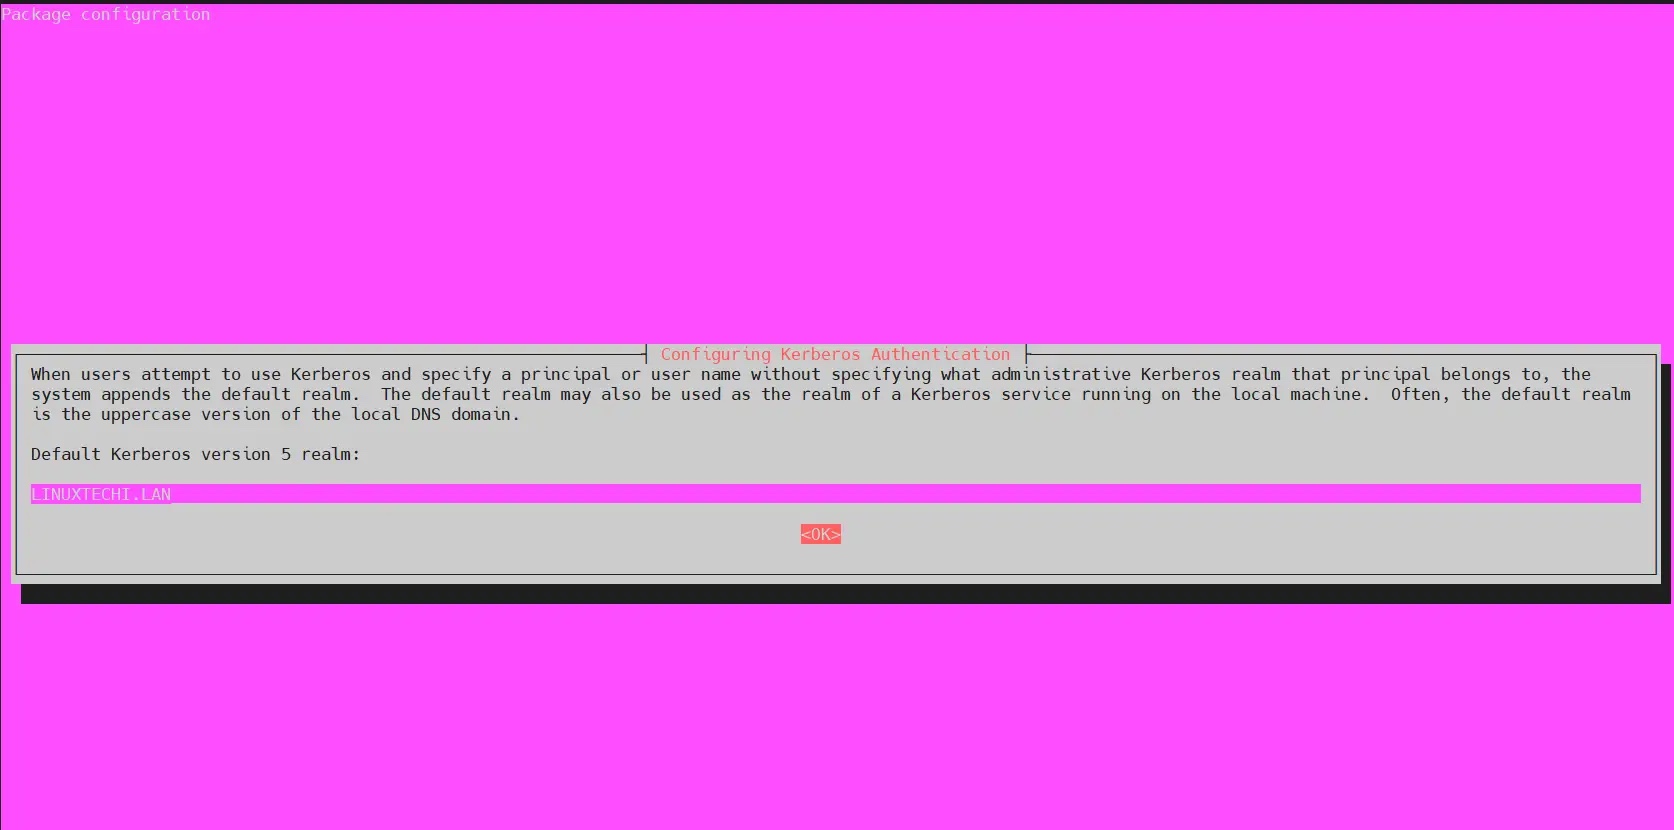
in When installing freeipa-client, we will see the following page, select OK and press Enter.
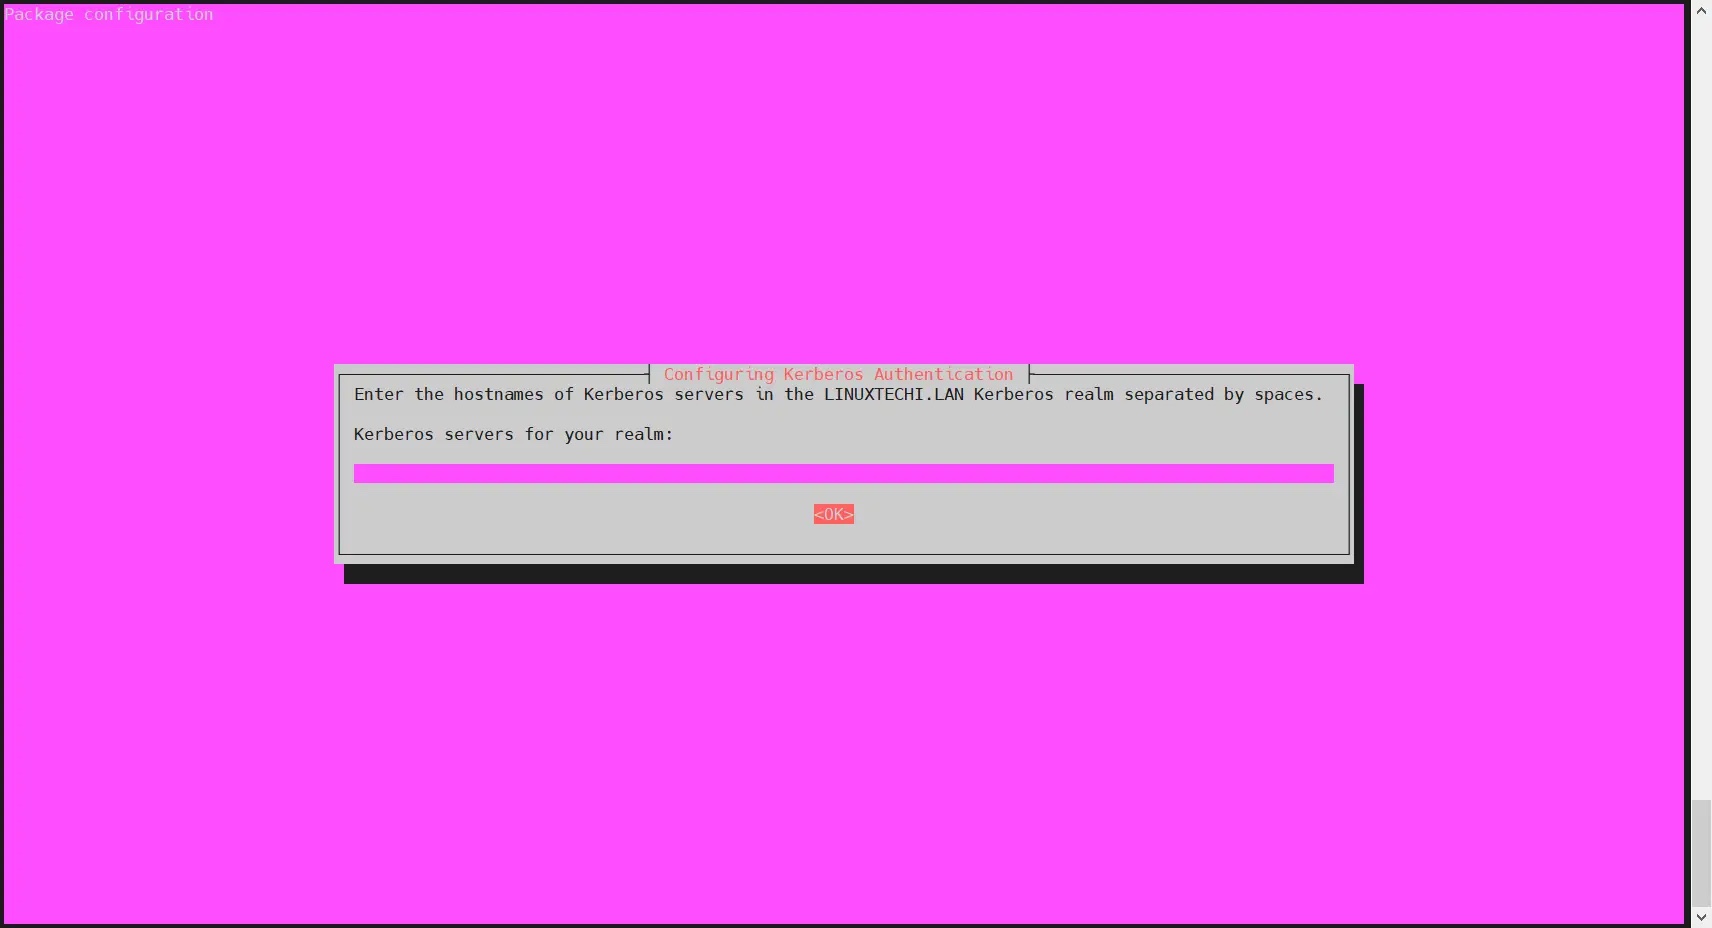
In the next screen, press Enter to skip.
Add the following FreeIPA in the /etc/hosts file Server Entry:
$ echo "192.168.1.102 ipa.linuxtechi.lan ipa" | sudo tee -a /etc/hosts$ echo "192.168.1.106 app01.linuxtechi.lan app01" | sudo tee -a /etc/hosts
Change the IP address and hostname as appropriate for your setup.
Now run the following ipa-client-install command to configure the FreeIPA client on your Ubuntu system:
$ sudo ipa-client-install --hostname=`hostname -f` --mkhomedir --server=ipa.linuxtechi.lan --domain linuxtechi.lan --realm LINUXTECHI.LAN
Change the FreeIPA server address, domain name, and realm to suit your settings.
The output of the above command is as follows:
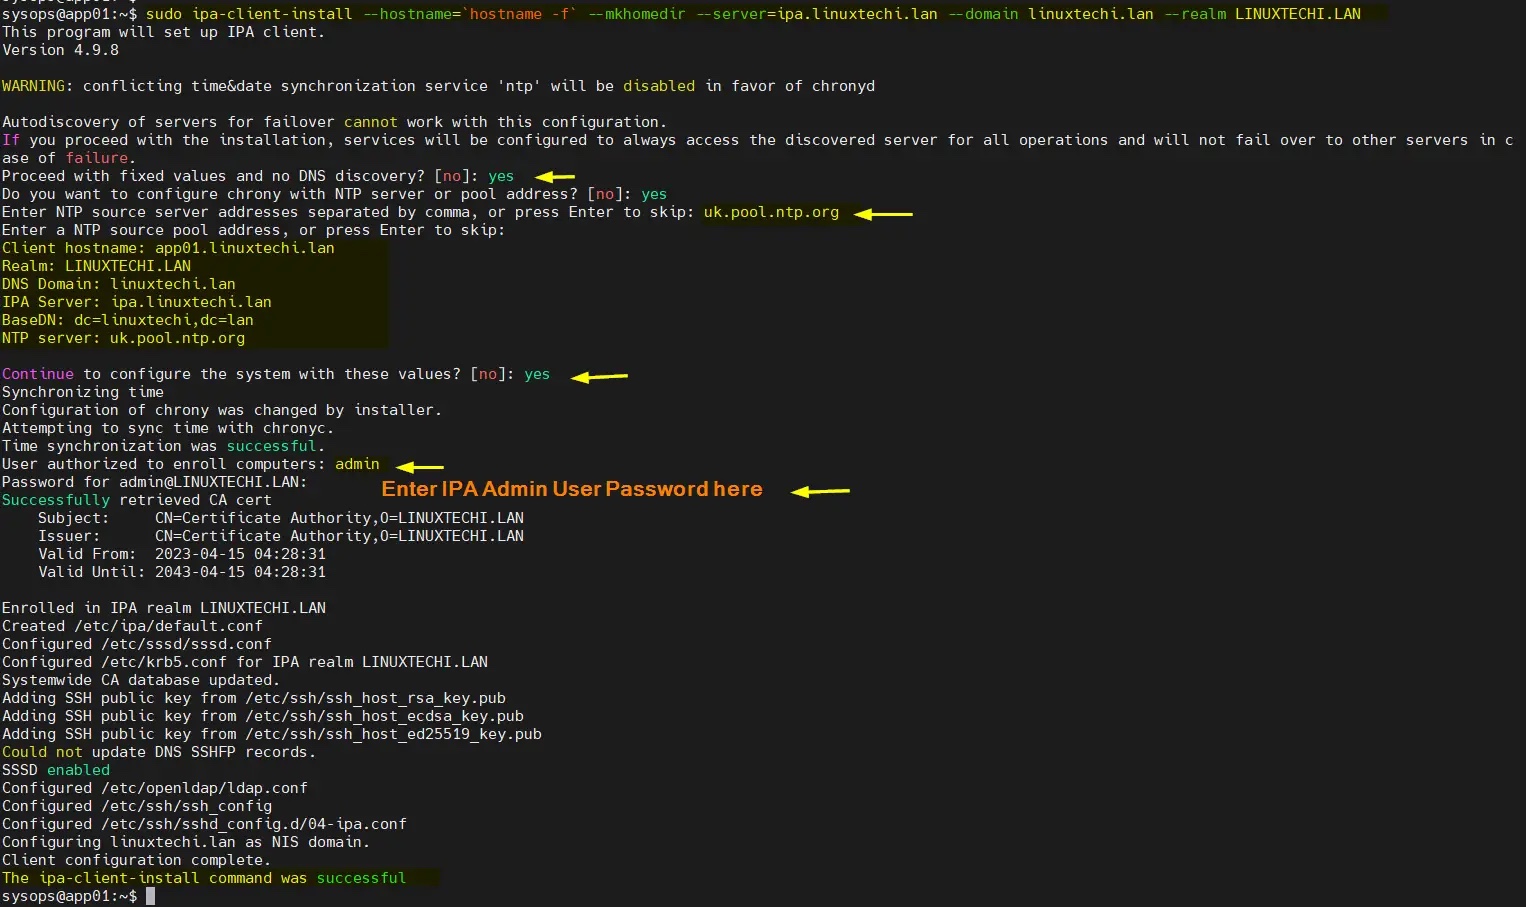
Perfect, the above output confirms that the FreeIPA client is installed successfully.
Now allows automatic creation of a user's home directory when the user first authenticates with the FreeIPA server.
Add the following lines in the file /usr/share/pam-configs/mkhomedir:
required pam_mkhomedir.so umask=0022 skel=/etc/skel
To make the above changes take effect, run the following command:
$ echo "required pam_mkhomedir.so umask=0022 skel=/etc/skel" | sudo tee -a /usr/share/pam-configs/mkhomedir
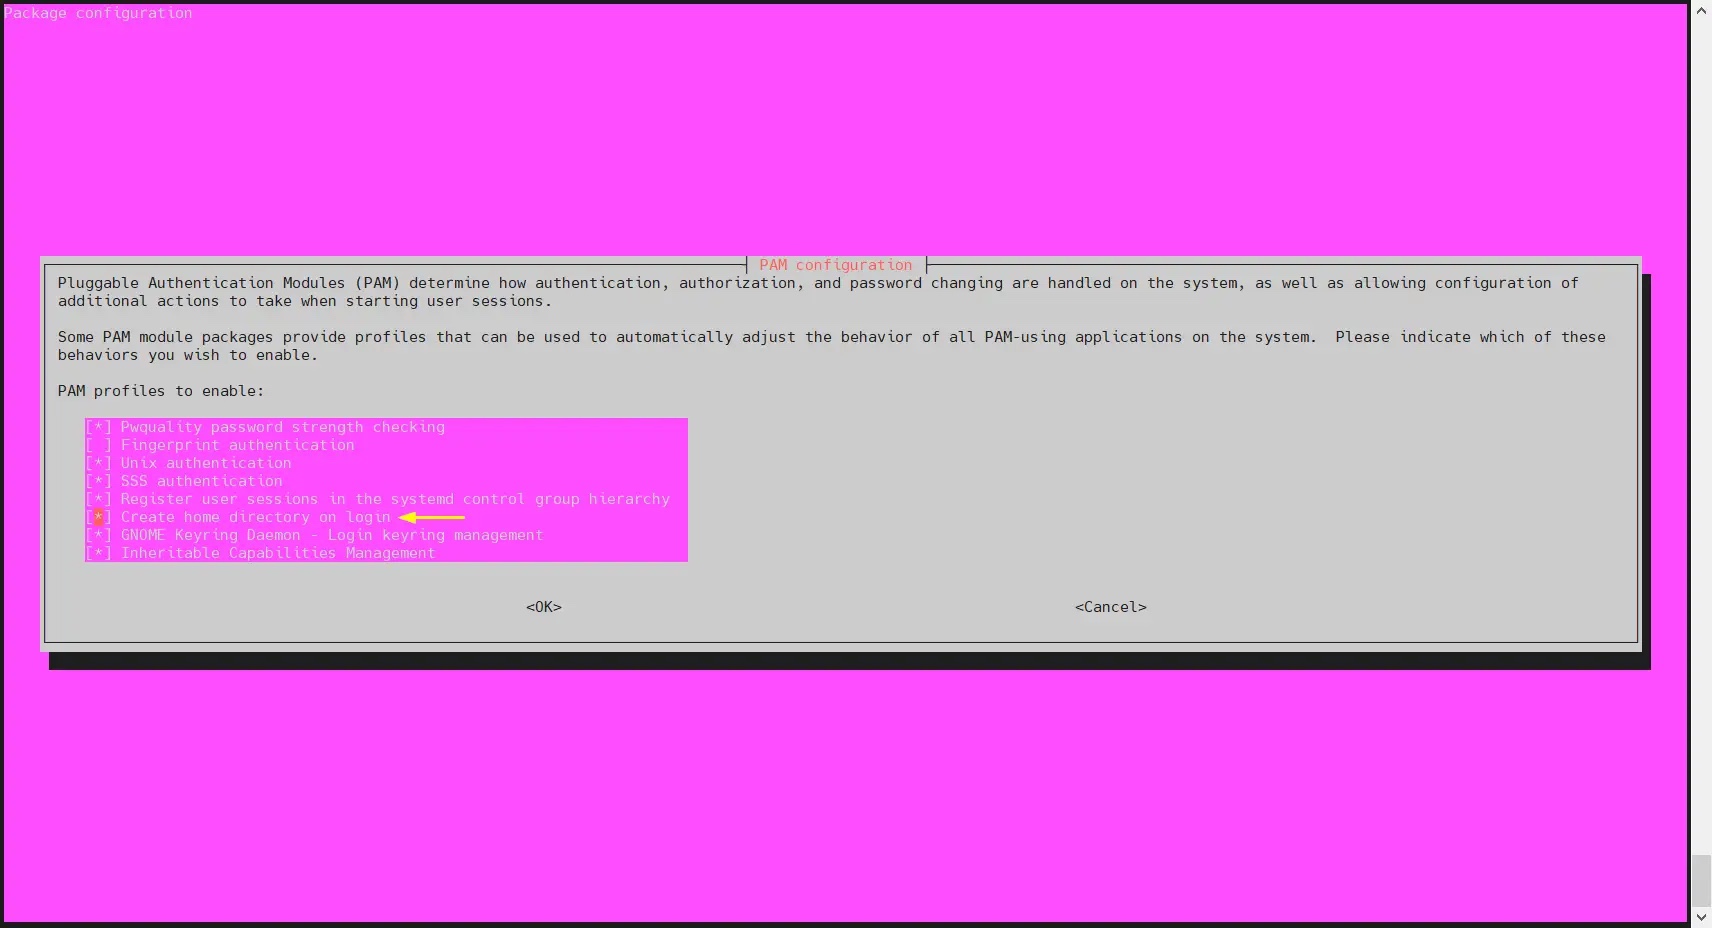
#Select OK and press Enter.
尝试使用 sysadm 用户通过 SSH 登录到你的 Ubuntu 系统,
$ ssh sysadm@192.168.1.106
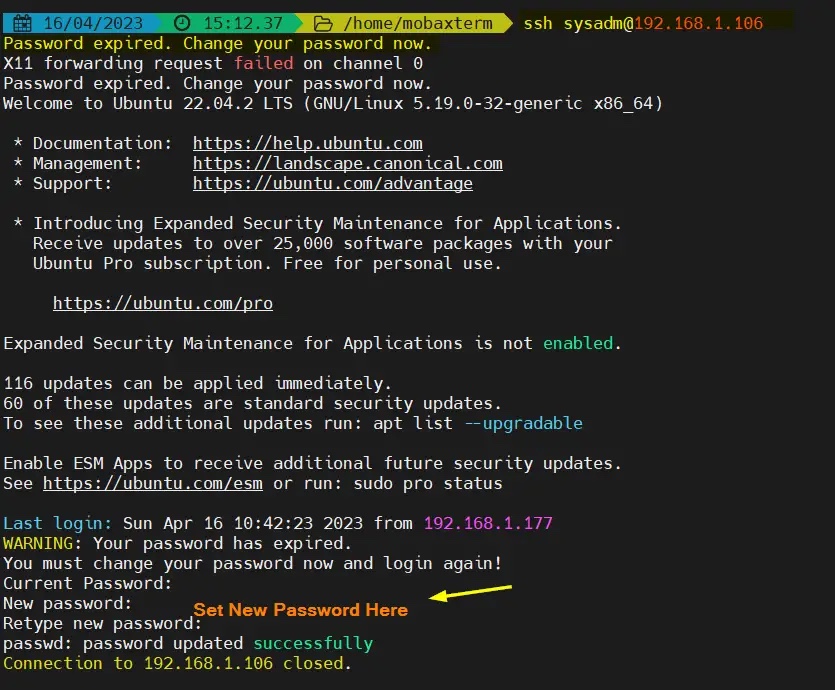
正如你在上面看到的,当我们第一次登录时,它说密码已过期。它将提示我们设置新密码并断开会话。
更新密码后,尝试 SSH 登录 Ubuntu 系统,这次我们应该可以登录了。
$ ssh sysadm@192.168.1.106
输出:
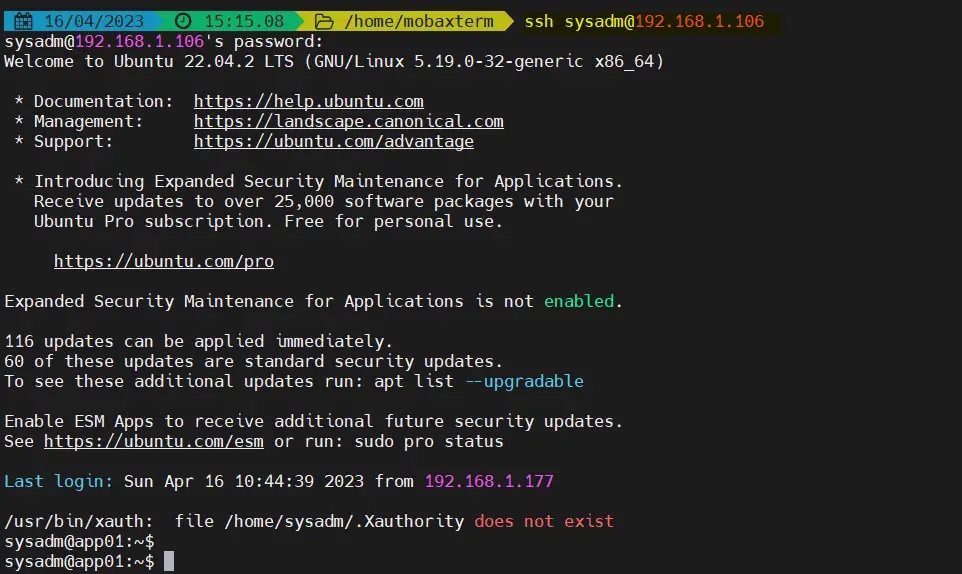
我们已经成功使用集中管理的用户登录到了 Ubuntu 系统,这一点在输出信息中得到了确认,非常令人欣慰。这也说明我们已经成功配置了 FreeIPA 客户端。
如果你想从 ubuntu 系统中卸载 FreeIPA,然后运行以下命令集:
$ sudo ipa-client-install --uninstall$ sudorm -rf /var/lib/sss/db/*$ sudo systemctl restart sssd.service
The above is the detailed content of How to configure FreeIPA client on Ubuntu 22.04 / 20.04. For more information, please follow other related articles on the PHP Chinese website!


![[Web front-end] Node.js quick start](https://img.php.cn/upload/course/000/000/067/662b5d34ba7c0227.png)


