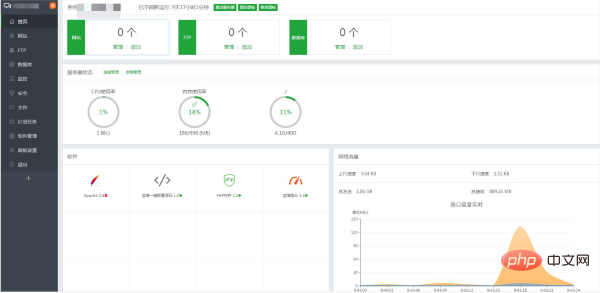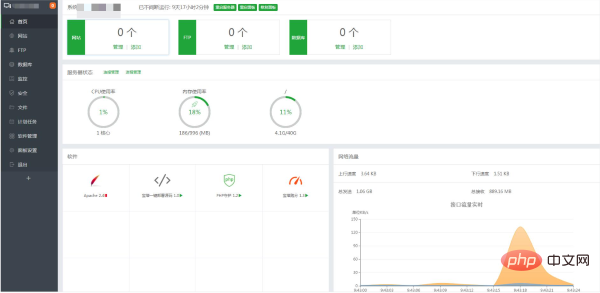
The method for installing PHP5.2.0 in Pagoda under Linux is: 1. Log in to the Pagoda Linux panel and enter the console; 2. In the console, click "Software Management" on the left, and in the pop-up menu, click " PHP Version Management", in the PHP version management page, click "Add Version" in the upper right corner, select the PHP version to be installed and click "Confirm to Add"; 3. Wait for the installation to complete. After the installation is completed, click the "Enable" button to enable PHP5.2.0 will take effect.

The operating system of this tutorial: Linux5.18.14 system, Linux panel version 7.9.8, Dell G3 computer.
1. Log in to the Pagoda Linux panel
1. First, we need to log in to the Pagoda Linux panel, open the browser, enter the address of the Pagoda panel, and click Enter to enter The login interface of the Pagoda panel.
2. In the login interface, enter your username and password, click Login, and enter the console of the Pagoda panel.

2. Install PHP5.2.0
1. In the console of the Pagoda panel, click "Software Management" on the left , in the pop-up menu, click "PHP Version Management" to enter the PHP version management page.
2. In the PHP version management page, click "Add Version" in the upper right corner, select the PHP version to be installed, here we select "PHP5.2.0", and then click "Confirm to Add".
3. Wait for the installation to be completed. After the installation is completed, click the "Enable" button to make PHP5.2.0 take effect.
3. Installation completed
1. After the installation is completed, you can click "Website" on the left in the console of the Pagoda panel, and in the pop-up menu, Click "PHP version switch" and you can see that the PHP5.2.0 just installed is ready for use.

2. At this point, we have installed PHP5.2.0 on the Pagoda Linux panel and can start using PHP5.2.0 to develop our projects.
The above is the detailed content of How to install PHP5.2.0 in Pagoda under Linux. For more information, please follow other related articles on the PHP Chinese website!