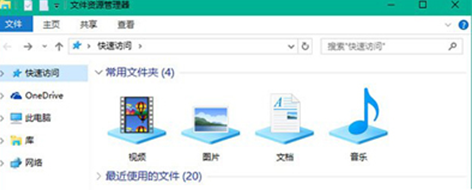
How to add the "Library" folder of the resource manager to the win10 system?As the usage of computers becomes higher and higher, we may sometimes encounter the problem of "adding the resource manager to the win10 system" "Library" folder to set up. If we need to add the Resource Manager "Library" folder to win10 system, how to add the Resource Manager "Library" folder to win10 system?


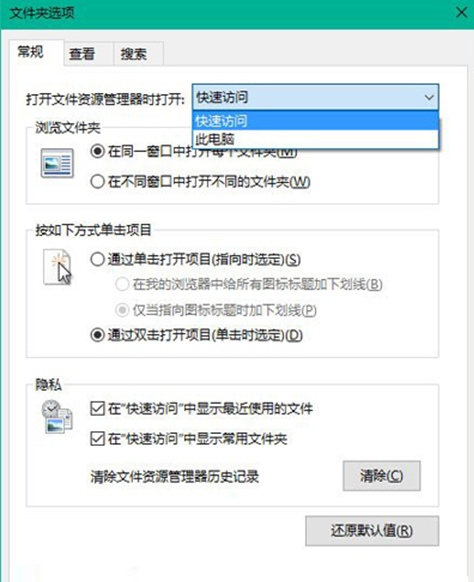
1. First, add the system The default opening location is set to "Quick Access", which is set in Folder Options - General, as shown in the figure below:

2. Next, you need to make a little modification to the registry. To operate, press Win R to open Run, enter regedit and press Enter to open the Registry Editor.
3. Navigate to the following location:
HKEY_LOCAL_MACHINESOFTWAREMicrosoftWindowsCurrentVersionExplorerHomeFolderDesktopNameSpac
eDelegateFolders
4. Create a new file named {031E4825-7B94-4dc3-B131 under this item -E946B44C8DD5}, as shown in the figure below:

5. If you are using a 64-bit operating system, you also need to create the same item in the following location:
HKEY_LOCAL_MACHINESOFTWAREWow64NodeMicrosoftWindowsCurrentVersionExplorerHomeFolderDesk
topNameSpaceDelegateFolders
6. As long as you open the resource manager, all libraries will appear in the common folders. If you only need the library, you can delete all other projects;
The above is [How to add the Resource Manager "Library" folder in win10 system - Details of adding the Resource Manager "Library" folder in win10 system Steps] All the content, more exciting tutorials are on this site!
The above is the detailed content of How to add the Resource Manager 'Library' folder in win10 system -. For more information, please follow other related articles on the PHP Chinese website!
 How to light up Douyin close friends moment
 microsoft project
 What is phased array radar
 How to use fusioncharts.js
 Yiou trading software download
 The latest ranking of the top ten exchanges in the currency circle
 What to do if win8wifi connection is not available
 How to recover files emptied from Recycle Bin


