How to remove OneDrive from Windows 10 System Explorer
How to remove OneDrive in win10 system resource manager? As the usage of computers becomes higher and higher, we may sometimes encounter the problem of setting up the removal of OneDrive in the win10 system resource manager. If we need to set up the removal of OneDrive in the win10 system resource manager, , how to remove OneDrive from Windows 10 system resource manager? Many friends don’t know how to operate in detail. The editor below has compiled a tutorial on how to remove OneDrive from the Win10 system resource manager. If you are interested, follow the editor and read on!

Tutorial to remove OneDrive from win10 system resource manager
The following are the specific operation methods:
Use Win R to open and run Dialog box
Enter regedit to open the registry editor
Locate HKEY_CLASSES_ROOTCLSID{018D5C66-4533-4307-9B53-224DE2ED1FE6}
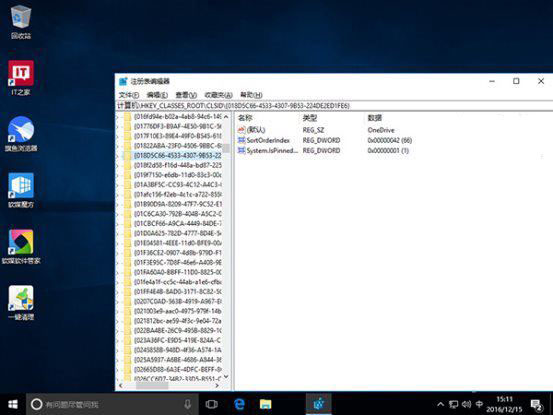
▲Open 018D5C66-4533-4307-9B53-224DE2ED1FE6, double-click the System.IsPinnedToNameSpaceTree key on the right
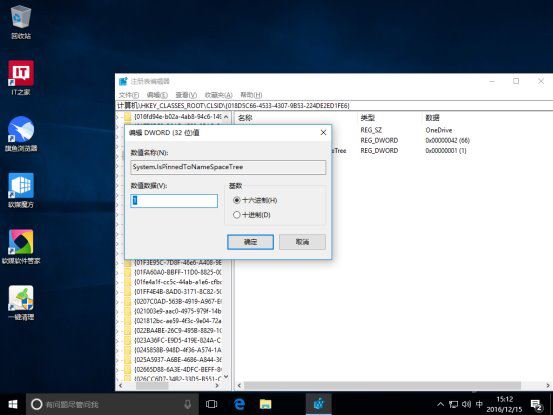
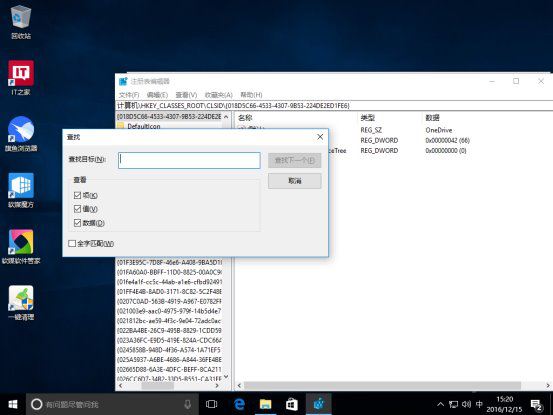
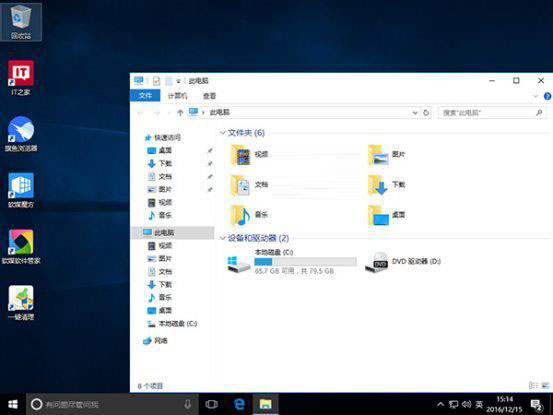
The above is the detailed content of How to remove OneDrive from Windows 10 System Explorer. For more information, please follow other related articles on the PHP Chinese website!

Hot AI Tools

Undresser.AI Undress
AI-powered app for creating realistic nude photos

AI Clothes Remover
Online AI tool for removing clothes from photos.

Undress AI Tool
Undress images for free

Clothoff.io
AI clothes remover

AI Hentai Generator
Generate AI Hentai for free.

Hot Article

Hot Tools

Notepad++7.3.1
Easy-to-use and free code editor

SublimeText3 Chinese version
Chinese version, very easy to use

Zend Studio 13.0.1
Powerful PHP integrated development environment

Dreamweaver CS6
Visual web development tools

SublimeText3 Mac version
God-level code editing software (SublimeText3)

Hot Topics
 1386
1386
 52
52


