

How to Default 'Show More Options' in Windows 11's Right-Click Menu

One of the most annoying changes that our users never want is the inclusion of "Show more options" in the right-click context menu. However, you can remove it and get back the classic context menu in Windows 11. No more multiple clicks and looking for these ZIP shortcuts in context menus. Follow this guide to return to a full-blown right-click context menu on Windows 11.
Fix 1 – Manually Adjust CLSID
This is the only manual method on our list. You will adjust specific keys or values in Registry Editor to resolve this issue.
NOTE – Registry edits like this are very safe and work fine. Therefore, you should create a registry backup before trying this on your system.
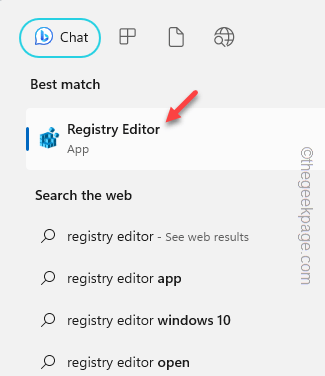
Step 1 –Try searching for “Registry Editor”.
Step 2 –Click on “Registry Editor” as the best match in the search results.

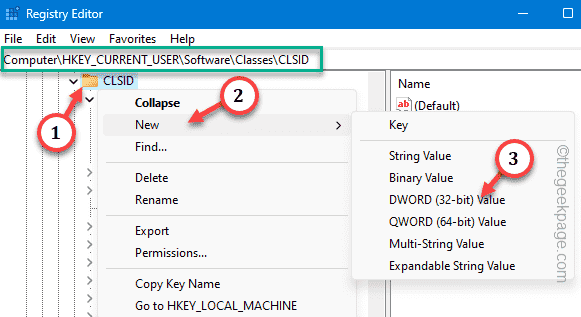
Step 3 –After entering the Registry Editor, tab to the CLSID tab –
HKEY_CURRENT_USER\SOFTWARE\CLASSES\CLSID
Step 4 –You must create a new subkey under CLSID. So, right-click the button and click "New>" and then "Key".
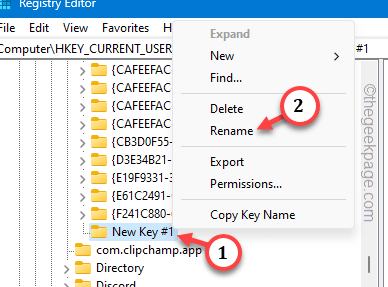
This key will get the common name "New Key #1". You have to rename it yourself.
Step 5 –To rename this key, right-click the key and click "Rename".
Step 6 – Write or copy-paste this name in that key to rename it.
{86ca1aa0-34aa-4e8b-a509-50c905bae2a2}Step 7 –Select the new “{86ca1aa0-34aa-4e8b-a509-50c905bae2a2}” key. Then, right-click on it and click "New", "Key">Create a new key.
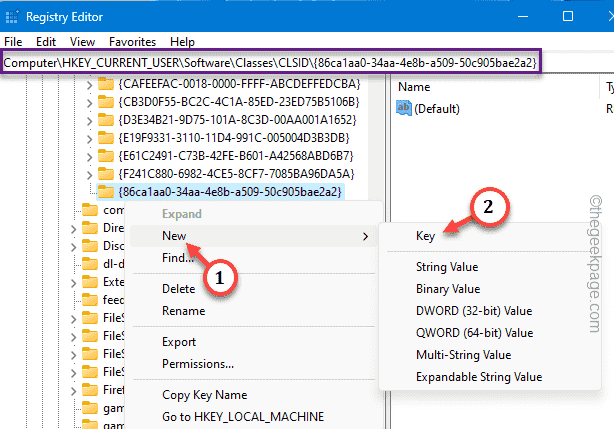
Step 8 –You must name this key “InprocServer32”.
When a new key is created, it is automatically assigned the "Default" value.
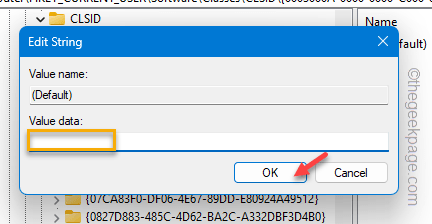
Step 9 –All you have to do is double-click on this “(Default)” value.
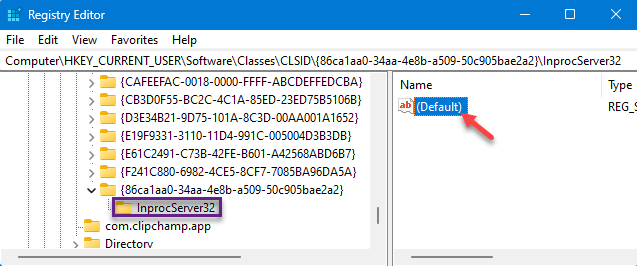
Step 10 –Clear any data you see in the “Value Data:” box. Make sure it's clean.
Step 11 –Now you have to save it using the “OK” option.
Exit Registry Editor.
Now, don’t continue trying to test the results! You have to wait.Restart the computer. When the system comes back up, go to the desktop and right-click there.
Check the context menu. You get the old classic Windows context menu without the cumbersome "Show more options".
But what if you want to get it back? There is a way.Step 1 –You must open Registry Editor again.
Step 2 –Then, go to the same class ID again –
HKEY_CURRENT_USER\SOFTWARE\CLASSES\CLSID
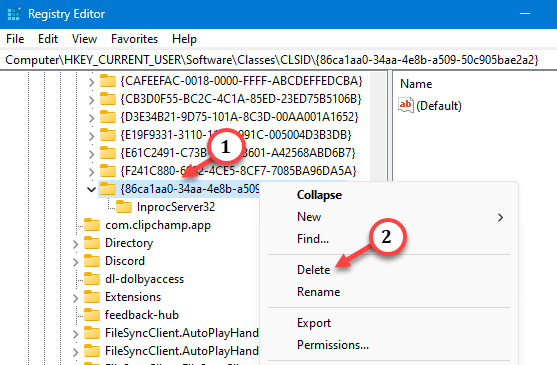
Step 3 –Just right click on “ {86ca1aa0-34aa-4e8b-a509-50c905bae2a2}" and then click "Remove" to remove it from the system.
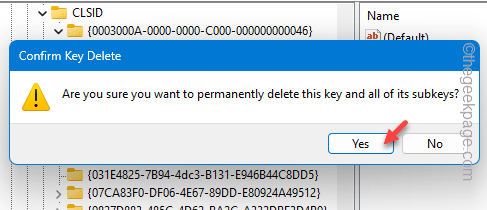
Step 4 –If you need confirmation, click “is”.
restart the system.
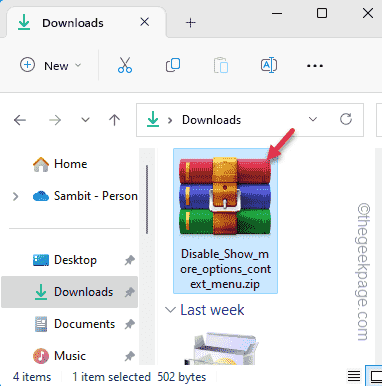
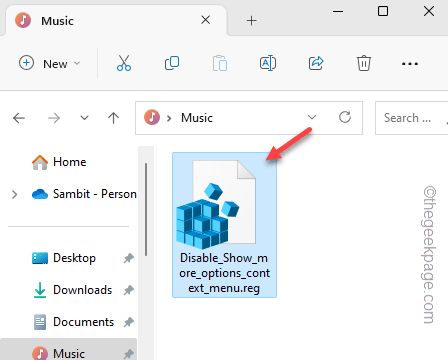
Fix 2 – Run the context change scriptDon’t want the hassle of editing the registry yourself? You can run this batch file just to perform this operation on your system.Step 1 –Download this Disable_Show_more_options_context_menu zip file on your system.
第2步 – 提取zip文件。在zip文件的内部,您将获得一个注册表脚本。
第 3 步 –只需提取“Disable_Show_more_options_context_menu”zip文件即可。
第 4 步 –只需双击“Disable_Show_more_options_context_menu”脚本即可在计算机上运行批处理文件。
此脚本将在系统注册表中添加注册表项(我们在修复 1 中演示的手动方法)。
运行批处理文件后,您必须重新启动计算机。
您可以使用另一个脚本来还原此更改,即在上下文菜单中恢复显示更多选项。
步骤 1 –得到这个Enable_Show_more_optionss。
步骤 2 –解压缩此压缩文件。你会在里面找到一个脚本。
步骤3 –双击“启用显示更多选项”注册表脚本以运行它。
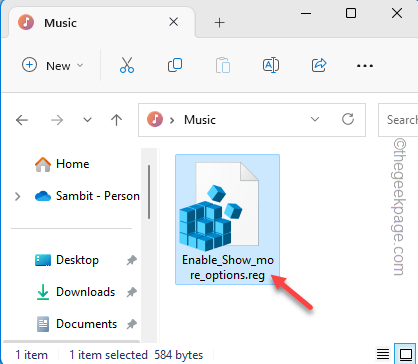
这将带回上下文菜单中的“显示更多”选项。请重新启动计算机一次并检查一次。
修复3 –使用终端
最后一个选项是执行此操作的另一种方法。只需运行特定命令即可禁用“显示更多”选项或在系统上启用它。
禁用显示更多选项 –
这些是在系统上打开经典上下文菜单的步骤 –
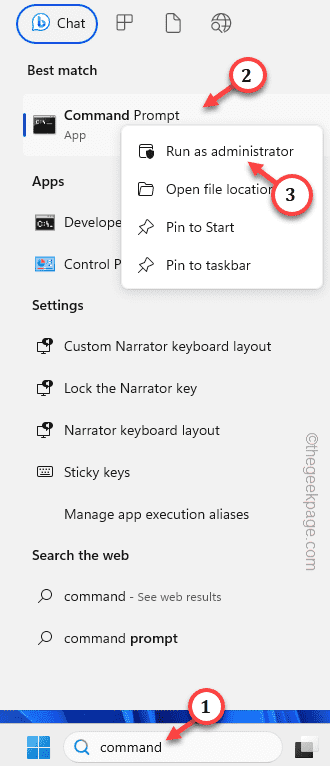
步骤 1 –您需要使用管理权限打开终端。因此,搜索“命令”。
步骤 2 –只需右键单击顶部搜索结果并使用“以管理员身份运行”。
第 3 步 –只需将这一行粘贴到黑色终端中即可。然后,打 输入 禁用 显示更多选项 在您的系统上。
reg add "HKCU\Software\Classes\CLSID\{86ca1aa0-34aa-4e8b-a509-50c905bae2a2}\InprocServer32" /f /ve
退出终端后,重新启动PC/笔记本电脑。
启用显示更多选项 –
如果要还原上下文菜单中的“显示更多选项”,则应遵循以下步骤–
步骤 1 –以管理员身份打开 CMD 终端。
步骤 2 –然后,粘贴此代码并按 输入 启用 显示更多选项 菜单。
这将从系统注册表中删除该注册表项。
reg delete "HKEY_CURRENT_USER\Software\Classes\CLSID\{86ca1aa0-34aa-4e8b-a509-50c905bae2a2}" /f
执行代码后,退出终端。
重新启动系统应该会再次获得新的上下文菜单。检查这是否有效。
The above is the detailed content of How to Default 'Show More Options' in Windows 11's Right-Click Menu. For more information, please follow other related articles on the PHP Chinese website!

Hot AI Tools

Undresser.AI Undress
AI-powered app for creating realistic nude photos

AI Clothes Remover
Online AI tool for removing clothes from photos.

Undress AI Tool
Undress images for free

Clothoff.io
AI clothes remover

Video Face Swap
Swap faces in any video effortlessly with our completely free AI face swap tool!

Hot Article
Hot Tools

Notepad++7.3.1
Easy-to-use and free code editor

SublimeText3 Chinese version
Chinese version, very easy to use

Zend Studio 13.0.1
Powerful PHP integrated development environment

Dreamweaver CS6
Visual web development tools

SublimeText3 Mac version
God-level code editing software (SublimeText3)
Hot Topics
 1392
1392
 52
52

 Windows 11: The easy way to import and export start layouts
Aug 22, 2023 am 10:13 AM
Windows 11: The easy way to import and export start layouts
Aug 22, 2023 am 10:13 AM
In Windows 11, the Start menu has been redesigned and features a simplified set of apps arranged in a grid of pages, unlike its predecessor, which had folders, apps, and apps on the Start menu. Group. You can customize the Start menu layout and import and export it to other Windows devices to personalize it to your liking. In this guide, we’ll discuss step-by-step instructions for importing Start Layout to customize the default layout on Windows 11. What is Import-StartLayout in Windows 11? Import Start Layout is a cmdlet used in Windows 10 and earlier versions to import customizations for the Start menu into
 How to set default camera focus on iPhone 15 Pro
Sep 22, 2023 pm 11:53 PM
How to set default camera focus on iPhone 15 Pro
Sep 22, 2023 pm 11:53 PM
On the iPhone 15 Pro model, Apple has introduced three focal length options for shooting with the main camera. This article explains what these options are and how to set your preferred default focal length for taking photos. To take full advantage of the enhanced camera system on iPhone 15 Pro and iPhone 15 Pro Max, Apple has added three different focal length options to the main camera’s optical zoom. In addition to the standard default 1x (24mm) mode, Apple has added 1.2x (28mm) and 1.5x (35mm) settings. iPhone 15 Pro users can choose from these focal lengths when taking photos by simply tapping the 1x button in the Camera app. However, due to technical reasons, these focal
![Personal hotspot option not found on iPhone [Fixed]](https://img.php.cn/upload/article/000/887/227/168942511475372.png?x-oss-process=image/resize,m_fill,h_207,w_330) Personal hotspot option not found on iPhone [Fixed]
Jul 15, 2023 pm 08:45 PM
Personal hotspot option not found on iPhone [Fixed]
Jul 15, 2023 pm 08:45 PM
When there is no Wi-Fi signal around us, what we think of is a personal hotspot on our iPhone, right? Recently, many iPhone users have commented that they cannot find the personal hotspot option on their iPhone and therefore, this creates a big problem for all of them. The main reasons that may cause this particular issue on your iPhone may include one of the following reasons. Small software bugs in iPhone. The iOS software on your iPhone is not updated to the latest version. Changes were made to the network settings on the iPhone. Do not update carrier settings (if any). There is a problem with the mobile network signal on the iPhone. After dealing with these factors we found an easy solution to this problem and used
 Fix: Dock in taskbar option is grayed out on Windows 11
Sep 15, 2023 pm 05:35 PM
Fix: Dock in taskbar option is grayed out on Windows 11
Sep 15, 2023 pm 05:35 PM
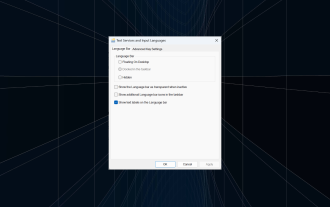
The language bar is an important feature in Windows that allows users to quickly switch inputs instead of using the + keyboard shortcut. But in some cases, the dock option in the taskbar appears gray in Windows 11. This problem with WindowsSpacebar seems to be very common and there is no solution. We tried changing the language settings and reconfiguring the content, but to no avail. Although we finally managed to find the root cause and solution. Why can't I dock the language bar in the taskbar in Windows 11? You only have one language installed, and the language bar only works with multiple languages. The language is not installed correctly. A bug in Windows 11. Corrupted system files or user profiles. If in W
 How to check iPhone model country
Jul 09, 2023 pm 11:33 PM
How to check iPhone model country
Jul 09, 2023 pm 11:33 PM
Did you know that Apple outsources certain parts of its products to different countries? Yes. They are specifically intended for sale in these countries and are therefore manufactured there. You may have purchased a second-hand iPhone/iPad from someone else and may be wondering if it is possible to know which country your iPhone came from. Yes, there is a way to find out, and we will talk more about it now in this article. In this article, you will find an explanation of how to find out the country of origin of your iPhone using simple steps. How to Know the Country of Origin of iPhone Step 1: First, you should tap on the Settings icon from the home screen. Step 2: This is to open the Settings app, once opened, click on it to go to the General option as shown below.
 How to use block quotes in Apple Notes
Oct 12, 2023 pm 11:49 PM
How to use block quotes in Apple Notes
Oct 12, 2023 pm 11:49 PM
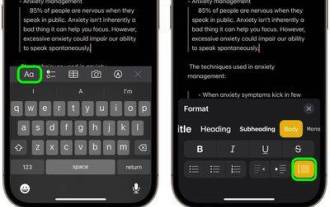
In iOS 17 and macOS Sonoma, Apple has added new formatting options for Apple Notes, including block quotes and a new Monostyle style. Here's how to use them. With additional formatting options in Apple Notes, you can now add block quotes to your notes. The block quote format makes it easy to visually offset sections of writing using the quote bar to the left of the text. Just tap/click the "Aa" format button and select the block quote option before typing or when you are on the line you want to convert to a block quote. This option applies to all text types, style options, and lists, including checklists. In the same Format menu you can find the new Single Style option. This is a revision of the previous "equal-width"
 How to Default 'Show More Options' in Windows 11's Right-Click Menu
Jul 10, 2023 pm 12:33 PM
How to Default 'Show More Options' in Windows 11's Right-Click Menu
Jul 10, 2023 pm 12:33 PM
One of the most annoying changes that we users never want is the inclusion of "Show more options" in the right-click context menu. However, you can remove it and get back the classic context menu in Windows 11. No more multiple clicks and looking for these ZIP shortcuts in context menus. Follow this guide to return to a full-blown right-click context menu on Windows 11. Fix 1 – Manually adjust the CLSID This is the only manual method on our list. You will adjust specific keys or values in Registry Editor to resolve this issue. NOTE – Registry edits like this are very safe and will work without any issues. Therefore, you should create a registry backup before trying this on your system. Step 1 – Try it
 How to deal with checkboxes and radiobuttons in PHP forms
Aug 11, 2023 am 08:39 AM
How to deal with checkboxes and radiobuttons in PHP forms
Aug 11, 2023 am 08:39 AM
How to handle checkboxes and radio buttons in PHP forms In web development, forms are one of the main ways of data interaction between applications and users. In forms, sometimes we need to use checkboxes and radiobuttons to select options. This article will explain how to handle checkboxes and radio buttons in PHP. 1. Checkbox processing In HTML, we can use <inputtype="checkbox&qu