

Teach you how to install win7 system image in iso format

The win7 system is Microsoft's classic operating system and one of the more stable operating systems currently. Many netizens are still downloading and installing the win7 system. Recently, some netizens said that they downloaded the win7 system iso image and did not know how to install the win7 system image. I would like to ask the editor how to install the win7 system iso image file. So today I will show you the specific steps.
The specific steps are as follows:
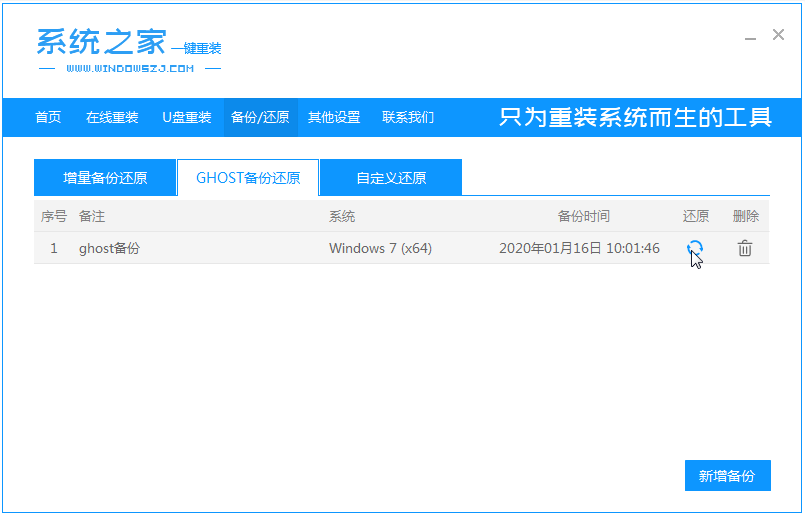
1. First, unzip the win7 system image to a non-system disk, download and install System Home to reinstall the system software with one click and open it, click [Backup and Restore] . Before installation, be sure to back up important data on the system disk. (Friends who have not yet downloaded the system can find the appropriate win7 image file to download on the windows7en official website (http://www.windows7en.com/).)

2. Select "Ghost Backup and Restore", the software will automatically detect the downloaded win7 system, and click the [Restore] button after selection.
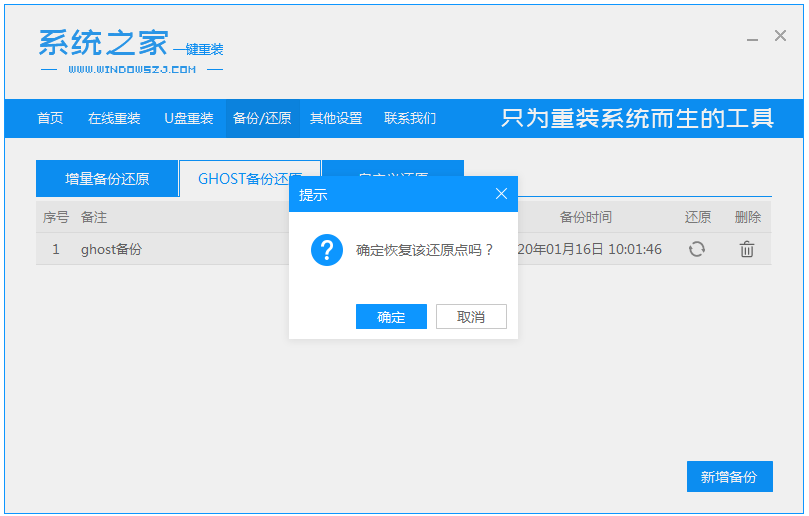
#3. Click [OK] to restore the restore point.
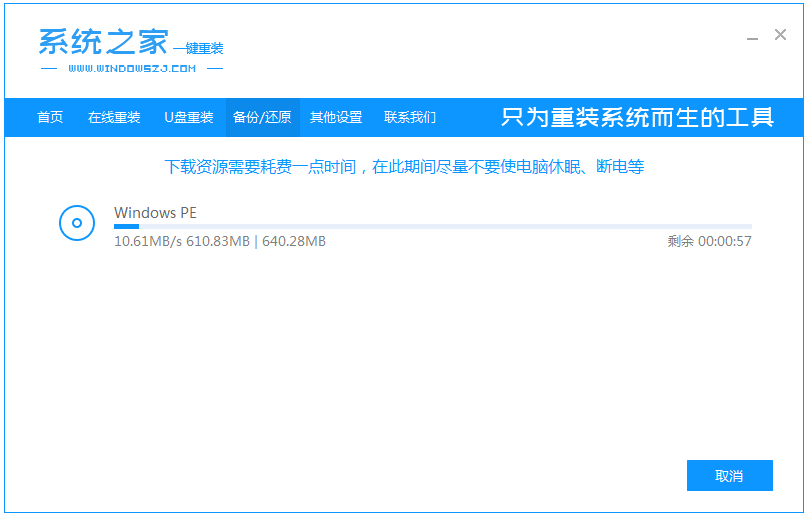
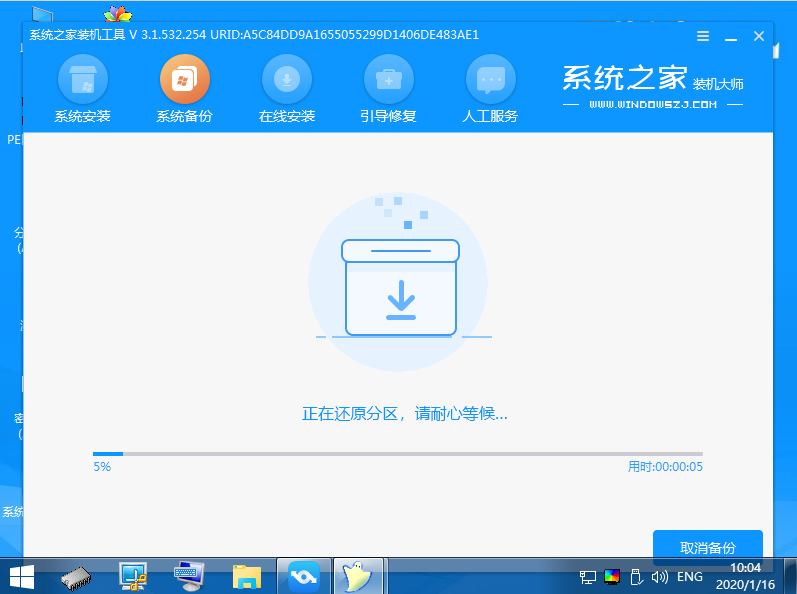
4. Wait for the software to automatically download the PE image.
#5. After the deployment is completed, restart the computer.
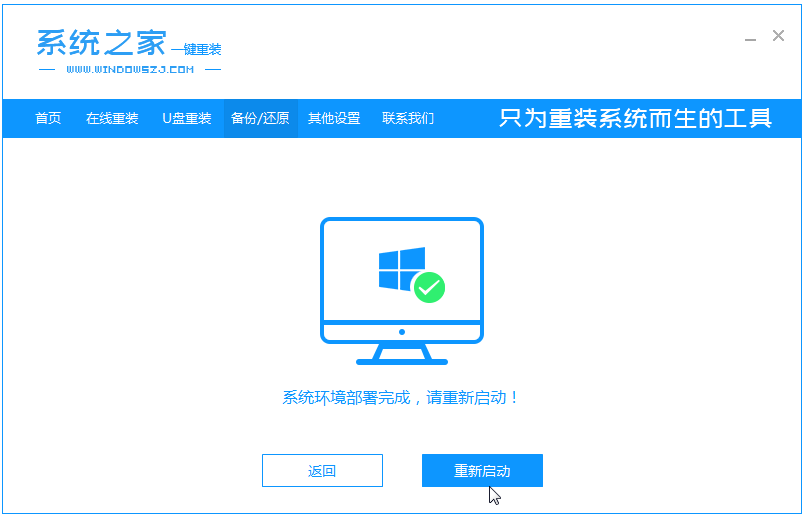
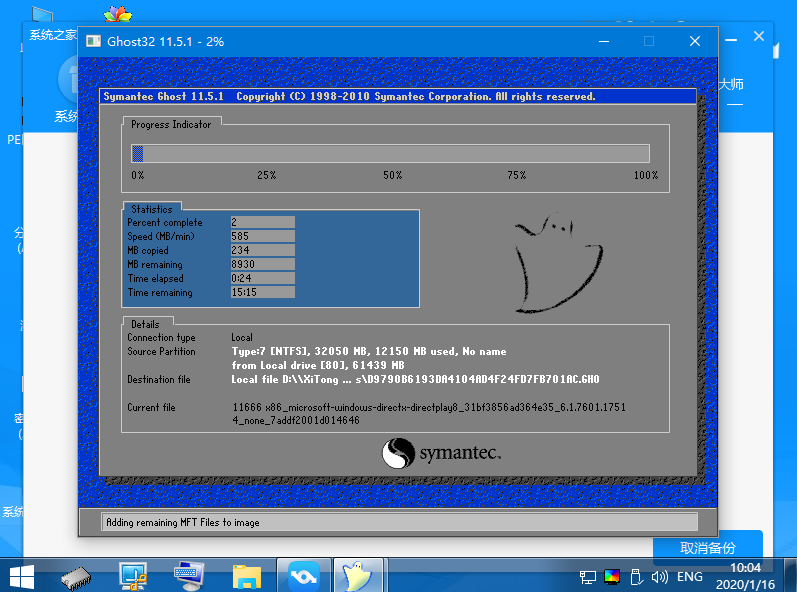
#7. After entering pe, the software starts to install the win7 system, and automatically restarts the computer after the installation is successful. Wait patiently until you enter the system desktop, which means the installation is successful.
The above is the method to install the win7 system iso image file. Friends who need it can refer to the tutorial.
The above is the detailed content of Teach you how to install win7 system image in iso format. For more information, please follow other related articles on the PHP Chinese website!

Hot AI Tools

Undresser.AI Undress
AI-powered app for creating realistic nude photos

AI Clothes Remover
Online AI tool for removing clothes from photos.

Undress AI Tool
Undress images for free

Clothoff.io
AI clothes remover

AI Hentai Generator
Generate AI Hentai for free.

Hot Article
Hot Tools

Notepad++7.3.1
Easy-to-use and free code editor

SublimeText3 Chinese version
Chinese version, very easy to use

Zend Studio 13.0.1
Powerful PHP integrated development environment

Dreamweaver CS6
Visual web development tools

SublimeText3 Mac version
God-level code editing software (SublimeText3)
Hot Topics
 1377
1377
 52
52

 Permanent Activation Key: Get win11 pro
Jan 09, 2024 pm 07:25 PM
Permanent Activation Key: Get win11 pro
Jan 09, 2024 pm 07:25 PM
The win11 system used by many users has not been activated, so an activation key is required to activate the system normally for use. For your convenience, here is a summary of the following permanent activation keys for the professional version. You can follow the steps below Steps to operate. Win11 Professional Edition Permanent Activation Key 1. Professional Edition Activation Key N4RI7-LY8RR-F425S-B1NZP-V62X6NPBRX-V2Z76-55R67-12X06-E7I2UN87B8-FBJN1-I830V-4HHC0-81IRCNX06F-73HC2-71ZG3-67F52-M3X5JNLGG3-JMV Z5- TK7NA-8M4
 Tips for easily switching the sound output device in Win11
Jan 08, 2024 pm 10:42 PM
Tips for easily switching the sound output device in Win11
Jan 08, 2024 pm 10:42 PM
Users who play games must listen to the sound. When changing devices, they must switch the sound more quickly. Maybe you don’t know how to operate it quickly. For this reason, we have brought a tutorial. Let’s take a look at the speed of win11. Switch the sound output method. Method 1 to quickly switch the sound output device in win11: (fastest) 1. Use the shortcut key "win+g" to open xboxgamebgar. 2. Then display it at the top of the screen. 3. Then click directly on the panel to change the audio output device. Method 2: 1. You can also open the operation center through the small speaker in the lower right corner of the taskbar. 2. Then click "Manage Audio Devices" on the right. 3. Then you can switch the sound output.
 How to turn off the fn hotkey in Windows 10 HP laptop
Jun 29, 2023 pm 03:07 PM
How to turn off the fn hotkey in Windows 10 HP laptop
Jun 29, 2023 pm 03:07 PM
How to turn off the fn hotkey on HP laptop in win10? To increase keyboard functionality, HP notebooks will use the fn hotkey to give F1-F two different functions. But the fn hotkey will also trouble our daily use, especially when we need to use the F1-F12 shortcut keys. So today I will bring you a tutorial on how to turn off the fn hotkey in Windows 10 HP notebook, let’s take a look. Tips for turning off the fn hotkey in Windows 10 HP notebooks 1. First, we turn on/restart the computer, and then press F10 to enter the bios settings during the boot process. 2. Then we use the keyboard to move to the system configuration tab. 3. Here, we find ActionKeysMode and then
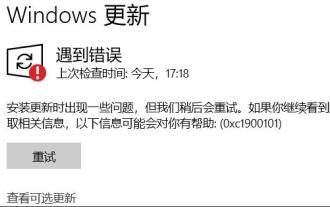 How to solve win11 update error 0xc1900101
Dec 30, 2023 pm 01:18 PM
How to solve win11 update error 0xc1900101
Dec 30, 2023 pm 01:18 PM
After the launch of win11, many users wanted to experience the update in advance, but they encountered the update error 0xc1900101 when updating the win11 system. This may be because there are some problems in the system. You can use the tutorials launched by Microsoft to solve them first. It is not possible. You can also install using a mirror system. What to do about win11 update error 0xc1900101: Method 1: 1. First, we open the control panel, change the viewing mode to "Large Icons", and then enter "Management Tools" 2. In the management tools, we click to enter "Services" 3. Then Find the "Windowsupdate" service in Services, right-click it and "Stop" 4. Then we go to "C:\Windows\Soft
 Teach you how to upgrade 32-bit win7 to 64-bit system
Jul 15, 2023 pm 05:41 PM
Teach you how to upgrade 32-bit win7 to 64-bit system
Jul 15, 2023 pm 05:41 PM
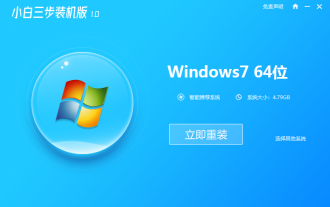
As long as the computer hardware supports it, generally speaking, 64-bit systems run much faster than 32-bit systems. Therefore, some users who have installed a 32-bit win7 system want to upgrade win7 to a 64-bit system. So how to upgrade 32-bit win7 to a 64-bit system? The editor below will teach you how to upgrade your 32-bit win7 to a 64-bit system. Under normal circumstances, the Win7 32-bit system cannot be upgraded to the 64-bit system. If you want to change the 32-bit system to a 64-bit system, you can only reinstall the Win7 system. The following are the specific steps to reinstall the win764-bit system: 1. Open the computer and download the Xiaobai three-step installation tool and open it, select other systems, select the win764-bit system, and then click Reinstall Now. 2. Then start automatically
 win11 service optimization setting tutorial
Jan 02, 2024 pm 12:59 PM
win11 service optimization setting tutorial
Jan 02, 2024 pm 12:59 PM
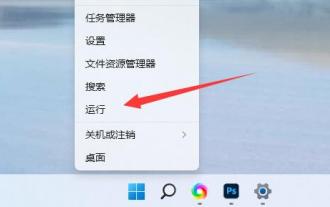
In win11, there are many useless services that are turned on by default. If we feel that our system is stuck, we can try to optimize and turn them off. So how to optimize the settings of win11 services? In fact, just turn off these unnecessary ones. How to optimize the settings of win11 services: 1. First, right-click the start menu and select "Run" 2. Then enter "services.msc" and confirm to open the service list. 3. After opening, you can first click "Startup Type" and change the priority display to "Automatic" 4. Then select the unnecessary service and click "Stop" to close it. 5. After stopping, double-click to open it and change it to "Disable" to completely close it. 6. If we don’t know which services need to be shut down, we can select it and “draw” on the left
 win11 client and server lack support for general SSL protocols or cipher suites
Dec 28, 2023 pm 01:39 PM
win11 client and server lack support for general SSL protocols or cipher suites
Dec 28, 2023 pm 01:39 PM
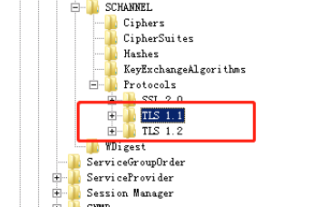
Users often encounter some problems when using computers. Encountering this kind of error means that there is a mismatch between the client and the server. At this time, for the safe transmission of data, we can refer to the following methods and Steps to operate. The win11 client and server do not support general SSL protocols or cipher suites. 1. First, we need to open the registry editor of the computer and enter the following path. HKEY_LOCAL_MACHINE\SYSTEN\CurrentControlSet\Control\SecurityProviders\SCHANNEL\Protocols2. Create two new items under this level, named TLS1.
 How to turn off Lenovo Win10 Firewall. Introduction to how to turn off Lenovo Win10 Firewall.
Jul 13, 2023 pm 01:33 PM
How to turn off Lenovo Win10 Firewall. Introduction to how to turn off Lenovo Win10 Firewall.
Jul 13, 2023 pm 01:33 PM
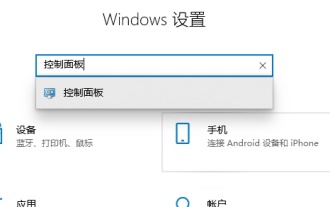
How to turn off Lenovo Win10 firewall? Firewalls can provide users with a better and safer computer network experience. Recently, some users asked how to turn off the firewall on Lenovo Win10 computers. In fact, the method is very simple. Let’s take a look at the operation method with the editor! Introduction to how to turn off the Lenovo Win10 firewall 1. Click Settings, enter "Control Panel", and open the "Control Panel". 2. Find "Windows Firewall". 3. Click "Turn Windows Defender Firewall on or off". 4. Select Close and confirm.