

How to edit and customize standby mode on iOS 17

With the release of iOS 17, standby mode is widely available, providing users with a new way to clearly view information when the phone is idle. Using standby mode, you can easily view the clock, upcoming events, calendar, weather information for your area, and more. Once your iPhone is in landscape mode while charging, it will automatically enter standby mode once enabled.
This is perfect for wireless charging on your nightstand or when keeping your iPhone charged and idle during your daily workflow. You can then swipe between the widgets shown in standby mode to view different information from different apps. However, you may want to change these widgets or remove some of them, depending on your preferences and the information you want to see on a regular basis. So, here’s how you can edit and customize Standby mode to your liking on iOS 17.
How to Edit and Customize Standby Mode on iOS 17
Remember you need to be running iOS 17 or later to access, use and customize Standby model. If you haven't updated your device yet, you can download and install the latest iOS updates on your device by going to Settings > General > Software Update. Once done, you can follow the steps below to edit and customize standby mode on your iPhone. Enter standby mode and select the page you want to edit
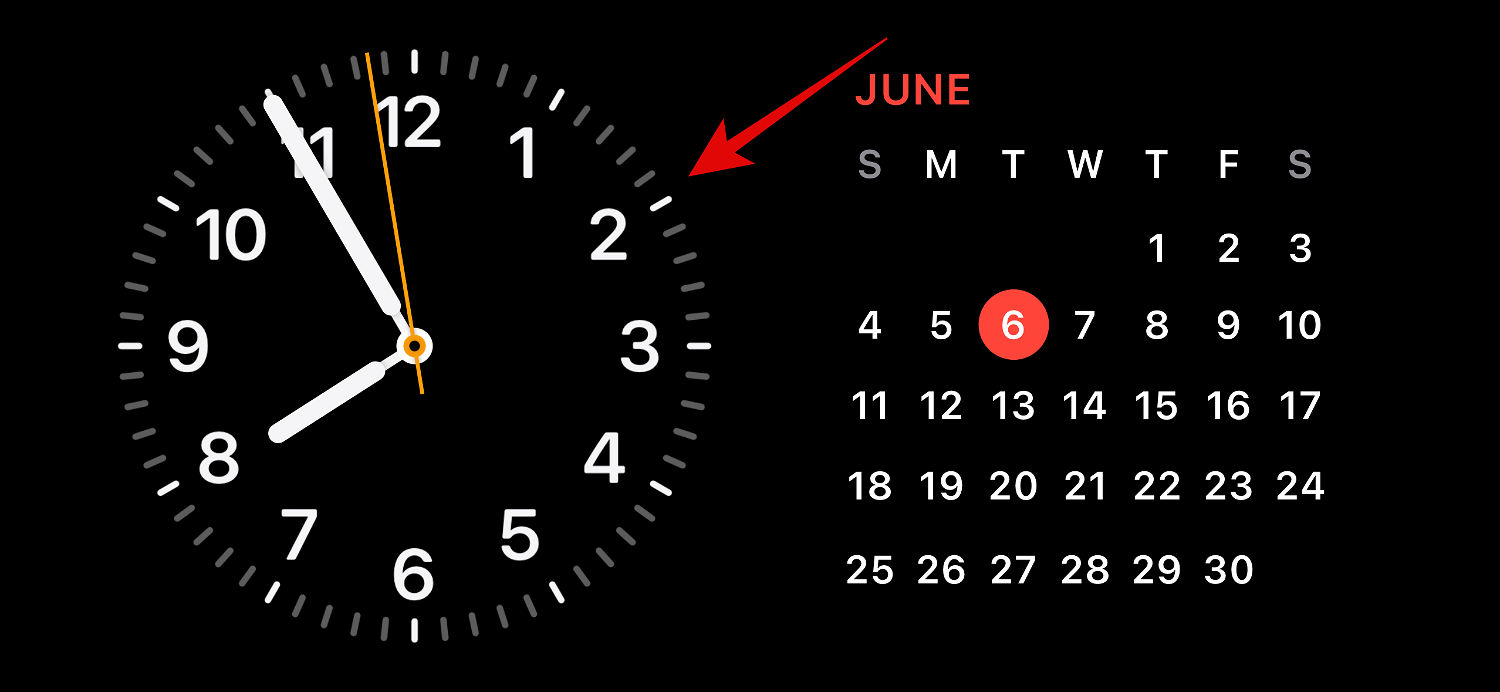
Start by entering standby mode on your iPhone. If you have a wireless charging stand, you can simply place it sideways in the same location. Alternatively, you can start charging using a wired charger and put it in landscape mode for a few seconds to enter standby mode. Once in standby mode, you can swipe and select the page you want to edit.
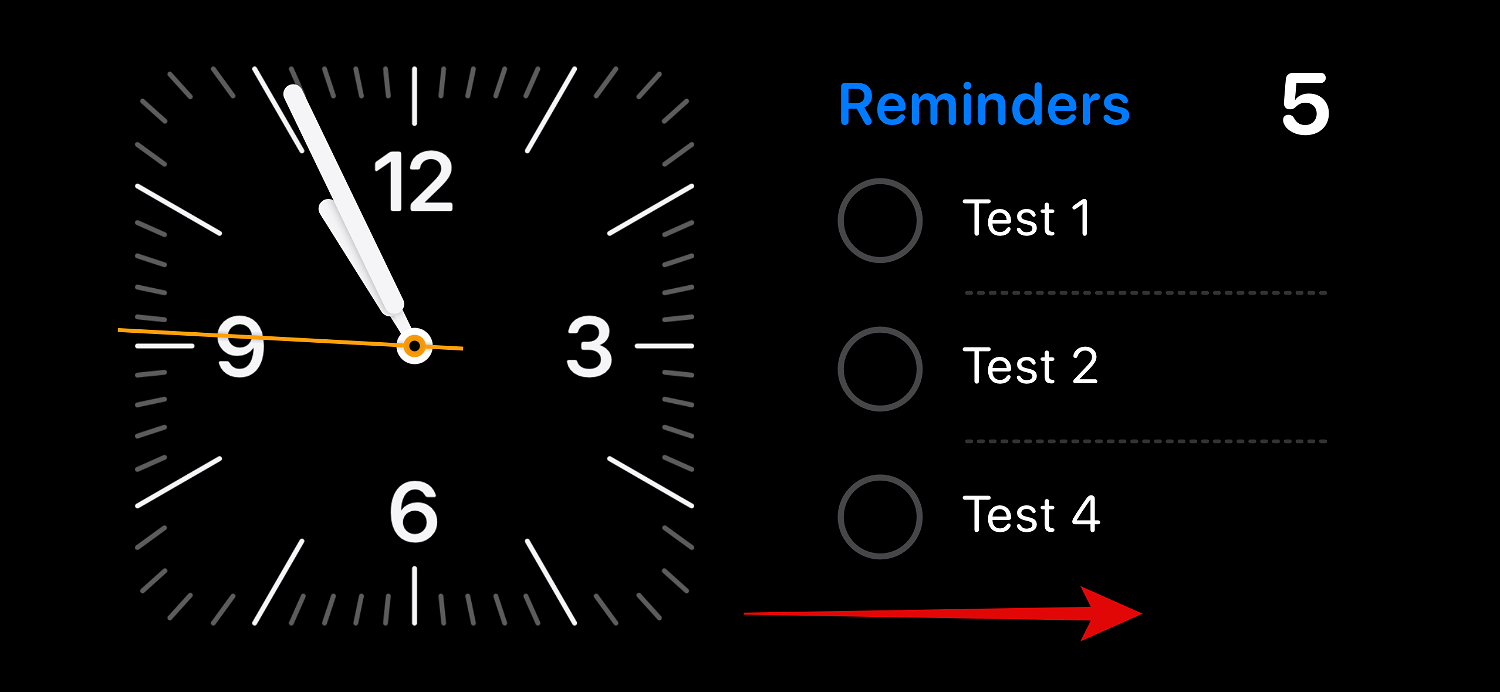
Swipe leftto switch between different pages in standby mode.

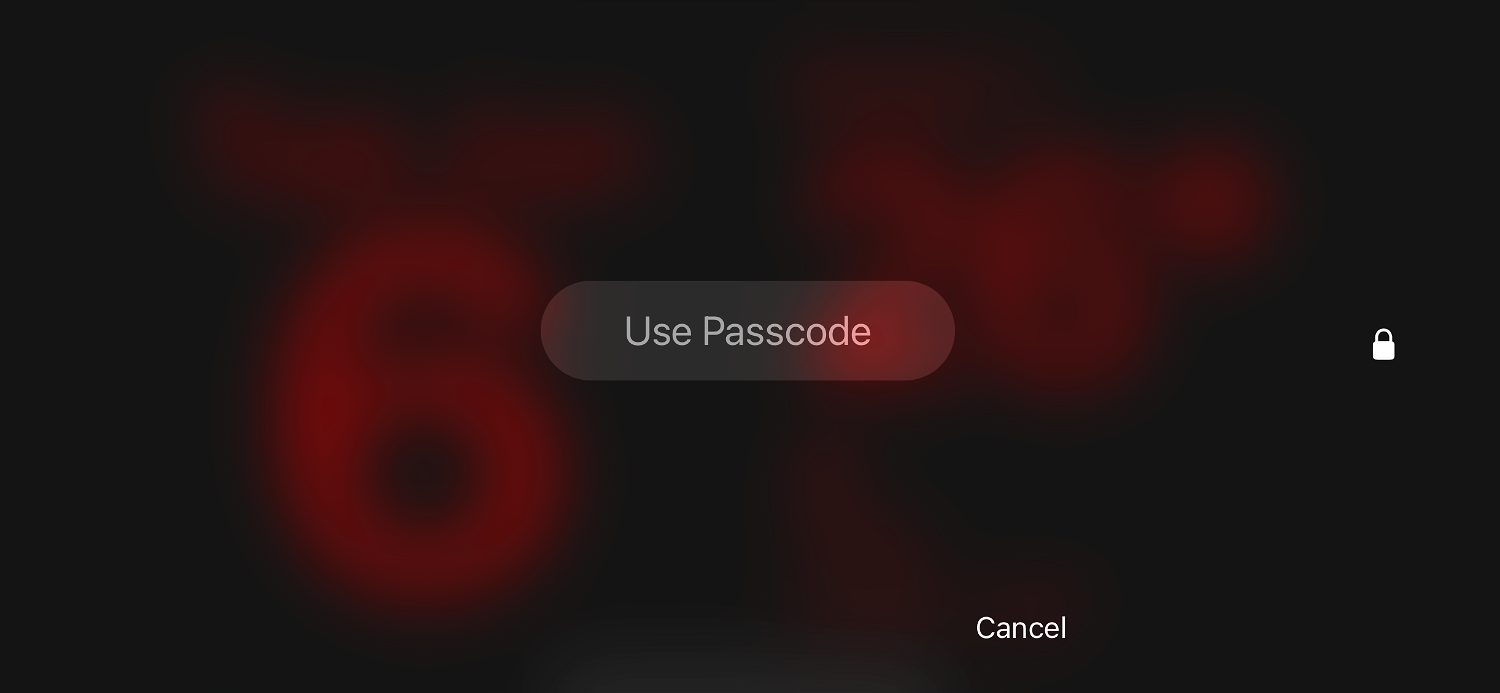
You need to unlock your device in order to edit and customize standby mode. You can use Face ID to unlock your iPhone in landscape mode on iPhone 13 and later. However, if you have an older iPhone, you will be prompted for a passcode. Edit widget standby page
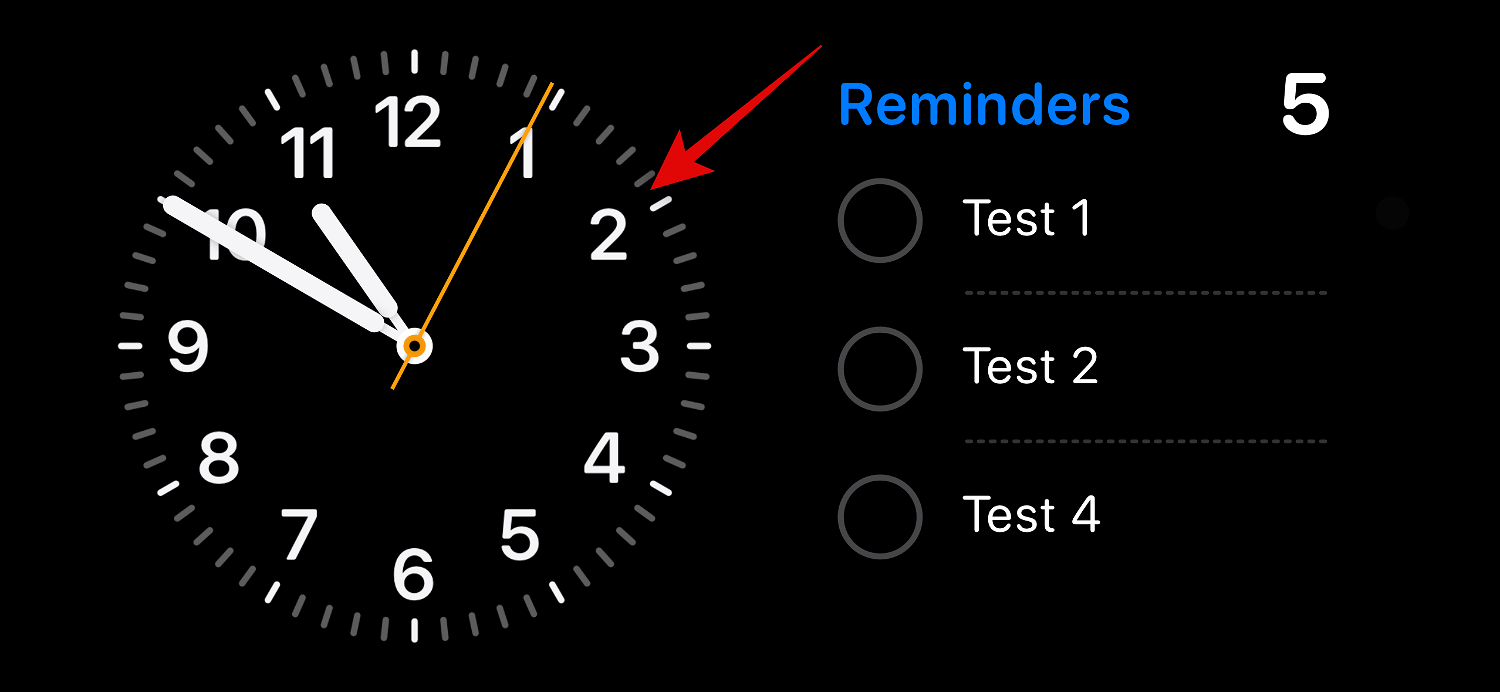
By default, the widget standby page is the first visible page. By default, the application contains various widgets that can be removed, replaced, or customized according to personal preference. You can add multiple widgets to this page based on previous usage and enable Smart Rotation to intelligently switch between them. Follow these steps to personalize the standby page on your iPhone with custom widgets.
Removing Widgets from the Standby Mode Widgets Page
Follow these steps to delete widgets that you no longer want to see in standby mode on your iPhone.
Click and holdon any widget stack in standby mode.
If you want to edit the widget stack on the left, tap and hold on it. If you want to edit the correct widget stack, tap and hold on the stack. You will now be asked to verify your identity. If you have an
iPhone 13 or later, you can use Face ID. However, if you have an iPhone 12 or earlier, you can use a password instead.
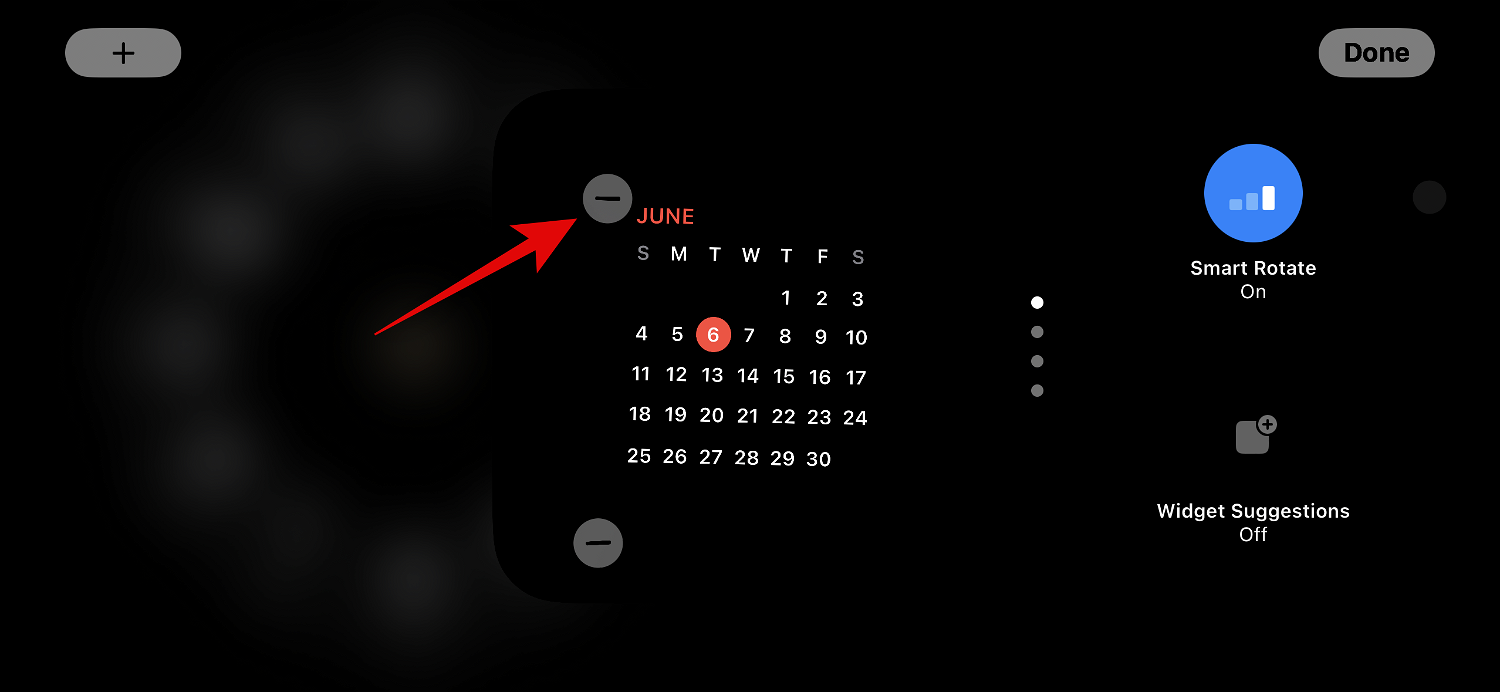
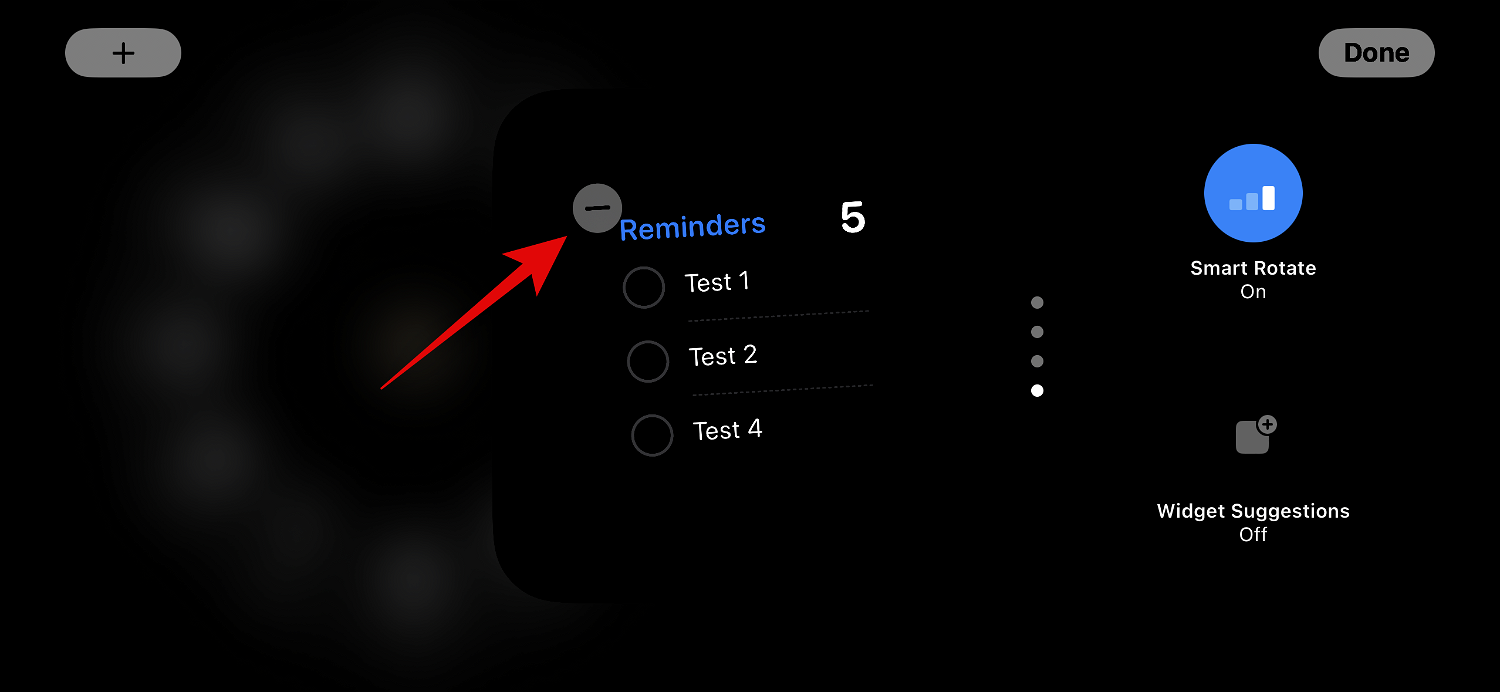
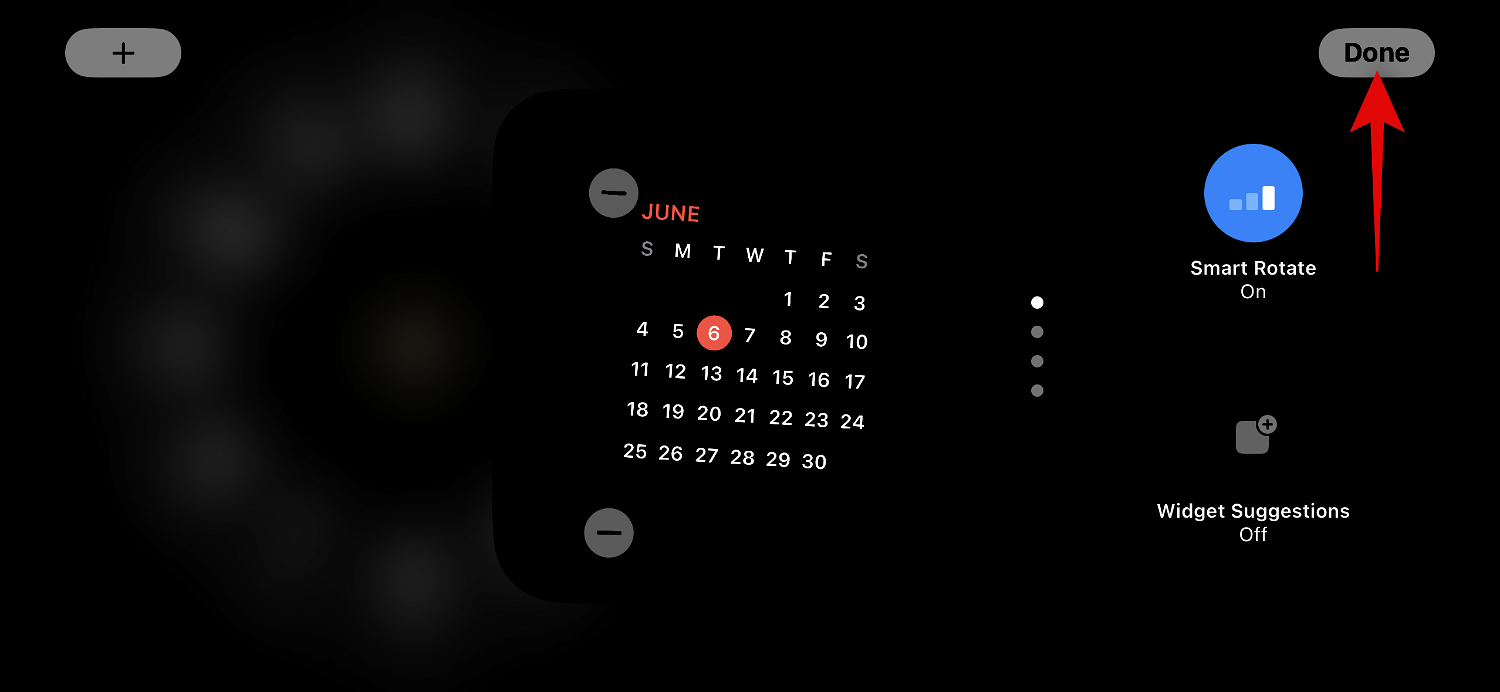
 Once unlocked, you will enter edit mode. Now click on the
() next to the widget you want to delete. 
 Tap
Tap
to confirm your choice.
 Repeat the above steps to remove any other widgets you may want to remove from standby mode.
 Click Done After deleting the widget, click
in the upper right corner.
 #This is how to remove a widget from the Widget Standby page.
Add a widget to the standby mode widget page
When you are in standby mode, follow the steps below to add a widget to the standby mode widget page. let's start.
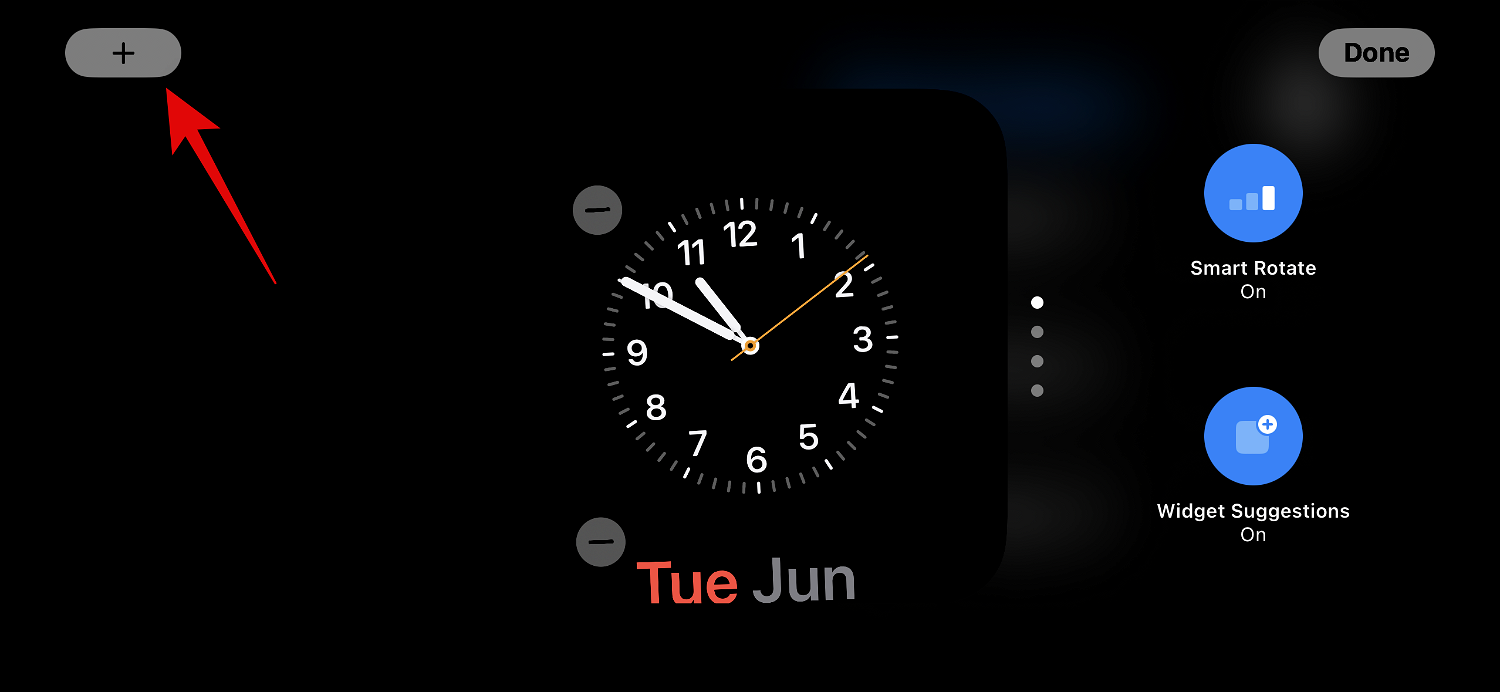
Tap and hold on a widget to enter edit mode. Click and hold the left widget to edit the left widget stack, or click the right widget to edit the right widget stack.
Verify your identity when prompted. As mentioned before, you'll need to use a password on iPhone 12 and earlier , or your password on iPhone 13 or later Face ID.
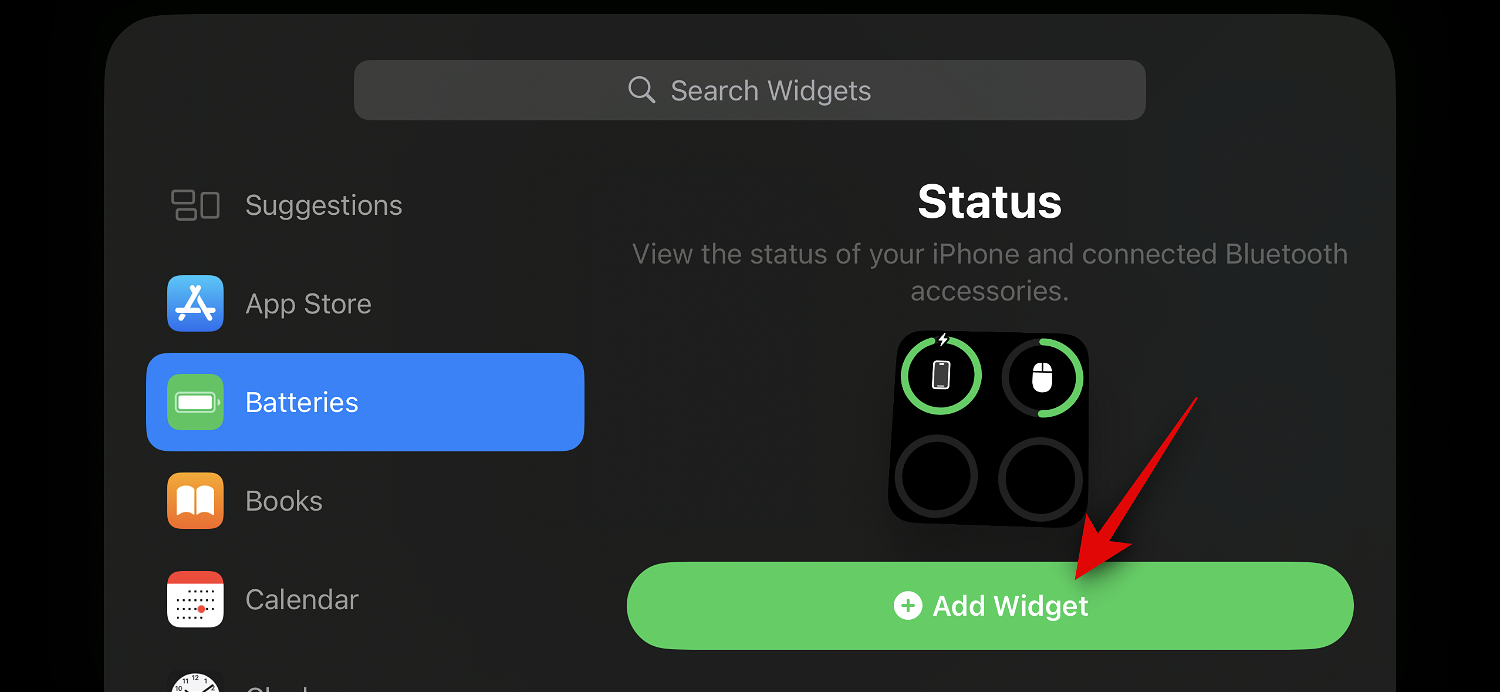
Now click on the plus sign ( ) icon in the upper left corner to add the widget.
Select your preferred widget category from the left sidebar.
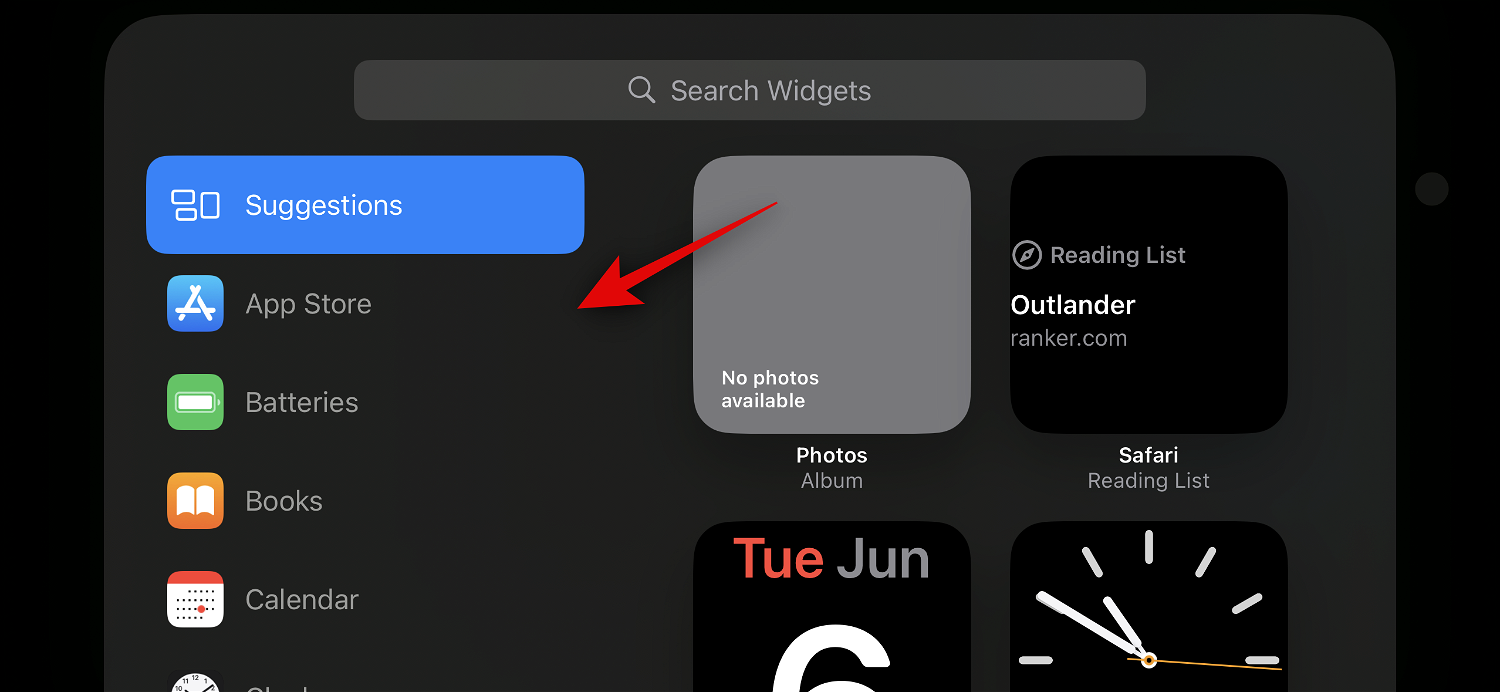
You can also click Other to add widgets for apps that don’t have widgets optimized for standby mode. As of this writing, this includes Fitness, Game Center, and Sleep
widgets.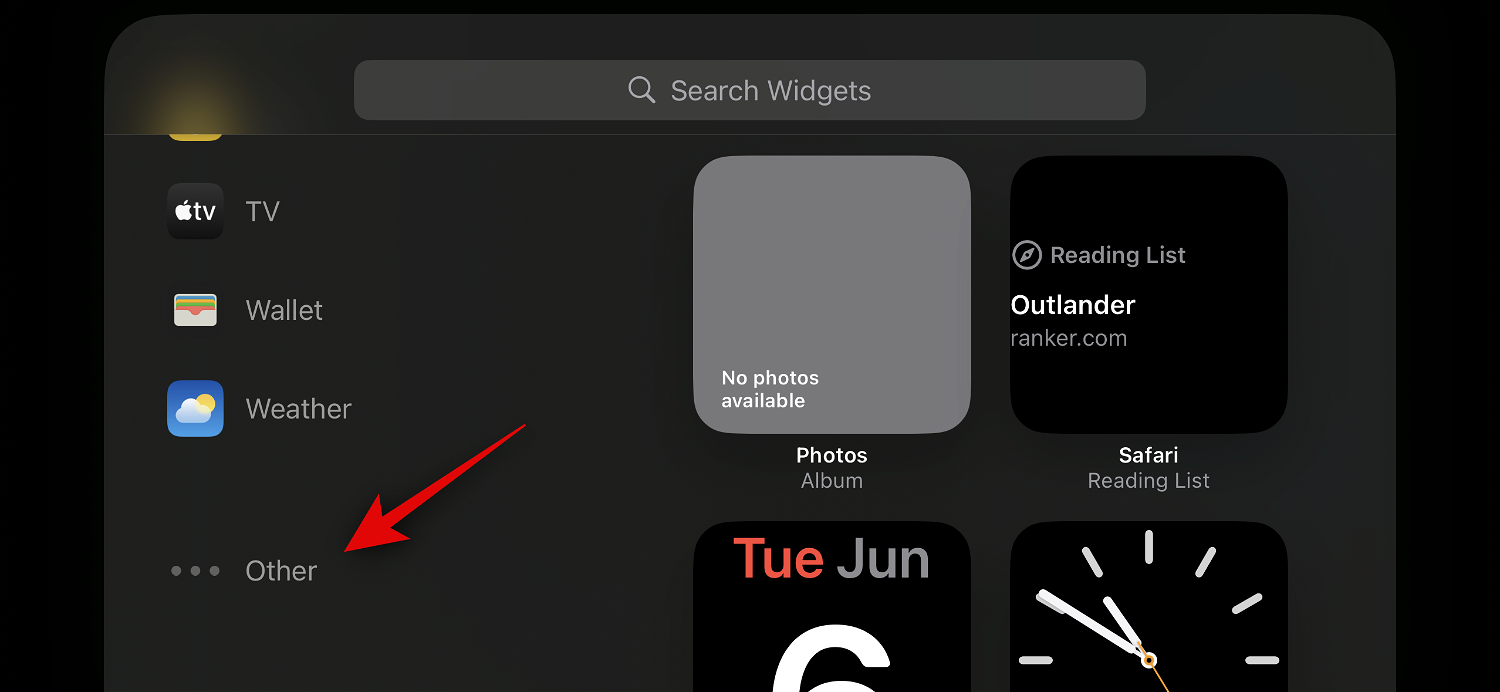
Let's add a "Music" widget to this example. Tap Music
.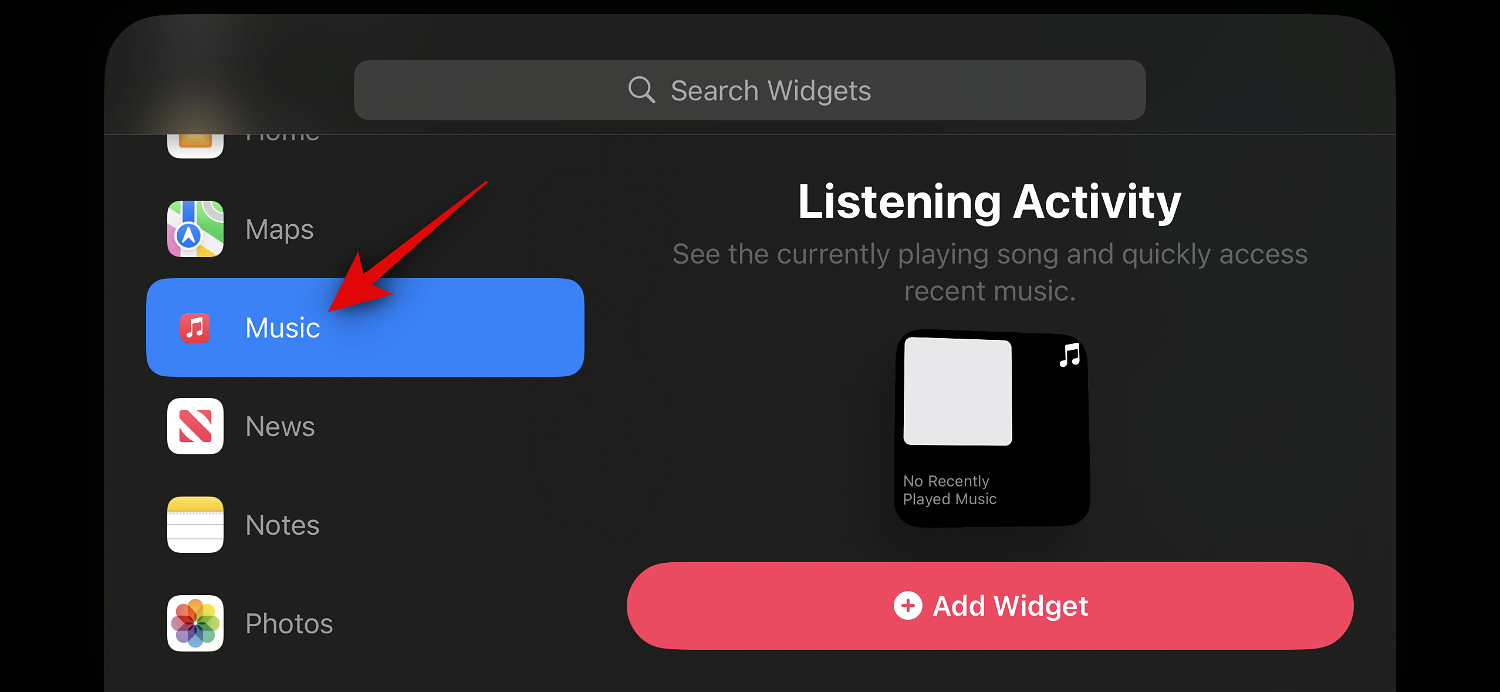
The widget preview will now be available on your right. Click Add
widget to add the widget to the standby mode widget page.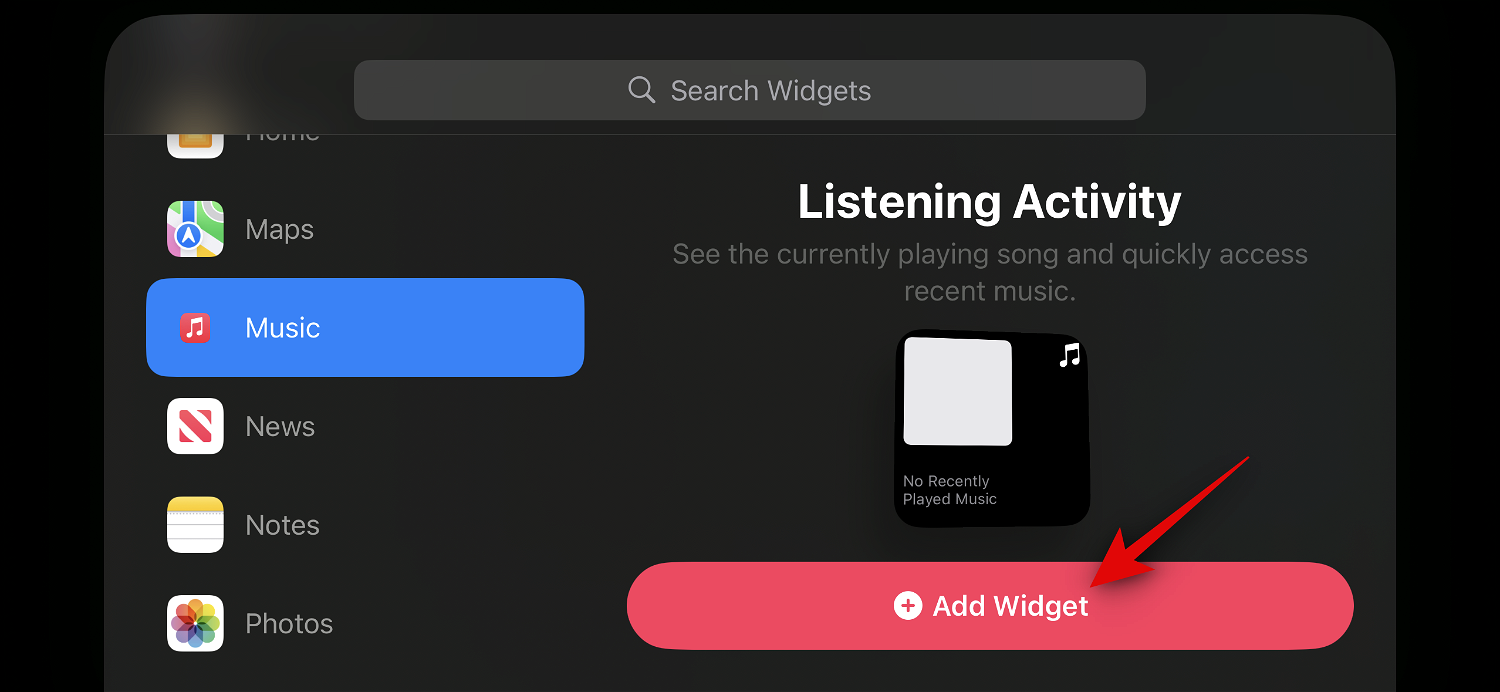
Click and drag the widget up or down to reposition it
into the widget stack.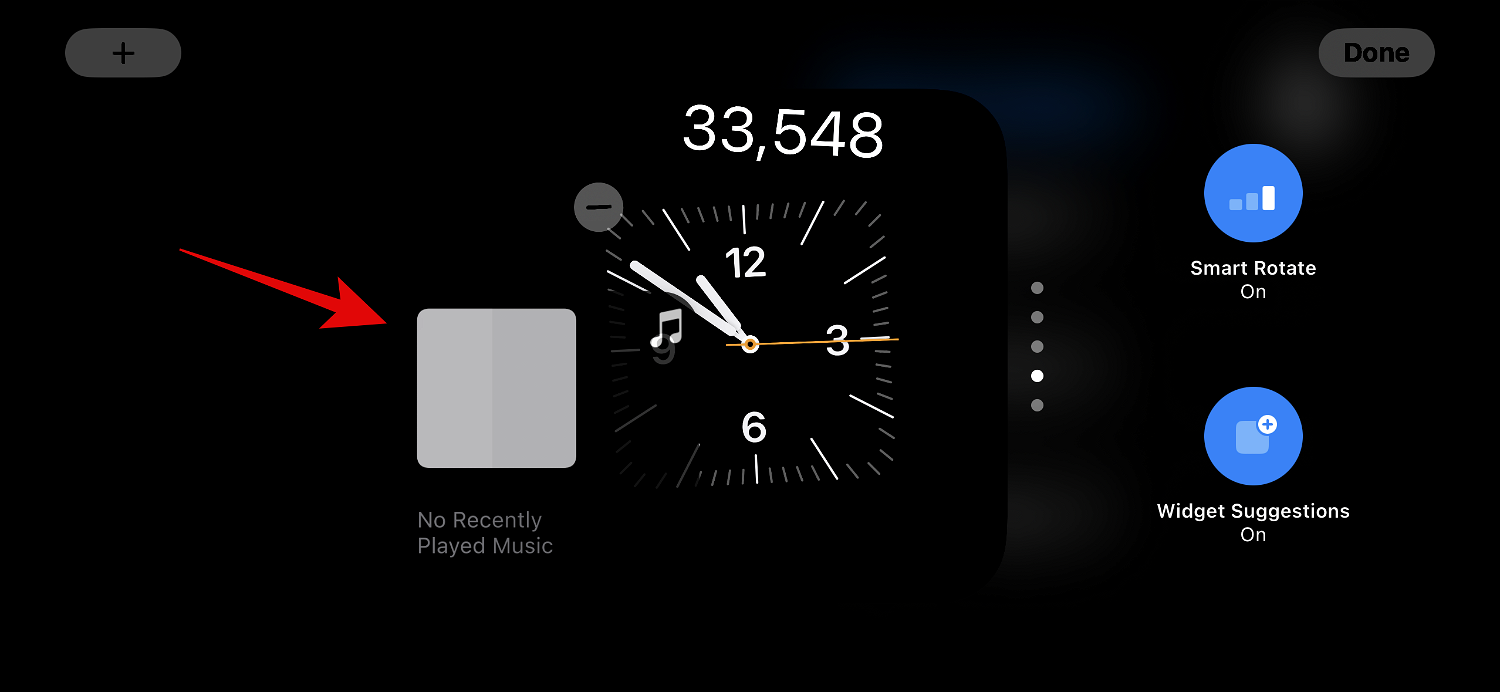
After adding the widget, click Finish
.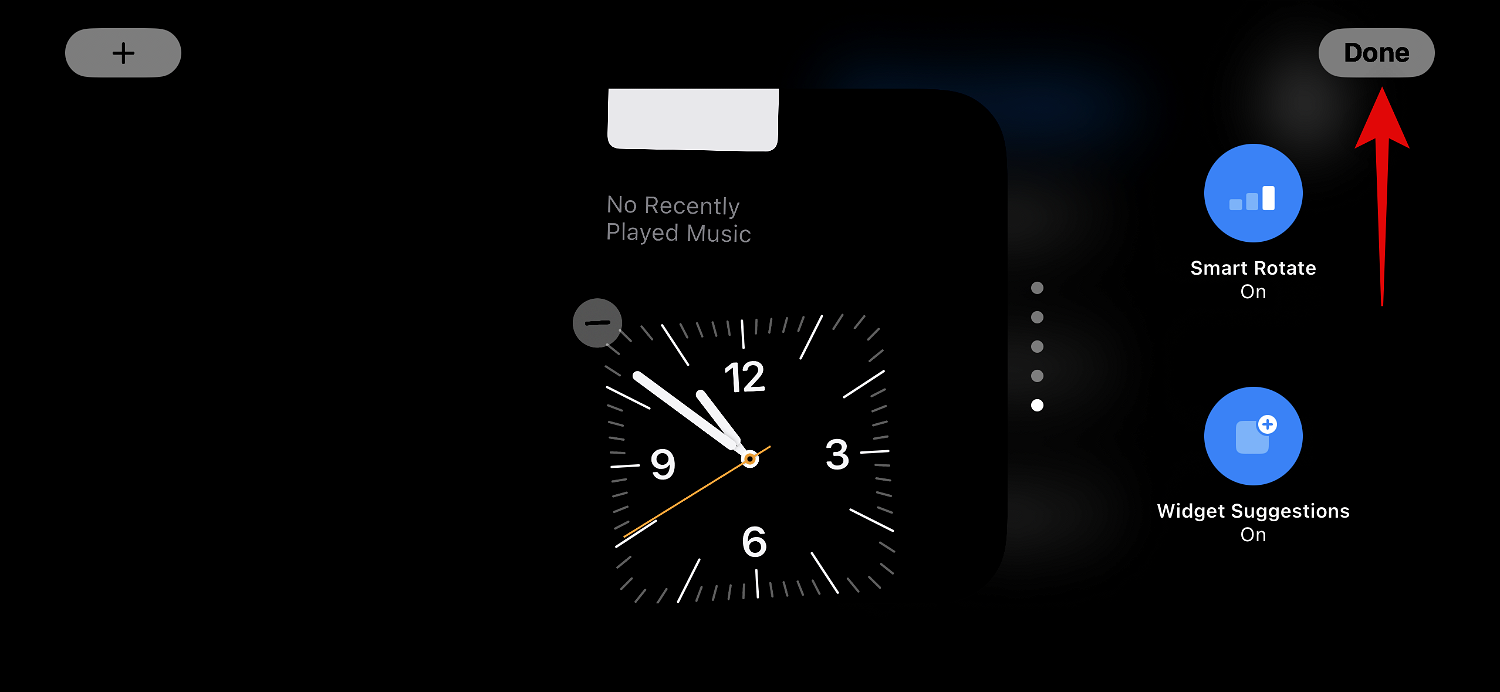
If you plan to use the widget page a lot in standby mode, we recommend turning on smart rotation. This will help you stay informed without having to swipe through multiple widgets yourself. Alternatively, you can turn this feature off if you use a small number of widgets and prefer manual control. Use the following steps to toggle the Smart Rotation
of the widget stack in standby mode.After activating standby mode on your iPhone, tap and hold on the small stack of widgets for which you want to enable
Smart Rotation. You can toggle Smart Rotation individually for each widget stack to your liking. ###
Verify your identity using Password or Face ID depending on your current device.
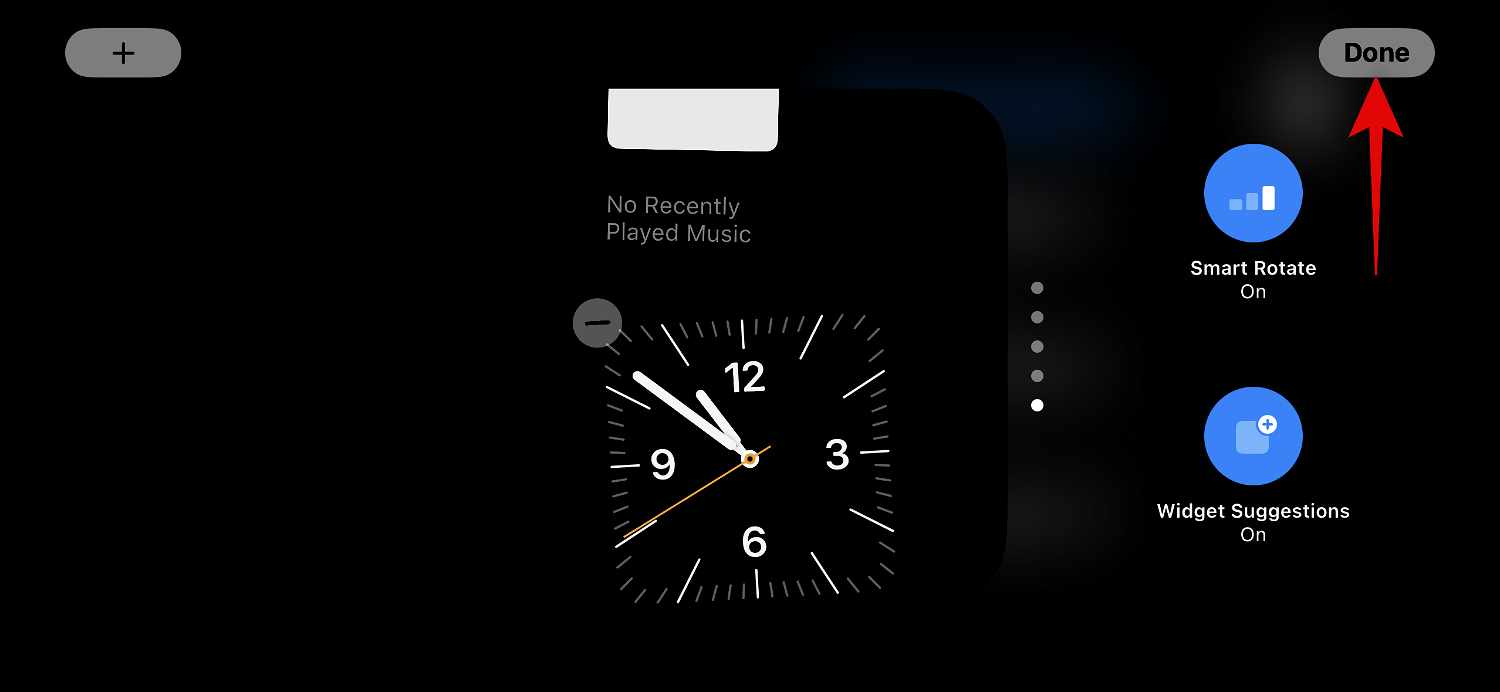
You will now enter edit mode. Click Smart Rotation on the right to enable or disable it based on its current status.
After completion, click Complete in the upper right corner.
#This is how you toggle smart rotation of the widget stack in standby mode.
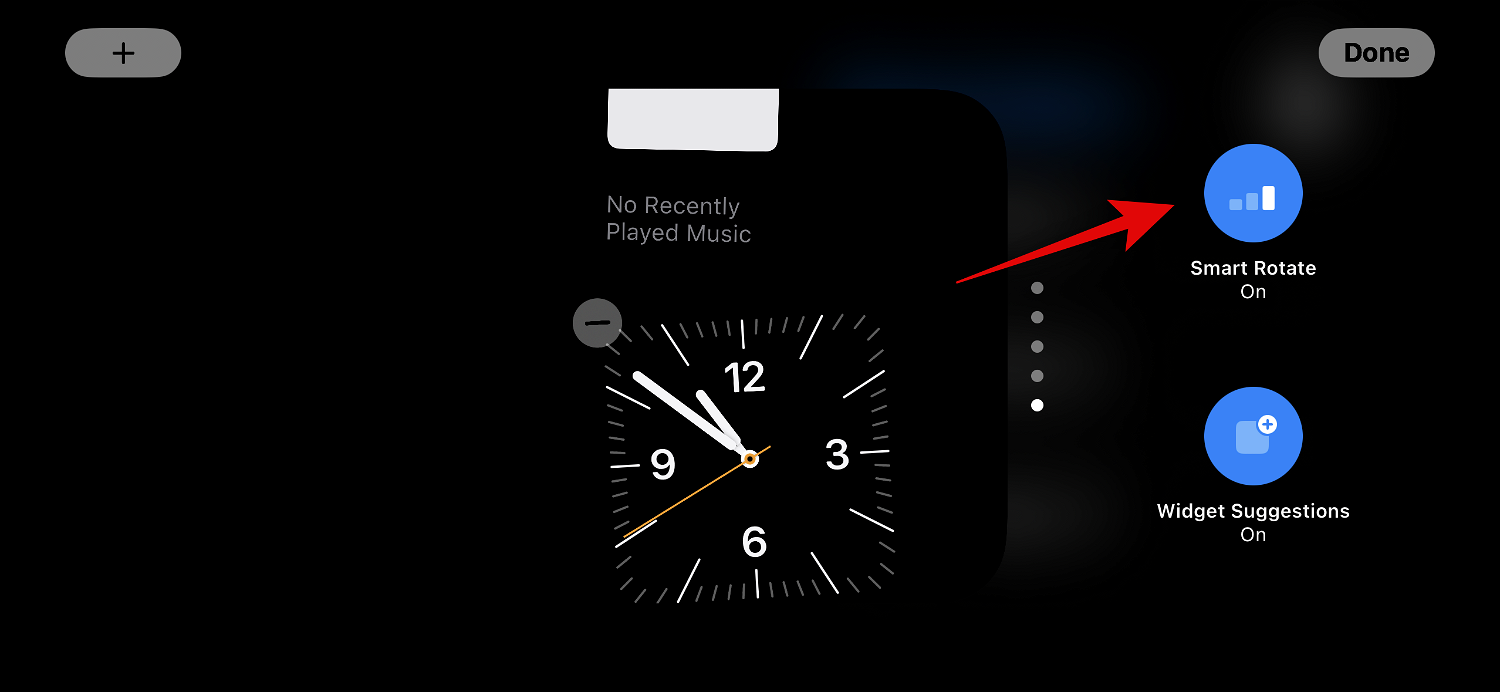
Enable or disable widget suggestions on the standby mode widget page
iOS can display suggestions for widgets based on your usage and Siri suggestions on each screen. This feature also allows your iOS to display widgets that you may not have added to your widget stack yet, helping you stay up to date with the latest updates for each widget. Follow the steps below to enable or disable Stack widget suggestions in standby mode on iPhone.
While Standby mode is active on iPhone, tap and hold on the stack you want to enable suggestions for.
Verify your identity using Password or Face ID.
Now just click on the small Part Suggestions option on the right to toggle the same content.
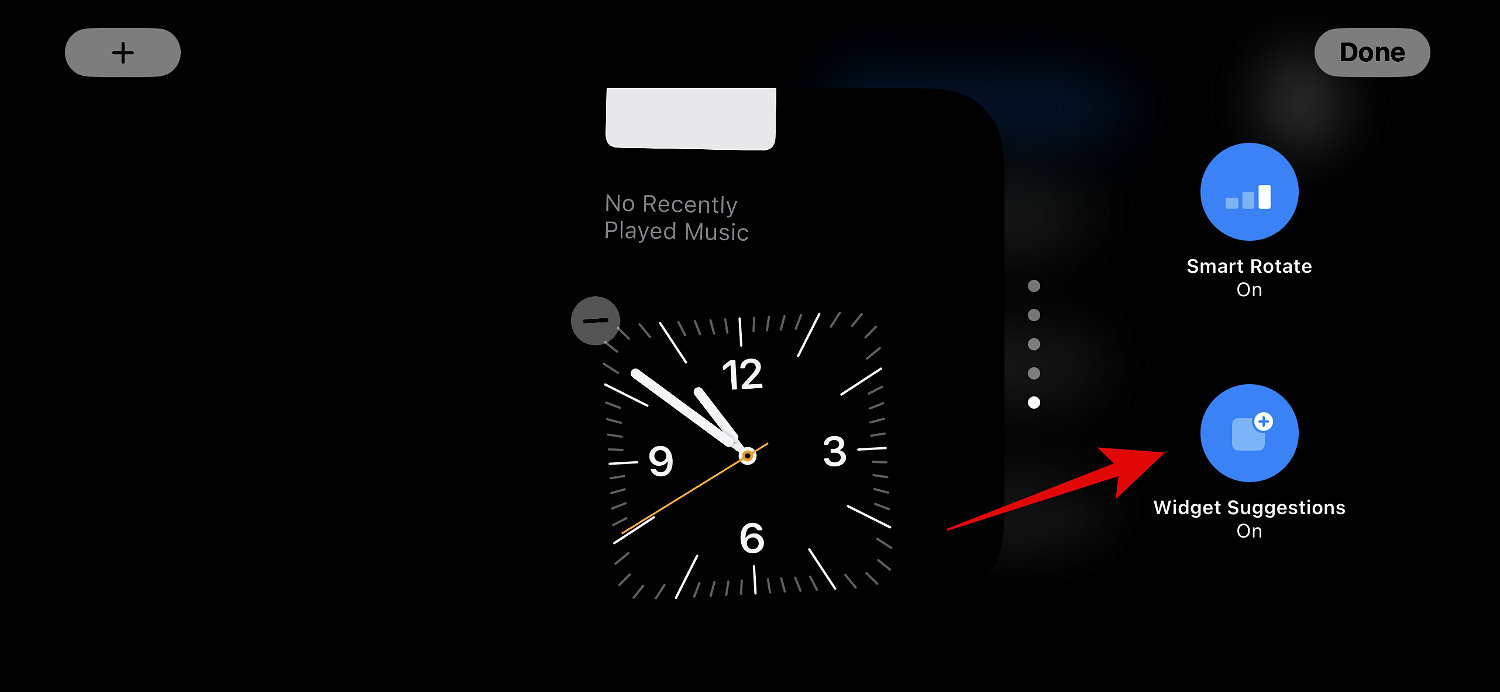
After completion, click Complete in the upper right corner.
#This is the recommended way to enable or disable widgets for stacks in standby mode.
Edit standby mode photo page
When you swipe left and activate in standby mode, you will jump to the "Photos" page. Simply display your featured photo alongside a landscape background, a minimal clock, and today's date. Your iPhone needs to be unlocked to view your photos, and a selection of photos will automatically cycle through.
But, as many people have realized in the past, not all photos on your iPhone may be favorable options for your lock screen. In this case, you may want to instead select a custom album or set of albums to display on the Standby Photos page. Please follow the steps below to help you perform the same operation on your iPhone.
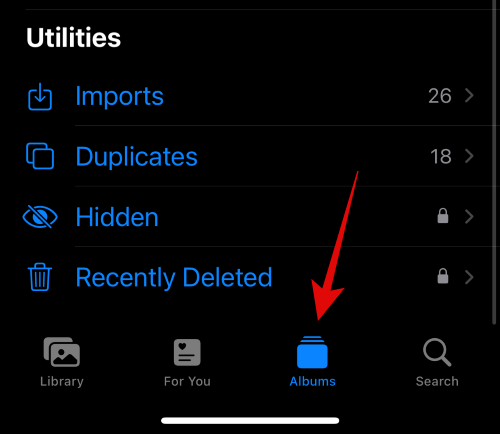
Let's start by creating a photo album that you want to use on your lock screen. If you've already created the photo album you want to use, you can skip the first few steps. Open the Photos app and tap Albums at the bottom.
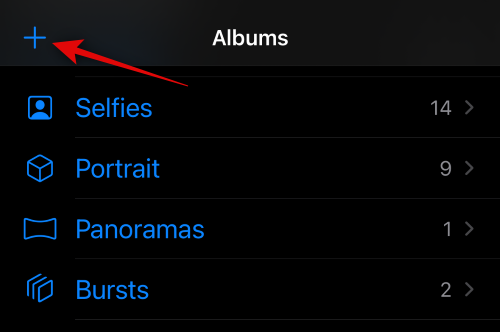
Click the icon in the upper left corner.
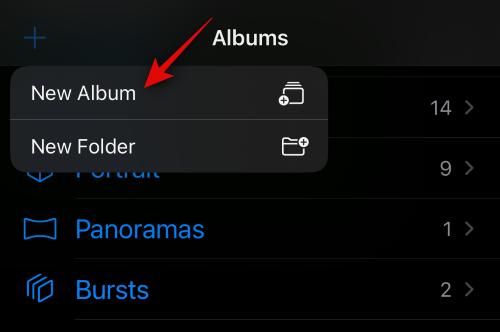
Click and select New Album.
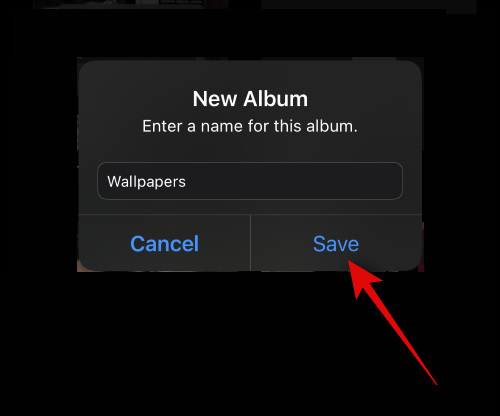
Name the new Album as desired.
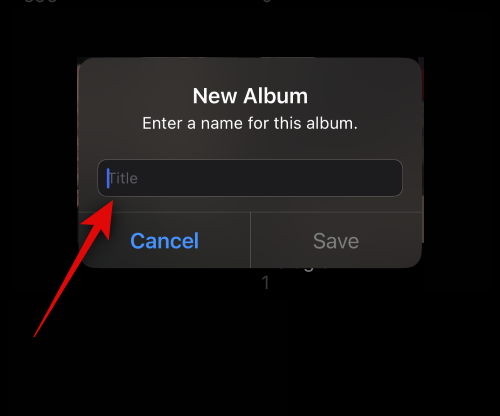
Now click Save once you have set your preferred name.
Click and select the photos you want to add to the album.
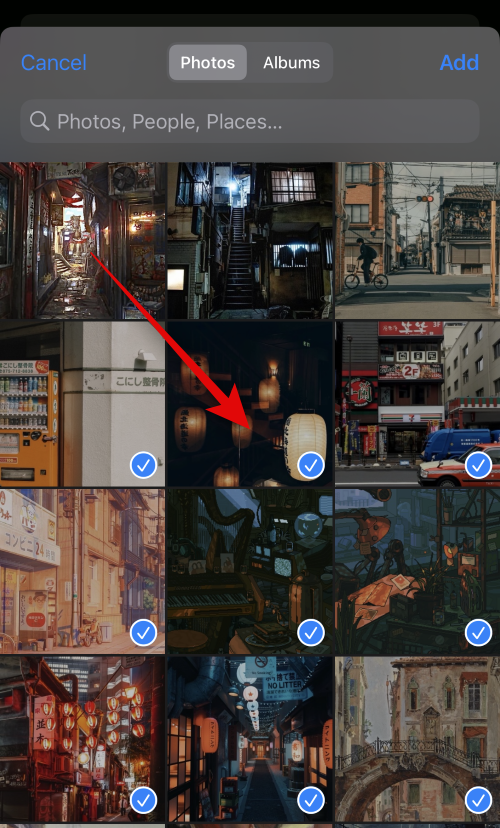
After completion, click Add in the upper right corner.

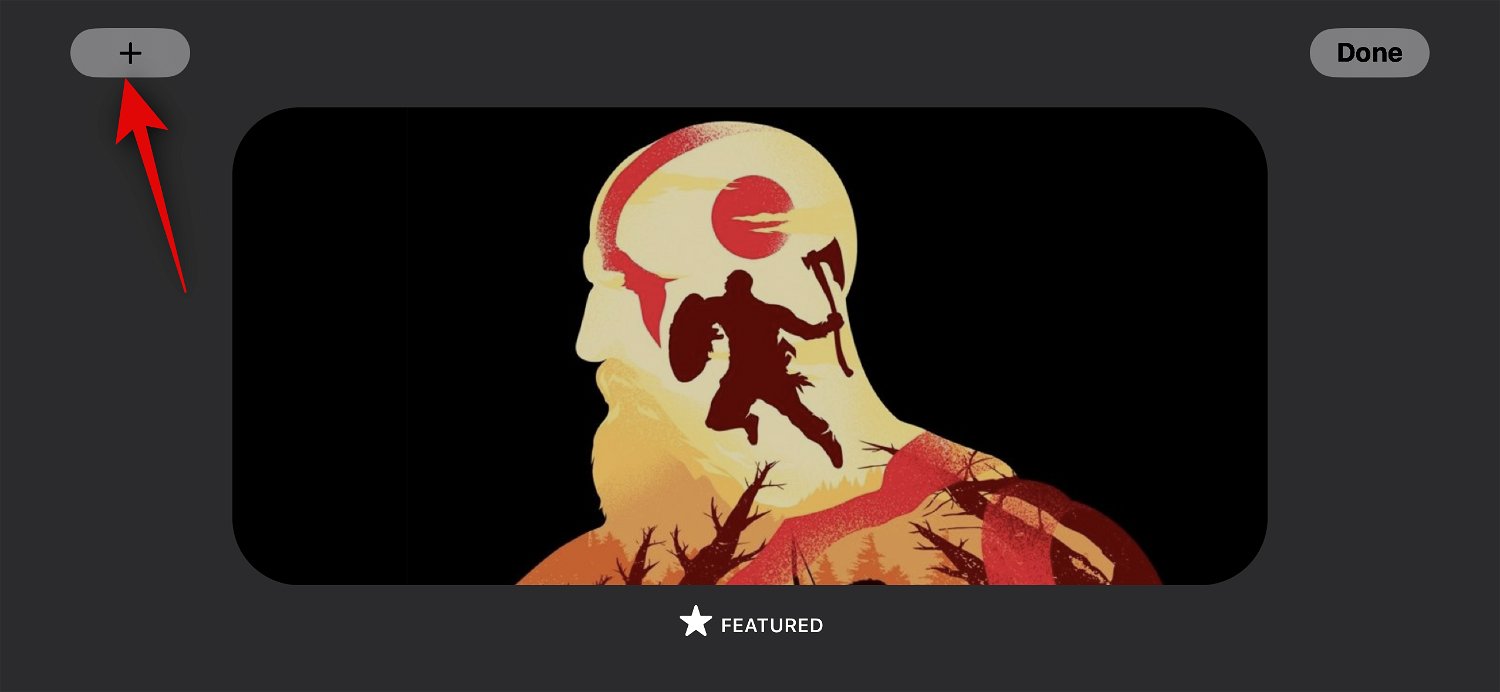
The photo album will now be created. Close the Photos app, lock your iPhone, and put it in landscape mode while charging. Now that standby mode is active on your iPhone, swipe left on the widget page to switch to the Photos page.
Now click and hold on it to enter edit mode.

Click the plus sign () icon in the upper left corner.
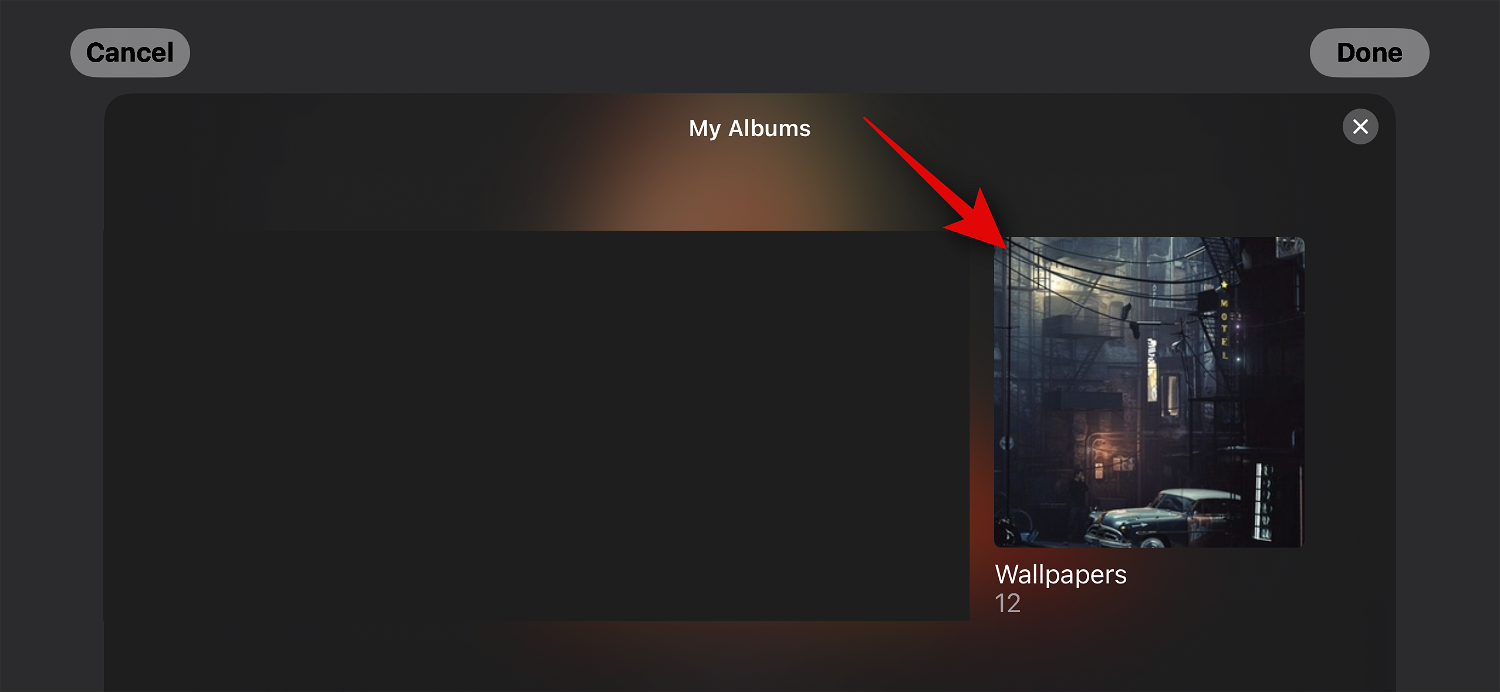
Swipe and tap on our recently created photo album.
The photo album will now be added to the stack. Featured albums will be enabled by default. Click the Visible icon in the upper left corner to hide it.
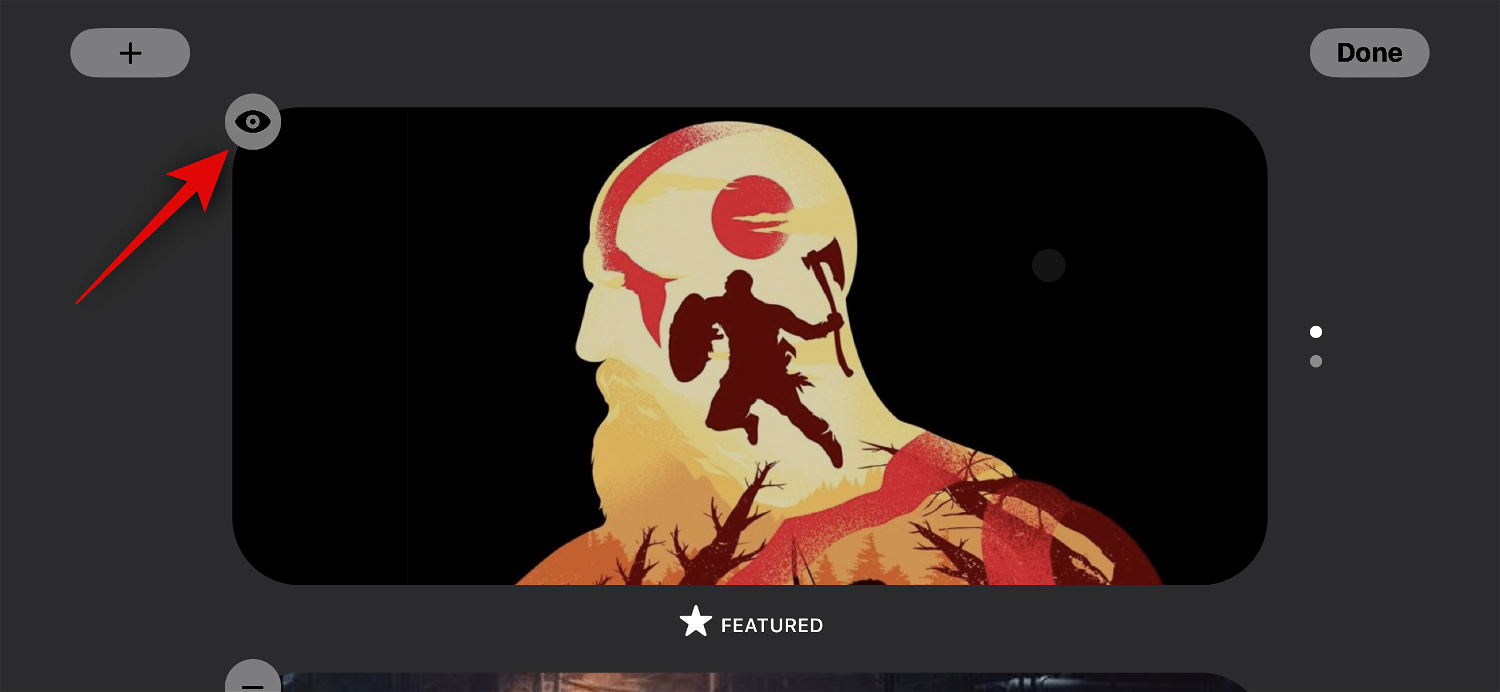
If necessary, click the plus sign () icon to add more albums.

After completion, click Complete.
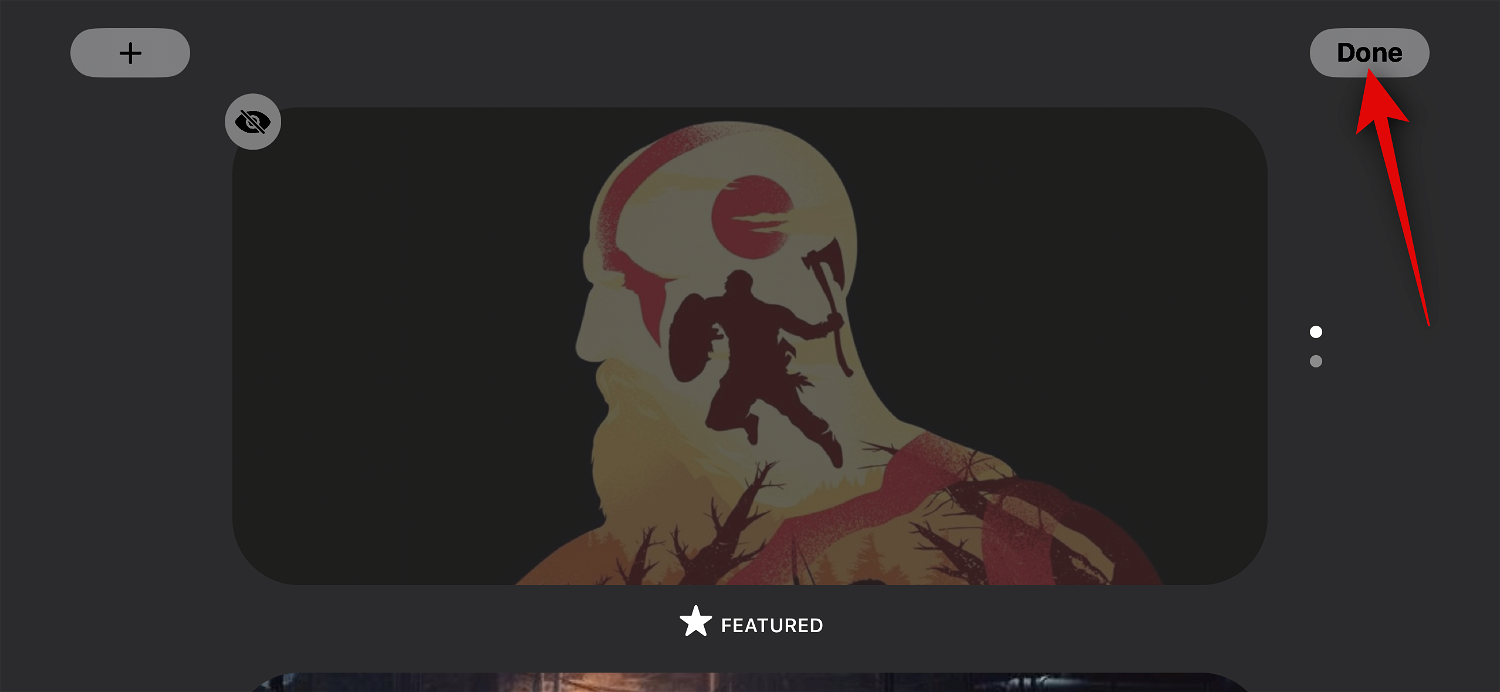
You can now swipe up or down to switch between selected albums.

#This is how you can customize your iPhone’s standby mode photo page.
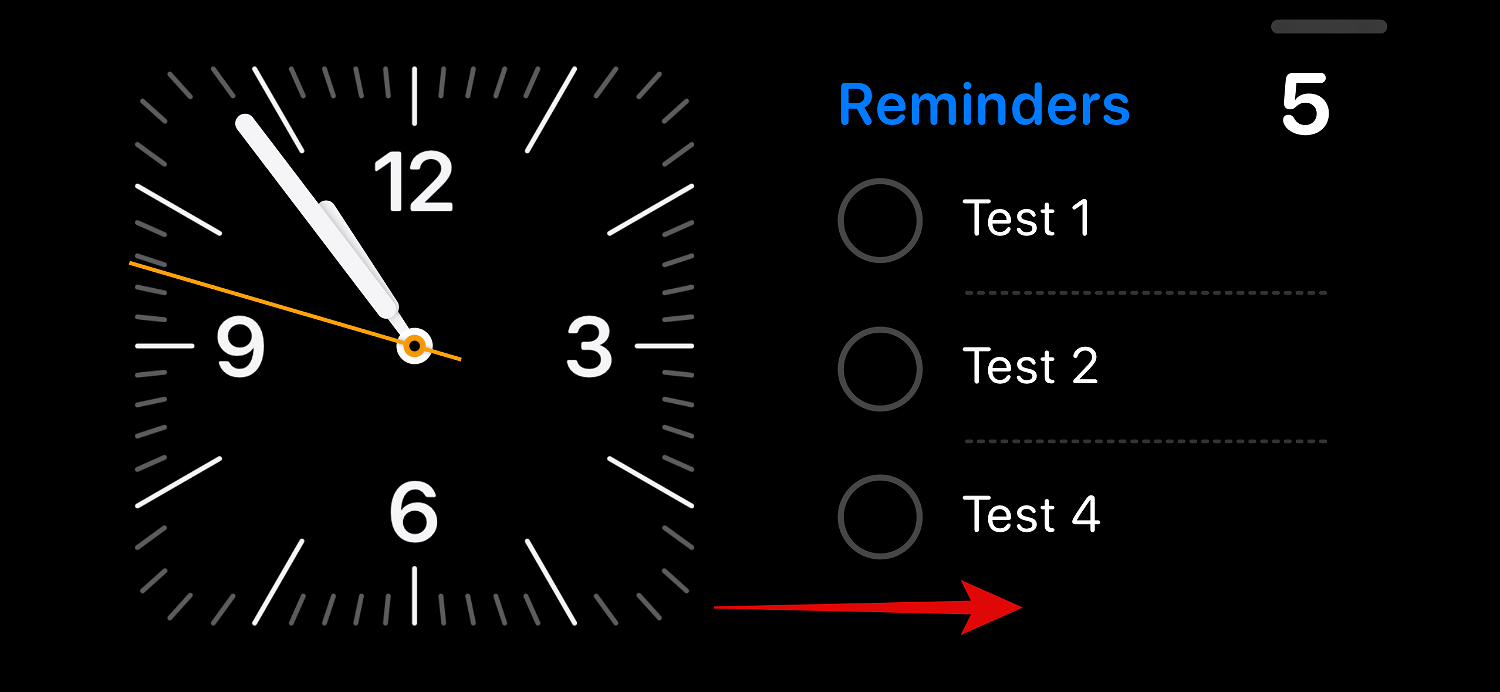
Edit dedicated standby mode clock page
The dedicated clock page that displays a simple clock and the current time on the screen is a function of standby mode. This is ideal for a nightstand as you can always look at your phone to keep track of the current time. Follow the steps below to customize this page on your iPhone in standby mode.
Swipe left twice on the standby mode widget page to view the dedicated clock page.
Tap and hold the same to enter edit mode.

As mentioned above, verify your identity using your device Password or Face ID , depending on your current device.
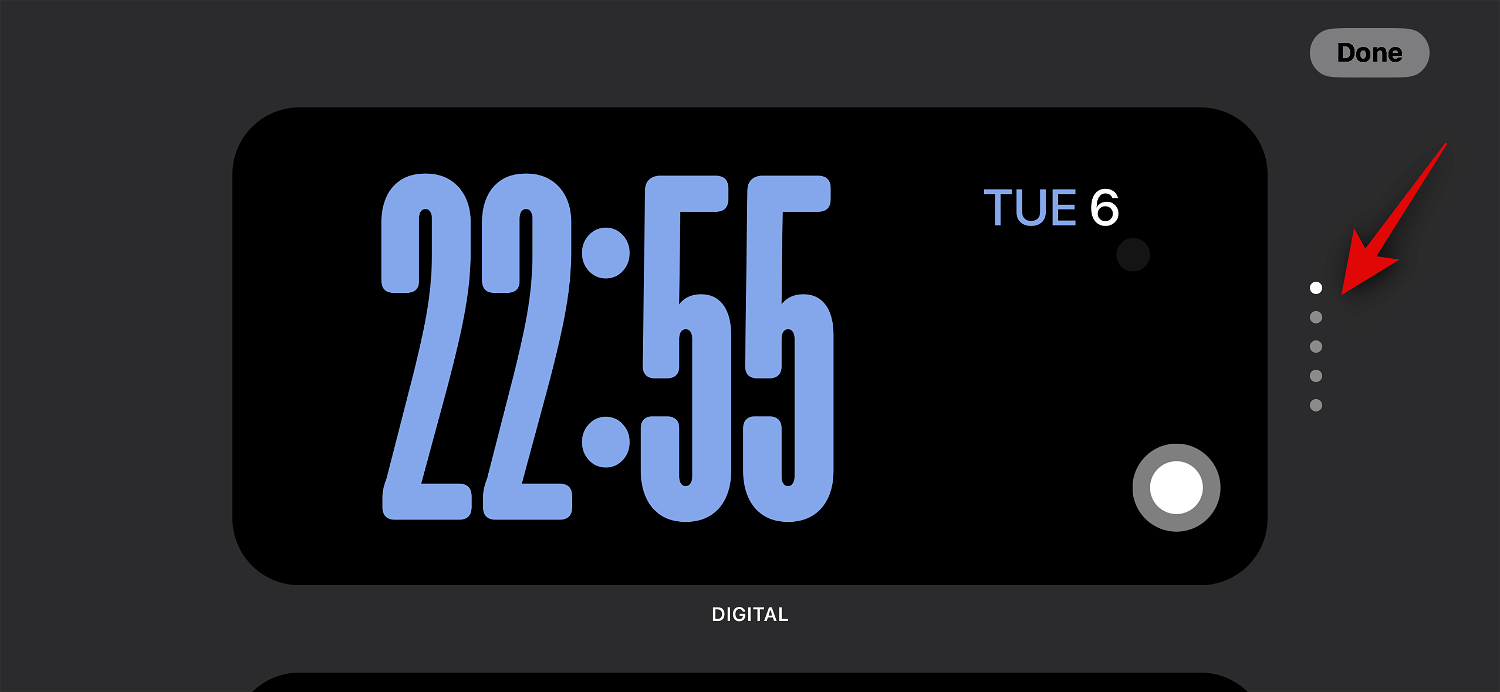
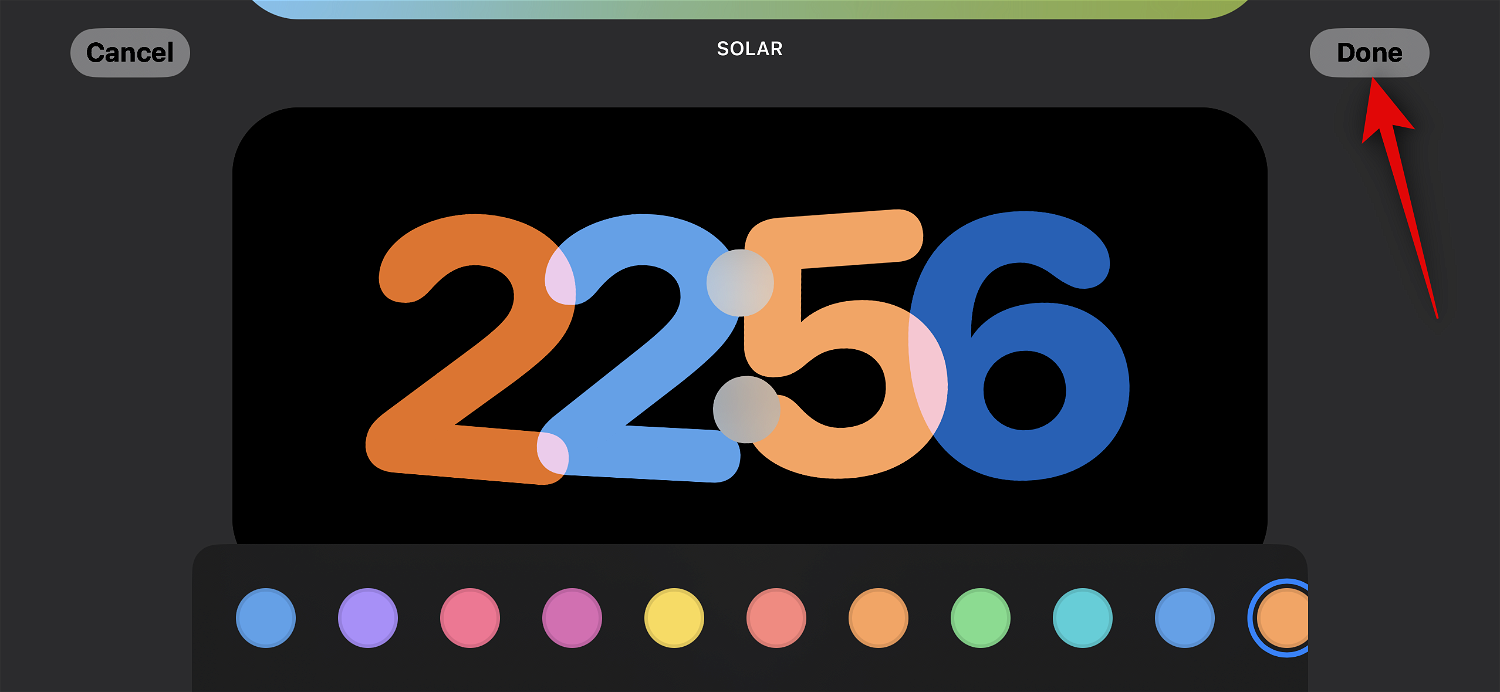
Swipe up and find a clock you like. You have the following options.
- Digital
- Simulation
- World
- The Sun's
- Floating
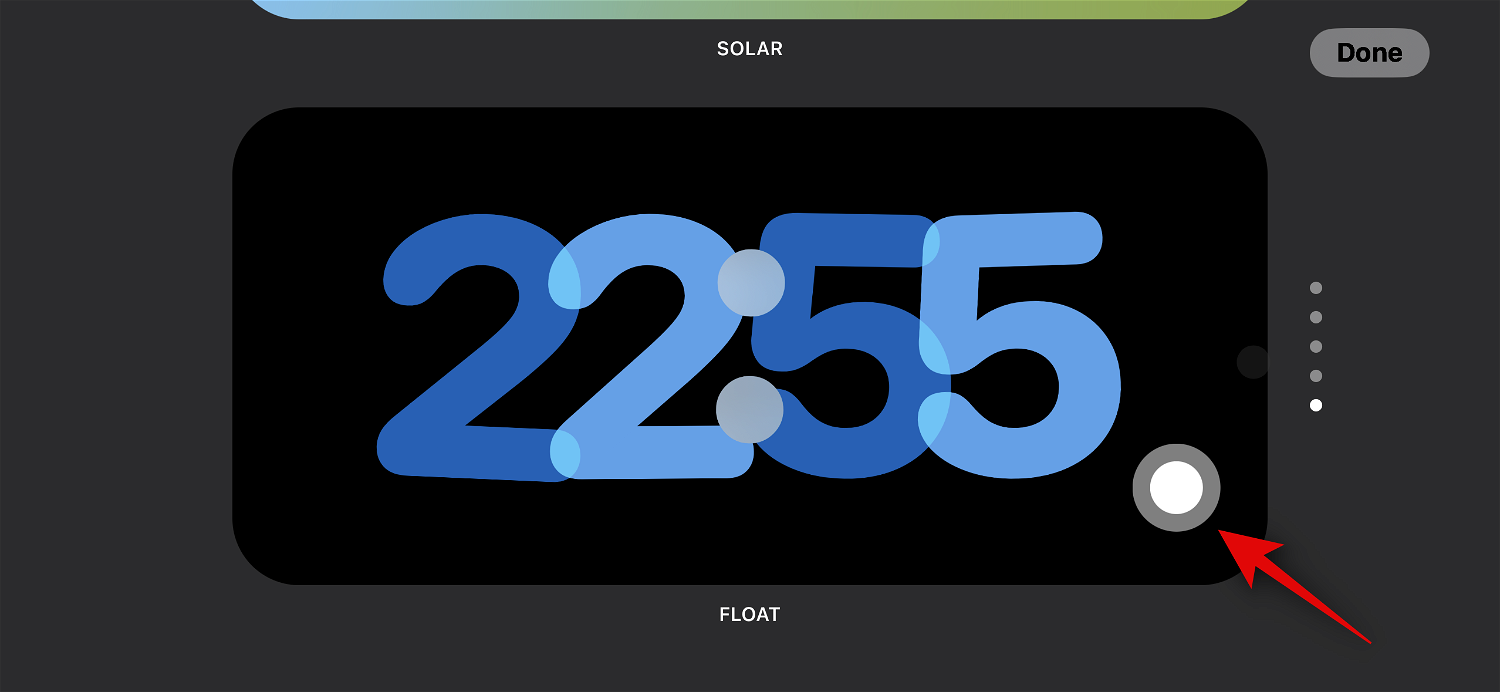
After selecting the clock, tap the Selector icon to select your preferred color palette.
Now tap and select your preferred color from the options at the bottom of the screen.
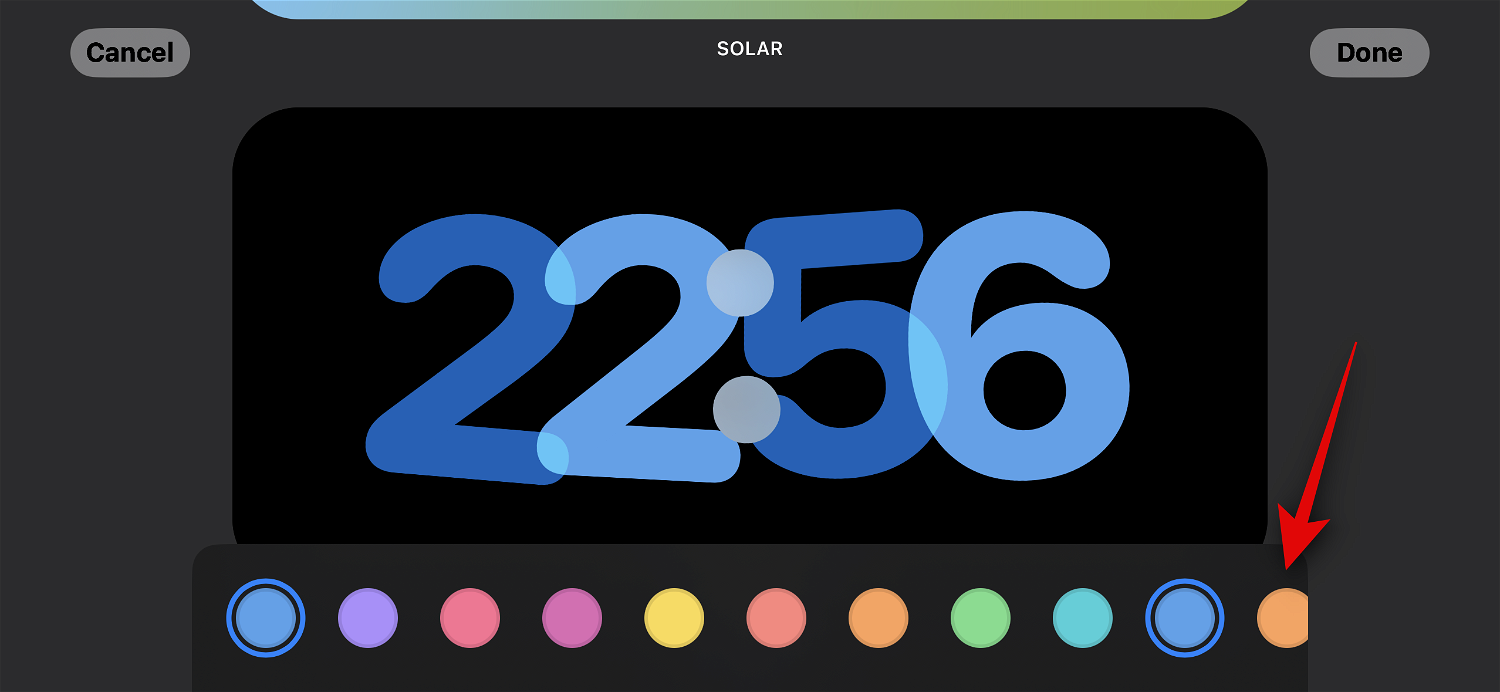
Click Finish Once you are satisfied with how the clock looks.
#This is how you can customize your iPhone’s standby mode clock page.
Can you use third-party widgets in standby mode?
Yes, you can use third-party widgets in standby mode, and Apple is expected to release the same API and framework to developers soon. However, at the time of writing, no third-party apps currently support widgets for standby mode. However, iOS 17 is still in its infancy, and that's expected to change soon as more and more apps start releasing widgets that support standby mode.
Related articles
-

How to customize font weight on lock screen in iOS 17
What is font weight customization on iOS 17 definition? In iOS 17, Apple has taken lock screen customization further on iPhone with the ability to change the font weight of the digital clock. This feature is available for most clock fonts applied on the lock screen and can be used to make the clock bolder or... Enable and use screen distance on
Apple unveiled the next-generation operating system that powers its suite of devices at its annual developer conference. As usual, iOS 17 is at the core of all the major changes, with features like live voicemail, message transcription, live stickers, standby mode, full-screen live activities, interactive widgets, and more. In... -
How to Set Contact Photos and Posters on iOS 17
WWDC 2023, as an event hosted by Apple, will showcase numerous new products and future software iterations, including the highly anticipated iOS 17. One of the standout features of iOS 17 is the ability to set your contact photos and posters, a customized way to greet someone on your iPhone when you get a call. This new feature... -
How to transfer photos from iPhone to Mac and PC computersTransfer to Mac using USB cable To transfer photos to Mac using USB cable To transfer photos from iPhone to Mac, please follow the steps below: Connect iPhone to Mac using USB cable. Open the Photos app on your Mac. The import screen should appear in the Photos app, showing the connection...
-
#How to hide photos on iPhone
How to hide using the Photos app Photos on iPhone. The easiest way to hide photos on iPhone is to use the built-in Photos app, which is a feature built into the app by Apple, and the hidden photos will remain outside of the main photo album on your iPhone but still accessible. On iPho... -

 How to transfer photos from iPhone to Mac and PC computersTransfer to Mac using USB cable To transfer photos to Mac using USB cable To transfer photos from iPhone to Mac, please follow the steps below: Connect iPhone to Mac using USB cable. Open the Photos app on your Mac. The import screen should appear in the Photos app, showing the connection...
The above is the detailed content of How to edit and customize standby mode on iOS 17. For more information, please follow other related articles on the PHP Chinese website!

Hot AI Tools

Undresser.AI Undress
AI-powered app for creating realistic nude photos

AI Clothes Remover
Online AI tool for removing clothes from photos.

Undress AI Tool
Undress images for free

Clothoff.io
AI clothes remover

AI Hentai Generator
Generate AI Hentai for free.

Hot Article
Hot Tools

Notepad++7.3.1
Easy-to-use and free code editor

SublimeText3 Chinese version
Chinese version, very easy to use

Zend Studio 13.0.1
Powerful PHP integrated development environment

Dreamweaver CS6
Visual web development tools

SublimeText3 Mac version
God-level code editing software (SublimeText3)
Hot Topics
 1378
1378
 52
52

 How to set the icon size on Xiaomi Mi 14?
Mar 19, 2024 pm 05:25 PM
How to set the icon size on Xiaomi Mi 14?
Mar 19, 2024 pm 05:25 PM
Xiaomi 14 has many personalization options, including icon size settings. By adjusting the icon size, users can create a more personalized mobile phone interface according to their own preferences and needs. Next, the editor will introduce to you how to set the icon size on Xiaomi 14 to make your mobile phone interface more unique and comfortable. How to set the icon size on Xiaomi Mi 14? 1. Find wallpapers and personalization in the Xiaomi phone settings page. 2. After entering the page, you can see the icon options. 3. Adjust the size of the icon at the bottom of the icon style interface, making it larger from left to right. With the above steps, you can easily resize the icon size of Xiaomi Mi 14. Whether you want larger icons for easier recognition or smaller icons to save screen space, Xiaomi Mi 14
 What is the use of Apple iOS 17.5's 'repair mode”?
May 06, 2024 pm 02:34 PM
What is the use of Apple iOS 17.5's 'repair mode”?
May 06, 2024 pm 02:34 PM
In order to use iPhones more safely, Apple has introduced the "Lost Device Protection" function since iOS 17.3. When we send our iPhone to an Apple repair center for repair, the engineer will ask us to turn off the "Find My iPhone" function. This step is to ensure that the user is confirmed as the owner of the device and that it is not lost or stolen. Although it is for safety reasons, a delay time is set for each operation to turn off this function, usually one hour. Therefore, some customers who are not familiar with such settings can only wait in the store for a short period of time before turning off "Search". My iPhone" feature. In order to solve this problem, Apple plans to add a "repair mode" in iOS 17.5. "dimension
 Apple iOS 17.5 RC version released: allows EU iPhone users to download apps from the website
May 08, 2024 am 09:30 AM
Apple iOS 17.5 RC version released: allows EU iPhone users to download apps from the website
May 08, 2024 am 09:30 AM
[Click here to go directly to the upgrade tutorial] According to news on May 8, Apple pushed the iOS17.5RC update (internal version number: 21F79) to iPhone users today. This update is 70 days away from the last release. How to upgrade iOS/iPadOS/watchOS/macOS development version and public beta version? To upgrade the iOS/iPadOS17 developer preview version and public beta version, you can refer to the experience shared by friends: Experience Post 1||Experience Post 2||Experience Post 3||Experience Post 4. Starting from the iOS/iPadOS 16.4 Developer Preview Beta 1, you need to register for the Apple Developer Program. After registration, open the system [Settings] [Software Update] to see the upgrade option. Please note that your iPhone or IP
 iOS 17 Tips: Notes supports adding jump links
Mar 27, 2024 pm 10:26 PM
iOS 17 Tips: Notes supports adding jump links
Mar 27, 2024 pm 10:26 PM
For friends who are accustomed to using iPhone memos to record things, this new improvement in iOS17 should not be missed: in memos, you can add links to jump to other memos. The operation method is as follows: 1. Tap in the memo input area and select "Add Link". 2. Enter the memo title keyword to search, and then select the memo you want to jump to to complete the addition. 3. Tap the link to jump.
 Should iPhone12 ios16 be updated to ios17.5beta3? How is the experience of ios17.5beta3?
Apr 25, 2024 pm 04:52 PM
Should iPhone12 ios16 be updated to ios17.5beta3? How is the experience of ios17.5beta3?
Apr 25, 2024 pm 04:52 PM
Practical sharing... As Apple continues to launch new iOS versions, many iPhone users are faced with the choice of whether to upgrade the system. The release of the latest iOS17.5Beta3 has attracted widespread attention, especially for iPhone12 users. Whether they should abandon the existing iOS16 and try the new Beta version has become a question worth discussing. Based on actual experience, this article analyzes the pros and cons of upgrading iPhone 12 to iOS 17.5 Beta 3 to provide a reference for the majority of Apple fans. First of all, we need to make it clear that Beta versions are usually used by developers or early adopters who are willing to take a certain risk. This means that compared to the official version, the Beta version may contain
 Does iPhone 15 need to be downgraded to iOS 17.3.1?
Mar 27, 2024 pm 04:10 PM
Does iPhone 15 need to be downgraded to iOS 17.3.1?
Mar 27, 2024 pm 04:10 PM
In the early morning of February 9, Apple pushed the official version of iOS 17.3.1 update to iPhone users! The size of the iOS17.3.1 official version installation package is about 281MB, and the internal version number is 21D61. The official version of iOS 17.3.1 is a simple minor repair, but its reputation has been very good since its release. Users say that this version is smooth, stable, and does not generate heat. It is suitable for elderly care and is recognized as the version with the best reputation. With the release of the new version, Apple closed the verification channel for the official version of iOS 17.3.1 on March 13. Generally speaking, after Apple closes the system verification channel, it is impossible to open it again. Surprisingly, Apple has quietly opened the iOS17.3.1 system verification channel recently. Query in iOS verification channel
 What is the iOS 17 Stolen Device Protection feature? How to enable?
Apr 09, 2024 pm 04:04 PM
What is the iOS 17 Stolen Device Protection feature? How to enable?
Apr 09, 2024 pm 04:04 PM
In iOS 17.3 or later, you can enable Stolen Device Protection on your iPhone to add a layer of security to your device. After successful enablement, certain features and operations require additional security requirements before they can be used. How Stolen Device Protection works: Stolen Device Protection adds a layer of security when you take your iPhone away from a familiar location, like home or the office; it also helps protect your account if your iPhone is stolen. and personal information. For example, when this feature is turned on, when performing certain operations (such as accessing stored passwords and credit cards), the system will require a biometric authentication using Face ID or Touch ID, and password substitution or return cannot be used. retreat, thereby ensuring that only
 iOS 17 Tips: Forgot the password you just set? Can be unlocked with old password
Apr 08, 2024 pm 08:10 PM
iOS 17 Tips: Forgot the password you just set? Can be unlocked with old password
Apr 08, 2024 pm 08:10 PM
Some users will want to update their iPhone's lock screen password for security reasons. However, you may encounter a situation where you just set a new password and then forget the new password. To solve this problem, Apple has optimized the system in iOS17, iPadOS17 and newer versions. If the lock screen password is suddenly forgotten after changing the lock screen password, the user can still use the old password to unlock the device within 72 hours after changing the password. . The specific method is as follows: 1. In the lock screen interface, click "Forgot Password" in the lower right corner: 2. Select "Enter Previous Password", use the old password to unlock the device, and set a new password again according to the prompts. If you want to make the old password invalid: Make sure you have memorized the new password, if you need to make the old password invalid immediately