
When using computers, we may encounter various serious system problems, such as crashes or system crashes that cannot be solved. Then we need to reinstall the system to solve it. However, many laptop users I have never reinstalled the system before and I don’t know how to reinstall the system, so today I will teach you how to install the win7 system. Let’s take a look.
1. Download and install it on your computer and reinstall the system software with one click. Prepare a USB flash drive of more than 8GB. Open the software, select the production system, select your U disk in the U disk production, and start production directly by defaulting other parameters.
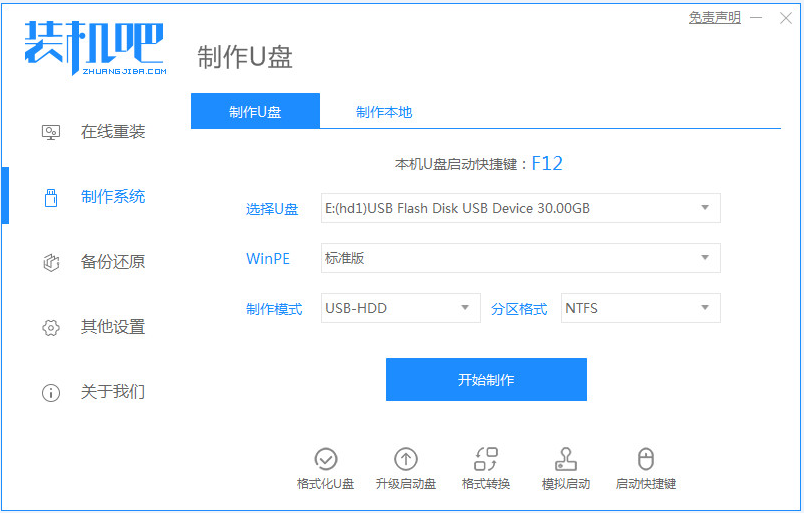
2. In Select System Image, select the system image you want to reinstall, then select and click Start Creation.
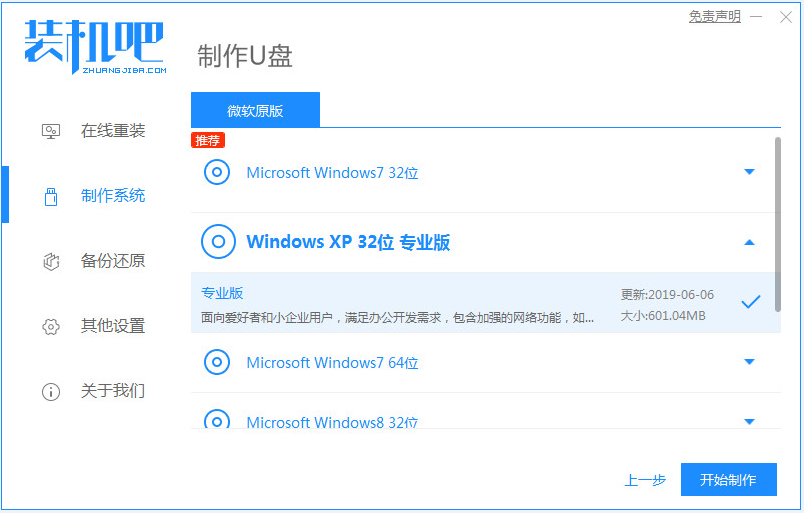
#3. Next, the software will automatically download the relevant required files, please wait patiently.
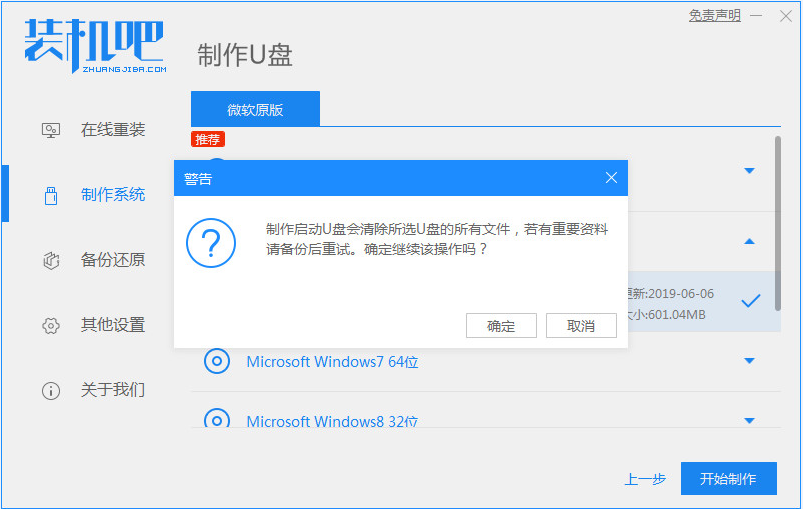
4. Please wait patiently for the production, and then wait for the boot USB disk to be completed.

#5. Then we can look at the corresponding computer startup hotkeys.
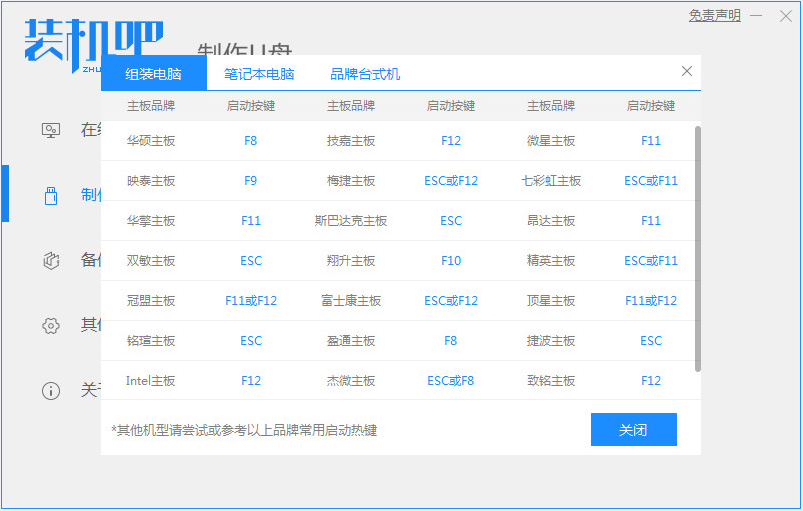
#6. Insert the prepared bootable USB disk into the computer, turn on the computer and quickly press Esc or Del or F12 to enter the Bios settings to boot from the USB disk. Here is the quick boot menu entered by pressing F12, select the USB disk to enter, and then you can start installing the win7 system.
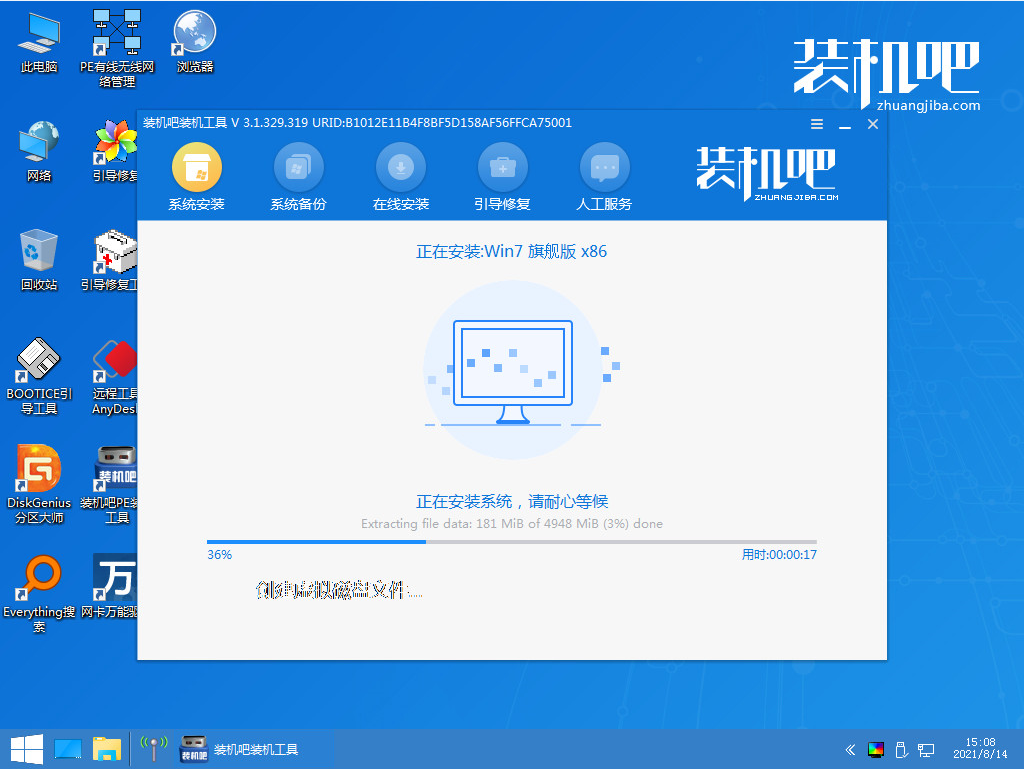
#7. Finally, restart and enter our win7 system.
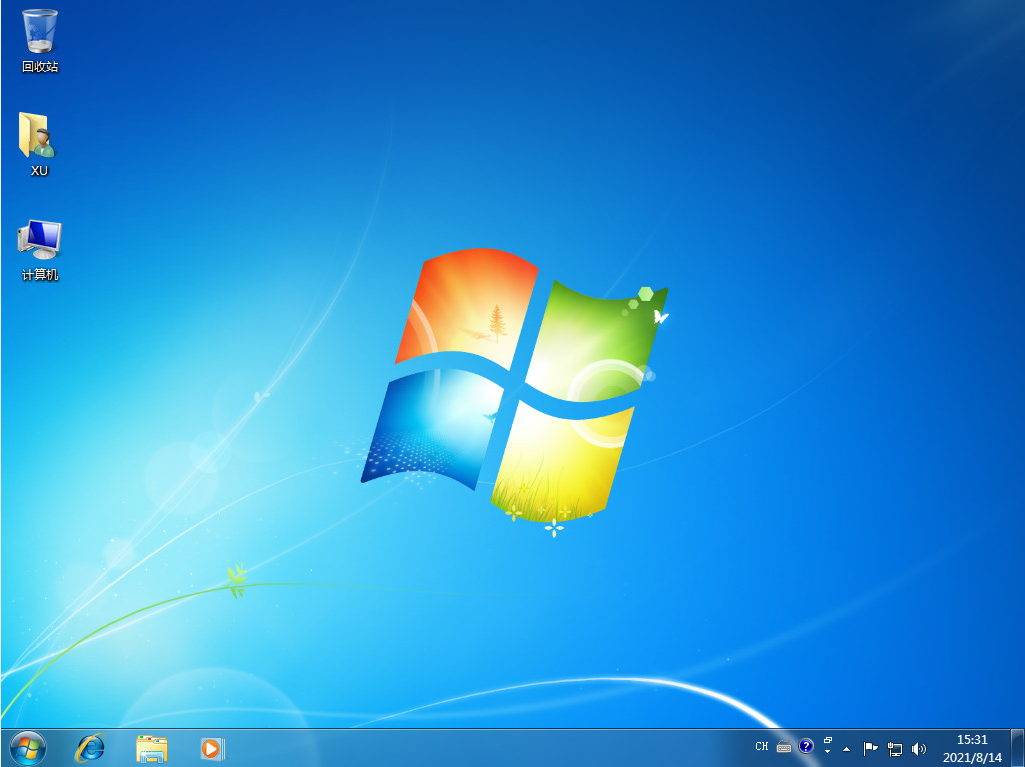
The above is the step-by-step tutorial on how to install the win7 system on a laptop. I hope it can help everyone.
The above is the detailed content of Graphical tutorial on how to install win7 system on laptop. For more information, please follow other related articles on the PHP Chinese website!
 Blue screen code 0x000009c
 A collection of common computer commands
 You need permission from admin to make changes to this file
 Tutorial on turning off Windows 11 Security Center
 How to set up a domain name that automatically jumps
 What are the virtual currencies that may surge in 2024?
 The reason why header function returns 404 failure
 How to use js code


