Demonstration of the new Dell win10 to win7 system tutorial
There are many people who are accustomed to using win7 system, and they want to replace the win10 system that comes with their newly purchased Dell computers with win7 system. However, many Dell notebook partitions are now GPT partitions that come with win1064-bit systems. If you install win7 systems, you need to make some partitioning and boot adjustments. So how to reinstall Dell win10 to win7 system? The editor below will teach you how to convert the new Dell win10 to win7 system.
The specific steps are as follows:
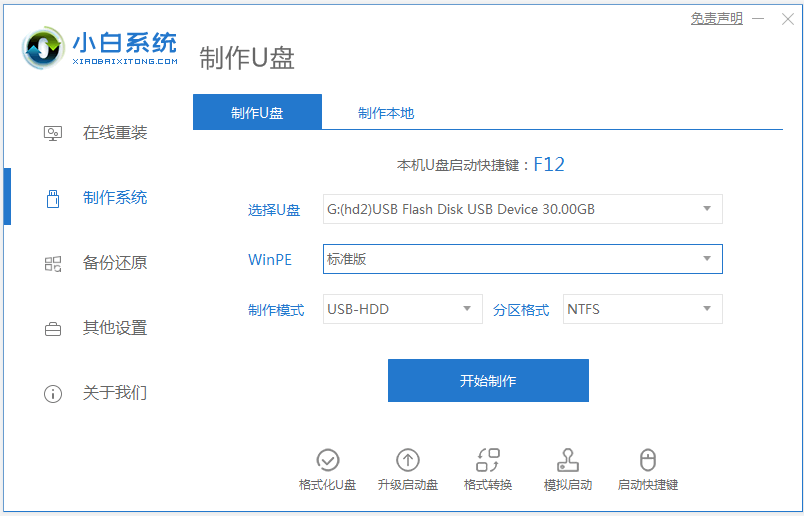
1. First download and install the Xiaobai one-click system reinstallation tool on an available computer and make a USB boot disk (for tutorials, refer to: http://www .xiaobaixitong.com/video1/32524.html)
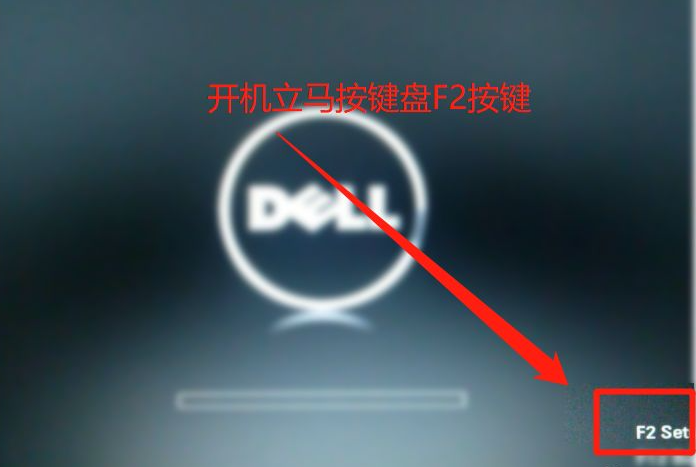
2. After turning on the computer, immediately press the F2 button or ESC quickly and continuously to enter the bios.
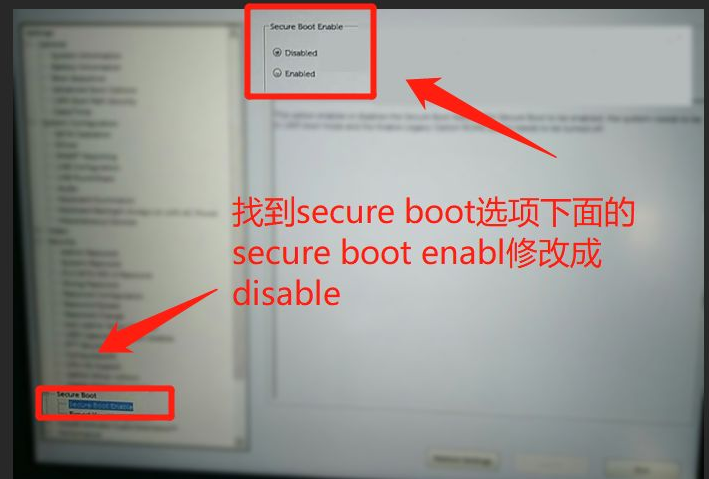
3. Then find the secure boot enabl under the secure boot option and change it to disable (the default is on, so this function is turned off), and then click the appplay application below one time.
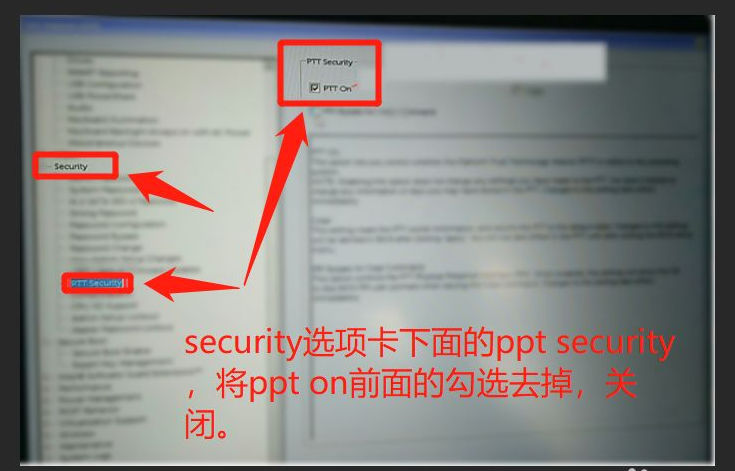
#4. Later, switch to ppt security under the security tab, remove the check in front of ppt on, and close it.
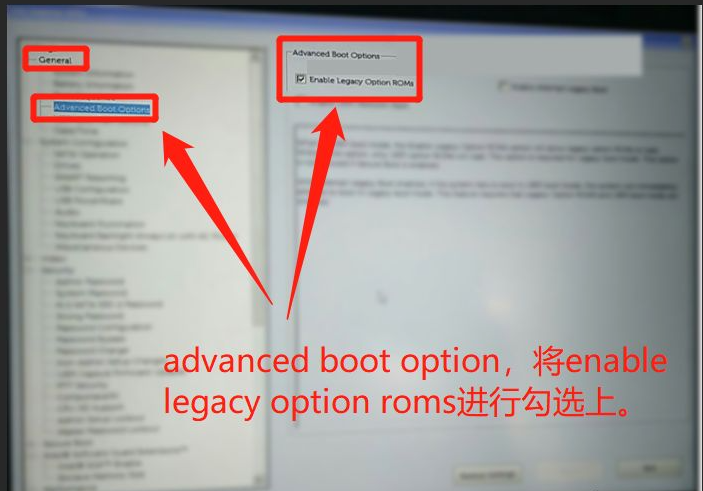
#5. Then find the first option, the advanced boot option under general settings, and check enable legacy option roms.
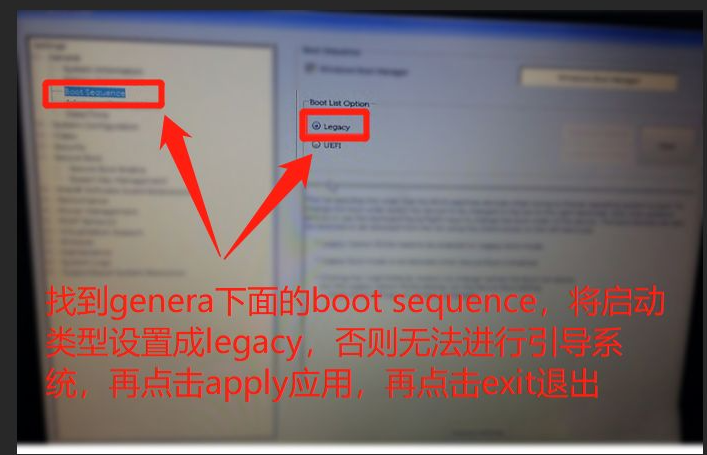
6. Finally, find the boot sequence under genera and set the startup type to legacy. Otherwise, the system cannot be booted. Click apply application, and then click exit to exit. .
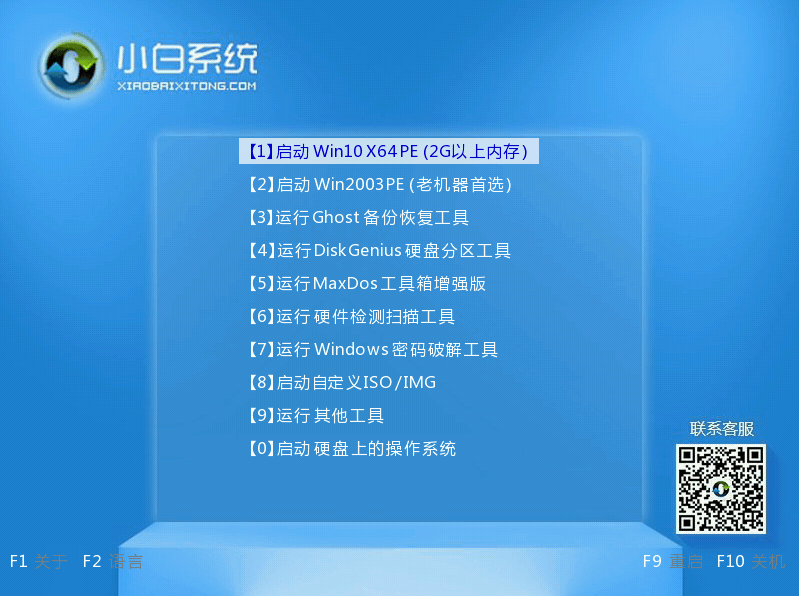
#7. Exit after the setting is completed, insert the USB boot disk, restart the computer, turn on the computer and press esc to select the USB boot item, select item 01 pe to enter.
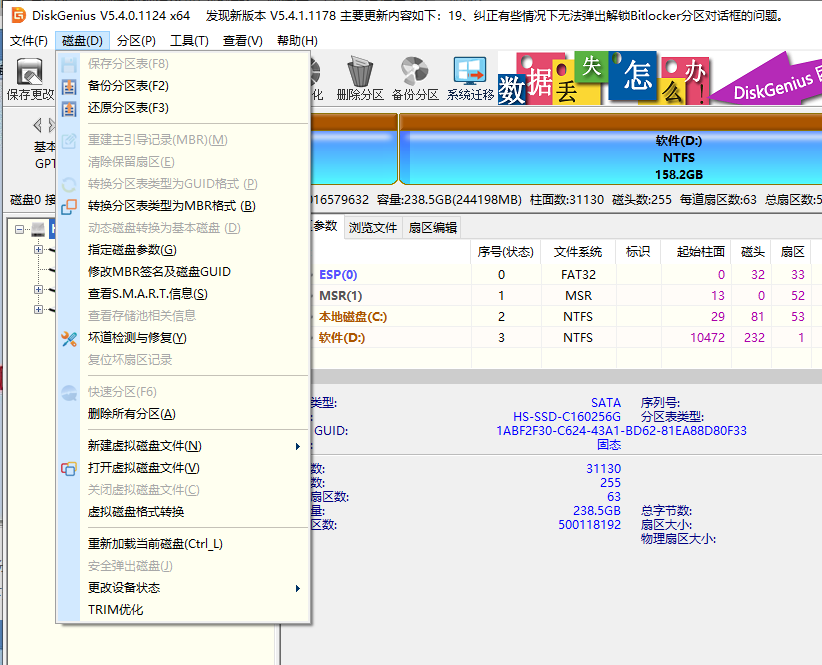
8. Open the Diskgenius partition tool (DG Partition Tool) on the desktop; after opening Diskgenius, select the notebook hard drive, then click "Hard Disk" and view the [" in the menu Is the "Convert Partition Table Type to MBR Format" option gray? If it is gray, then we do not need to repartition. Except for the data on the C drive system disk and desktop, the data in other disks will not be cleared after reinstalling the system. , if the "Convert Partition Table Type to MBR Format" option is optional, you need to format the entire hard disk. The operation method is as follows:
Delete Partition: Click "Hard Disk" - "Delete All Partitions", Make sure the data has been transferred before deleting. After deleting, click [Save Changes].
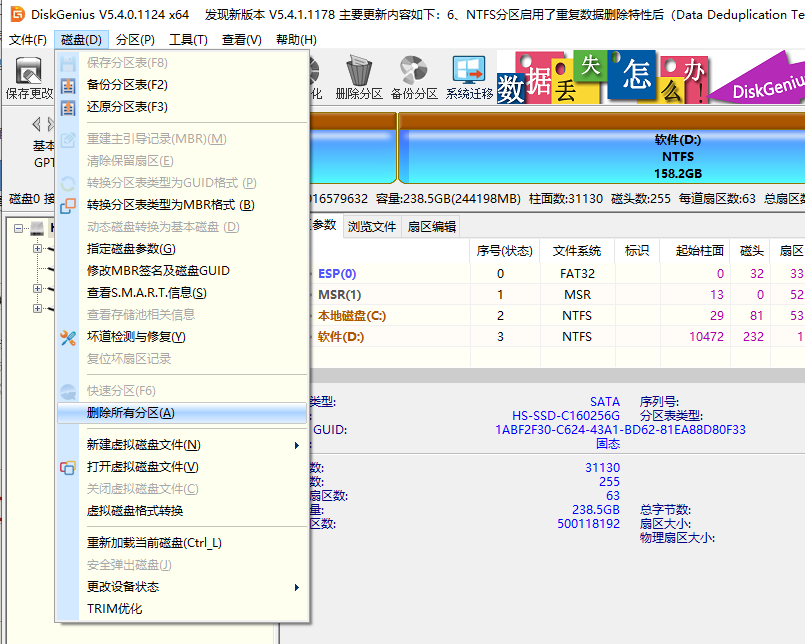
9. Convert GPT partition to MBR format: After deleting the partition, change the hard disk partition table type to MBR format. Also go to "Hard Disk" - "Convert Partition Table" "Type is MBR format", and then save the changes (the following is an illustration. The item is clickable at this time. If it cannot be clicked, it means it has been converted.)
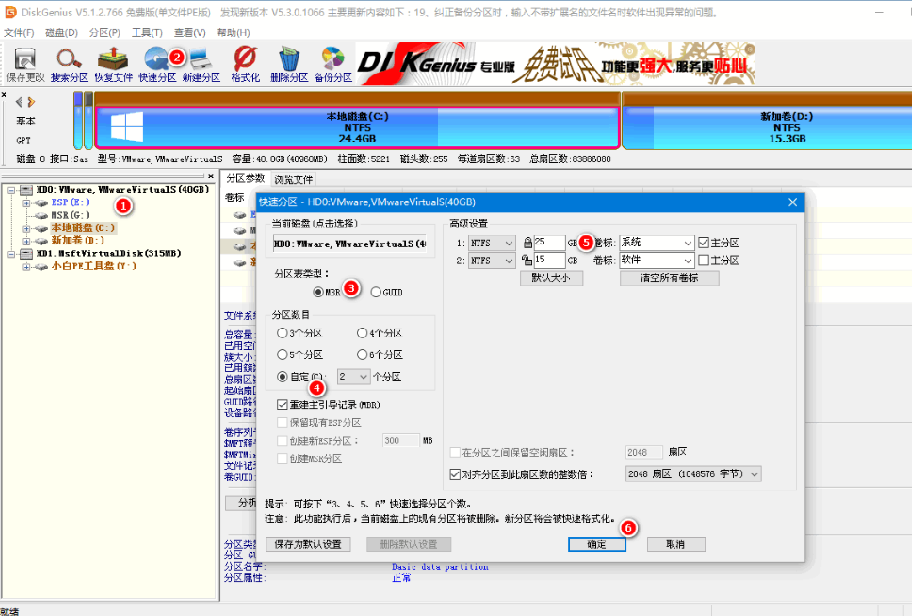
10, Repartition: After the disk format conversion is completed, click [Quick Partition], check the partition table type as MbR, check Rebuild Master Boot Record MBR, select the number and size of required partitions, of course you can click "Customize" Set the appropriate partition and press OK to start partitioning (if it is a solid-state drive or a Toshiba hard drive, it must be aligned to 4K).
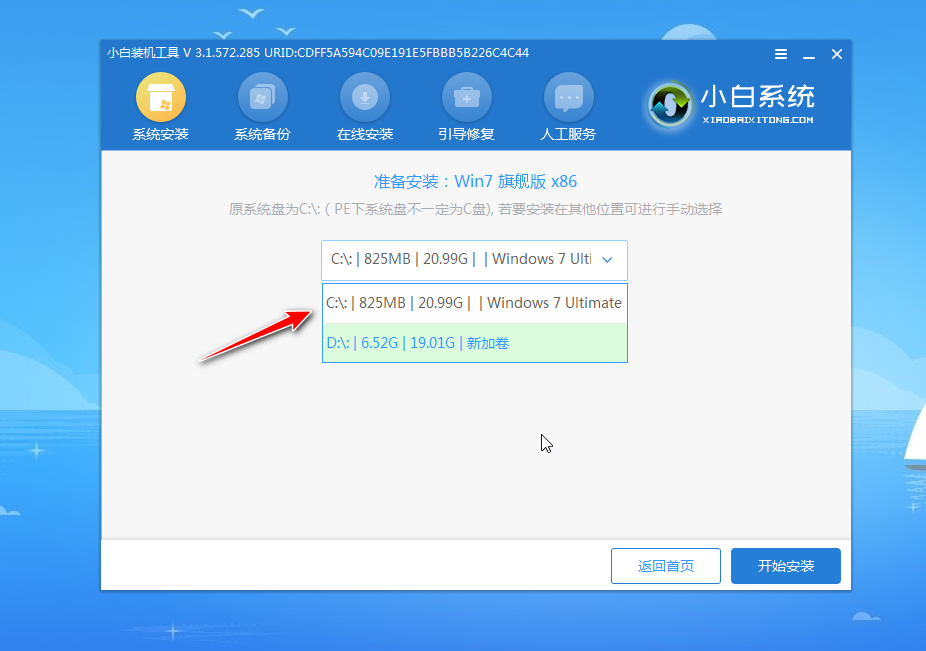
11. After the partition is completed, run the "Xiaobai Installation Tool" on the desktop, then select the win7 system image file, use the c drive as the system drive, install the win7 system in the c drive, and click OK;
12. Wait for the system installation to be completed, unplug the USB disk and restart the computer.
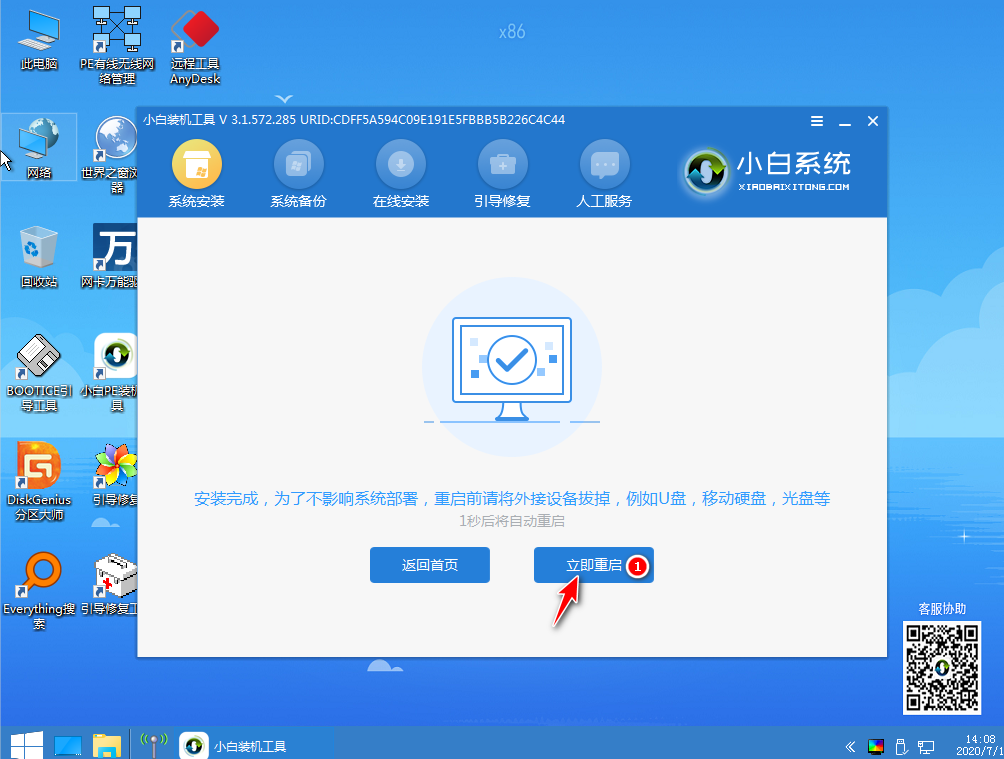
#13. Wait patiently for a period of time. When you enter the following page, the installation is complete.
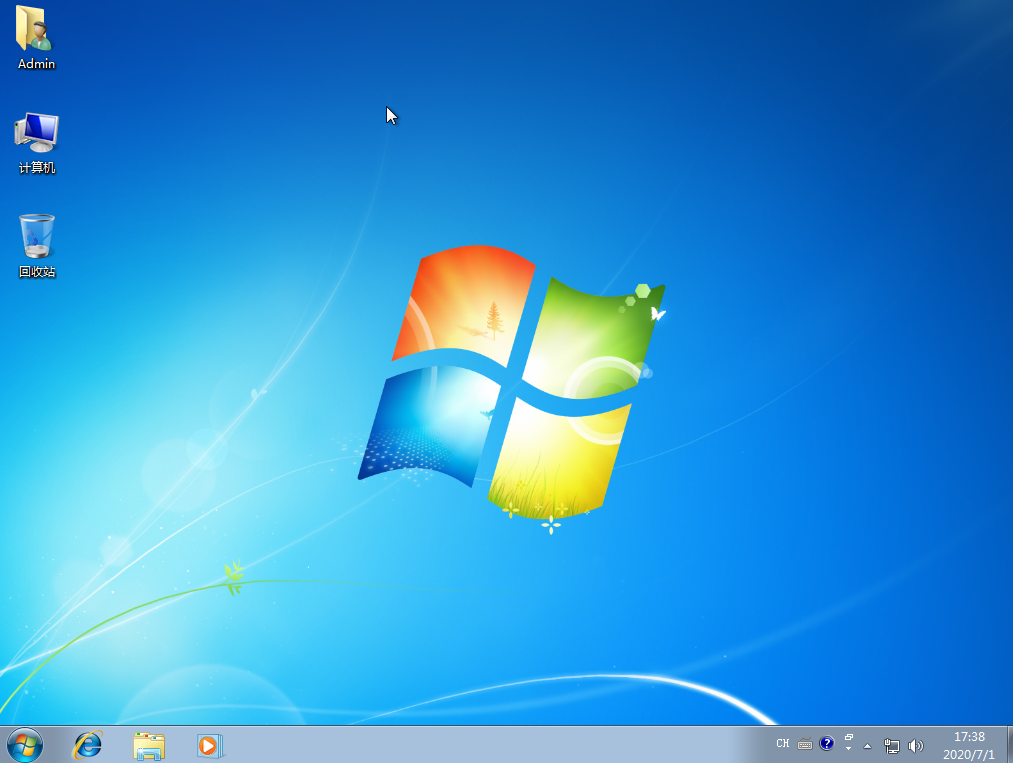
The above is the tutorial for changing the new Dell win10 to win7 system. Friends in need can refer to the tutorial to operate.
The above is the detailed content of Demonstration of the new Dell win10 to win7 system tutorial. For more information, please follow other related articles on the PHP Chinese website!

Hot AI Tools

Undresser.AI Undress
AI-powered app for creating realistic nude photos

AI Clothes Remover
Online AI tool for removing clothes from photos.

Undress AI Tool
Undress images for free

Clothoff.io
AI clothes remover

AI Hentai Generator
Generate AI Hentai for free.

Hot Article

Hot Tools

Notepad++7.3.1
Easy-to-use and free code editor

SublimeText3 Chinese version
Chinese version, very easy to use

Zend Studio 13.0.1
Powerful PHP integrated development environment

Dreamweaver CS6
Visual web development tools

SublimeText3 Mac version
God-level code editing software (SublimeText3)

Hot Topics
 1379
1379
 52
52
 Solution to the problem that Win11 system cannot install Chinese language pack
Mar 09, 2024 am 09:48 AM
Solution to the problem that Win11 system cannot install Chinese language pack With the launch of Windows 11 system, many users began to upgrade their operating system to experience new functions and interfaces. However, some users found that they were unable to install the Chinese language pack after upgrading, which troubled their experience. In this article, we will discuss the reasons why Win11 system cannot install the Chinese language pack and provide some solutions to help users solve this problem. Cause Analysis First, let us analyze the inability of Win11 system to
 How to set CPU performance to full in Win11
Feb 19, 2024 pm 07:42 PM
Many users find that the computer is not running smoothly enough when using the Win11 system. They want to improve CPU performance, but they don't know how to do it. The following will introduce in detail how to set the CPU performance to the highest level in Win11 system to make your computer more efficient. Setting method: 1. Right-click "This PC" on the desktop and select "Properties" in the option list. 2. After entering the new interface, click "Advanced System Settings" in "Related Links". 3. In the window that opens, click the "Advanced" tab at the top, then click the & at the bottom of "Performance"
 Solution for Win11 unable to install Chinese language pack
Mar 09, 2024 am 09:15 AM
Win11 is the latest operating system launched by Microsoft. Compared with previous versions, Win11 has greatly improved the interface design and user experience. However, some users reported that they encountered the problem of being unable to install the Chinese language pack after installing Win11, which caused trouble for them to use Chinese in the system. This article will provide some solutions to the problem that Win11 cannot install the Chinese language pack to help users use Chinese smoothly. First, we need to understand why the Chinese language pack cannot be installed. Generally speaking, Win11
 Strategies to solve Win11's inability to install the Chinese language pack
Mar 08, 2024 am 11:51 AM
Strategies to deal with Win11’s inability to install the Chinese language pack. With the launch of Windows 11, many users can’t wait to upgrade to this new operating system. However, some users have encountered difficulties when trying to install the Chinese language pack, preventing them from using the Chinese interface properly. In this article, we will discuss the problem that Win11 cannot install the Chinese language pack and propose some countermeasures. First, let’s explore why there are problems installing Chinese language packs on Win11. This may be due to the system's
 How to use shortcut keys to take screenshots in Win8?
Mar 28, 2024 am 08:33 AM
How to use shortcut keys to take screenshots in Win8? In our daily use of computers, we often need to take screenshots of the content on the screen. For users of Windows 8 system, taking screenshots through shortcut keys is a convenient and efficient operation method. In this article, we will introduce several commonly used shortcut keys to take screenshots in Windows 8 system to help you take screenshots more quickly. The first method is to use the "Win key + PrintScreen key" key combination to perform full
 Detailed explanation of obtaining administrator rights in Win11
Mar 08, 2024 pm 03:06 PM
Windows operating system is one of the most popular operating systems in the world, and its new version Win11 has attracted much attention. In the Win11 system, obtaining administrator rights is an important operation. Administrator rights allow users to perform more operations and settings on the system. This article will introduce in detail how to obtain administrator permissions in Win11 system and how to effectively manage permissions. In the Win11 system, administrator rights are divided into two types: local administrator and domain administrator. A local administrator has full administrative rights to the local computer
 Win11 Tips Sharing: Skip Microsoft Account Login with One Trick
Mar 27, 2024 pm 02:57 PM
Win11 Tips Sharing: One trick to skip Microsoft account login Windows 11 is the latest operating system launched by Microsoft, with a new design style and many practical functions. However, for some users, having to log in to their Microsoft account every time they boot up the system can be a bit annoying. If you are one of them, you might as well try the following tips, which will allow you to skip logging in with a Microsoft account and enter the desktop interface directly. First, we need to create a local account in the system to log in instead of a Microsoft account. The advantage of doing this is
 Win11 file attribute setting tutorial: How to display suffix name?
Mar 08, 2024 pm 06:18 PM
Win11 file attribute setting tutorial: How to display suffix name? As one of the most popular operating systems, Windows operating system has always been loved and used by users. In the latest version of Windows 11, some file attribute settings are different from previous versions, including how to display file extensions. This article will introduce how to set the display of file suffix names in Windows 11. In the Windows operating system, files are hidden by default.


