When our computers are used for a long time, they will easily become stuck due to various reasons. We can download a win10 optimization master to make our computer programming smoother. Today I will tell you Let’s talk about the usage tutorial of win10 optimization master. Let’s take a look together.
1. First download and install the win10 optimization master tool.

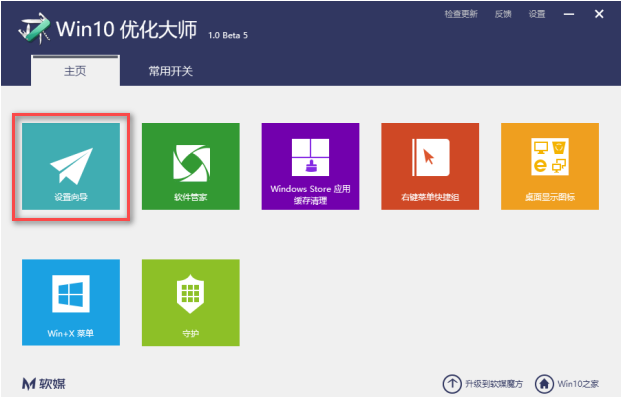
#2. The installation is successful and you enter the software interface. Next, let’s get to know the win10 optimization master together and click [Setup Wizard].

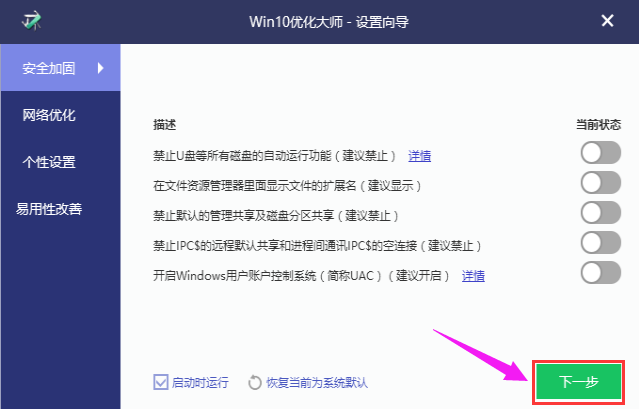
#3. A setting window pops up. After setting, click [Next].

#4. According to your own operating habits and usage needs, click [Next] after setting up.

#5. Before completing the settings, you need to click [Finish] again to confirm.

#6. Next, learn about application cache clearing.

#7. Click on this module, the software will list the software on the system for users to choose, click "Scan".

8. The selected software scans junk files and click Clean.

#9. Open the right-click menu shortcut key for this function.

#10. Click Add menu item and add the required quick startup program to the right-click menu, so you don’t need to browse through various folders to start it.

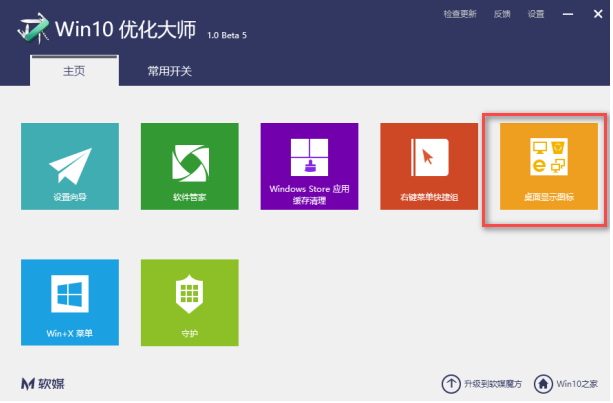
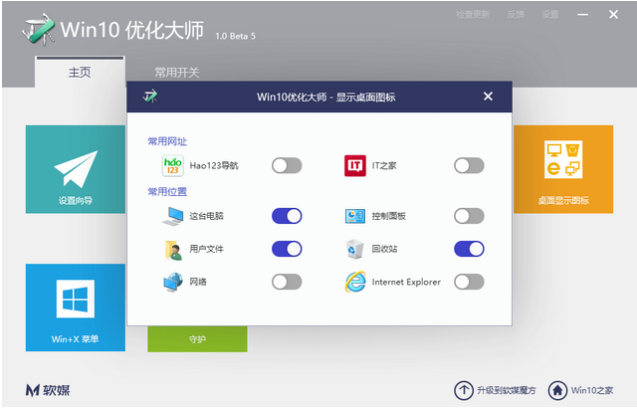
#11. Desktop display icon, as the name implies, is to manage whether the desktop icon is displayed.

#12. If you don’t want to see these icons on the desktop, just leave them unchecked.

The above is the usage tutorial of win10 optimization master, I hope it can help everyone.
The above is the detailed content of Usage tutorial of win10 optimization master. For more information, please follow other related articles on the PHP Chinese website!
 Blue screen code 0x000009c
 A collection of common computer commands
 You need permission from admin to make changes to this file
 Tutorial on turning off Windows 11 Security Center
 How to set up a domain name that automatically jumps
 What are the virtual currencies that may surge in 2024?
 The reason why header function returns 404 failure
 How to use js code


