
Win7 simplifies the design of rapid maximization, half-screen window display, jump directory (JumpList), and rapid repair of system exceptions, simplifies local, network, and Internet search functions, and integrates automated application submission and cross-program data transmission , the system-integrated search function runs automatically. So how to use the Windows 7 system repair function? Many users are still not very clear about this. The editor here will give you answers on how to use the Windows 7 system repair function. I hope it can be helpful to everyone.

How to use the Windows 7 system repair function:
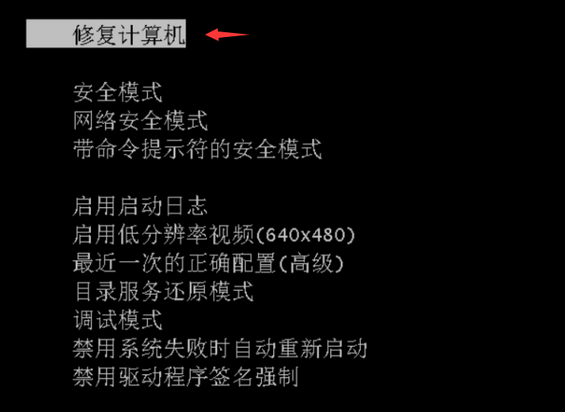
1. Keep pressing the F8 key while booting and running, enter the advanced startup options, and select "Patching the computer".
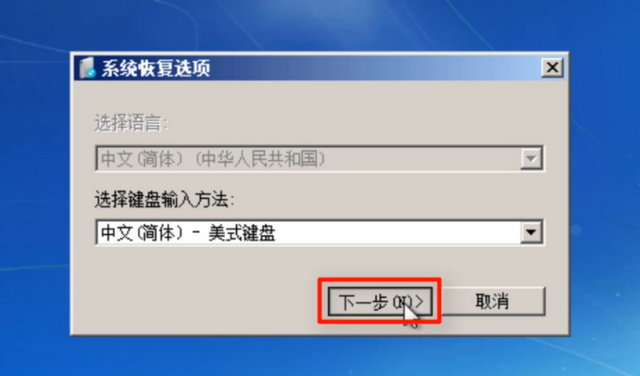
#2. Click "Next" in the pop-up operation panel.
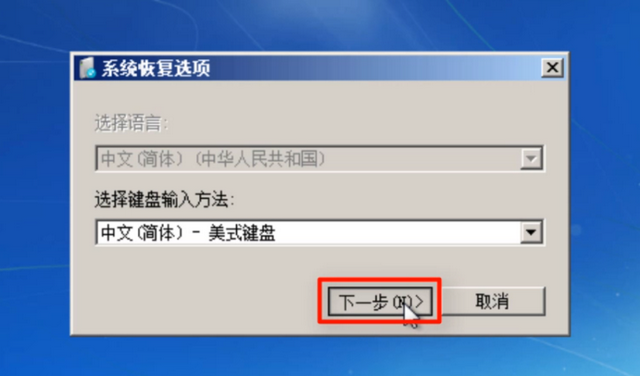
3. Find the "System Restore" option and click it, and then select "Next" according to the prompts.
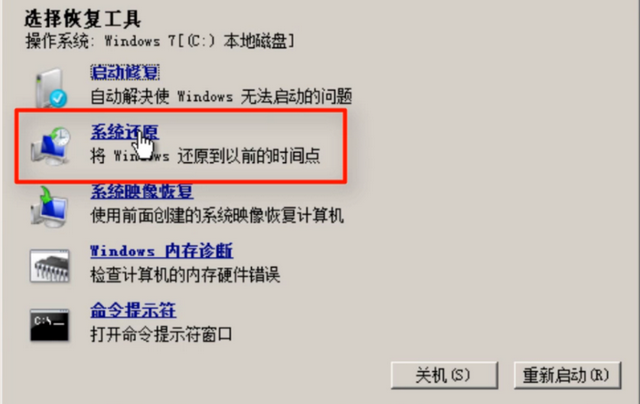
#4. Select the "Automatic Restore Point" of the system that must be restored, and then select "Next".
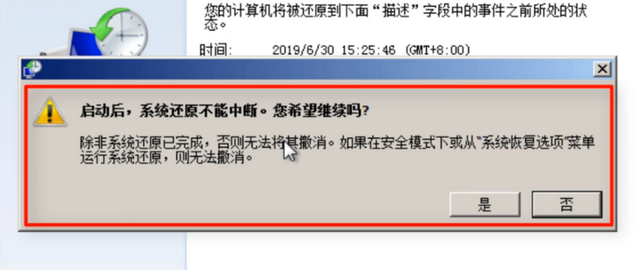
5. Click "Finish" and then select "Yes" in the prompt box.
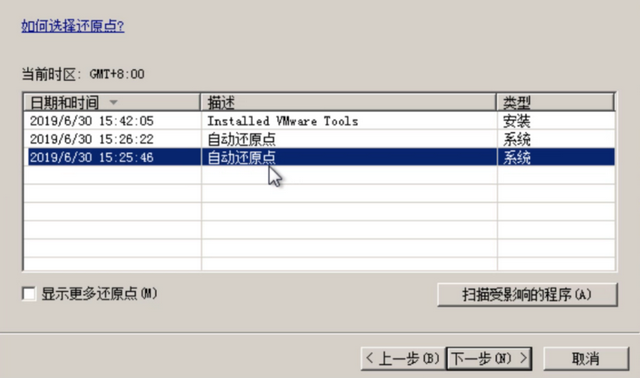
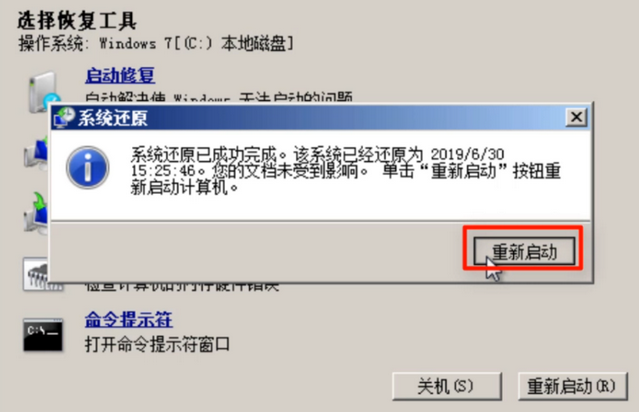
#6. Wait patiently and finally click "Restart".
#7. If there is no suitable automatic restore point or the patching has been unsuccessful, it may be a better choice to reinstall the win7 system.
The above is the answer that the editor brings to you on how to use the Windows 7 system repair function. I hope it can help you!
The above is the detailed content of How to use the Win7 system repair function. For more information, please follow other related articles on the PHP Chinese website!


