

Now we know that Twig, together with the WordPress plugin Timber, can help developers write modular code when developing WordPress themes. This modular approach allows you to handle the logic and view layers of your web application separately. Let's jump to something a little more technical: creating Twig templates, converting HTML to Twig files, and how to use Twig templates to render logic or data.
First, I’m going to install Timber, a WordPress plugin that helps integrate the Twig template engine with WP. So, let's get started.
With Timber installed, you can now start splitting your template files into data and view files.
Before we start creating the Twig template, I'm going to assume that you already have some kind of local WordPress setup. For this particular tutorial, my settings are:
UpStatement also builds a Timber Starter theme.
let's start. I want to display a welcome message at the top of the home page. What would I do without Twig? Perhaps, I would include the HTML code in the PHP file and echo the welcome message, like I did in the code sample below. My index.php file looks like this.
<?php
/**
* Homepage
*/
get_header(); ?>
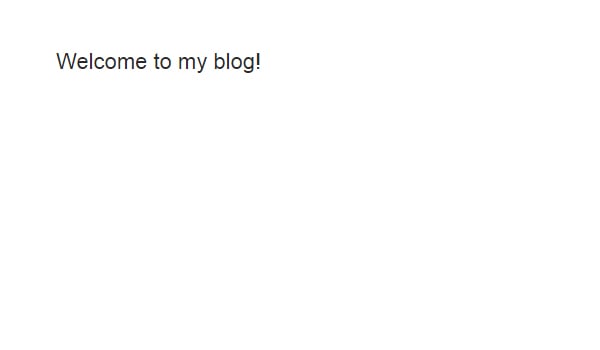
<div> <?php echo "Welcome to my blog!"; ?> </div>
<?php get_footer(); ?>
Now, the homepage of my local WordPress installation displays a welcome message at the top. Here is a screenshot.
The problem with this approach is that we are mixing data/logic with views. The more complex the file, the harder it will be to maintain, let alone understand, if for example, you add a WordPress loop behind this code with some parameters and then filtering and pagination. Besides that, PHP in HTML doesn't look good when you finally get some logic.
To make it more modular, we can think of the content on the homepage as blocks or components. By default there can be two complete ones, posts and pagination from The_Loop. Now we want to add another component on top, the welcome message, let's create a Twig file for this component.
Open a new blank file in the editor and copy and paste the following lines of code.
<!-- Welcome Template -->
<section class="welcome_message">
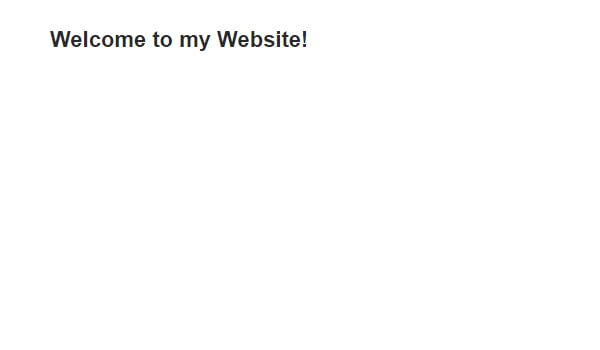
<h2>Welcome to my website!</h2>
</section>
Create a new folder named views in the root directory of your theme and save this file with the .twig extension. For example, I saved the file as welcome.twig.
Timber provides us with some useful functions, one of which is the rendering function. You can call it like this:
Timber::render();
This function can accept up to four parameters. Since this is beyond the scope of this article, you can read about it in the Timber documentation. We can pass the name of any Twig file that exists in the theme's views folder to this function.
Let's render the welcome message in the index.php file.
<?php
/**
 * Homepage
 */
get_header();

    // Timber Render.
	Timber::render( 'welcome.twig' );

get_footer();
Timber renders the welcome.twig file, loads the HTML and displays the newly modified view layer on the front end, as shown below:
render() function takes welcome.twig as its argument, but as long as the twig template is located in a location named views, it will automatically read the file.
If you want to use a custom name/path for a folder, you must provide the path to the folder. For example, I created a twig folder in the root of the theme and added it to the parameters of the render function.
<?php Timber::render('twig/welcome.twig'); ?>
Timber will look at the child theme first and then fall back to the parent theme (same logic as WordPress). The official loading order is:
Item 2 is inserted on top of the other items so that if you use Timber in a plugin, it will use the twig file in the plugin directory.
So, now there is no HTML in the index.php file, it is rendering a Twig template.
Now let's send some dynamic data from index.php to the welcome.twig file and render it using Timber.
要将数据从 PHP 文件发送到 Twig 文件,您需要定义一个上下文数组。渲染函数采用一组数据来为 Twig 模板提供某种上下文。我们将该数组称为 $context,它是一个关联数组,即它占用键值对。
让我们添加一个键值对,作为动态欢迎消息,我们的 PHP 文件会将其发送到 Twig 文件。
我的 index.php 文件现在看起来像这样。
<?php
/**
 * Homepage
 */
get_header();

    // Context array.
	$context = array();

	// Dynamic message.
	$var = 'Dynamic Message';

	// Dynamic data.
	$context['the_message'] = $var;

	// Render twig file with the give $context array.
	Timber::render( 'welcome.twig', $context );

get_footer();
因此,在 index.php 文件中,我在第 8 行定义了一个空的 $context 数组。然后,在第 11 行,我创建了一个变量 $var,其值为 'Dynamic Message'。 在第 14 行,我创建了一个键 the_message ,它等于 $var。
在第 17 行,我使用 welcome.twig 文件调用了渲染函数,但这一次,它需要一个额外的参数,即 $context 数组。这个新参数实际上包含 Timber 将从 PHP 文件发送到 Twig 文件的数据。
因此,我们定义了上下文数组并添加了动态消息(您可以通过向其添加某种逻辑来向不同的用户显示不同的消息,例如显示当前用户的名字)。
现在我们需要在 Twig 文件中使用此数据,即 the_message。我们可以通过在 Twig 模板中放置双括号来回显变量。例如,要在 twig 文件中回显 $var,我们可以编写 {{ var }}。这正是我所做的。
<!-- Message Template -->
<section class="message">
        <h2>{{ the_message }}</h2>
</section>
the_message 的值将打印在 h2 标签内。我知道,就是这么简单,而且代码看起来也很干净。
就是这样!保存代码,在前端查看动态欢迎信息。这是最终的屏幕截图。

总而言之,现在您可以使用 PHP 文件来编码逻辑并向 Twig 模板提供数据,该模板包含 HTML 并在双括号内呈现 Twig 变量或函数。
这种模块化方法可以为 WordPress 主题中的每个组件生成单独的模板文件。考虑拥有一个 message.twig 组件,您可以在主题中的任何位置使用它来显示您想要的任何消息,任意次数。
这是 Twig 与 Timber 的基本实现。不过,在接下来的两篇文章中,我将介绍 Timber WordPress Cheatsheet、使用 Timber 管理图像以及在不使用疯狂步行器功能的情况下创建菜单。
如果您有任何疑问,请在下面的评论中发表或在 Twitter 上联系。您还可以在此 GitHub 存储库中查看我的主题代码。
The above is the detailed content of Getting Started with Twig: Jump Start Your WordPress Development. For more information, please follow other related articles on the PHP Chinese website!


![[Web front-end] Node.js quick start](https://img.php.cn/upload/course/000/000/067/662b5d34ba7c0227.png)


